
How to Set Up Automatic Backups with Veeam and Vultr Block Storage
Introduction
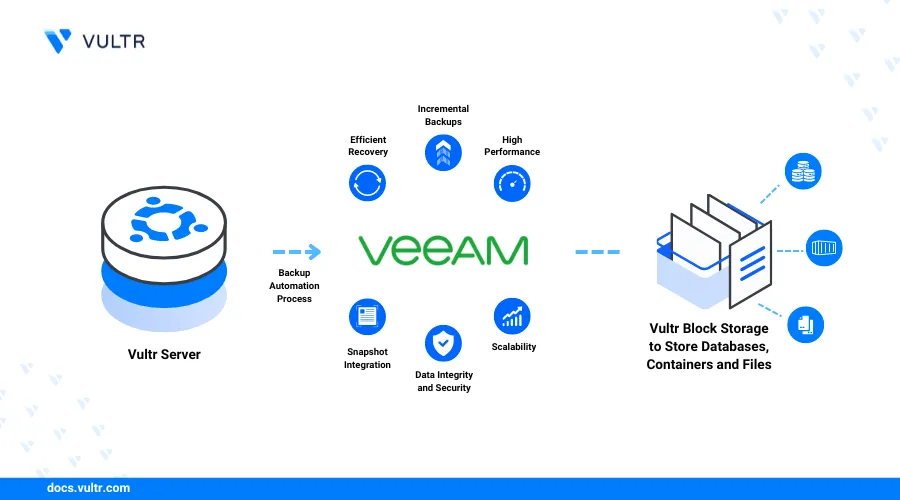
Veeam is a backup and replication software that offers reliable data protection solutions for businesses. Written in C#, PowerShell, Java, and Python, Veeam allows faster integration with cloud storage providers such as Vultr Block Storage.
You can use Veeam to sync data between your Cloud Compute instance and a Vultr Block Storage instance. Veeam also supports automatic backup jobs that run at flexible timings depending on how often you want to back up data.
This guide walks you through setting up automatic backups with Veeam and Vultr Block Storage.
Prerequisites
Before you begin:
- Deploy Ubuntu 24.04 Cloud Compute Instance.
- Deploy a Vultr Block Storage instance.
- Attach and mount the Block Storage to the Cloud Compute instance.
Install Veeam
To use Veeam, you must install the Veeam Agent for Linux. This tool offers comprehensive data backup capabilities for various Linux distributions. Follow the steps below to install the tool.
Visit the following resource to grab the latest download link for Debian/Ubuntu.
Switch to the
/tmpdirectory.console$ cd /tmp
Download the Veeam repository package.
console$ wget https://download2.veeam.com/VAL/v6/veeam-release-deb_1.0.9_amd64.deb
Install the Veeam repository.
console$ sudo dpkg -i veeam-release*
Update the package information index and install Veeam.
console$ sudo apt update $ sudo apt install -y blksnap veeam
Run Veeam File-Level Backup Job
The Veeam Agent for Linux requires two steps to create a file-level backup:
Creating a repository.
console$ sudo veeamconfig repository create \ --name repository_name \ --location destination_or_remote_location
In the above command:
--name: Defines the name of the new repository.--location: Specifies the remote location where you want to backup data. This guide shows you how to backup the data in Vultr Block Storage.
Creating a backup job.
console$ sudo veeamconfig job create filelevel \ --name job_name \ --reponame repository_name \ --includedirs source_directory_path \ --daily \ --at 00:30 \ --nosnap
In the above command:
--name: Defines the name of the backup.--reponame: Defines the repository name.--includedirsSpecifies the source directory path that you want to back up. For instance,~/project.--daily --at 00:30: Sets a backup schedule. Apart from daily schedule, Veeam also supports weekly and monthly schedules.--nosnap: -Allows Veeam to perform a regular quicker (non-application-aware) backup.
Follow the steps below to create a Veeam file-level backup:
Create a new
projectdirectory under your user home directory. In a production environment, you may skip this command and select an existing directory.console$ mkdir ~/project
Navigate to the
~/projectdirectory.console$ cd ~/project
Run the following
touchcommand to create two sample files under the directory.console$ touch test1.txt $ touch test2.txt
Create a repository where you want to back up the files under the Vultr Block Storage path. For instance,
/mnt/blockstorage/project.console$ sudo veeamconfig repository create \ --name Veeammblockstorage \ --location /mnt/blockstorage/project/
Reply with
yesin the next two prompts and press Enter each time to accept the Veeam Software license agreement.consoleI accept Veeam Software End User License Agreement: /usr/share/veeam/EULA (yes/no): yes I accept the terms of the following 3rd party software components license agreements: /usr/share/veeam/3rdPartyNotices.txt (yes/no): yes
The Veeam Software creates a new repository and displays the following message.
Repository has been created successfully.View the repository list.
console$ sudo veeamconfig repository list
Output.
Name                ID                                      Location                     Type
Veeammblockstorage  {f84aea44-c585-4073-903b-c3b961d2ceb4}  /mnt/blockstorage/my_backup  local
Create a new Veeam backup job. Ensure the
--reponameis the same as the repository name that you have created above. That is,Veeammblockstorage.console$ sudo veeamconfig job create filelevel \ --name sample_job \ --reponame Veeammblockstorage \ --includedirs ~/project/ \ --daily \ --at 00:30 \ --nosnap
Output.
Job has been created successfully.View the Veeam Job List.
console$ sudo veeamconfig job list
Output.
Name        ID                                      Type       Repository
sample_job  {05e8332b-2126-45d3-b84d-c78643a0c06b}  FileLevel  Veeammblockstorage
Start the backup job manually. This step ensures you have the first backup before the schedule runs.
console$ sudo veeamconfig job start --name sample_job
Output.
The backup job has been started.
Session ID: [{8ccf3ee4-dd8e-4f56-821b-97eef5b2a79f}].
Logs stored in: [/var/log/veeam/Backup/sample_job/Session_20240609_104931_{8ccf3ee4-dd8e-4f56-821b-97eef5b2a79f}].
Restore Backups
The Veeam agent allows you to restore files from the repository if you lose the original files. Follow the steps below to restore the files.
Delete the files from the original source directory.
console$ rm ~/project/test1.txt ~/project/test2.txt
Ensure the local source directory is empty.
console$ ls -ls ~/project
Output
total 0View the Veeam agent backups and note the job ID. For instance,
0c4bf14a-5d5b-4d20-ba23-f5303611e667.console$ sudo veeamconfig backup list
Output:
Job name              Backup ID                               Repository          Created at
server-1 sample_job  {0c4bf14a-5d5b-4d20-ba23-f5303611e667}  Veeammblockstorage  2024-06-05 10:43
Mount the backup to a local directory (For instance,
/tmp/restore) in your Cloud compute instance by specifying the job ID in the following command.console$ sudo veeamconfig backup mount --id bc77565b-3978-47f0-9641-ad5069dae749 --mountdir /tmp/restore
Copy the files from the mount location to the source directory.
console$ cp -r /tmp/restore/home/$USER/project/ ~/project/
Ensure Veeam has restored the files.
console$ ls -ls ~/project
Output
4 -rw-rw-r-- 1 francis francis 75 Jun 10 00:54 test1.txt 0 -rw-rw-r-- 1 francis francis 0 Jun 10 00:54 test2.txtFor best results, always follow the 321 backup rule to ensure data redundancy, diversity, and geographic separation:Note- Always keep three 3 of your critical data.
- Store the data copies on 2 different media.
- Keep 1 copy of your data offsite.
Conclusion
This guide walked you through setting up automatic backups with Veeam and Vultr Block Storage. You have learned how to use the Veeam Agent for Linux to create a repository and set up a backup job. Then, you have mounted a backup to a local directory to restore files.