How to Set Up Vultr CDN Pull Zones for WordPress Websites with W3 Total Cache
Introduction
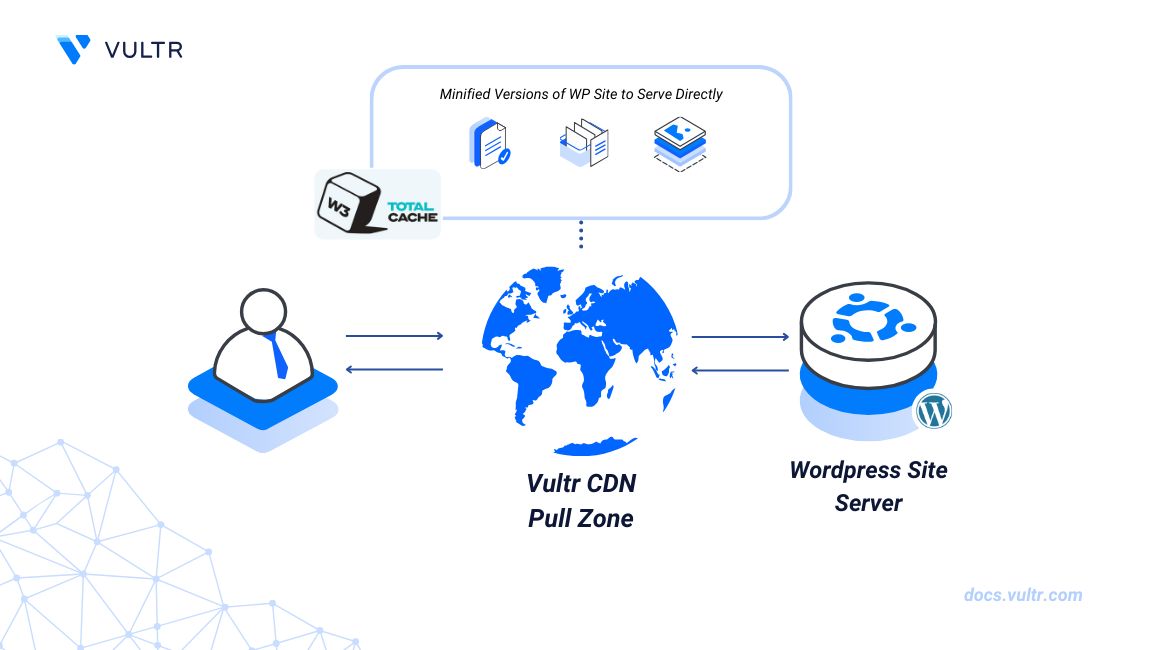
W3 Total Cache is a WordPress caching plugin that offers multiple configuration options and support for Content Delivery Networks (CDNs) such as Vultr CDN. Vultr CDN Pull Zones enable the automatic caching of your WordPress site to improve the delivery of static assets such as images, documents, and media files.
This article explains how to set up Vultr CDN Pull Zones for WordPress websites using the W3 Total Cache plugin.
Prerequisites
Before you begin:
Create a Vultr CDN Pull Zone for your WordPress website by providing the domain name as the origin URL.
Login to the WordPress administration dashboard.
Install W3 Total Cache
Follow the steps below to install the W3 Total Cache on your WordPress website.
Navigate to the Plugins page on the main navigation menu.
Click Add New Plugin to browse the WordPress plugins database.
Enter
w3 total cacheas the keyword in the search plugins field.Verify the search results and click Install on the W3 Total Cache plugin result to install it.
Click Activate to enable the plugin when the installation is successful.
Configure W3 Total Cache
Find and click Performance on the main navigation menu to access the W3 Total Cache configuration page.
Click General Settings from the drop-down list of options.
Scroll and find the CDN section.
Check the CDN: Enable option to activate the CDN configuration options.
Click the CDN Type drop-down and select Generic Mirror from the list of CDN options.
Click Save Settings to apply changes.
Find and click CDN on the plugin navigation list, or click Advanced Settings to navigate to the CDN setup page.
Verify that the following prompt displays at the top of your CDN configuration:
Scroll to the Configuration: Objects section and keep
Auto (determine connection type automatically)as the active SSL support option.Enter your Vultr CDN Pull Zone URL in the Replace site’s hostname with: field.
Click Test Mirror to save changes and test your Vultr CDN connection.
Verify that a
Test Passedprompt displays as your Test Mirror result.Click Save Settings to apply your CDN configuration.
Verify that the following options are enabled in your General section:
- Host attachments: Caches all WordPress website attachments to the Vultr CDN Pull Zone.
- Host wp-includes/files: Caches all enabled
wp-includesfile types to the Vultr CDN Pull Zone. - Host theme files: Serves all enabled theme files from the Vultr CDN Pull Zone.
- Host minified CSS and JS files: Caches all minified files to the Vultr CDN Pull Zone.
- Host custom files: Caches all custom file names and paths specified in your advanced configuration to the Vultr CDN Pull Zone.
Scroll to the Advanced section, and activate the following options:
- Use CDN links for the Media Library on admin pages: Rewrites all WordPress image links with the respective Vultr CDN URL links.
- Disable CDN for the following roles: Disables cached WordPress data for administrative user roles.
- Add CORS header: Enables CORS policies depending on your Vultr CDN Pull Zone's CORS status.
Verify the
wp-includesand theme file types to cache with your CDN.Click Save Settings to apply your CDN configuration changes.
Test the Vultr CDN Pull Zone Integration
Access your WordPress website in a different web browser such as Chrome to visit your site as a regular user.
Right-click anywhere within your website and select Inspect from the list of options.
Navigate to the Sources tab and verify that your Vultr CDN Pull Zone URL is available on the list of website sources.
Right-click any of your WordPress website images and select
Copy Image AddressorCopy Image Linkdepending on your web browser type to test the CDN image integration.Paste the image link in your URL bar, and verify that it uses a Vultr CDN Pull Zone URL instead of your original WordPress website's URL.
Press Enter to visit the URL address and verify that your WordPress website image displays correctly as your web browser result.
Conclusion
You have installed W3 Total Cache and configured your WordPress website to serve cached content from your Vultr CDN Pull Zone. You can offload all supported file types and use W3 Total Cache to improve your website performance.


0 Comments
Be the first to comment and share your perspective with the community.