How to Set Up Vultr CDN Pull Zones for WordPress Websites with WP Fastest Cache
Introduction
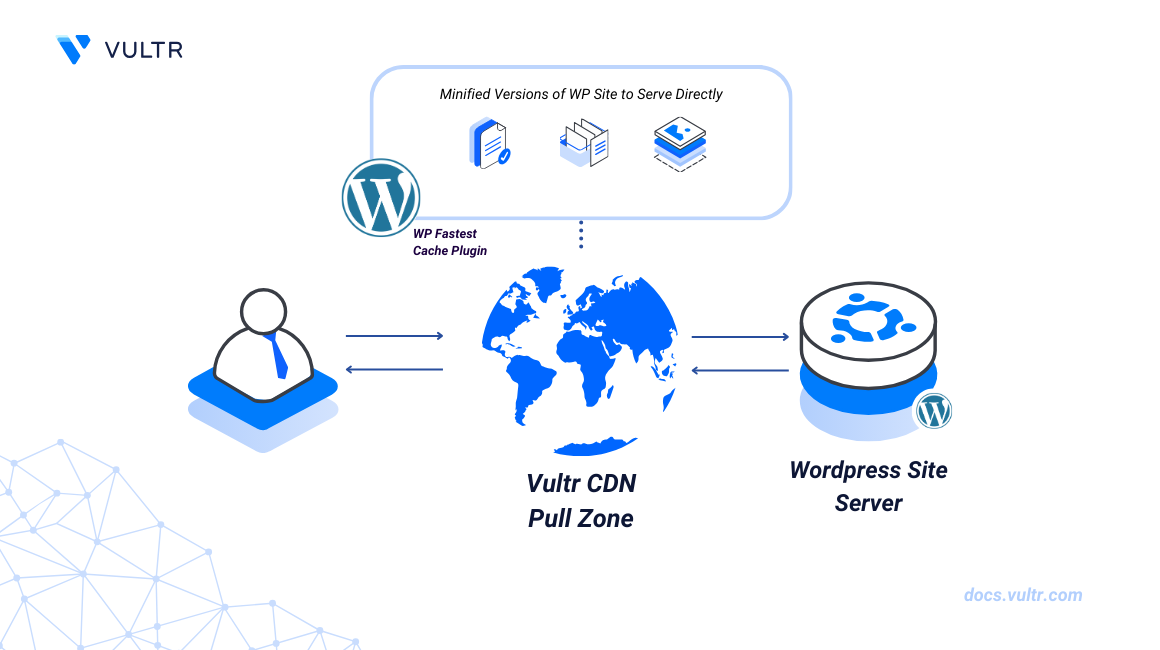
WP Fastest Cache is a caching plugin that minifies your WordPress files to improve website performance by reducing the file size. WP Fastest Cache integrates with Content Delivery Networks (CDNs) such as Vultr CDN Pull Zones to offload the minified WordPress assets for delivery using a CDN URL instead of the original site URL.
This article explains how to set up Vultr CDN Pull Zones for WordPress websites using the WP Fastest Cache plugin.
Prerequisites
Before you begin:
Create a Vultr CDN Pull Zone for your WordPress website by providing the domain name as the origin URL.
Login to the WordPress administration dashboard.
Install WP Fastest Cache
Navigate to the Plugins page.
Click Add New Plugins to browse the WordPress plugins directory.
Enter
wp fastest cacheas the keyword in your search field and press Enter.Find the WP Fastest Cache plugin result and click Install to add it to your WordPress site.
Click Activate to enable the plugin.
Configure WP Fastest Cache
Find and click WP Fastest Cache on the main WordPress navigation menu to access the plugin's configuration options.
Enable the following caching options within the main Settings tab:
- Cache System: Enables caching on your WordPress site.
- Preload: Turns on auto-caching. Keep Default (Contents from Newest to Oldest) selected and select your desired Content Types to enable preloading when prompted.
- Logged-in Users: Disables cached WordPress site versions for actively logged-in users such as administrators.
- New Post: Purges your site cache every time a new post is published. Keep Clear All Cache selected and click OK to apply changes when prompted.
- Update Post: Purges your site cache each time a post is updated. Select Clear All Cache to clear the full site cache when a post is updated.
- Minify HTML: Compresses your WordPress site's HTML files to a smaller size.
- Minify CSS: Compresses your WordPress site's stylesheets to reduce the CSS request size.
- Gzip: Compresses all WordPress assets for delivery to the client’s browser for decompressing.
Click Submit to save your caching configuration.
Click CDN on the plugin's navigation menu to configure your Vultr CDN Pull Zone information.
Select Other CDN Providers to open the CDN configuration page.
Enter your Vultr CDN Pull Zone's URL in the CDN URL field.
Enter your WordPress website's URL in the Origin URL field.
Click Next to test your Vultr CDN Pull Zone integration.
Keep all File Types selected to cache all actively enabled assets to the Vultr CDN.
Click Next to specify any additional sources to serve from your Vultr CDN Pull Zone.
Click Next to set up Excluded sources to disable from caching to your CDN.
Verify that a Ready To Go prompt displays in your CDN settings's confirmation dialog.
Click Finish to apply your CDN configuration changes and cache all assets to your Vultr CDN Pull Zone.
Click Close to exit the configuration wizard and test your WordPress site's CDN integration.
Test the Vultr CDN Pull Zone Integration
Access your WordPress website as a site visitor using a different web browser such as Safari.
Right-click anywhere on your WordPress site and select Inspect from the list of options.
Select Sources within your browser inspect options to view the WordPress site's sources.
Expand your Vultr CDN Pull Zone's URL from the sources list and verify all WordPress assets served from your CDN.
Verify that your WordPress site's domain includes minor asset types while major directories are delivered by the Vultr CDN Pull Zone.
Note
WP Fastest Cache offloads all actively enabled file types to your Vultr CDN Pull Zone to improve your general site performance. Use a speed testing tool such as GTMetrix or Google Page Speed Insights to run further tests and verify that your CDN actively contributes to the site's performance results.
Conclusion
You have installed WP Fastest Cache and configured your WordPress website to serve cached content from your Vultr CDN Pull Zone. You can offload all actively supported assets and use WP Fastest Cache to improve your website's performance. For more information and plugin options, visit the WP Fastest Cache documentation.


0 Comments
Be the first to comment and share your perspective with the community.