How to Upgrade from Ubuntu 24.04 to Ubuntu 25.04
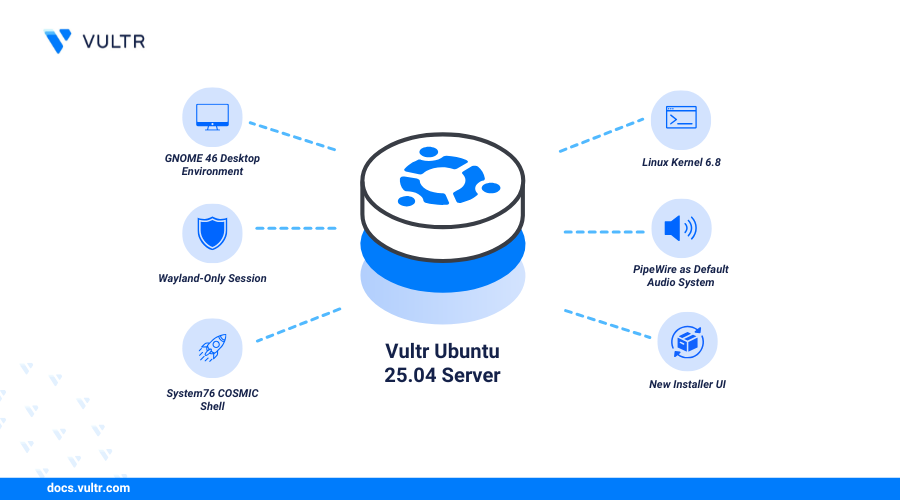
Ubuntu 25.04 introduces key advancements for modern workloads, including the Linux 6.14 kernel, systemd v257.4, and an updated virtualization stack with QEMU 9.2 and libvirt 11.0. Developers benefit from LLVM v20, OpenJDK 24, and the latest database versions like MySQL 8.4 and PostgreSQL 17. Enhanced security is provided by expanded AppArmor profiles and Chrony with NTS for secure time synchronization. By upgrading from Ubuntu 24.04 to 25.04, users can take advantage of improved performance, better developer tooling, and reinforced system security.
This article explains the process of upgrading from Ubuntu 24.04 (LTS) to Ubuntu 24.10 (Non-LTS), and then from Ubuntu 24.10 to Ubuntu 25.04 (Non-LTS). The upgrade process involves updating your system and ensuring compatibility with the new release.
Prerequisites
Before you begin, you need to:
Have access to an existing Ubuntu 24.04 instance as a non-root sudo user.
Ensure that you've at least 5GB of free disk space is available.
CONSOLEYour output should be similar to the one below:
Check the Compatibility of Installed Applications
Before proceeding with the upgrade, it’s essential to ensure that the applications currently installed on your system are compatible with Ubuntu 25.04. Upgrading to an incompatible version can lead to issues such as runtime errors or conflicts between packages. Below are the steps to review the installed applications and confirm their compatibility.
Create a list of all installed application packages.
CONSOLEReview the list of installed applications packages and verify that the packages are compatible with the new version of Ubuntu.
CONSOLEVisit the official documentation for each package to confirm that they are compatible with Ubuntu 25.04. Additionally, consult the Ubuntu 25.04 release notes to identify any known issues or dependencies that may cause problems during or after the upgrade.
Prepare the Server for Upgrade
Before starting the upgrade process, ensure that the APT package manager repositories are up to date and all existing packages are upgraded to their latest versions. Follow these steps below to prepare your system for the upgrade.
Verify that your system is running on Ubuntu 24.04 by checking it's distribution version.
CONSOLEYour output should be similar to the one below:
Update your APT server's index.
CONSOLEEnsure that all installed packages are updated to their most recent versions.
CONSOLEAfter all packages are upgraded to the latest versions, reboot the server to apply the changes.
CONSOLEClean up any unnecessary packages that are no longer needed.
CONSOLERemove old package files from the local cache to free up space.
CONSOLE
Enable the Temporary SSH Port
During the upgrade from Ubuntu 24.04, the system may open a fallback SSH port (1022) to prevent being disconnected if the primary SSH session is interrupted. Enabling this port ensures you can reconnect and monitor the upgrade process remotely if needed. Follow the steps below to allow access to port 1022 using the UFW firewall.
Open port to allow incoming connections on TCP port
1022.CONSOLEReload the UFW firewall to apply changes.
CONSOLEView the firewall status to verify that connections to port
1022are allowedCONSOLEYour output should be similar to the one below:
Upgrade from Ubuntu 24.04 to 24.10
Ubuntu 24.10 is a non-LTS (interim) release. By default, LTS systems like Ubuntu 24.04 do not automatically upgrade to non-LTS versions. You must explicitly allow upgrades to new release versions to perform this upgrade. Follow the steps below to upgrade your server from Ubuntu 24.04 to 24.10.
Warning
Non-LTS releases are supported for only nine months. Ensure you're prepared for more frequent upgrades if you choose to upgrade to a non-LTS version.
Open the release upgrade configuration file.
CONSOLEChange the
Promptvalue fromltstonormalto allow non-LTS upgrades.INIBegin the upgrade process.
CONSOLEWhen prompted, enter Y and press Enter to confirm the upgrade to Ubuntu 24.10.
Enter Y and press Enter to temporarily enable the SSH port
1022.Accept the additional firewall rules and press Enter to continue.
When prompted to begin the upgrade, enter Y and press Enter.
When prompted about the
/etc/systemd/journald.conffile, press Enter to select the default optionNand retain the existing configuration.Use the arrow keys to select your desired country of origin for the keyboard and press Enter to proceed.
Select the appropriate layout for your keyboard and press Enter to proceed.
When prompted about modifying
/etc/default/grub, select keep the local version currently installed and press Enter.Press Enter to keep the existing
/etc/update-manager/release-upgradesconfiguration when prompted.When prompted, enter D to view the obsolete packages, then press Y and press Enter to remove the packages.
After the upgrade is complete, press Y and then Enter to restart the server.
View the distribution version of the upgraded Ubuntu server.
CONSOLEYour output should be similar to the one below:
Upgrade from Ubuntu 24.10 to 25.04
Ubuntu 25.04 introduces updated packages and enhancements over 24.10. As a non-LTS release, it requires a manual upgrade process. Follow the steps below to upgrade your system from Ubuntu 24.10 to 25.04 safely and interactively.
Ensure that the
Promptis set tonormalin the release upgrade configuration file.CONSOLEYour output should be similar to the one below:
Update your APT server's index to fetch the latest repo updates.
CONSOLEEnsure that all installed packages are up to date.
CONSOLEReboot the server to apply the new updates.
CONSOLEMake sure that the temporary SSH port is open in the UFW firewall.
CONSOLEYour output should be similar to the one below:
Begin the upgrade process again from Ubuntu 24.10 to Ubuntu 25.04.
CONSOLEIn the above command
-doption is used because Ubuntu 25.04 is currently a development release and not yet offered as a standard upgrade path.Press Y and then Enter to proceed with the upgrade.
Ensure that you open the additional SSH port to access the server in case you encounter any issue.
This will start a temporary SSH daemon on port
1022, allowing you to reconnect in case the default SSH session is disrupted during the upgrade.Press Enter to apply the additional firewall rules and proceed
Press Y to begin the upgrade process.
Press D to view the obsolete packages, and then press Y to proceed with the removal of the obsolete packages.
After the upgrade is complete, press Y and then Enter to restart the server.
Test the Upgraded Ubuntu 25.04 Server
After upgrading to Ubuntu 25.04, it’s important to verify that the server is functioning correctly and that all packages were successfully upgraded. Follow the below steps to ensure everything is working as expected.
View the active Ubuntu version on your server.
CONSOLEYour output should be similar to the one below:
This confirms that the upgrade to Ubuntu 25.04 was successful.
View the latest installed kernel version.
CONSOLEYour output should be similar to the one below:
Remove the temporary SSH port rule
1022that was added earlier.CONSOLE
Resolve Post-upgrade Issues
After upgrading, it’s crucial to ensure that all repositories are configured correctly and that no issues remain with the packages on your server. Follow the steps below to verify the system and perform any necessary updates.
View all existing APT repository sources.
CONSOLEYour output should be similar to the one below:
If you see any third-party repositories that need to be updated (to point to the new release), edit their respective
.listfiles to include the new Ubuntu version sources.Update the server's package information index.
CONSOLEUpgrade the server packages.
CONSOLERemove unused and obsolete packages.
CONSOLE
Conclusion
You have upgraded your Ubuntu 24.04 (LTS) instance to Ubuntu 25.04 (Non-LTS) using the do-release-upgrade -d command. The upgrade process involved reviewing prompts, allowing a reboot, verifying the new OS and kernel versions, and cleaning up obsolete packages. You also updated third-party repositories to align with the new release. As Ubuntu 25.04 is a non-LTS version with only nine months of support, be prepared to perform timely upgrades to maintain system security and compatibility. For more details, refer to the Ubuntu server upgrade documentation.
Tags:Ubuntu


0 Comments
Be the first to comment and share your perspective with the community.