
How to Use Server Side Encryption (SSE-C) with S3 Object Storage on Vultr
Introduction
Object Storage combined with Server Side Encryption (SSE-C) offers a robust solution for securely storing and managing data in the cloud. Vultr's Object Storage service provides a reliable platform for storing large amounts of unstructured data, such as media files, backups, and archives. SSE-C (Server-Side Encryption with Customer-Provided Key) allows users to provide their own encryption key, which the cloud service provider uses to encrypt data on the server side before storing it. This ensures that data remains confidential and secure throughout its lifecycle,
This article will guide you through the process of setting up an Ubuntu server on Vultr, configuring Vultr Object Storage, and utilizing SSE-C to upload and download encrypted objects.
Prerequisites
Before you begin:
Deploy an Ubuntu 24.04 server instance on Vultr.
Deploy a Vultr S3 object storage and create a bucket.
Access the server using SSH as a non-root user with sudo privileges.
Upload and Download objects with AWS CLI using SSE-C
In this section, you will learn how to securely upload and download objects using Server Side Encryption with Customer-Provided Keys (SSE-C) on Vultr Object Storage. You'll follow the steps to set up dependencies, configure AWS CLI, upload and download objects using AWS CLI s3 cp, put-object and get-object.
Install the
openssldependency.console$ sudo apt-get install openssl
Generate a random 32-byte encryption key.
console$ openssl rand -out encryption_key.bin 32
The generated key will be stored in a file named
encryption_key.bin.Create a new text file to upload it to the S3 bucket.
console$ nano sample.txt
Copy and paste the below text.
This is a sample file that will be uploaded to the S3 bucket.Save and close the file.
Download the AWS CLI installation file.
console$ curl "https://awscli.amazonaws.com/awscli-exe-linux-x86_64.zip" -o "awscliv2.zip"
Unzip the installation file.
console$ unzip awscliv2.zip
Run the install program.
console$ sudo ./aws/install
Verify the installation.
console$ aws --version
Configure the AWS CLI.
console$ aws configure --profile vultr_ewr
Follow the prompts and provide your access key and secret key along with the default origin.
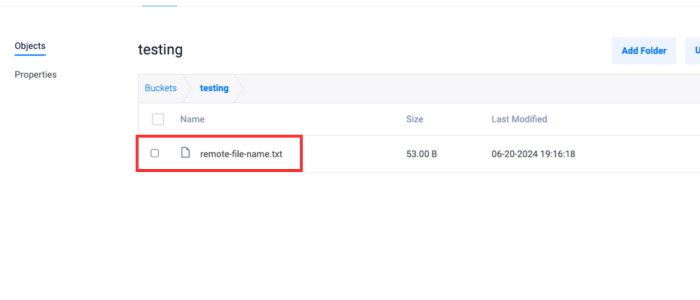
Upload an object using AWS CLI
s3 cp.console$ aws --endpoint-url https://<vultr endpoint>.com --profile vultr_ewr s3 cp /path/to/local/sample.txt s3://your-bucket-name/remote-file-name.txt --sse-c AES256 --sse-c-key fileb://encryption_key.bin
Ensure the following:
Replace
<vultr endpoint>with your actual Vultr Object Storage endpoint.Replace
<your-bucket-name>with your actual bucket name.Replace
/path/to/local/sample.txtwith the path to your local file for upload.
Confirm that the file has been uploaded to the bucket.
Download an object using AWS CLI
s3 cp.console$ aws --endpoint-url https://<vultr endpoint>.com --profile vultr_ewr s3 cp s3://your-bucket-name/remote-file-name.txt /path/to/local/download.txt --sse-c AES256 --sse-c-key fileb://encryption_key.bin
Replace
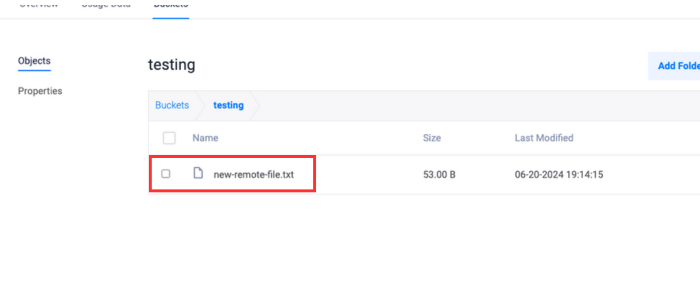
/path/to/local/download.txtwith the desired local path for downloaded files.Upload an object using AWS CLI
put-object.console$ aws --endpoint-url https://<vultr endpoint>.com --profile vultr_ewr s3api put-object --bucket your-bucket-name --key new-remote-file.txt --body /path/to/local/sample.txt --sse-customer-algorithm AES256 --sse-customer-key fileb://encryption_key.bin
Confirm that the file has been uploaded to the bucket.
Download an object using AWS CLI
get-object.console$ aws --endpoint-url https://<vultr endpoint>.com --profile vultr_ewr s3api get-object --bucket your-bucket-name --key new-remote-file.txt /path/to/local/download.txt --sse-customer-algorithm AES256 --sse-customer-key fileb://s3_enc.key
Upload and Download Objects using SSE-C
In this section, You'll follow steps to set up dependencies, configure environment variables, and use a Python script for automated encryption, upload, download, and decryption processes.
Install the
boto3dependency.console$ sudo apt install python3-boto3
Create environment variables for S3 bucket credentials.
console$ export AWS_ACCESS_KEY_ID=<your_access_key> $ export AWS_SECRET_ACCESS_KEY=<your_secret_key>
Create a Python Script to Upload and Download Files
Create a new Python file.
console$ nano vultr_object_storage_sse_c.py
Import the dependencies and environment variables.
pythonimport os import boto3 import subprocess
In the Python file, create a constant for the encryption key file and retrieve the S3 credentials.
pythonKEY_FILE = "encryption_key.bin" access_key = os.environ.get("AWS_ACCESS_KEY_ID") secret_key = os.environ.get("AWS_SECRET_ACCESS_KEY")
In the Python file, generate the encryption key if not already present else read the encryption key from the file.
pythonif not os.path.exists(KEY_FILE): openssl_cmd = ["openssl", "rand", "-out", KEY_FILE, "32"] subprocess.check_call(openssl_cmd) with open(KEY_FILE, "rb") as f: ENCRYPTION_KEY = f.read()
In the Python file, define the encryption algorithm and S3 Details and read the local file content.
pythonALGO = "AES256" BUCKET = "<bucket_name>" FILE = "sample.txt" LOCAL_FILE_PATH = "path/to/sample.txt" with open(LOCAL_FILE_PATH, "rb") as file: file_content = file.read()
In the Python file, initialize the Boto3 client for S3.
pythonclient = boto3.client( "s3", aws_access_key_id=access_key, aws_secret_access_key=secret_key, endpoint_url="http://<your_s3_endpoint_url>", )
In the Python file, upload the file to S3 with Server-Side Encryption using Customer-Provided Key (SSE-C).
pythonprint("Uploading file to Vultr Object Storage with SSE-C...") client.put_object( SSECustomerKey=ENCRYPTION_KEY, SSECustomerAlgorithm=ALGO, Bucket=BUCKET, Key=FILE, Body=file_content, ) print("Upload successful.")
In the Python file, download and decrypt the encrypted file.
pythonprint("Downloading the encrypted file...") response = client.get_object( SSECustomerKey=ENCRYPTION_KEY, SSECustomerAlgorithm=ALGO, Bucket=BUCKET, Key=FILE, ) decrypted_content = response["Body"].read().decode("utf-8") print("Decrypted content:", decrypted_content)
Save and close the file.
Run the Python script.
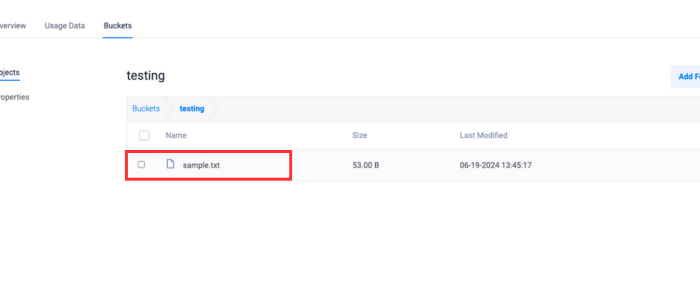
console$ python3 vultr_object_storage_sse_c.py
Confirm the presence of the uploaded file in the Vultr dashboard.
Conclusion
Throughout this article, you've learned how to effectively utilize Server Side Encryption with Customer-Provided Keys (SSE-C) on Vultr Object Storage. By following the steps outlined, you've successfully set up an Ubuntu server on Vultr, configured Object Storage, and implemented SSE-C to securely upload and download encrypted objects.