
Introduction
The find command in Linux is a powerful and versatile utility for searching or locating files and directories in a file system. The command uses file attributes like name, size, time, and permissions to perform the search. You can also combine find with other commands to perform complex searches.
This article explains how to use the find command in Linux to effectively manage and search files.
The find Command Syntax
The following is a basic find command syntax:
find [path] [expression]In the above find command:
[path]: Specifies the directory to search. It defaults to the working directory.if you don't specify a path.[expression]: Combines options, tests, and actions to filter and manipulate the search results such as the filename, file type, size, and modification time.
Set Up Example Directories and Files
Follow the steps below to set up example directories and files to test the find command.
Switch to your user's home directory.
console$ cd
Create
vultr.txt,Vultr.txt, andVULTR.txtsample files.console$ touch vultr.txt Vultr.txt VULTR.txt
Create
dir,dir1directories. Then create asub_dirsub-directory underdir1.console$ mkdir -p dir dir1/sub_dir
Create a new
file.txttext file.console$ touch file.txt
Change the
file.txtfile permissions mode to755.console$ chmod 755 file.txt
Check out how to use the tar command in Linux for quick file archiving and unzipping.
Most Common find Command Options
The find command supports the following options for refining search results.
| Option | Description |
|---|---|
-name |
Searches for files and directories with a specific name. |
-iname |
Case-insensitive version of -name. |
-type |
Searches for files of a specific type (f for regular files, d for directories). |
-size |
Searches for files of a specific size (for example, +100M for files larger than 100 MB). |
-mtime |
Searches for files modified within a specific number of days (for example, -7 for files modified in the last 7 days). |
-atime |
Searches for files accessed within a specific number of days. |
-user |
Searches for files owned by a specific user. |
-group |
Searches for files owned by a specific group. |
-perm |
Searches for files with specific permissions (for example, 755). |
-exec |
Executes a command on each matched file. |
-delete |
Deletes the matched files. |
-ls |
Lists the matched files in ls -dils format. |
-print |
Prints the full filename on the standard output. |
Use Practical find Command in Linux with Examples
Follow the steps below to test the find command and search the example files you created earlier.
Find a file named
vultr.txtin your working directory and subdirectories.console$ find . -name "vultr.txt"
Output:

Perform a case-insensitive search for all files that match
vultr.txt.console$ find . -iname "vultr.txt"
Output:

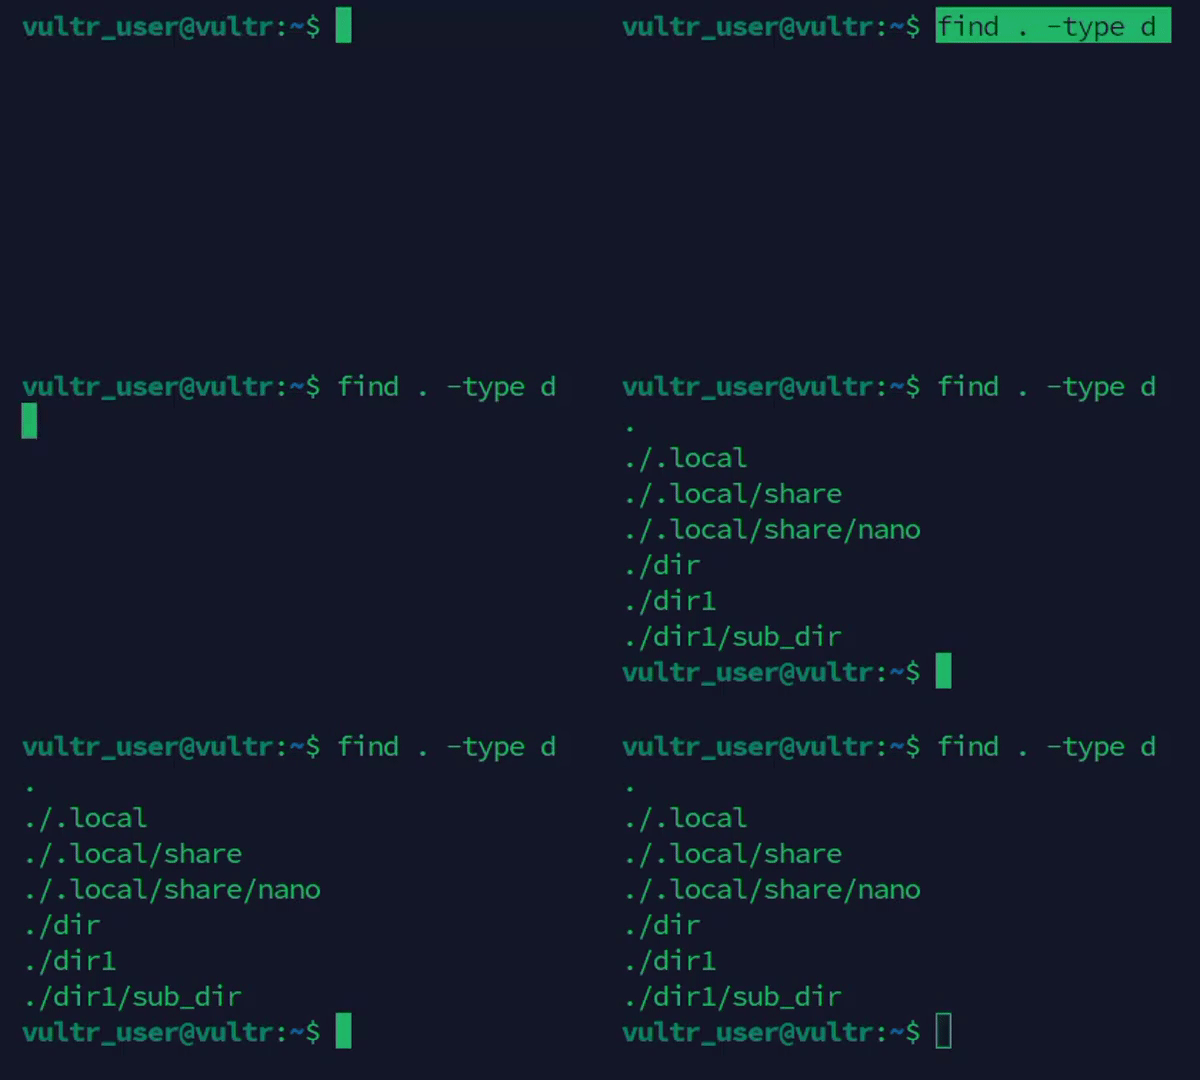
Find all directories in the working directory using the
-type doption.console$ find . -type d
Output:
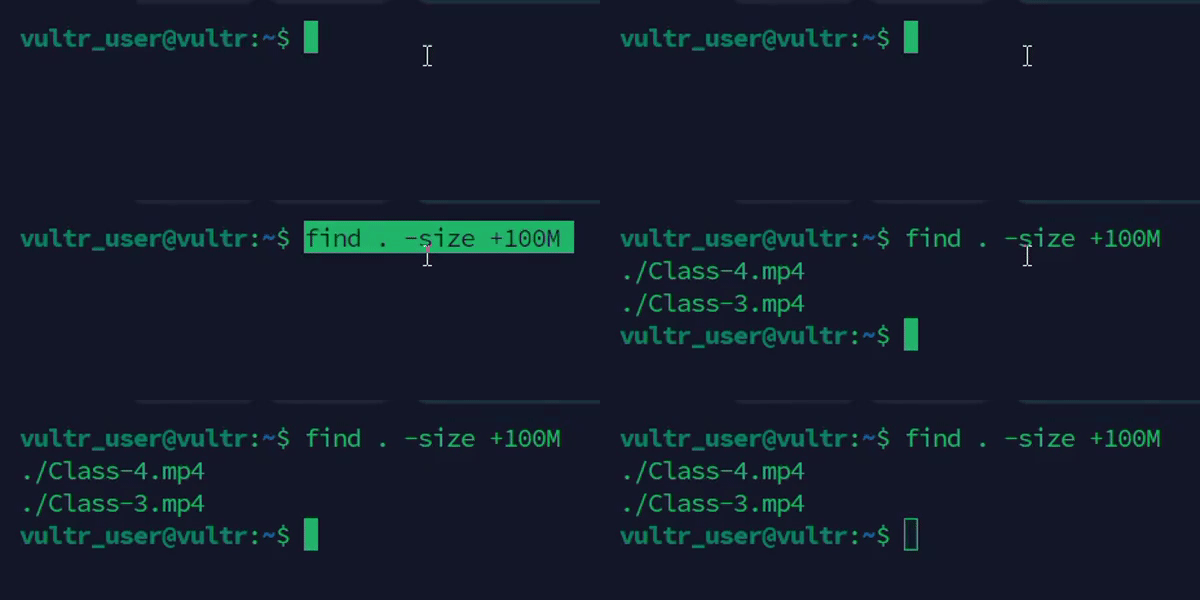
Find files by size. For example, files larger than
100MB.console$ find . -size +100M
Output:
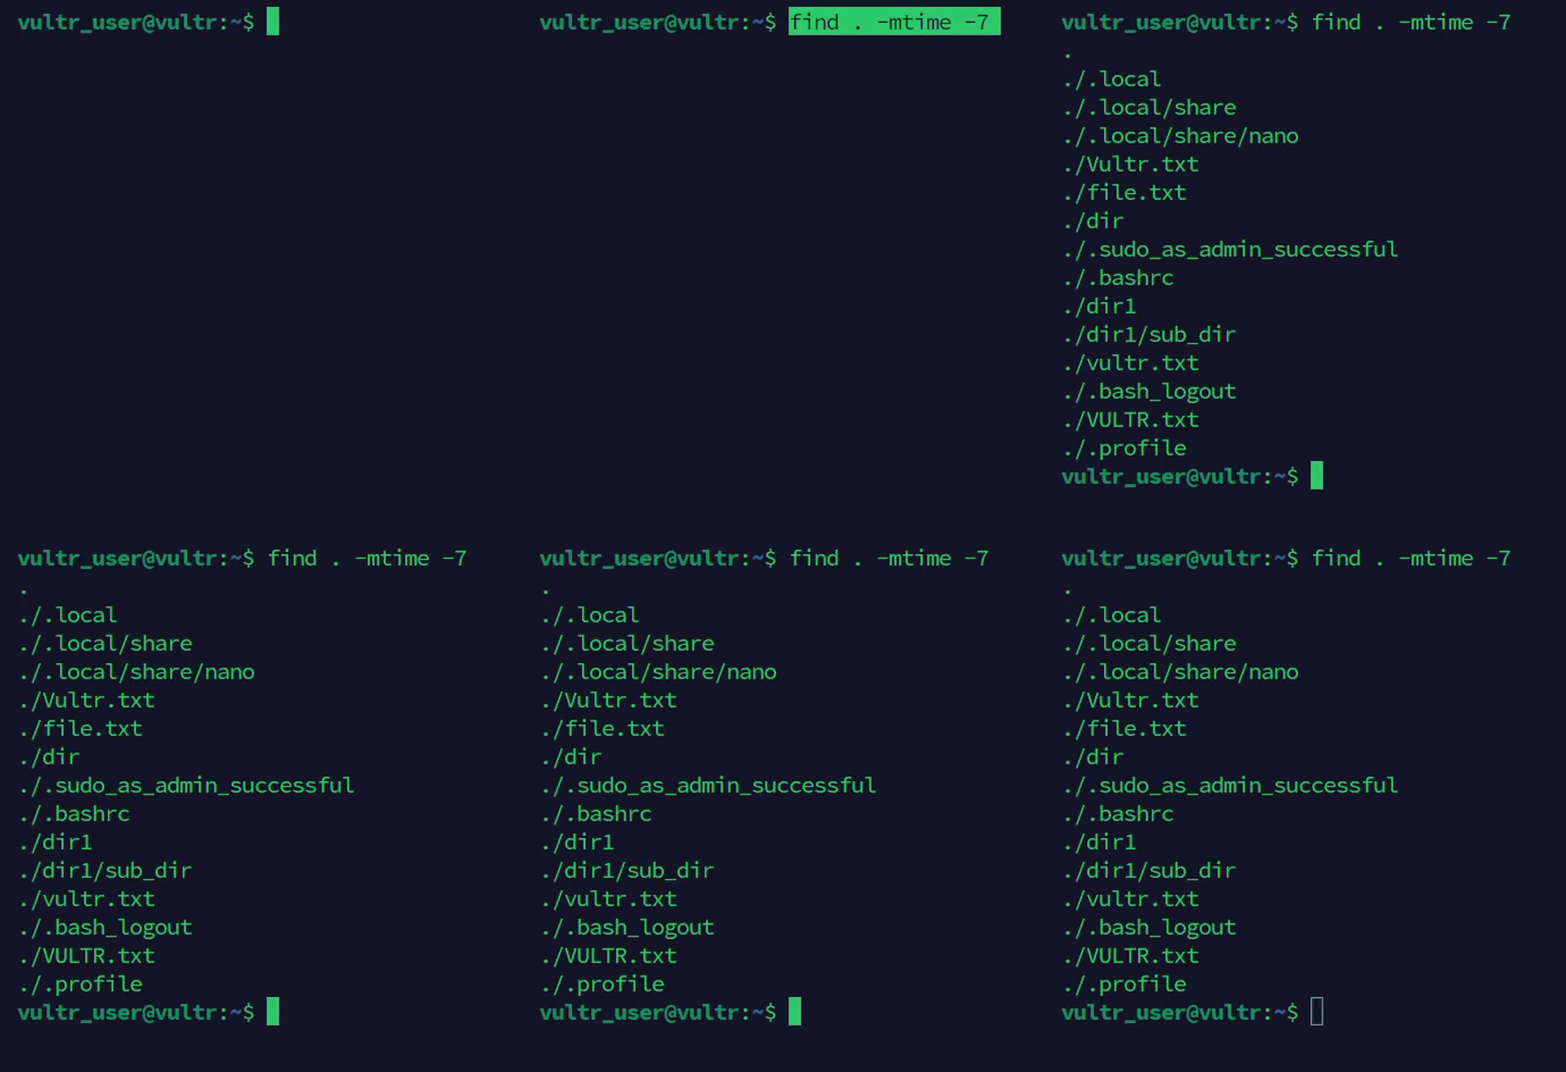
Find files by modification time. For example, find files modified in the last 7 days.
console$ find . -mtime -7
Output:
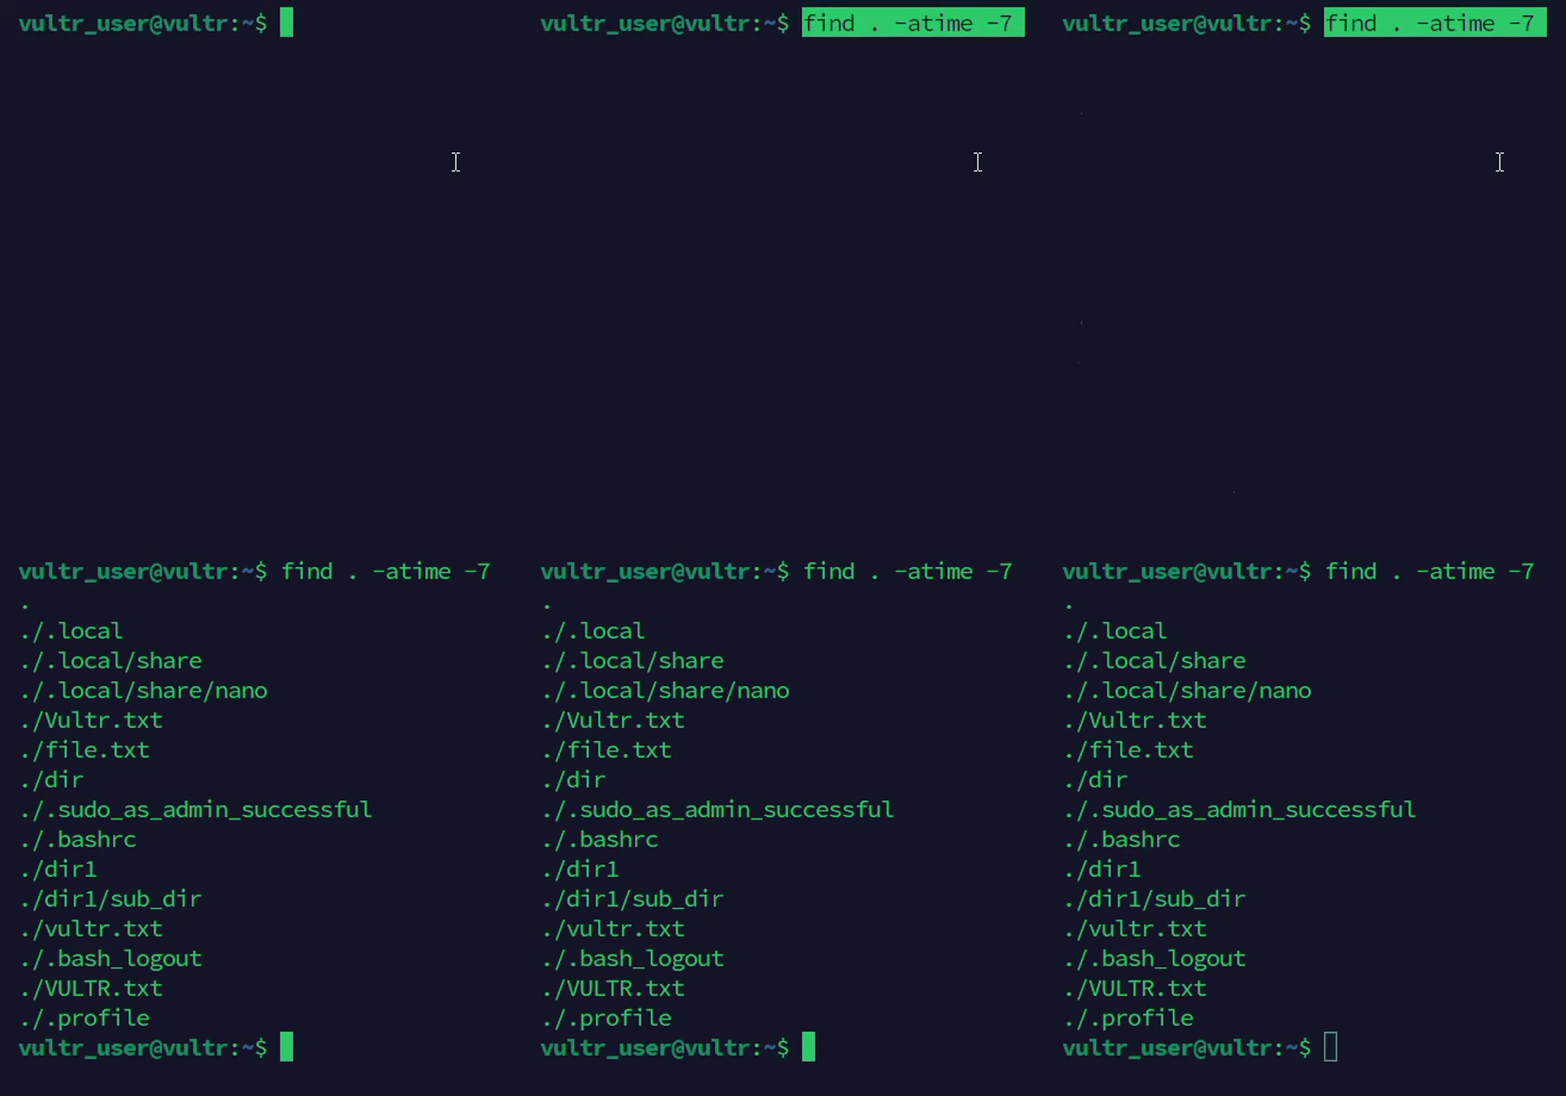
Find all files by access time. For example, find all files accessed in the last 7 days.
console$ find . -atime -7
Output:
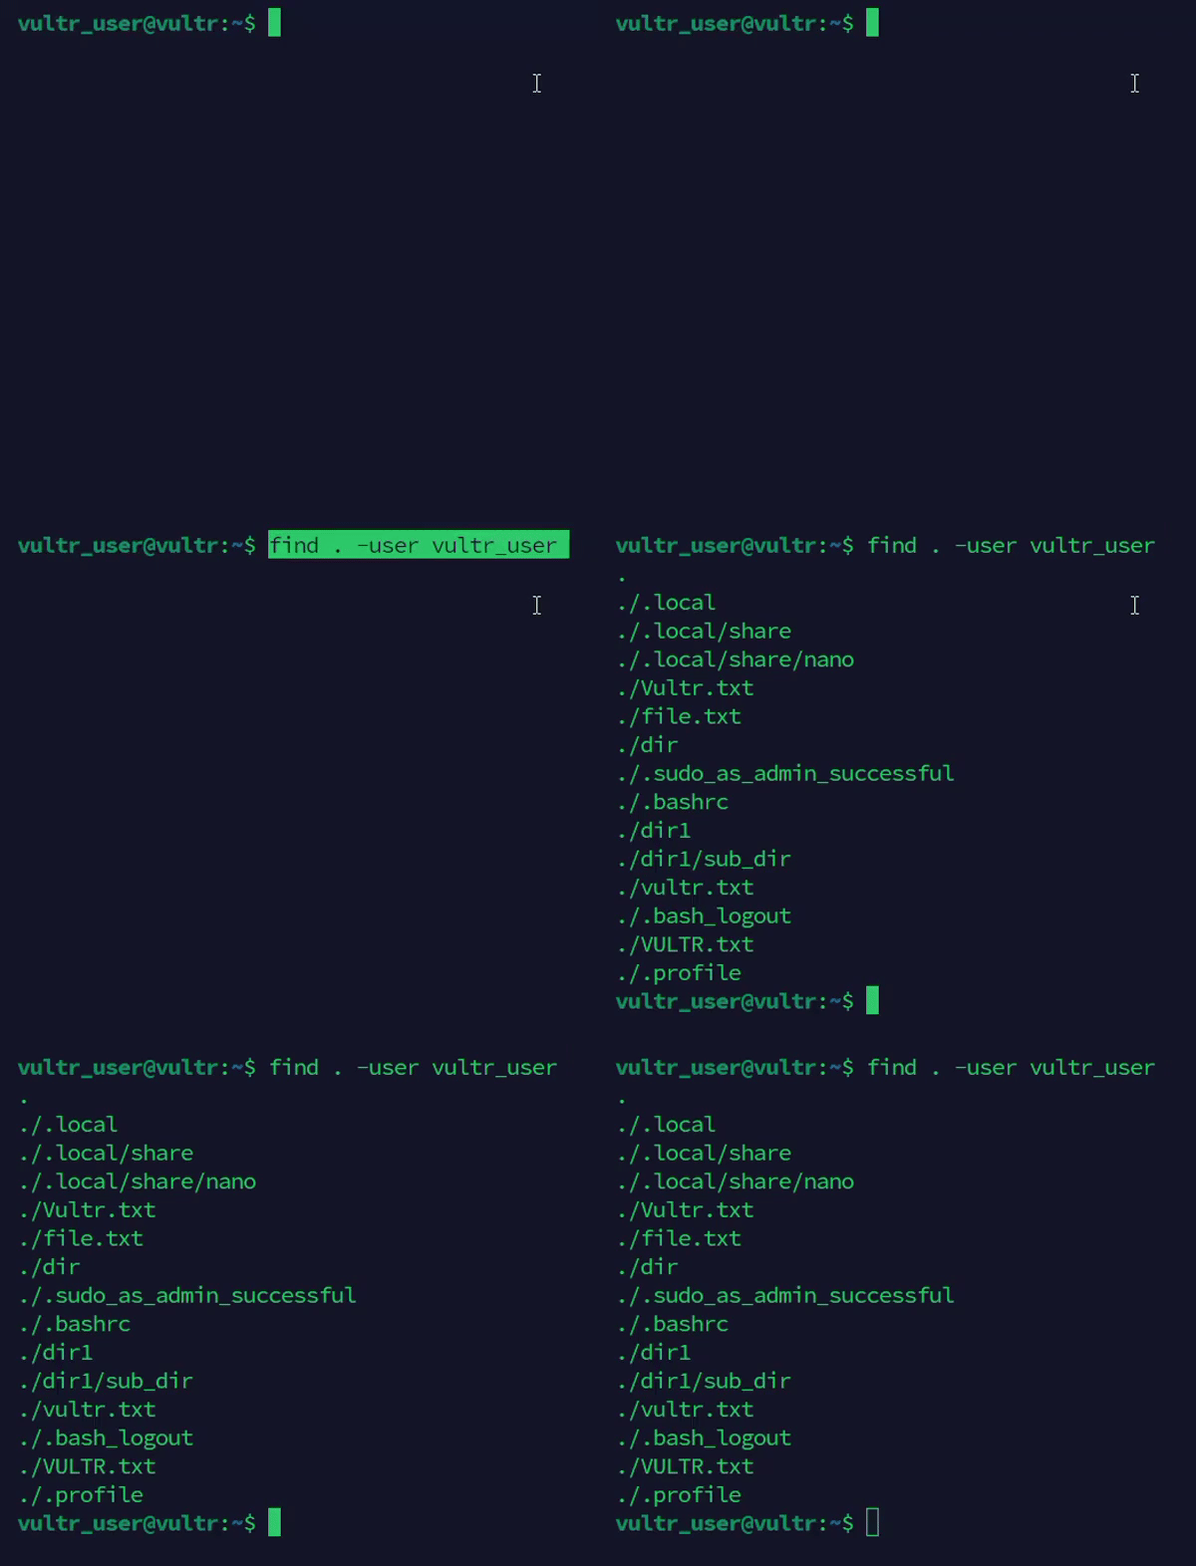
Find all files a specific user owns, such as
vultr_user.console$ find . -user vultr_user
Output:
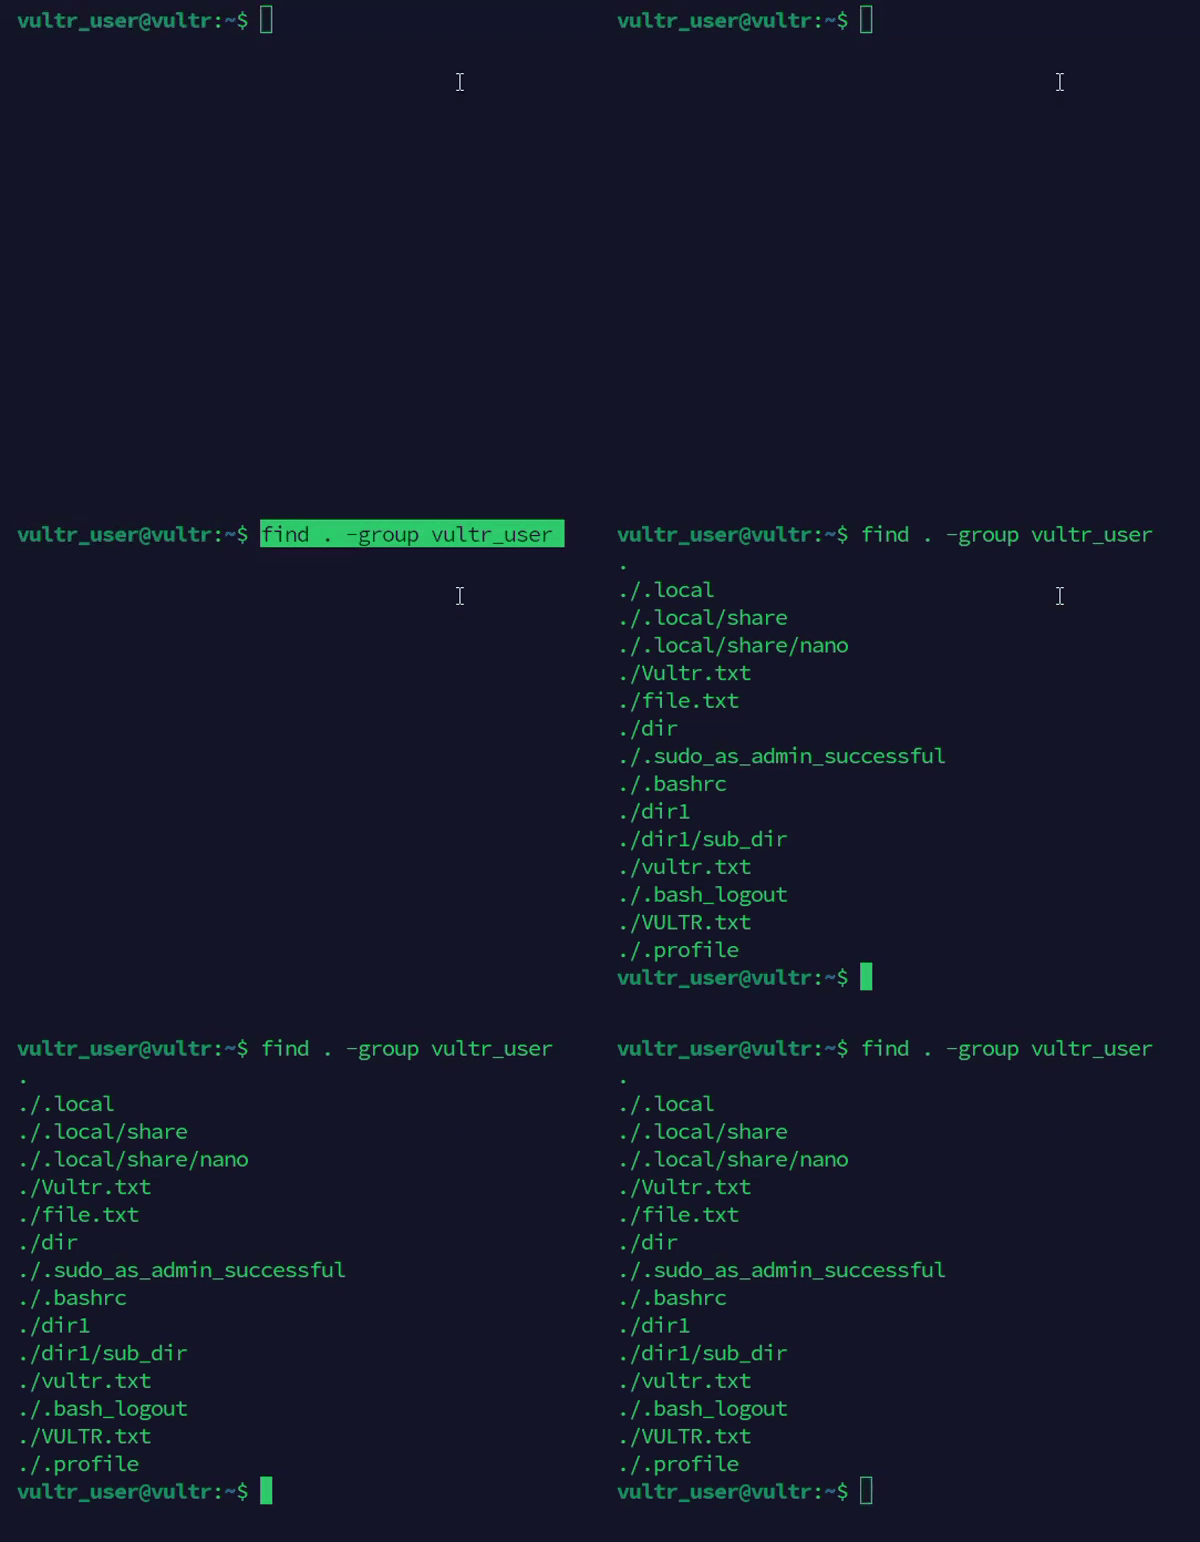
Find all files owned by a specific group such as
vultr_user.console$ find . -group vultr_user
Output:
Find all files with
755permissions.console$ find . -perm 755
The
755permission means the owner can read, write, and execute the file, while others can only read and execute it.Output:

Use Advanced find Command Options
Follow the steps below to perform advanced find command searches.
Execute a command on each matching file using the
-execoption.console$ find . -name "vultr.txt" -exec ls -l {} \;
The above command finds all files named
vultr.txtand runs thels -lcommand on each file to list them in a long format.{}is a placeholder for the working filename, and the\;specifies the end of the command to execute.Output:

Delete all files named
vultr.txt.console$ find . -name "vultr.txt" -delete
Output:

Find all
.txtfiles and copy them to another directory.console$ find . -name "*.txt" -exec cp {} /path/to/directory/ \;
The above command finds all
.txtfiles and copies them to the/path/to/directory/directory. The file name replaces{}during execution. Replace/path/to/directorywith your actual path.
Find all
.txtfiles and move them to another directory.console$ find . -name "*.txt" -exec mv {} /path/to/directory/ \;
The above command finds all
.txtfiles and moves them to the/path/to/directory/directory. The filename replaces{}during execution. Replace/path/to/directorywith your actual path.Output:

Find all
.txtfiles a specific user owns, such asvultr_userand modified in the last 7 days.console$ find . -name "*.txt" -user vultr_user -mtime -7
The above command searches for all
.txtfiles owned by thevultr_userand modified within the last 7 days. It combines the-name,-user, and-mtimeoptions to create a more specific search.Output:

Run the Interactive find Command in Linux with Examples
Follow the steps below to perform interactive searches using the find command.
Find all files named
Vultr.txtand list them with detailed information.console$ find . -name "Vultr.txt" -exec ls -l {} \;
The above command finds all files named
Vultr.txtand usesls -lto display detailed information about each file, such as permissions, owner, size, and modification date.Output:

Combine the
findcommand withwcto locate all files namedVultr.txtand count the number of lines.console$ find . -name "Vultr.txt" | wc -l
The above command finds all files named
Vultr.txtand uses the pipe (|) option to output the results to thewc -lcommand, which counts the number of matching lines.Output:

Find all files with
644permissions and change them to600.console$ sudo find . -perm 644 -exec chmod 600 {} \;
The above command finds all files with
644permissions and changes the permissions mode to600using thechmodcommand. The{}option represents the filename, while\;marks the end of the command.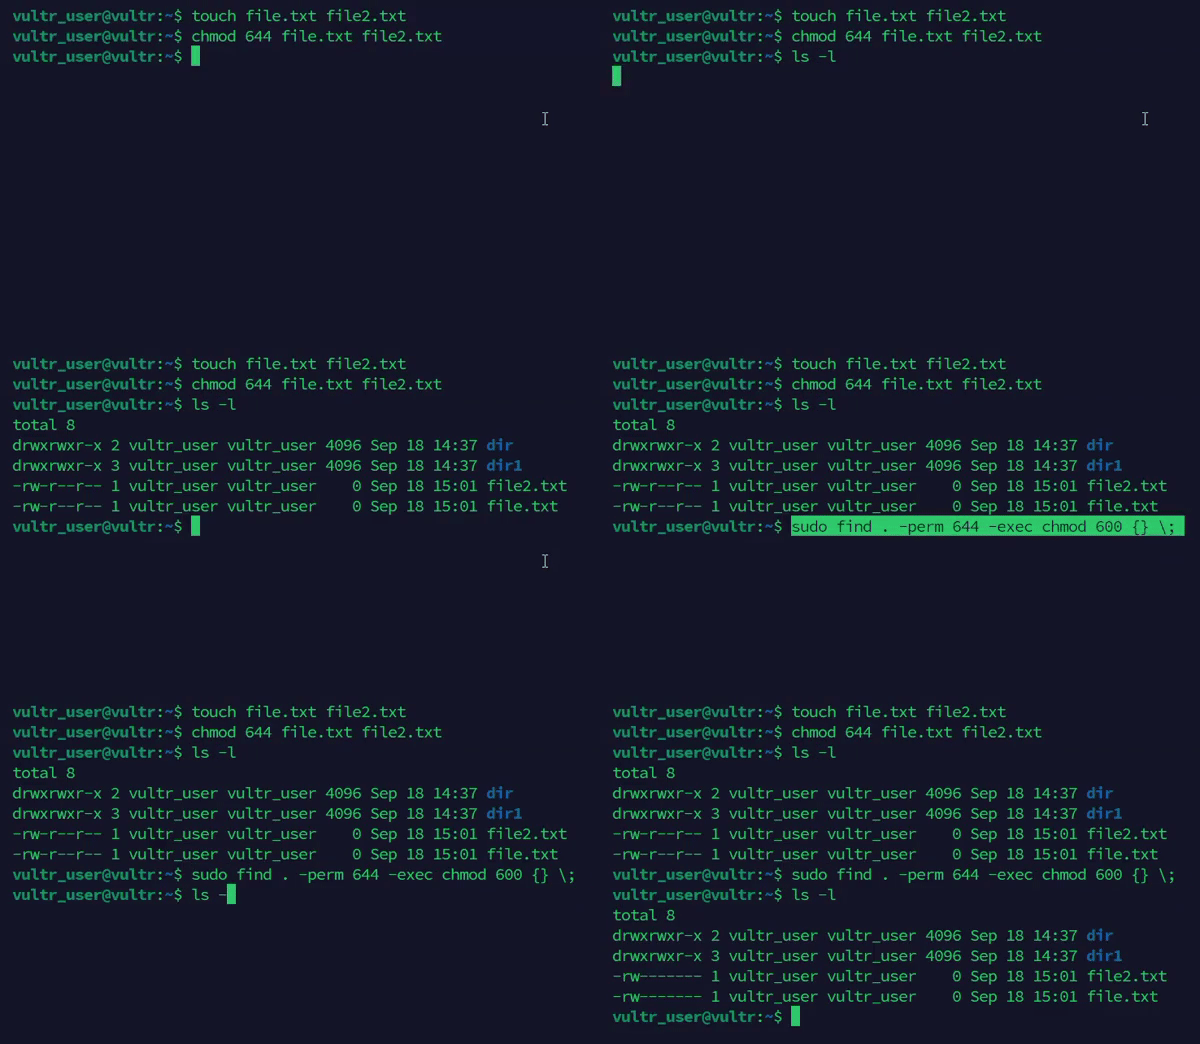
Conclusion
You have used the find command in Linux with practical examples to efficiently search for files and directories. The find command performs searches based on a specific criteria and runs specific actions on the matched results to streamline your file system workflow.