
How to Use the Vim Text Editor in Linux

Vim, also known as Vi IMproved, is an open-source, cross-platform text editor that extends the original Vi editor with advanced features. It supports modal editing, enabling efficient text navigation and modification using commands. Vim is commonly used to edit configuration files, write code, and manage scripts in Linux while offering multi-level undo, syntax highlighting, command-line editing, and visual selection features.
This article explains how to use the Vim text editor in Linux to create, manage, and modify files on your Linux workstation.
Prerequisites
Before you begin, you need to:
- Have access to a Linux instance.
Vim Modes and Basic Commands
Explore the available Vim modes and specific functions to efficiently use the text editor. Each mode enables the execution of specific tasks, such as navigation, text editing, selection, and command execution. The available modes in Vim include the following.
Normal Mode:
Vim starts in Normal mode, where you navigate, delete, copy, and issue commands. Press Esc to return to the normal mode from any other mode.
The following commands in the normal mode:
h,j,k,l: Move the cursor left, down, up, and right.dd: Delete the current line.yy: Copy the current line.p: Paste a copied line.u: Undo the last change.Ctrl + r: Redo the last undone change.gg: Jump to the beginning of the file.G: Jump to the end of the file.
Insert Mode:
Use Insert mode to enter and edit files in Vim. You can switch to insert mode from normal mode using any one of the following commands.
i: Insert text before the cursor.a: Append text after the cursor.o: Insert a new line below the cursor.O: Insert a new line above the cursor.
Visual Mode:
Use Visual mode to select and manipulate text in Vim. Activate this mode from the normal mode using any of the following commands.
v: Start character-wise selection.V: Start line-wise selection.Ctrl + v: Start block-wise selection.
Below are the available commands you can execute in visual mode:
h,j,k,lor the Arrow keys (Left, Right, Up, Down): Allow you to move the cursor and adjust the selection.d: Delete the selected text.y: Copy the selected text.x: Cut the selected text.p: Paste text over the selected region.>: Indent the selection.<: Unindent the selection.
Command-line Mode:
Use command-line mode for administrative tasks such as saving, quitting, and configuring Vim. Enter
:to enter command-line mode from normal mode.You can execute the following commands in command-line mode:
w: Save the file.q: Quit Vim.wq: Save and quit.q!: Quit without saving.set number: Display line numbers.set nonumber: Hide line numbers./: Search for keywords in a file. For example,/wordsearches forwordin the file.
Create Files Using Vim
You can create files using Vim by specifying the filename while opening the text editor. Follow the step below to create files using the Vim text editor.
Create files in Vim using the following command syntax.
console$ vim FILENAME
For example, run the following command to create a new
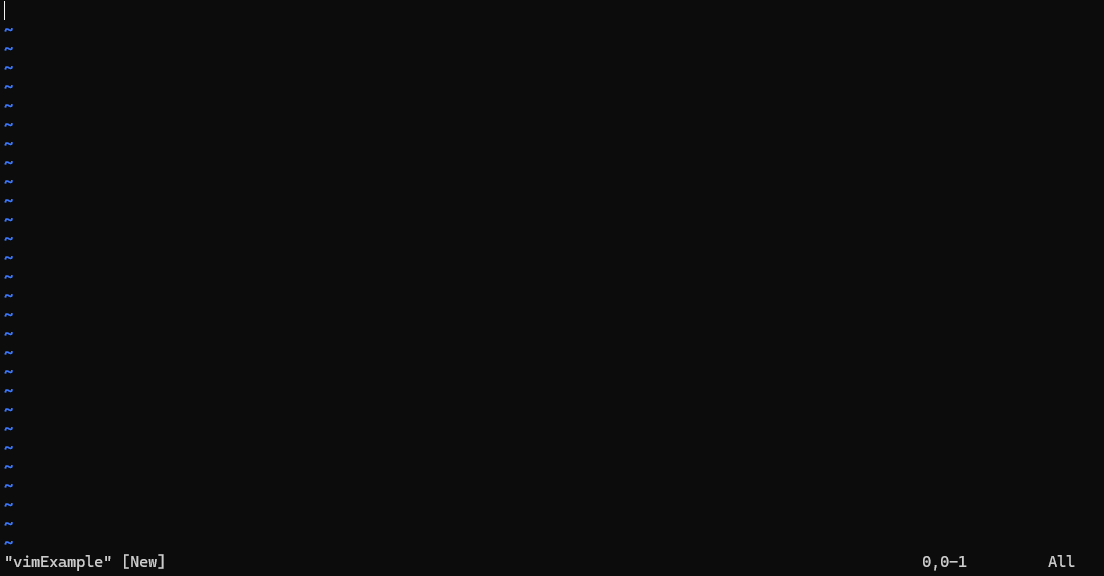
vimExamplefile.console$ vim vimExample
The above command creates an empty text editor you can use to add your content and save the file to create it.
Pressing Esc to quit insert mode, then enter
:wqto save and close the Vim text editor.
Open Files Using Vim
You can use Vim to efficiently open and manage one or more files. Follow the steps below to open files using Vim and navigate between multiple open files.
Open a file using Vim by specifying the filename after the
vimcommand. For example, run the following command to openexistingfile.console$ vim existingFile
The above command opens
existingFile, allowing you to edit and modify the file.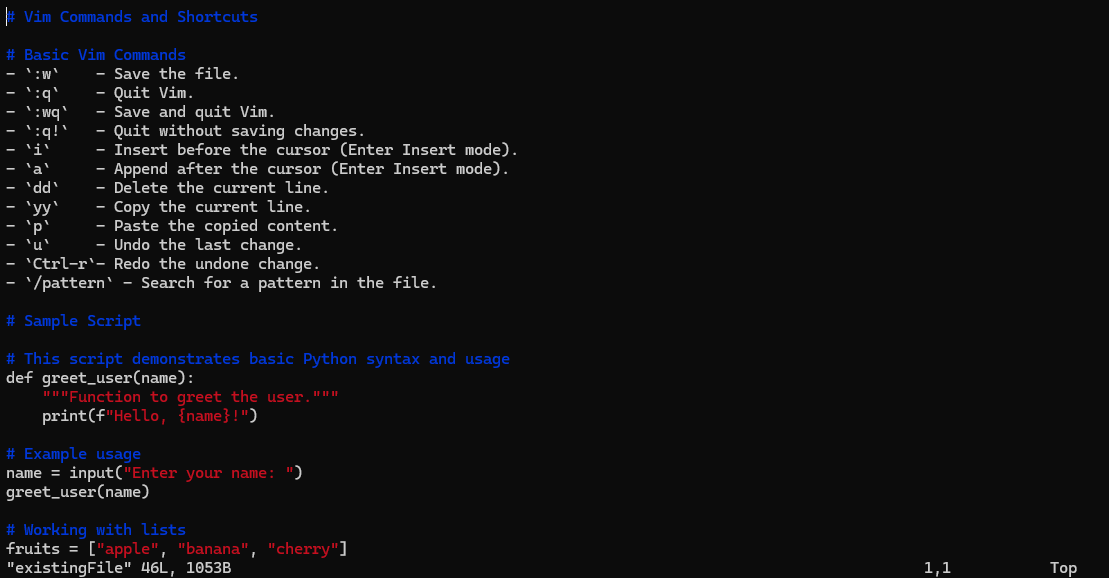
If the file does not exist, Vim opens an empty buffer, allowing you to create the file.
Open multiple files using Vim by specifying the filenames. For example, run the following command to open
file1andfile2using Vim.console$ vim file1 file2
The above command opens
file1andfile2in separate buffers.
Switch between the open files in Vim using the following commands:
:nor:next: Moves to the next file.:prevor:previous: Returns to the previous file.
Edit Files Using Vim
Vim provides multiple ways to edit text, undo changes, and save files. You can add or modify text using Insert mode, revert edits with undo and redo commands, and save files. This section explains how to edit a file using Vim.
Add Text to the File
To add text to your file, you need to enter in Insert mode, where you can begin typing. This section walks you through the process.
Open the file for editing.
console$ vim filename
Press
ito enter Insert mode and start typing new content.Press
Escto return to Normal mode.
Undo and Redo Changes
This section shows you how to quickly revert recent changes in your file using Vim. You can undo or redo modifications to easily correct mistakes and ensure the desired outcome.
Press
uin Normal mode to undo the last change.Press
ctrl + rto redo the last undone change.
Save Files Using Vim
This section explains how to save your changes, including how to handle files that require elevated permissions.
Enter
:win command-line mode to save a file.:w
Run the following command to save the file with root privileges.
:w !sudo tee %
This command saves the file. To exit, press
:qin normal mode followed byEnter.
Find and Replace Text Using Vim
Vim offers efficient ways to search and replace text within a file. This section explains how to quickly find specific text patterns and replace them when needed.
Find Text
In this section, you will learn how to search for specific text patterns in a file. This allows you to quickly locate the information you need.
To search for a specific text pattern, enter the below command in Command-line mode, replacing pattern with the text you want to find.
:/patternTo highlight all occurrences of a pattern, enter the below command in Command-line mode.
:set hlsearchTo remove highlighting, use the below command in Command-line mode.
:nohlsearch
Replace Text
In this section, you will learn how to replace specific text within a file. This feature helps you to efficiently make necessary modifications.
To replace specific text with another, type the below command in Command-line mode.
:%s/old/new/gIn the above command, replace
oldwith the text you want to find andnewwith the replacement, and use thegflag to replace all occurrences in the file.
To replace text only in a specific range of lines, specify the line numbers before the
scommand.:6,8s/old/new/gThis above command will replace
oldwithnewfrom lines 6 to 8.To display line numbers, use the command.
:set number
To confirm before replacing each occurrence, use the
coption.:%s/old/new/gc
This will prompt you to confirm each replacement (
yto replace each,ato replace all,nto skip).
Cut, Copy, and Paste Text Using Vim
In this section, you will learn how to efficiently cut, copy, and paste text within Vim. These actions allow you to manipulate your text quickly and precisely.
Cut Text
To cut text in Vim, follow these steps:
- Enter Visual mode by pressing
v. - Adjust the selection using arrow keys (
←,→,↑,↓) orh,j,k,l. Pressdto cut the selected text. - To cut a single line, press
ddin Normal mode. - To cut multiple lines, press
dfollowed by a movement commandnj(wherenis the number of lines). For example,3jwill cut the cursor's line and the next two lines.
Copy (Yank) Text
Follow the steps below to copy text in Vim.
- Enter Visual mode by pressing
v. - Adjust the selection using arrow keys or
h,j,k,l. Pressyto copy the selected text. - To copy a single line, press
yyin Normal mode. - To copy multiple lines, press
yfollowed by a movement commandnj. For example,3jcopies the cursor's line and the next two lines.
Paste Text
To paste text:
- Press
pto paste the copied or cut text after the cursor, orPto paste it before the cursor. - To paste text multiple times, press
N( whereNis the number of times you want to paste ) followed bypin Normal mode.
Delete Lines in Vim
Vim provides several ways to delete lines efficiently. By default, deleted lines are stored in a register, allowing you to paste them later. However, to discard lines permanently, use the black hole register ("_), which prevents deleted content from being saved.
Delete a Single Line
- In Normal mode, place the cursor anywhere on the line and press
ddto delete it. - Use the black hole register to delete the line without saving it in a register:
"_dd.
Delete Multiple Lines
- Use
ndd(replacenwith the number of lines) to delete multiple lines from the cursor’s position. For example,3dddeletes the current line and the next two lines. - To delete multiple lines without saving them, use
"_ndd. For example,"_3dd.
Delete Lines to the End of File
- Use
dGto delete all lines from the cursor's position to the end of the file. - To delete them without saving, use
"_dG.
Delete Lines at the Beginning of a File
- Use
dggto delete all lines from the cursor's position to the beginning of the file. - To delete them without saving, use
"_dgg.
Customize Vim
Vim allows customization through configuration settings, enabling you to modify its behavior and appearance. Use the .vimrc file to define settings, key mappings, and plugins.
Modify the .vimrc File
The .vimrc file stores user-defined settings for Vim.
Open the
.virmcfile.console$ vim ~/.vimrc
Add your desired settings to customize Vim. For example:
Enable line numbers.
iniset numberThis ensures line numbers are displayed for all files when you open them using Vim.
Enable syntax highlighting.
inisyntax onThis highlights code elements in various colors based on their structure, improving readability.
Show matching brackets.
iniset showmatchThis highlights matching parentheses, brackets, or braces to aid in code navigation and debugging.
Highlight cursor line horizontally.
iniset cursorlineThe cursor's line is highlighted, which helps to identify the active line.
Customize Colors and Themes in Vim
Vim supports color schemes to change its appearance, providing a more personalized and visually appealing editing environment. Follow the steps below to customize colors using profiles in Vim.
Check the active color scheme in Command-line mode.
:colorschemeThis command displays the current color scheme.
To see a list of available color schemes available, enter the
:colorschemecommand, followed by a space, then pressCtrl+Dto display a list of available themes similar to the one below.blue delek evening koehler murphy quiet shine torte zellner darkblue desert habamax lunaperche pablo retrobox slate wildcharmdefault elflord industry morning peachpuff ron sorbet zaibatsuChange the color scheme to a profile such as
habamax.:colorscheme habamax
Vim resets color schemes when restarted. To keep changes, add the configuration to your
.vimrcfile.colorscheme habamax
Map Custom Keys in Vim
Follow the steps below to define custom key mappings using the .vimrc file.
Open the
.virmcfile.console$ vim ~/.vimrc
Map
qqto exit Vim in Insert mode.iniinoremap qq <Esc>Now pressing
qqin Insert mode will exit to normal mode.Map Ctrl + S to save a file in Vim.
ininnoremap <C-s> :w<CR> inoremap <C-s> <Esc>:w<CR>a
Press the Ctrl + S key combination in mormal mode or Insert mode to save a file.
Map
qto close a file.ininnoremap q :q<CR>
Pressing
qin normal mode will close the active file.Map Ctrl + V to toggle paste mode.
consolennoremap <C-v> "+p inoremap <C-v> <Esc>"+pi"
Pressing Ctrl + V in Normal mode or Insert mode will toggle paste mode, which is useful when pasting code from your system clipboard into Vim text editor.
Install and Manage Plugins in Vim
Plugins modify the Vim text editor and extend its functionality. Follow the steps below to use the vim-plug plugin manager to install and manage plugins.
Install the latest
vim-plugplugin manager.console$ curl -fLo ~/.vim/autoload/plug.vim --create-dirs https://raw.githubusercontent.com/junegunn/vim-plug/master/plug.vim
Open the
.virmcfile.console$ vim ~/.vimrc
Add the following contents to the file to define the plugins.
inicall plug#begin('~/.vim/plugged') Plug 'vim-airline/vim-airline' " Status bar enhancement Plug 'tpope/vim-commentary' " Easy commenting call plug#end()
Save and close the file.
The above configuration installs the
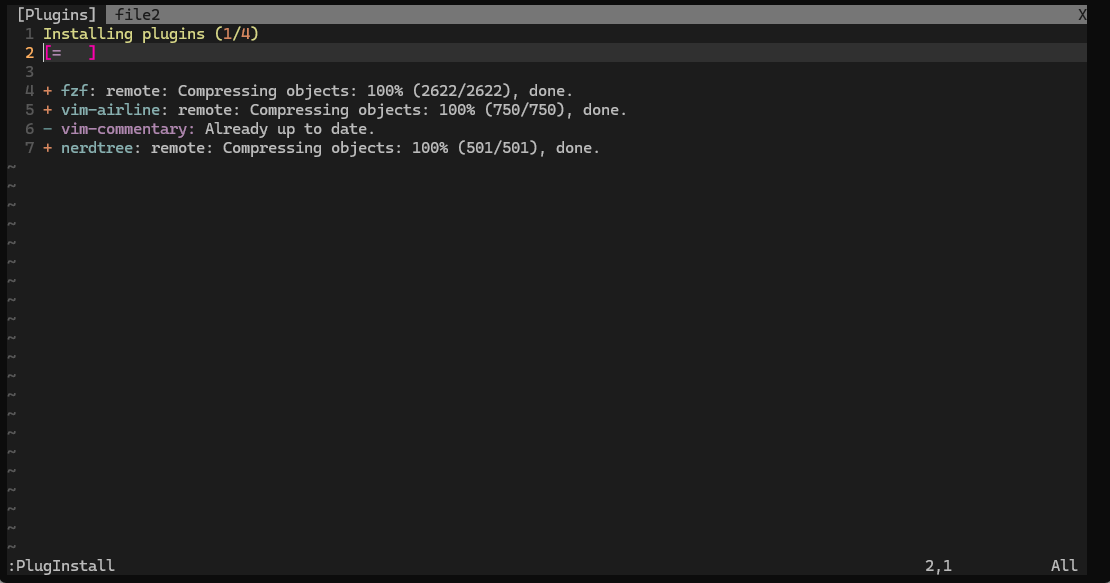
vim-commentaryandvim-airlineplugins in Vim.Open Vim and run the following command in Command-line mode to install the specified plugins
console:PlugInstall
Managing Plugins Using vim-plug
Enter normal mode in your Vim text editor.
Update all Installed Plugins.
console:PlugUpdate
Remove all unused plugins.
console:PlugClean
List all installed plugins.
console:PlugStatus
Visit the Vim Awesome page to explore additional plugins you can install in your Vim text editor.
Exit Vim
Exiting Vim can be done in several ways, depending on whether you want to save your changes or not. Follow the steps below to exit the Vim text editor.
Enter
:wqin command-line mode to save a file and exit Vim.console:wq
Exit Vim and discard any changes to the file.
console:q!
Exit Vim.
console:q
Exit all open files.
console:qa
The above command exits Vim, closing all open files.
Exit Vim without saving changes across multiple open files.
console:qa!
Conclusion
You have used the Vim text editor in Linux to create, open, manage, and modify files. You explored the Vim syntax highlighting, configured color scheme features, and modified key mappings to enable efficient navigation within the text editor. For more configuration options, run the man vim command to view the Vim manual and usage page.