

Introduction
Falcon is a Large Language Model (LLM) developed by Technology Innovation Institute (TII). It consists of 2 model sets based on the number of training parameters,falcon-40b, falcon-7b train on 40 billion and 7 billion parameters respectively. Both models have a fine-tuned instruct version which is an improved variant of the base model.
Distributed under the Apache 2.0 license, Falcon 40B and Falcon 7B models are open-source, free to use, and commercially available to users.
This article explains how to use the TII Falcon Large Language Model on a Vultr Cloud GPU server. You are to apply falcon-40b and falcon-40b-instruct using HuggingFace pipeline in a 4-bit quantized configuration. Later, you are to compare the VRAM consumption of all the LLM models by TII.
Prerequisites
Before you start, be sure to:
Deploy a fresh NVIDIA A100 Ubuntu 22.04 Cloud GPU server on Vultr with at least:
- 80 GB GPU RAM
Using SSH, access the server
Create a non-root user with sudo rights
Switch to the sudo user account
# su example-user
Install the CUDA Toolkit
The Falcon models require the CUDA toolkit to run with lower precision settings. In this section, install the CUDA toolkit to enable the libraries needed to write and compile GPU-accelerated applications as described in the steps below.
Download the CUDA toolkit
$ wget https://developer.download.nvidia.com/compute/cuda/11.8.0/local_installers/cuda_11.8.0_520.61.05_linux.runInitialize CUDA toolkit installation
$ sudo sh cuda_11.8.0_520.61.05_linux.runWhen prompted, read the CUDA terms, and enter
acceptto agree to the toolkit licensing. Deselect any other options, and only keep the CUDA toolkit selected to start the installation process.Using the
echoutility, append the following configurations to the.bashrcfile in your home directory. Replace/home/example-user/with your correct path$ echo " export PATH=$PATH:/usr/local/cuda-11.8/bin export LD_LIBRARY_PATH=/usr/local/cuda-11.8/lib64 " >> /home/example-user/.bashrcThe above lines declare the environment variable configuration that enables your system to use the CUDA toolkit and its libraries.
Using a text editor such as
Vim, edit the/etc/ld.so.conf/cuda-11-8.conffile$ nano /etc/ld.so.conf.d/cuda-11-8.confAdd the following line at the beginning of the file
/usr/local/cuda-11.8/lib64Save and close the file.
Close your SSH session to apply your configuration changes
$ exitEstablish a new SSH session to the server
$ ssh user@VULTR-SERVER-IPRun the
ldconfigcommand to update the linker cache, and refresh information about shared libraries for smooth program execution on the server$ sudo ldconfig
Install Required Packages
To use the full model features and tools, install Jupyter Notebook and all required libraries as described in the steps below.
Install PyTorch
$ pip3 install torch --index-url https://download.pytorch.org/whl/cu118The above command installs the PyTorch library that offers efficient tensor computations and supports GPU acceleration for training and inference.
To install a PyTorch version that matches your CUDA version, visit the PyTorch installation guide.
Using
pip, install Jupyter Notebook$ pip3 install notebookInstall required packages
$ pip3 install bitsandbytes scipy transformers accelerate einops xformersBelow is what each package does:
transformers: Developed by HuggingFace, it's used for Natural Language Processing (NLP) tasks, and its key functionalities include tokenization and fine-tuning.accelerate: Improves the training and inference of machine learning models.einops: Reshapes and reduces the dimensions of multi-dimensional arrays. It also provides a flexible and concise syntax for manipulating tensors.xformers: Provides multiple building blocks for making transformer-based models.bitsandbytes: Focuses on functions that optimize operations involving 8-bit data, such as matrix multiplication.scipy: Enables access tobitsandbytespackage functionalities for scientific, and technical computing.
Open the default Jupyter Notebook port
8888to allow connections through theUFWfirewall.$ sudo ufw allow 8888Start Jupyter Notebook in the background
$ jupyter notebook --ip=0.0.0.0 &The above command starts Jupyter Notebook and allows connections from all IP addresses as declared by
0.0.0.0, When successful, a random access token displays in your output as below:[I 2023-08-10 12:57:52.455 ServerApp] Jupyter Server 2.7.0 is running at: [I 2023-08-10 12:57:52.455 ServerApp] http://HOSTNAME:8888/tree?token=73631c92ba278d265aedeb3b199bd4d48e5ef5b2eed0ae06 [I 2023-08-10 12:57:52.455 ServerApp] http://127.0.0.1:8888/tree?token=73631c92ba278d265aedeb3b199bd4d48e5ef5b2eed0ae06 [I 2023-08-10 12:57:52.455 ServerApp] Use Control-C to stop this server and shut down all kernels (twice to skip confirmation). [W 2023-08-10 12:57:52.458 ServerApp] No web browser found: Error('could not locate runnable browser'). [C 2023-08-10 12:57:52.458 ServerApp] To access the server, open this file in a browser: file:///home/user/.local/share/jupyter/runtime/jpserver-67384-open.html Or copy and paste one of these URLs: http://ControlNet-Test2:8888/tree?token=73631c92ba278d265aedeb3b199bd4d48e5ef5b2eed0ae06 http://127.0.0.1:8888/tree?token=73631c92ba278d265aedeb3b199bd4d48e5ef5b2eed0ae06In case the command fails to run, close your SSH session, and start it again to load the Jupyter libraries on your server.
$ exitTo end the Jupyter Notebook background process, run the
jobscommand to view the process ID.$ jobsStop the target process to end the Notebook session
$ kill %1In a web browser such as Chrome, access Jupyter Notebook using your generated access token
http://SERVER-IP:8888/tree?token=YOUR-GENERATED-TOKEN
Run Falcon 40B Model
In this section, initialize, quantize, and run the falcon-40B model in 4-bit and 16-bit precision. Additionally, initialize the model pipeline and tokenizer, then prompt the model to produce an output as described in the steps below
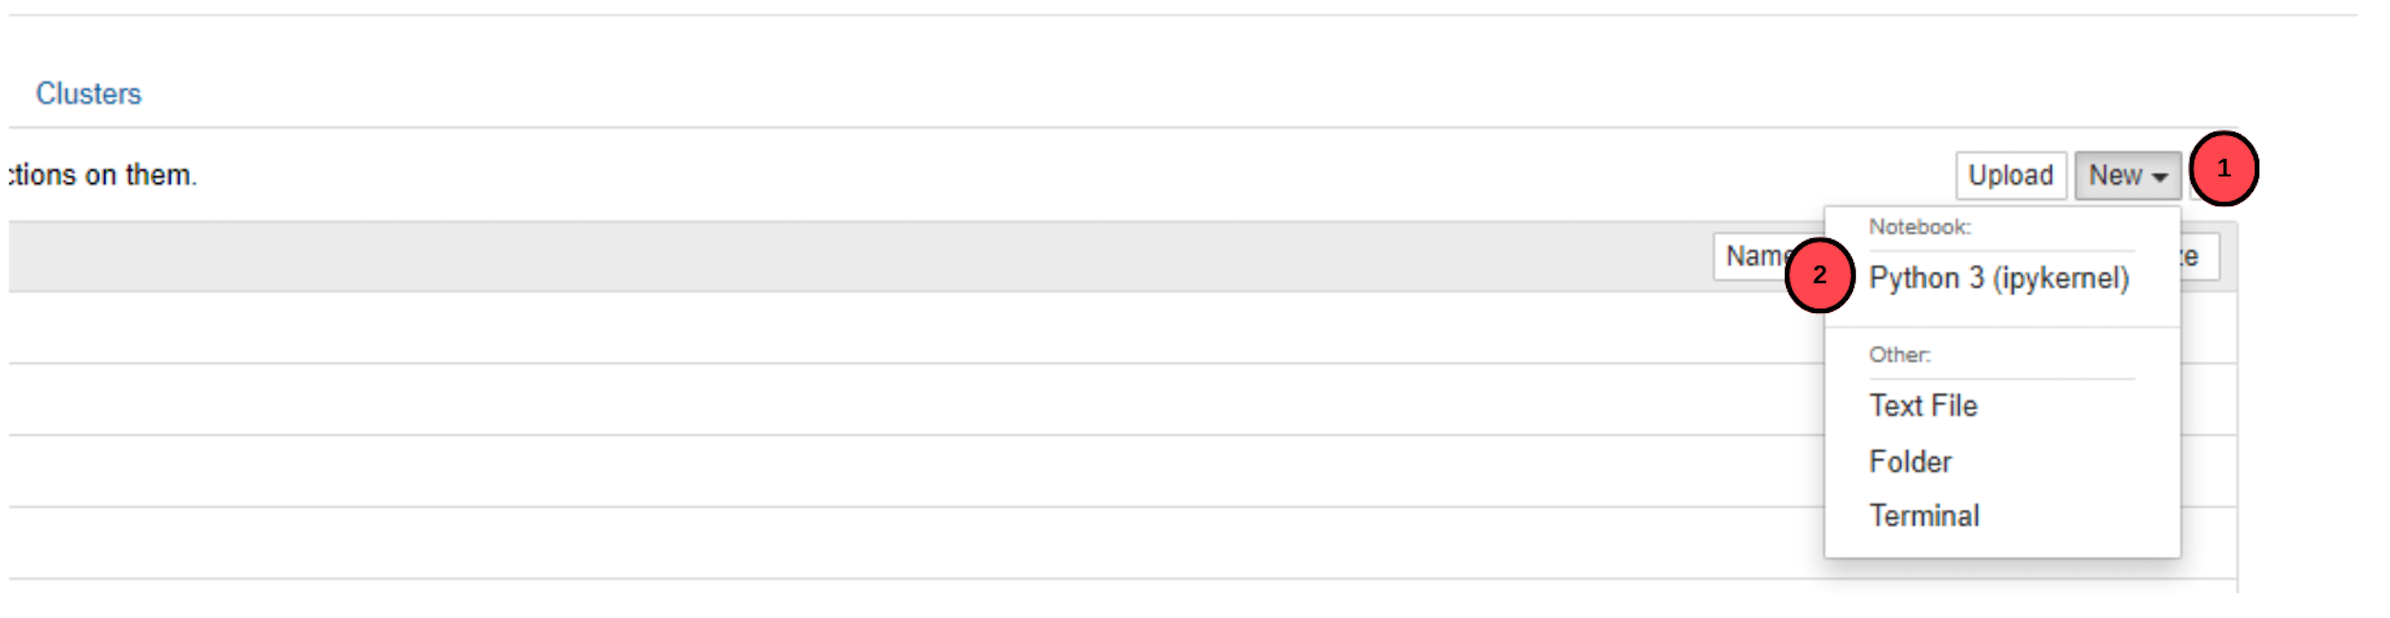
In your Jupyter Notebook interface, click the New dropdown to access a list of options
Select Python 3 (ipykernel) from the list
In the new Notebook session, click the filename, by default, it's set to
Untitled
Rename the file to
falcon-40band press Enter to save the new filenameIn a new Notebook field, add the following code to initialize the
tiiuae/falcon-40bmodelfrom torch import cuda, bfloat16 import transformers model_id = 'tiiuae/falcon-40b' device = f'cuda:{cuda.current_device()}' if cuda.is_available() else 'cpu' quant_config = transformers.BitsAndBytesConfig( load_in_4bit=True, bnb_4bit_quant_type='nf4', bnb_4bit_use_double_quant=True, bnb_4bit_compute_dtype=bfloat16 ) model_config = transformers.AutoConfig.from_pretrained(model_id) model = transformers.AutoModelForCausalLM.from_pretrained( model_id, trust_remote_code=True, config=model_config, quantization_config=quant_config ) model.eval() print(f"Model loaded on {device}")The above code block sets the
model_idand enables 4-bit quantization withbitsandbytes. This sets 4-bit quantization to less relevant parts of the model and 16-bit quantization to parts most relevant for text-generation. When run, the output from the prompt is less degraded which provides near-accurate information.To run and infer the
falcon-7bmodel instead offalcon-40b, replace themodel_idwithtiiuae/falcon-7b.To run the above code block, press Ctrl + Enter or click the run button on the main taskbar.
Initialize the tokenizer
 tokenizer = transformers.AutoTokenizer.from_pretrained(
     model_id
 )
The above code block sets the tokenizer to
model_idimplying that it's in sync with the model in useEvery LLM has a different tokenizer used to convert streams of text into smaller units so that the language model can understand and interpret the input. A tokenizer is also used when training a model.
Initialize the pipeline
 pipe = transformers.pipeline(
     model=model,
     tokenizer=tokenizer,
     task='text-generation',
     temperature=0.0,
     max_new_tokens=50,
     repetition_penalty=1.1
 )
The above code initializes a pipeline for text generation to manipulate the kind of response you want from the model. You can add more parameters to the pipeline to further enhance the output.
Add a prompt to the pipeline using the code below. Replace
Hello Worldwith your desired text inputresult = pipe('Hello World')[0]['generated_text'] print(result)The above code block generates an output based on the input prompt. The process may take up to 5 minutes to generate and output a response.
Check the GPU RAM usage statistics
!nvidia-smiThe above code block outputs VRAM consumption statistics for the model executed with 4-bit precision
Output:
 +-----------------------------------------------------------------------------+
 | Processes:                                                                  |
 |  GPU   GI   CI        PID   Type   Process name                  GPU Memory |
 |        ID   ID                                                   Usage      |
 |=============================================================================|
 |    0    0    0      12403      C   /usr/bin/python3                24305MiB |
 +-----------------------------------------------------------------------------+
As displayed in the output, the
falcon-40bmodel consumes up to24.3 GBof VRAM when executed with 4-bit precision and quantization. The model VRAM consumption is much higher when executed with full precision.
Run the Falcon 40B Instruct Model
In this section, quantize and initialize the falcon-40b-instruct fine-tuned model in 4-bit and 16-bit precision. The instruct model is an instruction-based output model that's production applicable to many industrial use cases. Run the instruct model as described in the steps below.
In your Notebook window, navigate to the main menu, and click the Kernel menu option
On the list of dropdown options, select the Restart and Clear output to free up the server VRAM space
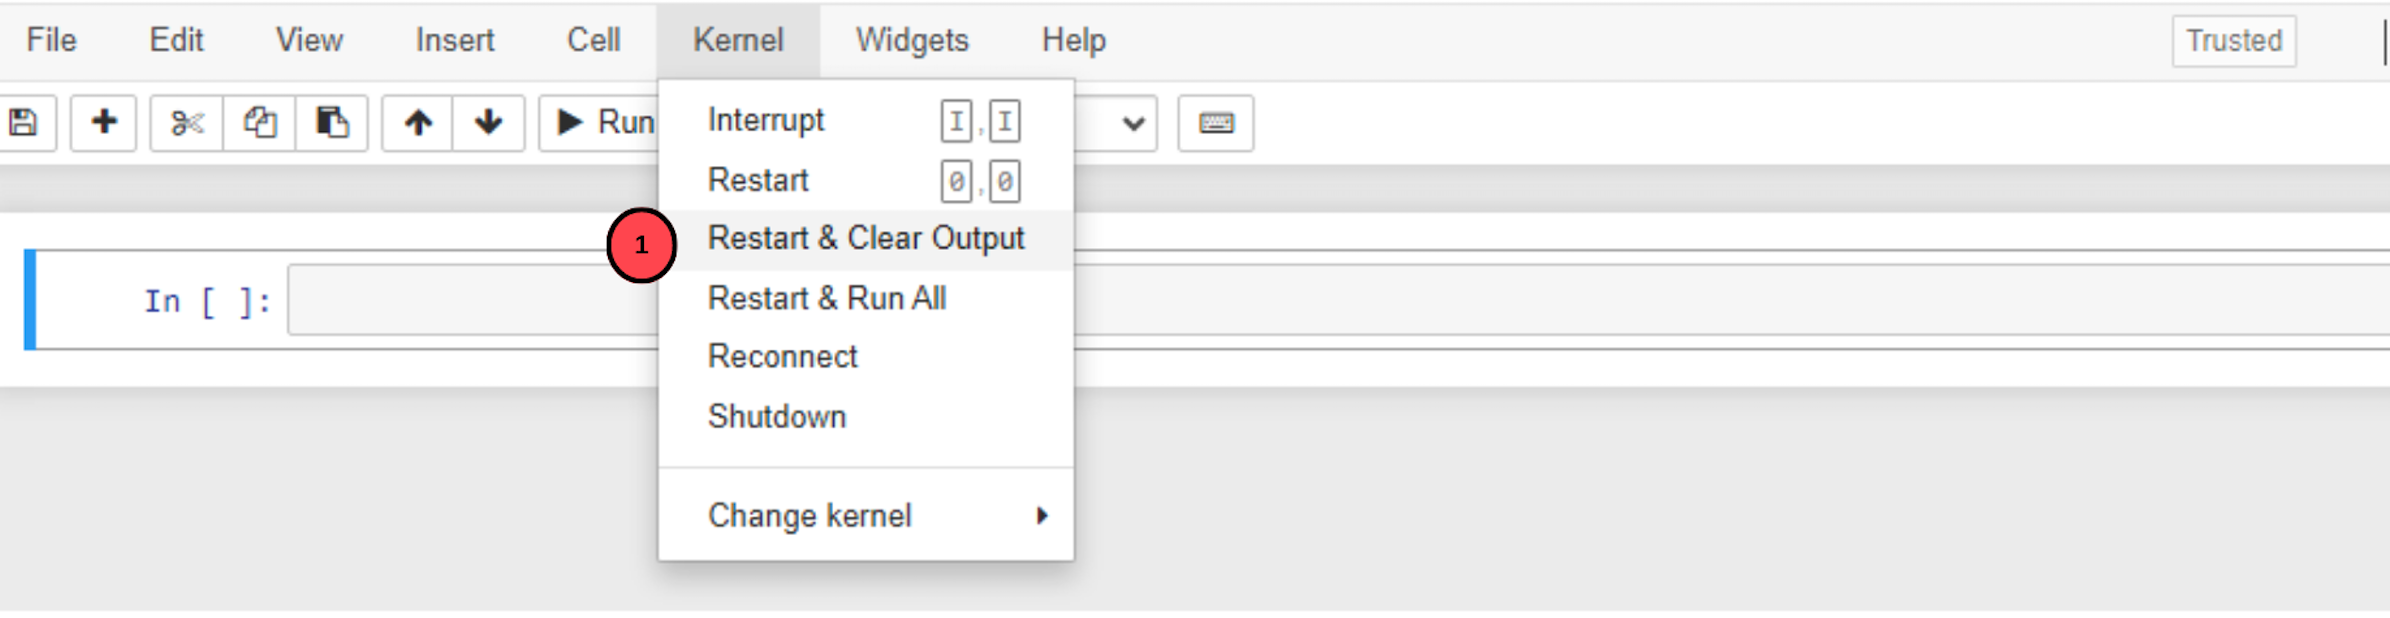
It's necessary to free up VRAM space to run another model and avoid
out-of-memoryerrors when the memory is already allocated to another running model.On the main menu bar, click File, select New, and create a new Notebook named
falcon-40b-instruct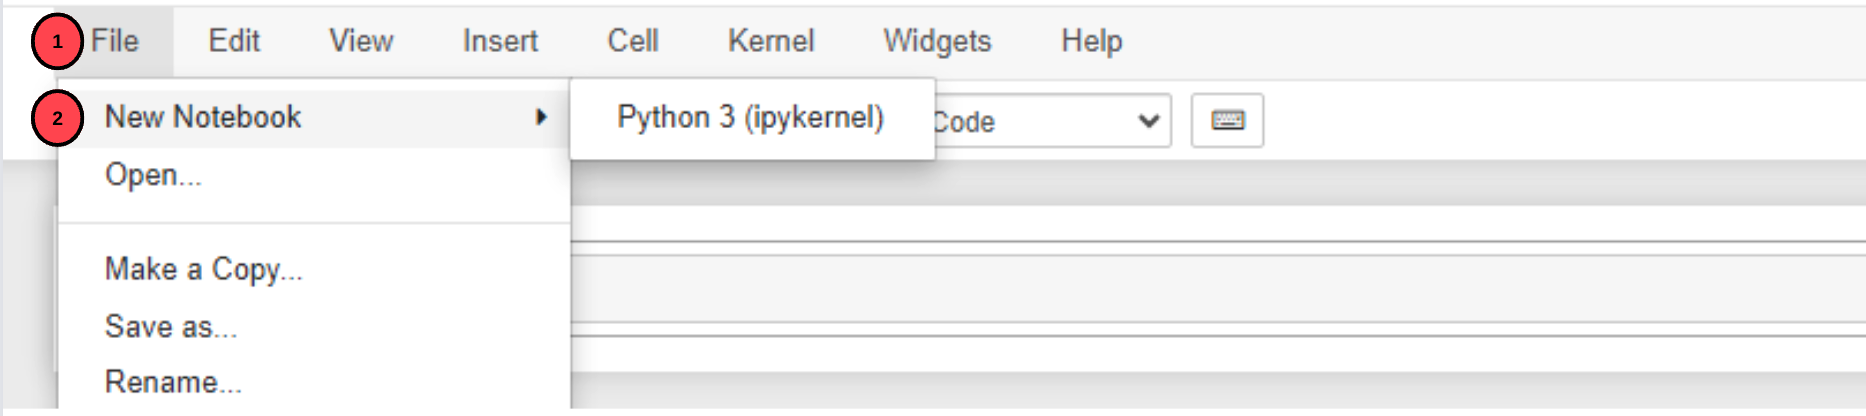
In a new Notebook field, initialize the
tiiuae/falcon-40b-instructmodelfrom torch import cuda, bfloat16 import transformers model_id = 'tiiuae/falcon-40b-instruct' device = f'cuda:{cuda.current_device()}' if cuda.is_available() else 'cpu' quant_config = transformers.BitsAndBytesConfig( load_in_4bit=True, bnb_4bit_quant_type='nf4', bnb_4bit_use_double_quant=True, bnb_4bit_compute_dtype=bfloat16 ) model_config = transformers.AutoConfig.from_pretrained(model_id) model = transformers.AutoModelForCausalLM.from_pretrained( model_id, trust_remote_code=True, config=model_config, quantization_config=quant_config ) model.eval() print(f"Model loaded on {device}")
The above code uses the fine-tuned instruct model falcon-40b-instruct instead of the base model. To run and infer the falcon-7b-instruct model, replace the model_id with tiiuae/falcon-7b-instruct.
Initialize the tokenizer
 tokenizer = transformers.AutoTokenizer.from_pretrained(
     model_id,
     use_auth_token=auth_token
 )
Initialize the pipeline
 pipe = transformers.pipeline(
     model=model,
     tokenizer=tokenizer,
     task='text-generation',
     temperature=0.0,
     max_new_tokens=50,
     repetition_penalty=1.1
 )
Input a prompt to the pipeline. Replace
Hello World, it's another model dayresult = pipe('Hello World, it's another model day')[0]['generated_text'] print(result)In the instruct model, the prompt you enter should be in a dialogue format to notice a difference in responses between the base model and the fine-tuned version.
Fetch the Server GPU usage statistics
!nvidia-smiOutput:
 +-----------------------------------------------------------------------------+
 | Processes:                                                                  |
 |  GPU   GI   CI        PID   Type   Process name                  GPU Memory |
 |        ID   ID                                                   Usage      |
 |=============================================================================|
 |    0    0    0      12599      C   /usr/bin/python3                24305MiB |
 +-----------------------------------------------------------------------------+
As displayed in the above output, the
falcon-40b-instructmodel consumes up to24.3 GBof VRAM when executed with 4-bit precision and quantization. In comparison, the base model and fine-tuned model VRAM consumption is similar because it's directly proportional to the parameter range of 40 billion.
Key Parameters
trust_remote_code: Applies when getting code from a remote source to verify if it's trustworthy and secure by considering its origin, integrity, and safety measures.task: Sets the task of the pipeline astext-generation.temperature: Has a maximum value of 1.0 and a minimum value of 0.1, and it's used to control the randomness in the output, the closer the assigned value is to 1.0 the more random the output becomes.device: It's specified where the pipeline is to run, in this article, it's set tocuda:0.max_new_tokens: Defines the number of tokens in the output, the model gives an output with a random number of tokens ifmax_new_tokensis not defined.repetition_penalty: Controls the probability of generating repeated tokens, a high parameter value results in a less number of repeated tokens and vice versa.
Conclusion
In this article, you run the Falcon 40B model along with its fine-tuned instruct version in a lower precision 4-bit quantization configuration to generate output based on the input prompt. To prepare the server environment, you installed the CUDA toolkit and set up a Jupyter Notebook environment.
More Information
For more information about the TII Falcon models, visit the following documentation resources.
No comments yet.