
How to Use Vultr’s Drupal Marketplace Application
Drupal is a powerful open-source content management system (CMS) used for building websites, blogs, and web applications. It provides a flexible framework for managing content, users, and workflows with extensive customization through themes and modules. The Vultr Drupal Marketplace Application deploys a pre-configured server with Nginx, PHP, MySQL, and Drupal, enabling quick setup for production sites.
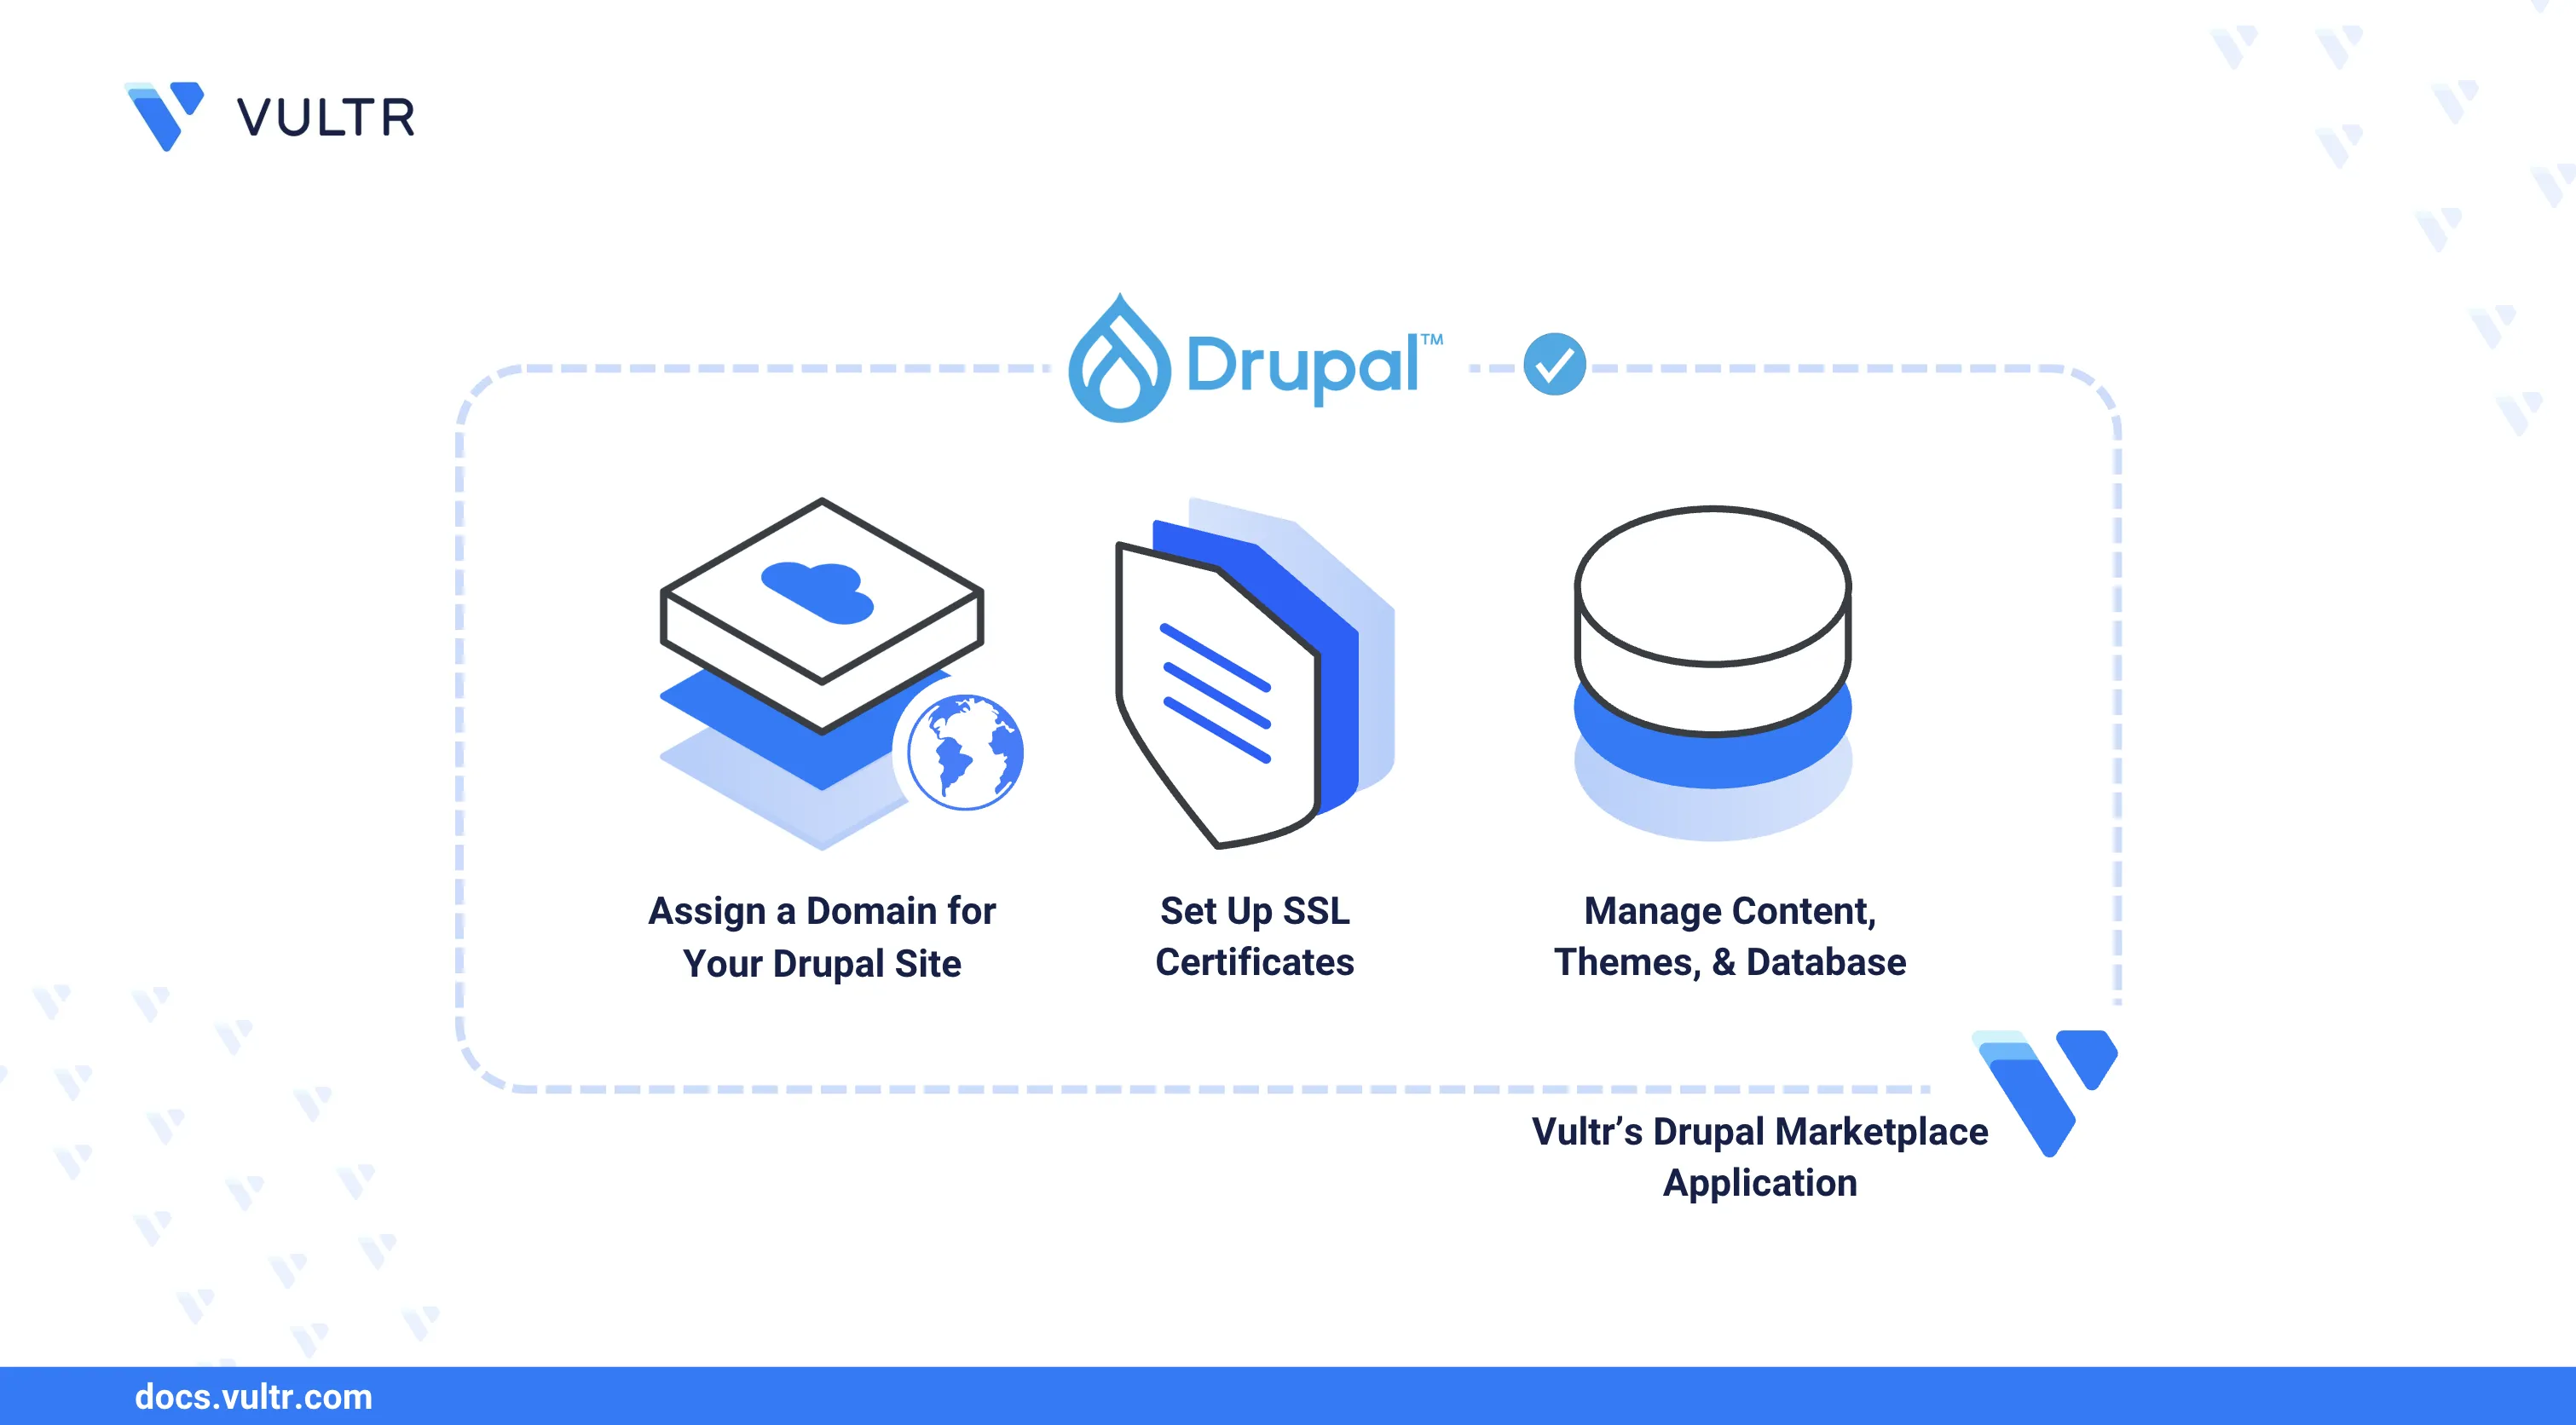
This guide explains deploying and using Vultr's Drupal Marketplace Application. You will deploy an instance, verify the installation, configure firewall security and SSL, complete the web-based setup, manage MySQL databases, optimize performance, and implement best practices for production Drupal deployments.
Deploy Vultr's Drupal Marketplace Application
Log in to your Vultr Console and click the Deploy Server button.
Select your preferred server type.
Choose a server location.
Select a server plan with at least 2GB RAM and 2 CPU cores for production workloads.
Click the Configure button to proceed.
Under Marketplace Apps, search for
Drupaland select it as the Marketplace Application.Select the Limited Login option from the Additional Features section to create a limited user with sudo access.
Review your configurations and click the Deploy Now button to start deployment.
It may take up to 10 minutes for your server to finish installing Drupal, Nginx, PHP, and MySQL.NoteAfter the instance shows the status of Running, navigate to the Server Overview page and note the following credentials:
- User: HTTP basic authentication username
- Password: HTTP basic authentication password
- Database Name: MySQL database name
- Database User: MySQL username
- Database Password: MySQL password
Initial Setup and Configuration
After deployment, verify the installation, configure DNS, and secure your Drupal site before completing the web-based setup.
Create a DNS A record pointing to your server's IP address, such as
drupal.example.com.Connect to your Vultr server instance over SSH using the connection details from the Server Overview page.
Verify Drupal Installation
Check the Nginx service status.
console$ sudo systemctl status nginx
The service should show as
active (running).Verify PHP installation.
console$ php -v
Output:
PHP 8.3.27 (cli) (built: Oct 27 2025 20:20:31) (NTS)Check MySQL service status.
console$ sudo systemctl status mysql
Verify Drupal files are present.
console$ ls -la /var/www/html/
You should see Drupal core files including
index.php,core/,modules/, andthemes/.
Verify Firewall Configuration
The Drupal Marketplace Application includes a pre-configured firewall with UFW (Uncomplicated Firewall) already enabled.
Verify the firewall status and rules.
console$ sudo ufw status
Output:
Status: active

To                         Action      From
--                         ------      ----
22/tcp                     ALLOW       Anywhere
80/tcp                     ALLOW       Anywhere
443/tcp                    ALLOW       Anywhere
9080/tcp                   ALLOW       Anywhere
The firewall allows:
- 22/tcp: SSH access
- 80/tcp: HTTP traffic for Nginx
- 443/tcp: HTTPS traffic for Nginx
- 9080/tcp: HTTP basic authentication access
(Optional) If you need to allow additional ports for your application:
console$ sudo ufw allow 8080/tcp
Secure Drupal with SSL/TLS
Protect your Drupal site with HTTPS using Let's Encrypt certificates via Certbot.
Install Certbot and the Nginx plugin.
console$ sudo apt update $ sudo apt install certbot python3-certbot-nginx -y
Request an SSL certificate for your domain.
console$ sudo certbot --nginx --redirect --agree-tos --no-eff-email -d drupal.example.com -m admin@example.com
Replace
drupal.example.comwith your domain andadmin@example.comwith your email address.Verify SSL certificate auto-renewal.
console$ sudo certbot renew --dry-run
Access your Drupal site securely at
https://drupal.example.com.
Complete Drupal Web Installation
After securing your site with SSL, complete the Drupal setup using the browser-based installer.
Open your browser and visit:
https://drupal.example.com/install.phpWhen prompted with a login dialog, enter the User and Password credentials from the Server Overview page.
Choose your preferred language and click Save and continue.
Select an installation profile:
- Standard: Recommended for most sites, includes common features
- Minimal: Bare installation for custom builds
- Demo: Pre-configured demo content for testing
On the Database Configuration screen, enter the database connection details from the Server Overview page:
- Database name: Value from Server Overview
- Database username: Value from Server Overview
- Database password: Value from Server Overview
- Host:
localhost - Port:
3306
Wait for Drupal to install and initialize the database schema.
On the Configure Site screen:
- Set your site name and site email address
- Choose an admin username and password (different from database credentials)
- Configure regional settings
- Click Save and continue to finish installation
After installation completes, access the Drupal admin dashboard at:
https://drupal.example.com/user/login
Configure Drupal Settings
Set up essential security and configuration settings for your Drupal site.
Configure Trusted Host Patterns
Prevent HTTP Host header attacks by configuring trusted host patterns.
Edit the settings file.
console$ sudo nano /var/www/html/sites/default/settings.php
Add your domain to the trusted host patterns array:
php$settings['trusted_host_patterns'] = [ '^drupal\.example\.com$', '^www\.drupal\.example\.com$', ];
Replace
drupal.example.comwith your actual domain. Save and close the file.
Set Proper File Permissions
Set ownership to the web server user.
console$ sudo chown -R www-data:www-data /var/www/html
Set safe file permissions.
console$ sudo find /var/www/html -type f -exec chmod 644 {} \; $ sudo find /var/www/html -type d -exec chmod 755 {} \;
Protect the settings file.
console$ sudo chmod 444 /var/www/html/sites/default/settings.php
Manage MySQL Database
Access and manage your Drupal MySQL database for backups, migrations, and troubleshooting.
Access MySQL Command Line
Log in to MySQL as root.
console$ sudo mysql -u root
The root password is stored in
/root/.my.cnf.Switch to the Drupal database.
sql> USE drupal_database_name;
View database tables.
sql> SHOW TABLES;
Exit MySQL.
sql> EXIT;
Backup Drupal Database
Create a database backup.
console$ sudo mysqldump -u root drupal_database_name > /root/drupal-backup-$(date +%F).sql
Verify the backup was created.
console$ ls -lh /root/drupal-backup-*.sql
Restore Database from Backup
Restore a database backup.
console$ sudo mysql -u root drupal_database_name < /root/drupal-backup-2025-11-03.sql
Manage Themes and Modules
Customize your Drupal site with themes and modules to extend functionality.
Install Themes
Download a Drupal theme from Drupal.org themes or another source.
Upload the theme to your server.
console$ cd /var/www/html/themes $ sudo wget https://ftp.drupal.org/files/projects/theme-name.tar.gz $ sudo tar -xzf theme-name.tar.gz $ sudo rm theme-name.tar.gz $ sudo chown -R www-data:www-data /var/www/html/themes
Navigate to Appearance in the admin menu.
Find the newly uploaded theme in the Uninstalled themes section.
Click Install and set as default or Install to enable the theme.
Install and Enable Modules
Download a Drupal module from Drupal.org modules or another source.
Upload the module to your server.
console$ cd /var/www/html/modules $ sudo wget https://ftp.drupal.org/files/projects/module-name.tar.gz $ sudo tar -xzf module-name.tar.gz $ sudo rm module-name.tar.gz $ sudo chown -R www-data:www-data /var/www/html/modules
Navigate to Extend in the admin menu.
Find the newly uploaded module in the list and check the box next to it.
Click Install at the bottom of the page to activate the module.
Popular modules include Pathauto, Token, Admin Toolbar, and Webform.
Performance Optimization
Implement these recommendations to improve your Drupal site's performance and response times.
Enable Drupal Caching
Navigate to Configuration > Development > Performance in the admin dashboard.
Enable the following caching options:
- Aggregate CSS files: Enable
- Aggregate JavaScript files: Enable
Click Save configuration.
Configure PHP Settings
Edit the PHP configuration file.
console$ sudo nano /etc/php/8.3/fpm/php.ini
Update the following settings for Drupal:
inimemory_limit = 256M upload_max_filesize = 64M post_max_size = 64M max_execution_time = 300 max_input_time = 300
Save and close the file.
Restart PHP-FPM to apply changes.
console$ sudo systemctl restart php8.3-fpm
Optimize Nginx Configuration
Edit the Nginx configuration.
console$ sudo nano /etc/nginx/nginx.conf
Add or verify the following settings in the
httpblock:iniclient_max_body_size 64M; gzip on; gzip_vary on; gzip_types text/plain text/css text/xml text/javascript application/x-javascript application/xml+rss;
Save and close the file.
Reload Nginx.
console$ sudo systemctl reload nginx
Best Practices and Configuration
Implement these recommendations to ensure your Drupal site runs securely and efficiently.
Security Hardening
Keep Drupal core, themes, and modules updated.
Navigate to Reports > Available updates in the admin dashboard to check for updates.
Remove unused modules.
console$ sudo rm -rf /var/www/html/modules/unused_module
Enable security-related modules like Security Review and Automated Logout.
Disable directory listing in Nginx (already configured by default).
Keep the system packages updated.
console$ sudo apt update && sudo apt upgrade -y
Regular Maintenance
Clear Drupal cache regularly.
console$ cd /var/www/html $ sudo -u www-data drush cr
Or via admin dashboard: Configuration > Development > Performance > Clear all caches.
Run database updates after Drupal core or module updates.
console$ sudo -u www-data drush updatedb
Monitor disk space usage.
console$ df -h /var/www
Backup Strategy
Create automated database backups with cron.
console$ sudo crontab -e
Add:
0 2 * * * mysqldump -u root drupal_database_name > /root/backups/drupal-$(date +\%F).sql && find /root/backups -name "drupal-*.sql" -mtime +7 -deleteBack up Drupal files periodically.
console$ sudo tar -czf /root/drupal-files-$(date +%F).tar.gz /var/www/html
Troubleshooting
This section covers common issues and diagnostic commands to help resolve problems with your Drupal installation.
Check Service Status and Logs
Verify services and view logs.
console$ sudo systemctl status nginx php8.3-fpm mysql $ sudo journalctl -u nginx -e $ sudo tail -f /var/log/nginx/error.log
Common Issues
White Screen of Death (WSOD)
Check Drupal logs at Reports > Recent log messages and clear cache:
console$ sudo -u www-data drush cr
Permission Denied Errors
Fix file ownership and permissions:
console$ sudo chown -R www-data:www-data /var/www/html $ sudo find /var/www/html -type f -exec chmod 644 {} \; $ sudo find /var/www/html -type d -exec chmod 755 {} \;
Database Connection Errors
Verify MySQL is running and test the connection:
console$ sudo systemctl status mysql $ mysql -u database_user -p -e "SHOW DATABASES;"
502 Bad Gateway Error
Restart PHP-FPM and verify the socket path:
console$ sudo systemctl restart php8.3-fpm $ ls -l /var/run/php/
Use Cases
The Vultr Drupal Marketplace application provides a powerful foundation for various web-based projects:
- Corporate Websites and Blogs: Build professional websites with user access control, SEO features, and rich media support for enterprises and organizations.
- Government or Non-Profit Platforms: Leverage Drupal's scalability and security features to power civic websites, directories, or digital services.
- Educational Portals: Create online learning environments, documentation hubs, knowledge bases, or course management systems.
- E-commerce with Drupal Commerce: Add shopping cart functionality, payment gateways, and product catalogs using contributed modules.
- Community and Social Platforms: Build forums, social networks, or collaborative platforms with user-generated content and moderation tools.
- Headless CMS Architecture: Use Drupal as a backend CMS to serve content to frontend frameworks like React, Vue, or mobile applications via REST or GraphQL APIs.
Conclusion
In this guide, you deployed Vultr's Drupal Marketplace Application and configured it for production use. You secured the server with firewall rules and SSL/TLS certificates, completed the web-based installation, configured trusted host patterns and file permissions, managed MySQL databases with backup procedures, optimized performance through PHP and Nginx configuration, and implemented security best practices. With this production-ready Drupal installation, you can build and manage powerful content management systems for your organization or community.