
Install an Apache CouchDB Database Server on Ubuntu 20.04

Introduction
Apache CouchDB is an open-source NoSQL database server designed to store data as JSON documents. CouchDB accepts JavaScript MapReduce syntax and HTTP API as the primary query languages to process data.
Developed in Erlang, CouchDB implements real-time scalability and replication features for highly-available distributed database systems to sync data in low bandwidth network connections. Such features make CouchDB a good choice for developing fault-tolerant banking, telephony, e-commerce, and instant messaging applications.
This guide walks you through installing and implementing the CouchDB database server on Ubuntu 20.04.
Prerequisites
To proceed with this guide, you require:
A non-root
sudouser.
1. Install Dependencies and Download the CouchDB Package
The Apache CouchDB package is not available in the official Ubuntu repository. Follow the steps below to add a third-party software repository to your system.
SSH to your server as a non-root
sudouser.Update the package information index.
$ sudo apt updateInstall
curl,apt-transport-https, andgnupgdependency packages.$ sudo apt install -y curl apt-transport-https gnupgDownload the CouchDB
gpgpackage key. Theapttool requires it to trust a third-party repository.$ curl https://couchdb.apache.org/repo/keys.asc | gpg --dearmor | sudo tee /usr/share/keyrings/couchdb-archive-keyring.gpg >/dev/null 2>&1 source /etc/os-releaseAdd the CouchDB repository to the list of available and downloadable packages.
$ echo "deb [signed-by=/usr/share/keyrings/couchdb-archive-keyring.gpg] https://apache.jfrog.io/artifactory/couchdb-deb/ focal main" | sudo tee /etc/apt/sources.list.d/couchdb.list >/dev/nullUpdate the package information index to refresh the new repository entry.
$ sudo apt updateInstall the
couchdbpackage.$ sudo apt install -y couchdbPress Tab and then Enter to proceed with the installation.
Select
standaloneconfiguration in the next step. Then, press Tab followed by Enter to proceed.General type of CouchDB configuration: standalone clustered noneLeave the value of the bind-address as
127.0.0.1and press Tab and then Enter to continue.CouchDB interface bind address: 127.0.0.1Type in your preferred administrator password and press Tab followed by Enter to proceed.
 Password for the CouchDB "admin" user:

     EXAMPLE_PASSWORD
Repeat the administrator password and press Tab then Enter to continue.
 Repeat password for the CouchDB "admin" user:

     EXAMPLE_PASSWORD
You've now completed the CouchDB installation. Manage the
couchdbpackage using the following commands.Start the
couchdbservice.$ sudo systemctl start couchdbStop the
couchdbservice.$ sudo systemctl stop couchdbEnable the
couchdbservice to start at boot.$ sudo systemctl enable couchdbRestart the
couchdbservice.$ sudo systemctl restart couchdb
2. Create and Use a CouchDB Database
You can execute queries on the CouchDB database server using two methods.
The CouchDB HTTP API. CouchDB ships with a JSON REST API that allows you to interact with the database server by sending requests via the HTTP protocol.
The CouchDB Fauxton interface. This web-based software provides an intuitive interface for managing your CouchDB on a web browser.
2.1. CouchDB HTTP API
You can interact with the CouchDB API using different HTTP clients. This guide uses the Linux curl command to perform basic database operations.
Execute the command below to return basic information about the installed CouchDB server. Replace
EXAMPLE_PASSWORDwith the correct password for the administrator account.$ curl -X GET http://admin:EXAMPLE_PASSWORD@127.0.0.1:5984You should receive the following output.
 {
    "couchdb":"Welcome",
    "version":"3.2.1",
    "git_sha":"244d428af",
    "uuid":"5e48b8f6a943805d36e7cf0534041d22",
    "features":[
       "access-ready",
       "partitioned",
       "pluggable-storage-engines",
       "reshard",
       "scheduler"
    ],
    "vendor":{
       "name":"The Apache Software Foundation"
    }
 }
Create a new
demodatabase.$ curl -X PUT http://admin:EXAMPLE_PASSWORD@127.0.0.1:5984/demoOutput.
{"ok":true}List the available databases.
$ curl -X GET http://admin:EXAMPLE_PASSWORD@127.0.0.1:5984/_all_dbsOutput.
["_replicator","_users","demo"]Create three documents in the
demodatabase. Define each document's data in JSON format and specify a unique ID in the URL using the format../demo/"1"...,../demo/"2"..., and../demo/"3"....$ curl -H 'Content-Type: application/json' -X PUT http://admin:EXAMPLE_PASSWORD@127.0.0.1:5984/demo/"1" -d '{"product_name":"LED BULB" , "retail_price" : 23.55}' $ curl -H 'Content-Type: application/json' -X PUT http://admin:EXAMPLE_PASSWORD@127.0.0.1:5984/demo/"2" -d '{"product_name":"WIRELESS MOUSE" , "retail_price" : 45.20}' $ curl -H 'Content-Type: application/json' -X PUT http://admin:EXAMPLE_PASSWORD@127.0.0.1:5984/demo/"3" -d '{"product_name":"4G ROUTER" , "retail_price" : 89.50}'Output.
 {"ok":true,"id":"1","rev":"1-b626670af2e7ee1ae13ffba7ffe83819"}
 {"ok":true,"id":"2","rev":"1-d995adf7c62c3f1931f817f7a3f2685c"}
 {"ok":true,"id":"3","rev":"1-1ebf435bdc37cf3c5dd32aebdd377d46"}
List all documents from the
demodatabase.$ curl -X GET http://admin:EXAMPLE_PASSWORD@127.0.0.1:5984/demo/_all_docs?include_docs=trueOutput.
 {
    "total_rows":3,
    "offset":0,
    "rows":[
       {
          "id":"1",
          "key":"1",
          "value":{
             "rev":"1-b626670af2e7ee1ae13ffba7ffe83819"
          },
          "doc":{
             "_id":"1",
             "_rev":"1-b626670af2e7ee1ae13ffba7ffe83819",
             "product_name":"LED BULB",
             "retail_price":23.55
          }
       },
       {
          "id":"2",
          "key":"2",
          "value":{
             "rev":"1-d995adf7c62c3f1931f817f7a3f2685c"
          },
          "doc":{
             "_id":"2",
             "_rev":"1-d995adf7c62c3f1931f817f7a3f2685c",
             "product_name":"WIRELESS MOUSE",
             "retail_price":45.2
          }
       },
       {
          "id":"3",
          "key":"3",
          "value":{
             "rev":"1-1ebf435bdc37cf3c5dd32aebdd377d46"
          },
          "doc":{
             "_id":"3",
             "_rev":"1-1ebf435bdc37cf3c5dd32aebdd377d46",
             "product_name":"4G ROUTER",
             "retail_price":89.5
          }
       }
    ]
 }
Get the details of a single document by specifying its unique ID in the URL. For instance,
.../demo/1,.../demo/2, or.../demo/3.$ curl -X GET http://admin:EXAMPLE_PASSWORD@127.0.0.1:5984/demo/1 Output. {"_id":"1","_rev":"1-b626670af2e7ee1ae13ffba7ffe83819","product_name":"LED BULB","retail_price":23.55}Update a document by specifying its unique ID in the URL (
/demo/1/) and defining the last_rev(1-b626670af2e7ee1ae13ffba7ffe83819) ID in the JSON body.$ curl -H 'Content-Type: application/json' -X PUT http://admin:EXAMPLE_PASSWORD@127.0.0.1:5984/demo/1/ -d '{"product_name":"15 WATTS LED BULB" , "retail_price" : 40.89, "_rev":"1-b626670af2e7ee1ae13ffba7ffe83819"}'CouchDB updates the document and assigns a new revision ID as shown below.
{"ok":true,"id":"1","rev":"2-387ee2644327cda7a202ed3ad1a9cad0"}List the document one more time to check the new changes.
$ curl -X GET http://admin:EXAMPLE_PASSWORD@127.0.0.1:5984/demo/1The product details are now updated.
{"_id":"1","_rev":"2-387ee2644327cda7a202ed3ad1a9cad0","product_name":"15 WATTS LED BULB","retail_price":40.89}CouchDB doesn't support partial updates to existing documents. However, the update command creates a new document version using the supplied data. Therefore, you can't append new fields to an existing document.
Deleting a document. You must specify the document's unique ID and the revision ID in the query URL to delete it from a database.
Retrieve the revision ID using the command below for the product with a unique ID of
3.$ curl -X GET http://admin:EXAMPLE_PASSWORD@127.0.0.1:5984/demo/3Output.
{"_id":"3","_rev":"1-1ebf435bdc37cf3c5dd32aebdd377d46","product_name":"4G ROUTER","retail_price":89.5}Specify the document ID (
3) and the revision ID (1-1ebf435bdc37cf3c5dd32aebdd377d46) in the command below to delete the product.$ curl -X DELETE http://admin:EXAMPLE_PASSWORD@127.0.0.1:5984/demo/3?rev=1-1ebf435bdc37cf3c5dd32aebdd377d46Output.
{"ok":true,"id":"3","rev":"2-37f9841ca9055574b880fdbf0278b170"}Try retrieving the document one more time.
$ curl -X GET http://admin:EXAMPLE_PASSWORD@127.0.0.1:5984/demo/3You should now get the error below.
{"error":"not_found","reason":"deleted"}
2.2. CouchDB Fauxton Interface
Administering the CouchDB server via the Fauxton interface requires some configuration changes. Follow the steps below to edit the default CouchDB settings.
Open the
/opt/couchdb/etc/local.inifile in an editor.$ sudo nano /opt/couchdb/etc/local.iniLocate the
;bind_address = 127.0.0.1entry.... [chttpd] ;port = 5984 ;bind_address = 127.0.0.1 ...Remove the leading
;character to uncomment thebind_addresssetting and change its value from127.0.0.1to0.0.0.0. This setting allows CouchDB to listen to all network interfaces.... [chttpd] ;port = 5984 bind_address = 0.0.0.0 ...Restart the CouchDB server to apply the new changes.
$ sudo systemctl restart couchdbVisit the URL below on a web browser and replace
192.0.2.1with the public IP address of your server.http://192.0.2.1:5984/_utils/The Fauxton login screen appears as shown below.
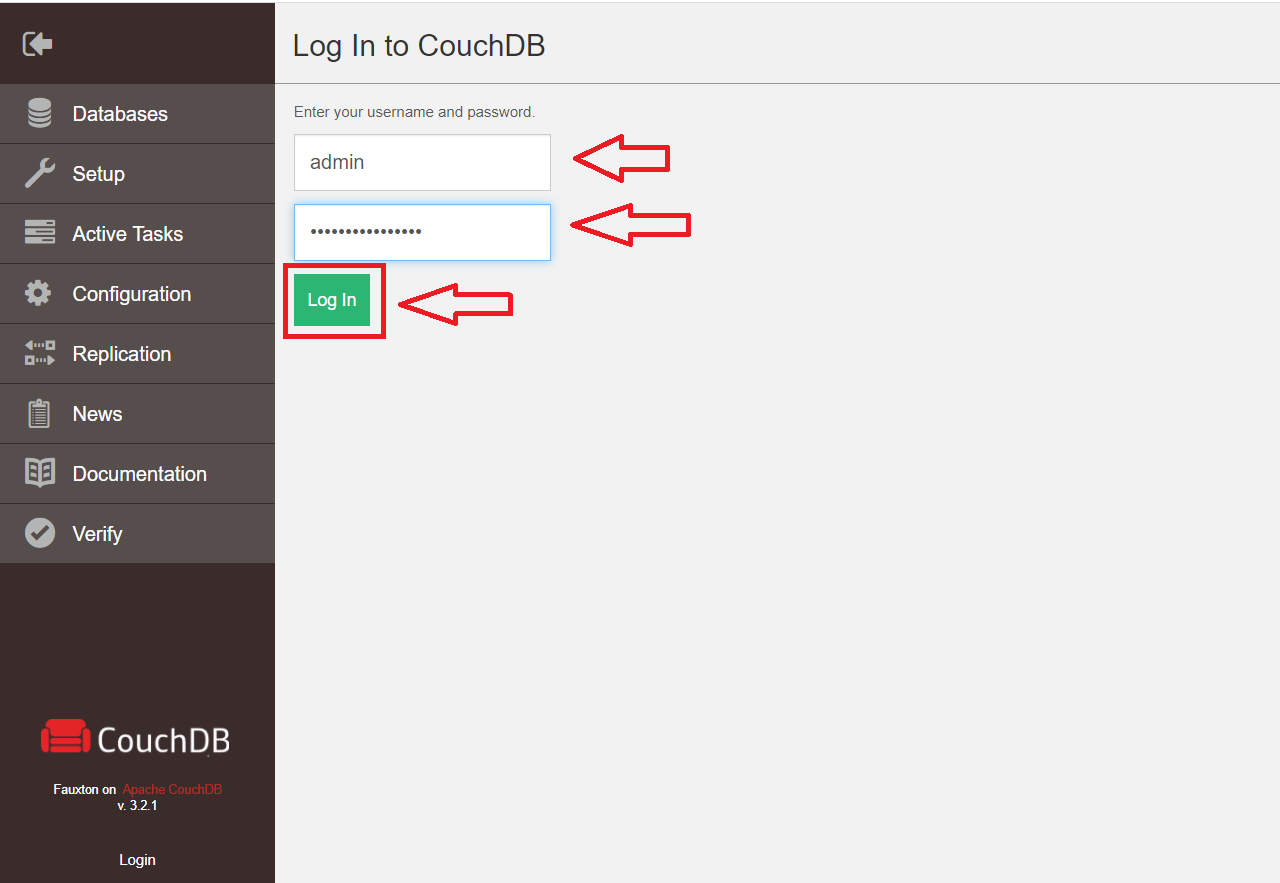
Log in to the web interface by entering the username (
admin) and your password (For instance,EXAMPLE_PASSWORD). Click Log In to proceed. The Fauxton software should now navigate you to the following dashboard screen.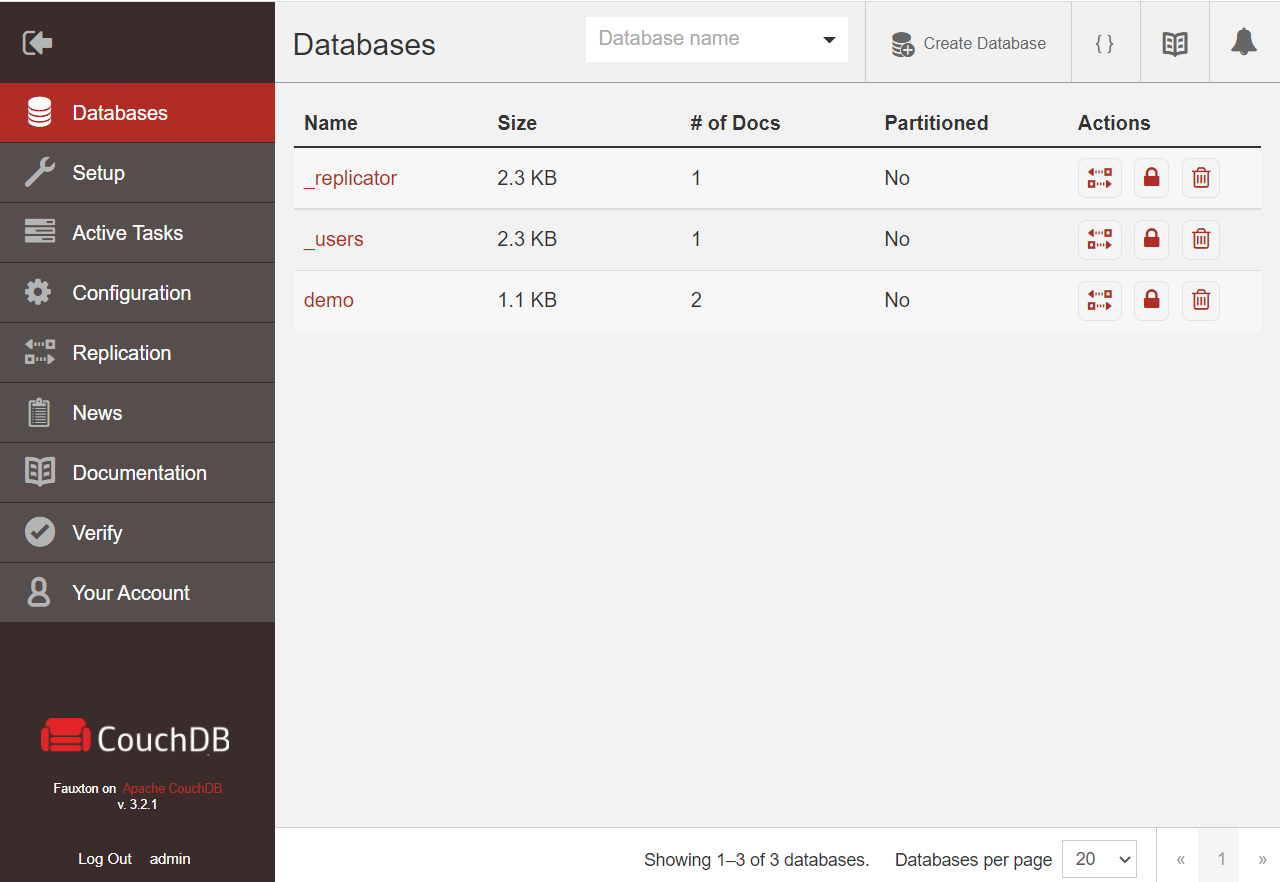
Use the Fauxton web interface to perform basic database administration tasks such as creating, retrieving, updating, and deleting databases and documents.
Conclusion
This guide is a walk-through for installing and implementing Apache CouchDB on the Ubuntu 20.04 server. To learn more about CouchDB features, visit the official Apache CouchDB website.