How to Mount a Vultr File System Volume on Windows
Updated on 26 May, 2026A family of Microsoft operating systems that provides a graphical user interface for managing applications, files, and system resources on Vultr instances.
Mounting a Vultr File System volume on a Windows instance requires multiple third-party software installations and is dependent on the software working well together to create a dedicated virtiofs service to manage VFS volumes. As a result, Vultr can only offer best-effort support for the use of VFS on Windows. The virtiofs protocol is not natively supported on Windows, and installing the virtio-win driver and the Windows File System Proxy (WinFsp) application creates a virtiofs service that manages the Vultr File System volumes attached to your Windows instance.
Follow this guide to mount a Vultr File System volume on a Windows instance.
Install virtio-win
Visit the Fedora
virtio-winreleases page, open the latestvirtio-winarchive and download thevirtio-win-guest-tools.exefile.
Open the downloaded
virtio-win-guest-tools.exefile to launch the installation wizard.Agree to the
virtio-winlicense terms and click Install.Click Next and accept the end-user license agreement.
Click Next and keep the default
virtio-winfeatures.Click Install to start the installation.
Click Finish to complete the installation.
Close the
virtio-wininstallation wizard.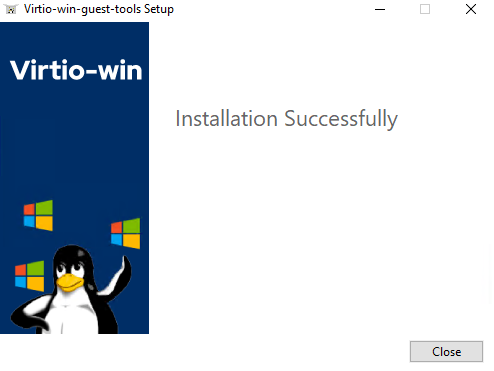
Install WinFsp
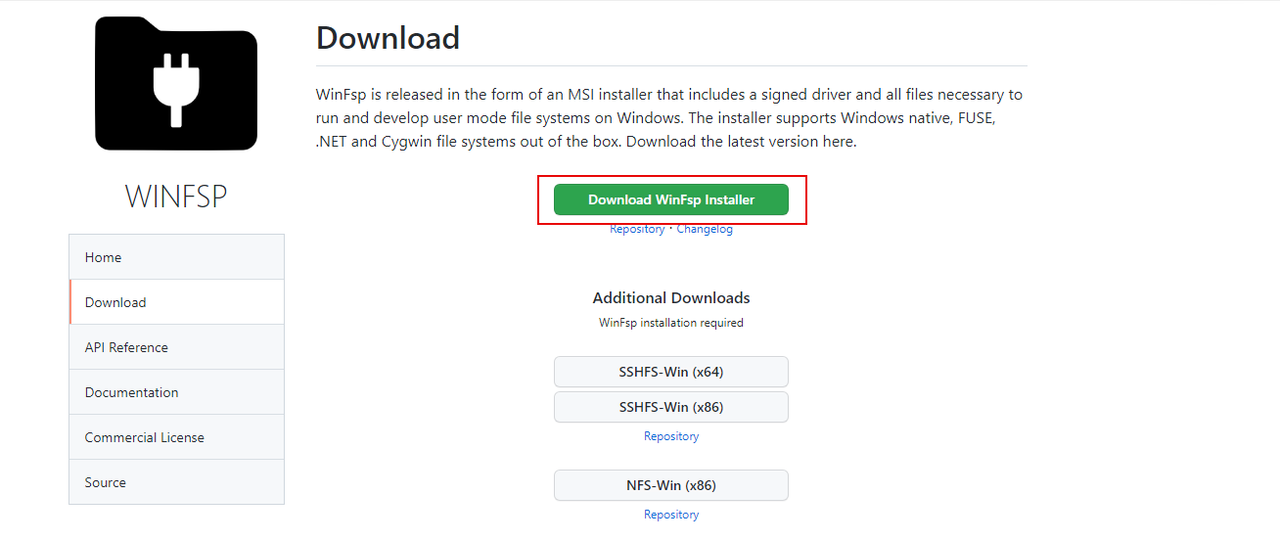
Visit the WinFsp releases page and download the latest WinFsp Installer to your server.
Open the downloaded
winfsp-<version>.msipackage to launch the WinFsp installation wizard.Click Next to start the installation wizard.
Keep the default
WinFspfeatures and click Next to continue.Click Install to start the WinFsp installation process.
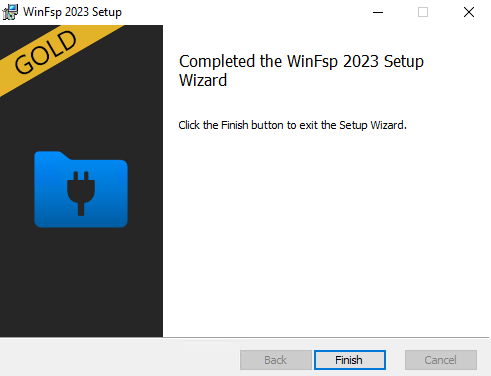
Click Finish to close the WinFsp installation wizard.
Enable the VirtIO-FS Windows Service
Press Win+R to open the Windows run dialog.
Enter
services.mscin the input field and press Enter to open the Services window.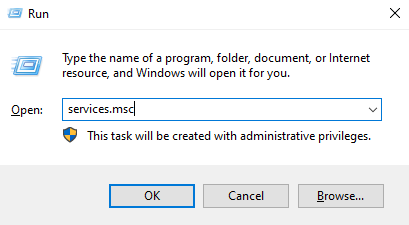
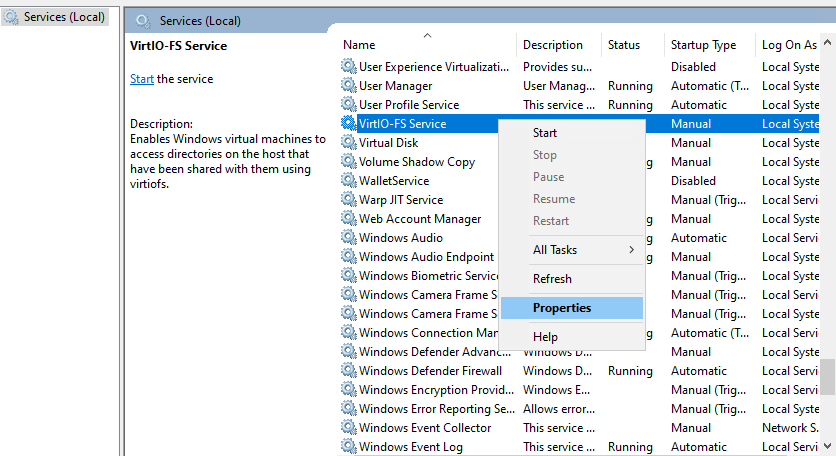
Find and right-click VirtIO-FS Service from the list of services.
Select Properties from the list of options.
Click the Startup type drop-down and select Automatic to enable the VirtIO-FS Service to start automatically at boot.
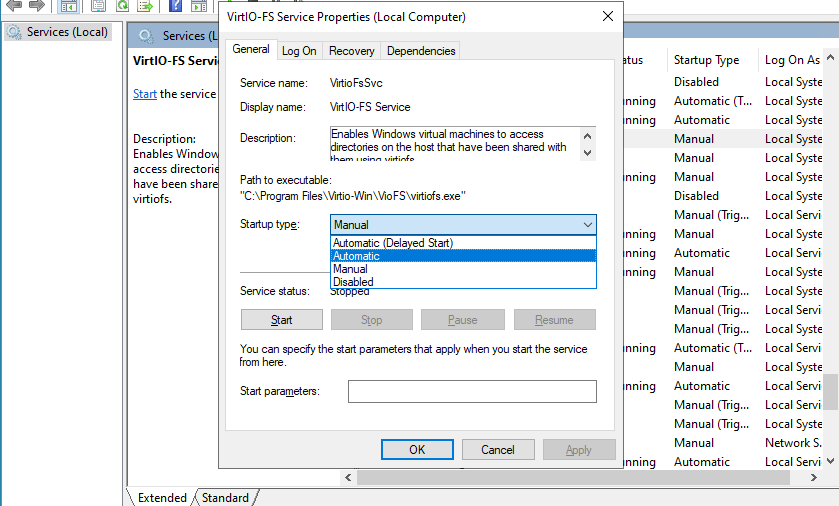
Click Start to run the VirtIO-FS Service.
Verify that the service status changes to Running and click Apply to save the changes.
Click OK to close the VirtIO-FS Service properties window.
Access a Mounted Vultr File System Volume
The virtio-fs service automatically mounts all Vultr File System volumes attached to your Windows instance when it starts. Follow the steps below to access a mounted VFS volume if the virtio-fs service is running correctly on your Windows instance.
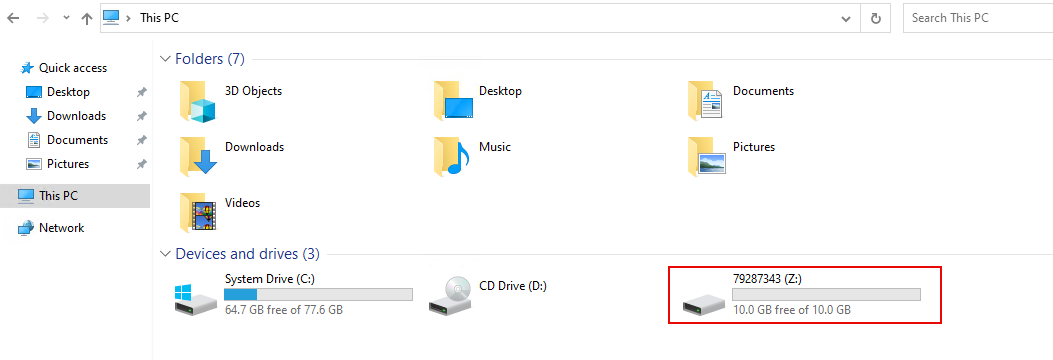
Open the Windows File Explorer.
Click This PC and verify that the Vultr File System volume is mounted as a new disk drive.
Double-click to open the Vultr File System volume.
Create a new
greetingsfromvultr.txtfile to test the write permissions on your VFS volume.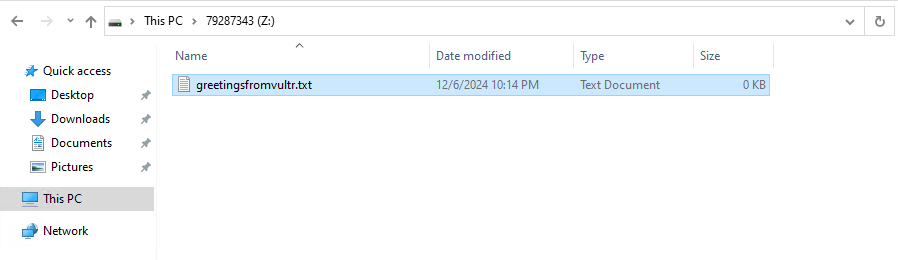
virtiofs service is not available immediately after installation, does not run correctly or the Vultr File System volume is not detected. Verify that the VFS volume is attached to your Windows instance and start the virtiofs service to access the volume using the Windows File Explorer.