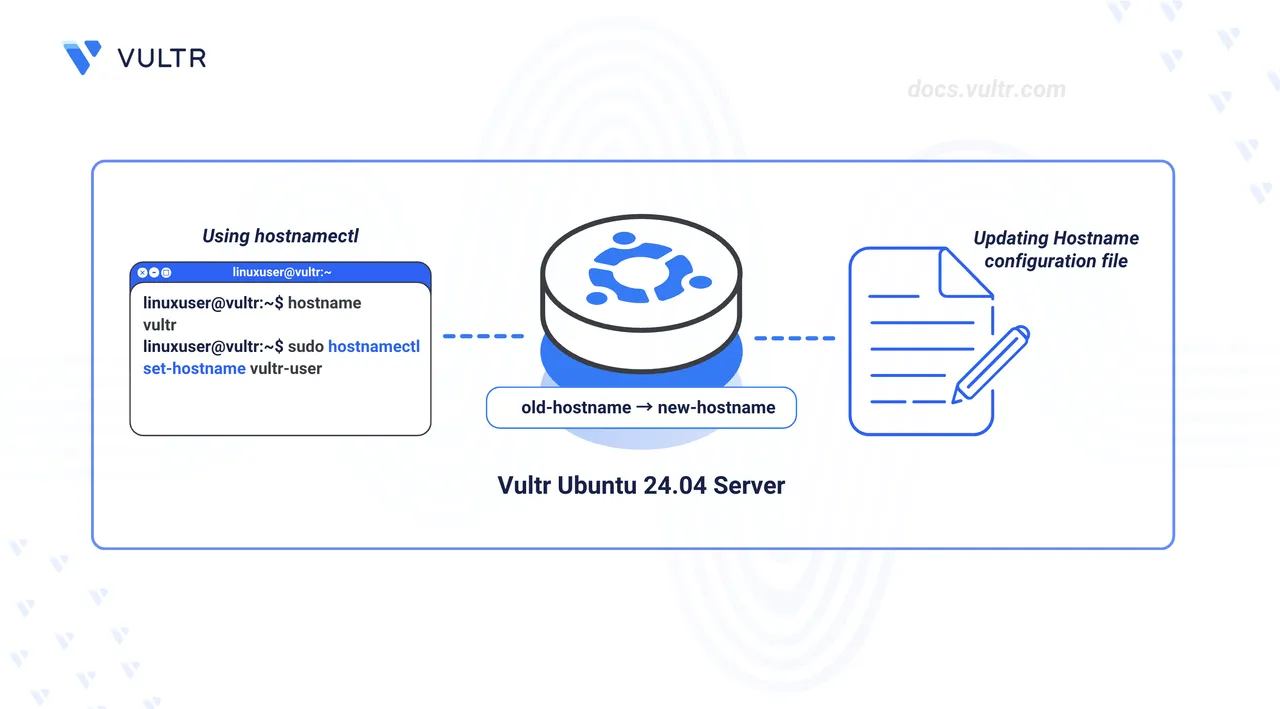
A hostname is a unique, human-readable name assigned to a device on a network, such as a server, computer, or IoT device. Unlike IP addresses, which are numeric and intended for machines, hostnames offer a more memorable and meaningful way to identify devices. They often reflect the device's role, location, or owner. Updating the hostname helps align with organizational standards, adhere to naming conventions and simplify device identification in multi-server environments. A clear and consistent naming system also enhances visibility in logs and monitoring tools.
This article explains how to check and update your hostname on an Ubuntu 24.04 server. You’ll learn how to view your server hostname, set a new one permanently, and ensure that the changes persist across reboots.
Prerequisites
Before you begin, you need to:
- Have access to an Ubuntu 24.04 workstation as a non-root sudo user.
Verify the Active Hostname
In this section, you check the hostname of your Ubuntu server using the hostname command.
Run the below command to retrieve the hostname.
$ hostname
Your output should be similar to the one below:
vultr-serverIn this section, you'll change your server hostname by using a command line utility and by editing the /etc/hosts file. Follow the steps below to update the hostname.
To update the hostname, use the
hostnamectlcommand.console$ sudo hostnamectl set-hostname prod-web-eu
Replace
prod-web-euwith your desired hostname. Hostnames should contain only letters, numbers, and hyphens. They must not contain spaces or special characters.If the command above returns no output, it means the change was applied. The command updates the static hostname, ensuring it persists after reboots.NoteUpdate the
/etc/hostsfile.console$ sudo nano /etc/hosts
Modify the line starting with
127.0.1.1and update it to reflect the new hostname.ini127.0.1.1 prod-web-euSave and exit the file. Updating the
/etc/hostsfile ensures that the system and local applications can resolve the new hostname to the server's loopback IP address.
In this section, you'll update the hostname of your Ubuntu server by manually editing the configuration files. This method is useful in minimal environments where tools like hostnamectl may not be available. By modifying the /etc/hostname and /etc/hosts files, you can ensure that the hostname change persists across reboots and is recognized by local services.
Open the /etc/hostname file.
console$ sudo nano /etc/hostname
Replace the existing name with your new hostname.
iniprod-web-euReplace
prod-web-euwith your preferred hostname. Valid hostnames may contain only lowercase letters, numbers, and hyphens. Avoid spaces or special characters.Update the
/etc/hostsfile.console$ sudo nano /etc/hosts
Modify the line starting with
127.0.1.1and update it to reflect the new hostname.ini127.0.1.1 prod-web-euSave and exit the file. This ensures that local applications and system processes can resolve the hostname using the loopback IP address. The new hostname takes effect only after a reboot, as the system reads the /etc/hostname file during startup.
Verify the New Hostname
In this section, you'll confirm that the hostname change was applied without errors and is now active on your server. Follow the steps below to verify the new hostname after restarting your server to apply all changes.
Reboot the server to apply changes.
console$ sudo reboot
To retrieve the hostname, use the
hostnamecommand.console$ hostnameYour output should be similar to the one below:
prod-web-eu
Conclusion
You have updated the hostname on your Ubuntu 24.04 server using either the hostnamectl command or by manually editing the /etc/hostname and /etc/hosts files. This configuration ensures the hostname is persistent and resolvable by local services. A meaningful hostname enhances system log readability, streamlines server management, and helps enforce consistent naming conventions across your infrastructure.