How to Deploy Apache Pulsar as a Google Pub/Sub Alternative
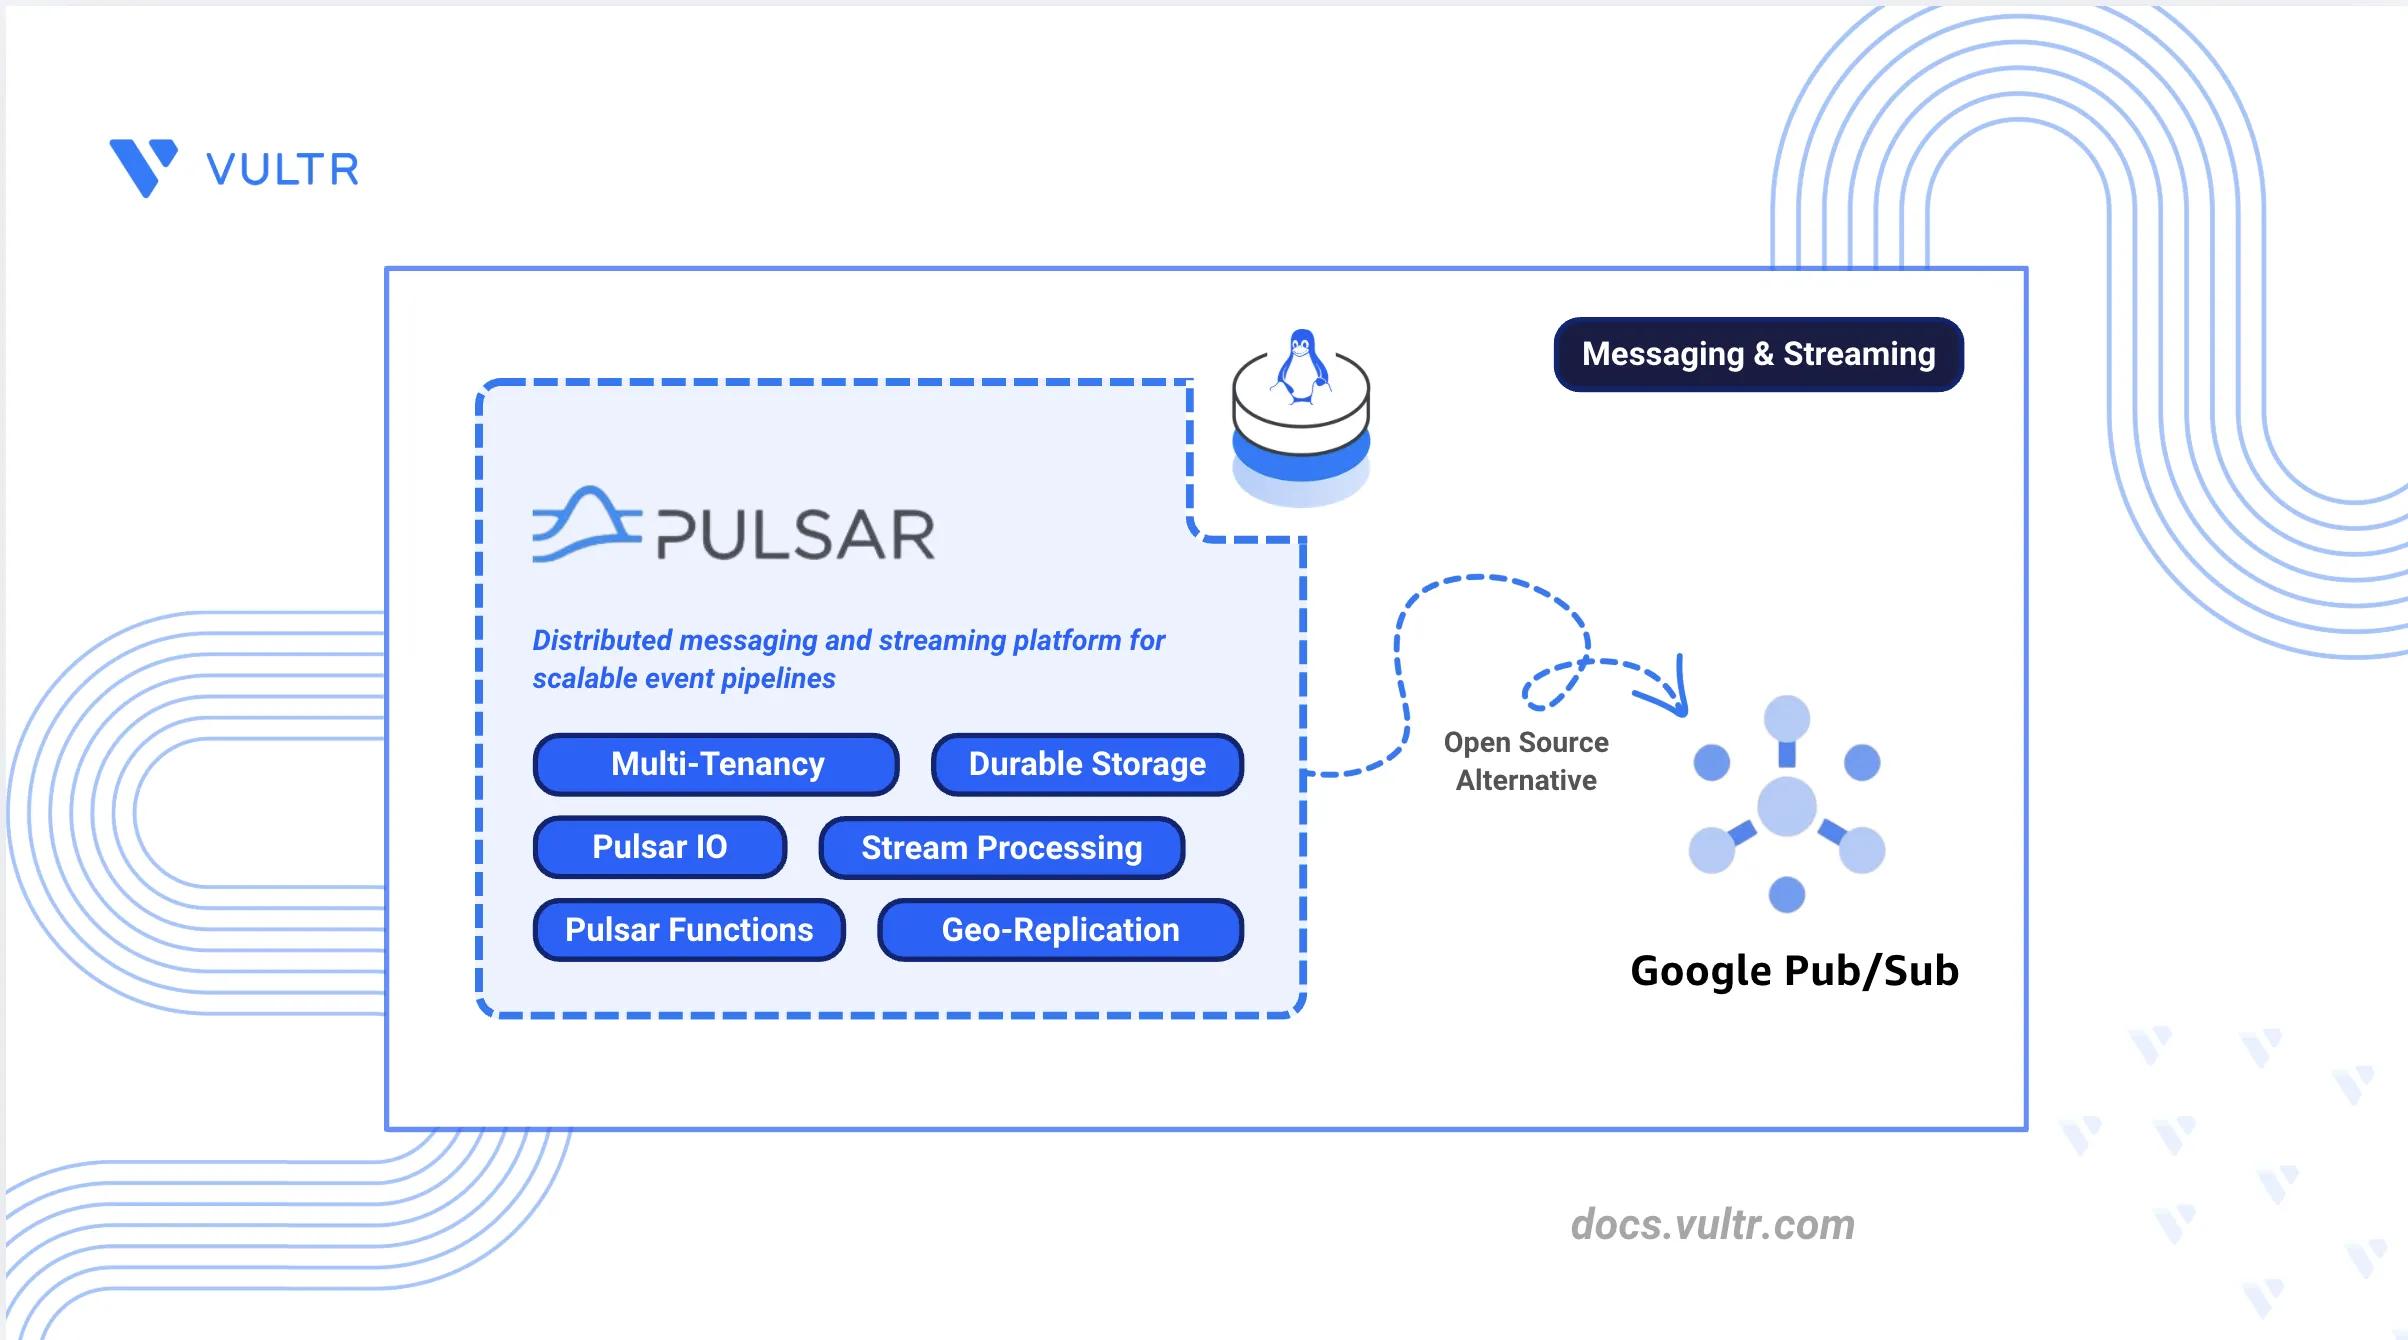
Apache Pulsar is a distributed messaging and streaming platform that combines high-throughput message delivery with durable storage and built-in serverless computing. It supports multi-tenancy, geo-replication, and tiered storage. Google Pub/Sub is a fully managed messaging service that provides asynchronous messaging between applications with automatic scaling and global availability.
This article explains how to deploy Apache Pulsar as a self-hosted alternative to Google Pub/Sub. It covers Docker-based installation, Pulsar Manager UI setup, multi-tenancy configuration, Pulsar Functions for serverless processing, IO connectors for data integration, authentication and authorization, and migration strategies from Google Pub/Sub.
Key Differences Between Apache Pulsar and Google Pub/Sub
Google Pub/Sub is a fully managed messaging service tightly integrated with the Google Cloud ecosystem. Apache Pulsar offers comparable functionality with infrastructure independence and advanced features like built-in Functions and tiered storage.
- Deployment Model: Google Pub/Sub runs as a managed service with automatic scaling. Pulsar deploys on any infrastructure you control, including on-premises servers, virtual machines (VMs), or Kubernetes clusters.
- Multi-Tenancy: Google Pub/Sub uses projects for isolation. Pulsar provides native multi-tenancy with tenants, namespaces, and topic-level policies for granular resource management.
- Storage Architecture: Google Pub/Sub abstracts storage entirely. Pulsar uses Apache BookKeeper for durable message storage with optional tiered storage to offload older data to object storage.
- Serverless Computing: Google Pub/Sub integrates with Cloud Functions for event processing. Pulsar includes built-in Functions that run alongside the broker without external dependencies.
- Pricing: Google Pub/Sub charges based on data volume and operations. Pulsar is open-source with no licensing costs beyond infrastructure.
Understanding Apache Pulsar Architecture
Apache Pulsar maps to Google Pub/Sub concepts while providing additional flexibility through its layered architecture.
The Pulsar architecture consists of:
- Brokers: Stateless servers that handle message routing, load balancing, and client connections. Brokers do not store messages directly.
- BookKeeper (Bookies): Distributed storage layer that provides durable, replicated message storage with low-latency writes.
- Metadata Store: Coordination and configuration layer for cluster metadata, policies, and leader election. In modern standalone Docker deployments, Pulsar uses RocksDB by default instead of an external ZooKeeper service.
- Pulsar Manager: Web-based user interface (UI) for managing tenants, namespaces, topics, and monitoring cluster health.
- Pulsar Functions: Lightweight serverless computing framework for stream processing without external systems.
Prerequisites
Before you begin, you need to:
- Have access to a Linux-based server as a non-root user with sudo privileges.
- Install Docker and Docker Compose.
- Create a DNS A record pointing to your server's IP address (for example,
pulsar.example.com).
Deploy Apache Pulsar with Docker
Docker provides the fastest path to a running Pulsar cluster. This setup uses the official Apache Pulsar images in standalone mode, running the broker, BookKeeper, and metadata store in one container. The broker exposes port 6650 for binary connections and port 8080 for the Admin REST API. Traefik handles HTTPS for the Pulsar Manager UI. The broker advertises localhost, so pulsar-admin and pulsar-client commands in this article run via docker exec rather than from outside the container.
Create the project directory with subdirectories for data, configuration, functions, and IO connectors.
CONSOLENavigate to the project directory.
CONSOLECreate a
.envfile to store configuration values.CONSOLEAdd the following environment variables. Replace
pulsar.example.comwith your domain,admin@example.comwith your email address, andPULSAR_MANAGER_PASSWORDwith a strong password (minimum 6 characters) for the Pulsar Manager admin account.INISave and close the file.
Set permissions on the data directory so the container can write to it.
CONSOLECreate the admin initialization script. This script runs once on startup to create the Pulsar Manager admin account using the credentials from your
.envfile.CONSOLEAdd the following content.
BASHSave and close the file.
Make the script executable.
CONSOLEAdd your user to the
dockergroup to run Docker commands withoutsudo.CONSOLEApply the group membership to the current session.
CONSOLECreate the Docker Compose configuration file.
CONSOLEAdd the following configuration:
YAMLSave and close the file.
Start the stack.
CONSOLEVerify that the
traefik,pulsar, andpulsar-managercontainers show arunningstatus.CONSOLEThe output shows all three containers with a status of
Up.Check the Pulsar startup logs for any errors.
CONSOLEThe output shows the broker and BookKeeper starting. Wait until the broker is fully ready before proceeding.
Verify that the admin user was created by the init service.
CONSOLEThe output shows
{"message":"Add super user success, please login"}. Thepulsar-manager-initcontainer exits after this one-time setup and does not restart.
Access Pulsar Manager UI
Pulsar Manager provides a web-based interface for managing clusters, tenants, namespaces, topics, subscriptions, and monitoring broker metrics. Pulsar creates two default tenants on startup: public, used for the default namespace, and pulsar, used for internal system topics.
Open a web browser and navigate to
https://pulsar.example.com, replacingpulsar.example.comwith your configured domain.Log in with the administrator credentials created during setup and click Log in.
Click New Environment to register your Pulsar cluster.
Fill in the dialog fields:
- Enter a name in the Environment Name field (for example,
local). - Enter
http://pulsar:8080in the Service URL field. - Enter
http://pulsar:6650in the Bookie URL field. - Click Confirm.
- Enter a name in the Environment Name field (for example,
Click the environment name in the list to navigate to the management interface. Verify that the left sidebar shows Tenants, Namespaces, Topics, and Tokens under the Management section.
Configure Multi-Tenancy
Pulsar's multi-tenancy model provides logical isolation between different teams, applications, or customers. Each tenant can have multiple namespaces, and each namespace can contain multiple topics with independent policies.
Create a new tenant using the Pulsar admin CLI.
CONSOLECreate a namespace within the tenant.
CONSOLEConfigure retention policies for the namespace. This example retains messages for 7 days or up to 10 GB.
CONSOLEConfigure message Time-to-Live (TTL) to automatically expire unacknowledged messages after 1 hour.
CONSOLECreate a topic within the namespace.
CONSOLEVerify that the topic was created.
CONSOLEThe output displays the full topic name in the format
persistent://my-tenant/production/orders.Open the NAMESPACES tab for the
my-tenanttenant in Pulsar Manager to view its namespaces.
Deploy Pulsar Functions
Pulsar Functions provide lightweight serverless computing for stream processing directly within the Pulsar cluster. Functions can transform, filter, route, or aggregate messages without external systems like Apache Flink or Spark.
Create a sample Python function that converts messages to uppercase in the
functionsdirectory you created earlier.CONSOLEAdd the following code:
PYTHONSave and close the file.
Deploy the function to process messages from an input topic and publish results to an output topic.
CONSOLEVerify that the function is running.
CONSOLEThe output shows the function instances and their running status.
Test the function by producing a message to the input topic.
CONSOLEThe Pulsar client prints several
INFOlog lines during startup. That is expected. The command is successful when it ends with1 messages successfully produced.Consume messages from the output topic.
CONSOLEThe output displays
content:HELLO WORLD, confirming the function processed the message.
Set Up Pulsar IO Connectors
Pulsar IO provides a framework for moving data between Pulsar and external systems. Source connectors ingest data from external systems into Pulsar topics, while sink connectors export data from Pulsar topics to external databases, storage systems, or services.
The standard Pulsar Docker image does not include built-in connector NAR files. Download the connector you need before deploying it. This section demonstrates the file source connector, which reads files from a local directory and publishes their content as messages to a Pulsar topic.
Download the file source connector NAR file into the
connectorsdirectory you created earlier.CONSOLERestart the Pulsar container to load the connector. Running admin commands before the broker is fully ready can return transient BookKeeper availability errors.
CONSOLEWait for the broker to be fully ready before proceeding. Run the following command repeatedly until it returns
["standalone"].CONSOLEList available source connectors to verify the file connector loaded.
CONSOLEThe output shows
filewith its description.Create the directory that the connector will monitor for new files.
CONSOLEGrant the Pulsar container write access to the input directory. The container runs as a non-root user, so open permissions are required for it to read files placed here.
CONSOLECreate the file source connector configuration file.
CONSOLEAdd the following configuration:
YAMLSave and close the file.
Copy the configuration into the container.
CONSOLEDeploy the file source connector to publish file contents to a topic.
CONSOLEVerify the source connector is running.
CONSOLEThe output shows
"running": truewhen the connector is active.Create a file in the input directory with two lines.
CONSOLEConsume the messages ingested by the connector.
CONSOLEThe output displays two messages. Each message contains one line from the file in the
contentfield and includesfile.name,file.path, andfile.modified.timein thepropertiesfield. The messages may arrive in any order. The final line confirms success. If you repeat this step, use a different value for--subscription-nameeach time, as an existing subscription resumes from where it last stopped and will not replay already-consumed messages.
Configure Authentication and Authorization
Pulsar supports multiple authentication mechanisms including Transport Layer Security (TLS) certificates, JSON Web Tokens (JWT), and OAuth 2.0. This section configures JWT-based authentication for client connections.
Generate a secret key for signing JWT tokens.
CONSOLEGenerate an admin token using the secret key and save it to a file.
CONSOLEGenerate a client token for application access and save it to a file.
CONSOLEStop the Pulsar container to apply configuration changes.
CONSOLEExport the default Pulsar configuration as a starting point.
CONSOLEOpen the configuration file to append the authentication settings.
CONSOLEScroll to the end of the file and append the following authentication settings.
INIThe
brokerClientAuthenticationPluginandbrokerClientAuthenticationParametersentries allow internal broker components such as the Functions worker to authenticate against the broker when JWT is enabled. Save and close the file.Open the Docker Compose configuration file.
CONSOLEAdd the following line to the
volumesblock under thepulsarservice.YAMLSave and close the file.
Start the Pulsar container with the new configuration. Wait for the broker to be fully ready before running authenticated commands.
CONSOLEGrant permissions to the client role on a namespace.
CONSOLETest authenticated access using the client token saved earlier.
CONSOLE
Authenticate Pulsar Manager
Pulsar Manager makes its own admin API calls to the broker, so it also needs a token now that authentication is enabled. Without this, the UI returns 401 Unauthorized on every tenant and topic request.
Export the default Pulsar Manager configuration as a starting point. This reads the file from the image directly rather than the running container, so it stays safe to rerun even after the file is bind-mounted in a later step.
CONSOLEOpen the file to set the broker JWT properties.
CONSOLELocate the following properties and set their values:
INIReplace
YOUR_ADMIN_TOKENwith the contents of~/pulsar/data/admin-token.txt. Save and close the file.Open the Docker Compose configuration file.
CONSOLEAdd a
volumesblock under thepulsar-managerservice with the following lines.YAMLA bind mount keeps this configuration in place if the container is ever recreated. A plain
docker cpinto the container only lasts until that happens. Thedbdatamount covers Pulsar Manager's own database, which stores the admin login and any registered environments. Without it, both are lost on every recreation. Save and close the file.Copy Pulsar Manager's existing database into the new mount point so the current admin login and environment carry over, then recreate the container to apply the configuration.
CONSOLE
Verify the Deployment
Each of the following checks covers an independent failure domain. These steps assume you completed Configure Authentication and Authorization earlier. All pulsar-admin and pulsar-client invocations require --auth-plugin org.apache.pulsar.client.impl.auth.AuthenticationToken and --auth-params "token:$(cat ~/pulsar/data/admin-token.txt)". Omitting them causes HTTP 401 Unauthorized.
Navigate to
https://pulsar.example.com, log in with your configured credentials, and verify that the cluster dashboard loads correctly.Test that the Pulsar binary protocol port accepts TCP connections. Replace
SERVER-IPwith your server's IP address. This confirms the port is open. Usedocker execforpulsar-adminandpulsar-clientoperations, since the broker advertiseslocalhostfor lookups.CONSOLEVerify that the Admin REST API responds correctly using the admin token saved earlier.
CONSOLEThe output displays
["standalone"]for a single-node deployment.Create the verification topic if it does not already exist.
CONSOLEVerify that the topic appears in the topic list. JWT tokens generated with
bin/pulsar tokens createare valid for broker authentication but do not appear in Pulsar Manager's Tokens page.CONSOLEProduce a test message to the verification topic.
CONSOLEConsume the test message with a new subscription name. If you repeat this check, use a different subscription name such as
verify-sub-2.--subscription-position Earliestonly applies when a subscription is first created.CONSOLECheck the status of the uppercase function.
CONSOLEA healthy function shows
"running" : true.
Migrate from Google Pub/Sub to Apache Pulsar
Migrating from Google Pub/Sub to Pulsar involves mapping Google concepts to Pulsar equivalents, updating client configurations, and transferring message schemas and data. The examples below assume you completed Configure Authentication and Authorization earlier in this article.
Topic and Subscription Migration
Google Pub/Sub topics map directly to Pulsar persistent topics, and subscriptions map to Pulsar subscriptions with different types.
- Topics: Create a Pulsar topic for each Pub/Sub topic using the format
persistent://tenant/namespace/topic-name. - Subscriptions: Map Pub/Sub subscriptions to Pulsar subscription types:
- Pull subscriptions map to Shared or Key_Shared subscriptions for competing consumers.
- Push subscriptions can be replaced with Pulsar Functions for serverless processing.
Application Code Updates
Replace the Google Cloud Pub/Sub client library with the Pulsar client library for your language. Pulsar provides official clients for Java, Python, Go, Node.js, C++, and C#.
Message Schema Migration
Google Pub/Sub supports Avro and Protocol Buffer schemas per topic. Pulsar includes a built-in schema registry. Refer to the Pulsar schema documentation for the schema format Pulsar expects and how to register schemas using pulsar-admin.
Push Subscriptions to Pulsar Functions
Google Pub/Sub push subscriptions deliver messages to HTTP endpoints. Replace these with Pulsar Functions that forward messages to external services. Refer to the Pulsar Functions documentation for implementation details.
Dead-Letter Topic Configuration
Google Pub/Sub routes failed messages to a dead-letter topic after the maximum delivery attempts are exceeded. Pulsar supports equivalent behavior through dead-letter policies configured on subscriptions. Refer to the Pulsar dead-letter topic documentation for configuration details.
Data Migration Strategy
For topics with existing messages that need to be preserved:
- Dual-Write Period: Configure producers to write to both Pub/Sub and Pulsar during the migration window.
- Backfill Historical Data: Export messages from Pub/Sub to Cloud Storage using an export subscription, then replay the exported files into Pulsar using a custom producer script.
- Cutover: Once consumers are migrated and caught up, disable the Pub/Sub producers.
Migration Considerations
- Message Ordering: Pub/Sub delivers messages in order per ordering key when the publisher sets an ordering key and the subscription has message ordering enabled. Use Pulsar Key_Shared subscriptions for equivalent behavior.
- Message Retention: Pub/Sub retains messages for 7 days by default. Configure Pulsar namespace retention policies to match.
- Authentication: Replace Google Cloud IAM with Pulsar JWT tokens or integrate with your identity provider using OAuth 2.0.
- Monitoring: Replace Cloud Monitoring with Pulsar's built-in Prometheus metrics endpoint at
http://localhost:8080/metrics/. - Client Libraries: Pulsar provides official clients for Java, Python, Go, Node.js, C++, and C#. Verify client library availability for your technology stack.
- Throughput Limits: Pub/Sub has per-project quotas. Pulsar throughput depends on your infrastructure sizing.
- Exactly-Once Semantics: Pub/Sub provides at-least-once delivery by default. Pulsar supports exactly-once semantics with transactional producers.
Conclusion
You have deployed Apache Pulsar as a self-hosted alternative to Google Pub/Sub using Docker, configured multi-tenancy with namespaces and retention policies, deployed Pulsar Functions for serverless stream processing, set up IO connectors for data integration, enabled JWT-based authentication and authorization, and applied migration strategies for topics, schemas, and dead-letter queues. For more information, refer to the official Apache Pulsar documentation.


0 Comments
Be the first to comment and share your perspective with the community.