
How to Deploy Cursor Projects on Vultr Using Coolify
Cursor is an AI-powered code editor built on VS Code that uses large language models to generate, refactor, and debug full-stack applications through natural language prompts. Coolify is a self-hosted platform-as-a-service that orchestrates Docker containers, manages Traefik reverse proxy routing, and provisions Let's Encrypt TLS certificates automatically.
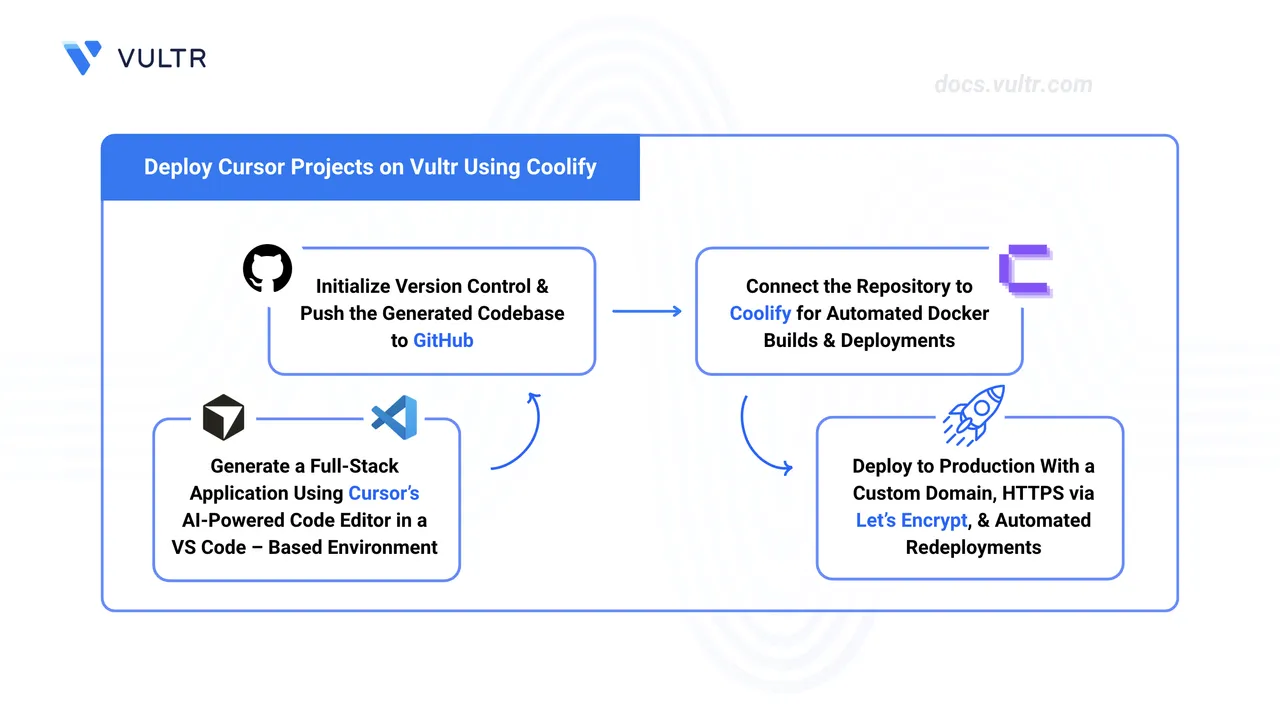
This guide explains how to set up Cursor, generate a full-stack application with AI assistance, push the code to GitHub, and deploy it on Vultr using Coolify.
Prerequisites
Before you begin, you need to:
- Have a Cursor account.
- Have a GitHub account.
- Deploy the Vultr Marketplace Application for Coolify with at least 2 GB RAM and 1 CPU core.
- Configure a DNS A record pointing to your server's IP address (for example,
app.example.com).
Set Up Cursor
Cursor functions as a standalone code editor with integrated AI capabilities. Install and authenticate the application before creating a new project.
Download and install Cursor.
Launch the application and sign in with your Cursor account.
Complete the initial environment preferences configuration when prompted.
Create an Application Using AI
Cursor generates application code directly in the editor through its AI chat interface. The generated project needs a Dockerfile so Coolify can build and deploy the containers. For multi-service applications, include a docker-compose.yml file.
Open a new, empty project directory in Cursor.
Open the AI chat panel. Press Ctrl + I on Windows or Linux, or Cmd + I on macOS.
Enter a detailed prompt describing your application. Specify the technology stack, required features, and request a Dockerfile for containerized deployment. For applications with multiple services, also request a
docker-compose.ymlfile. Cursor generates the source code, project structure, and container configurations based on your description.Review the generated files to verify the project structure and Docker configuration.
Optionally, test the application locally using the generated Docker configuration. Refer to the generated README for local setup instructions.
Open the integrated terminal. Press Ctrl +
`on Windows or Linux, or Cmd +`on macOS.Initialize a Git repository.
console$ git init
Stage all generated files.
console$ git add .
Commit the files to your local repository.
console$ git commit -m "Initial application generated with Cursor"
Create a new repository on GitHub.
Add the GitHub repository as a remote. Replace
YOUR_USERNAMEandmy-cursor-appwith your GitHub username and repository name.console$ git remote add origin https://github.com/YOUR_USERNAME/my-cursor-app.git
Set the default branch to main.
console$ git branch -M main
Push the code to your GitHub repository.
console$ git push -u origin main
Access the Coolify Dashboard
Coolify serves its administration interface on port 8000. The initial login creates the administrator account that controls all deployments and server settings.
Open your instance's Management Page in the Vultr Console and scroll down to App Instructions. The Coolify endpoint URL appears there in the format
http://SERVER_IP:8000.Open the URL in a browser. The first-run wizard prompts you to create an administrator account. Complete the required fields and submit the form.
Coolify opens the dashboard after the account is created. The administrator account controls all deployments, team members, and server settings.
Connect GitHub Repository
A GitHub source entry tells Coolify where to pull code from during builds. Adding the source once makes it available to every project on the server.
Click Sources in the Coolify dashboard.
Click Add Source and select GitHub.
Coolify redirects to GitHub for OAuth authorization. Click Authorize to grant access.
GitHub redirects back to Coolify after successful authorization. Coolify displays your GitHub account in the Sources list.
Create a New Project
Coolify uses projects to group related applications, databases, and services. Resources within the same project share a common Docker network.
Click Projects in the Coolify dashboard.
Click Add Project.
Enter a project name, such as
my-cursor-app.Click Create. Coolify displays the project details page.
Deploy the Application
Coolify fetches source code from the GitHub repository, builds Docker images based on the Dockerfile or docker-compose.yml, and starts the containers with Traefik routing configured automatically.
Click Add Resource in the project details page.
Select Application as the resource type.
Choose GitHub as the source.
Select your Cursor application repository from the dropdown.
Enter the branch name, typically
main.Coolify analyzes the repository and detects the Docker configuration. Select Docker Compose as the build pack for multi-container applications.
Click Continue.
Coolify generates a temporary domain in the format
RANDOM_ID.SERVER_IP.sslip.iofor immediate testing. Configure a custom domain later for production use.Click Save. Coolify redirects to the application configuration page.
Configure Environment Variables
Sensitive configuration values such as API keys and database credentials belong in Coolify's environment variable storage rather than in source code. Coolify passes these values to containers at runtime.
Open the application details page.
Click Environment Variables.
Click +Add to create a new variable.
Enter the variable name and value. Common variables for Cursor applications include:
DATABASE_URL: PostgreSQL connection string, such aspostgresql://user:pass@db:5432/dbnameAPI_KEY: External service API key, such assk_live_abc123NODE_ENV: Runtime environment, such asproductionNEXT_PUBLIC_API_URL: Frontend API endpoint, such ashttps://api.example.com
Click Save after adding all required variables.
Start the Deployment
Once the repository and environment variables are configured, initiate the build to create and launch the application containers.
Click Deploy to trigger the deployment process.
Coolify schedules the build. Select Logs to track each stage as it runs.
Each deployment runs through the following sequence:
- Cloning the repository
- Building Docker images for each service
- Starting containers
- Configuring Traefik routing rules
- Requesting TLS certificates
The full sequence takes 3-5 minutes for a typical application.
When deployment completes successfully, the application status changes to Running.
Verify Deployment
Test that the application loads correctly using the temporary domain before switching to production.
Click Links in the application details page to view accessible URLs.
Click the Coolify-generated domain link to open your application.
Your application loads at
http://RANDOM_ID.SERVER_IP.sslip.io. Verify that all features function correctly.
Configure Custom Domain with HTTPS
Replace the temporary sslip.io domain with your custom domain for production use. Coolify automatically provisions Let's Encrypt TLS certificates.
Navigate to the application details page.
Click Configuration in the left sidebar.
Edit the Domains field, removing the temporary domain and replacing it with your custom domain. Enter the value as
https://app.example.comso Coolify knows to provision HTTPS.Enable Automatic HTTPS to provision Let's Encrypt certificates.
Click Save.
Click Redeploy to apply the domain configuration.
Coolify rebuilds and reconfigures Traefik with the new hostname, then requests a certificate from Let's Encrypt. This takes 2-3 minutes.
Load the custom domain in your browser and check that the address bar shows a padlock, confirming the TLS certificate is valid.
Add a Database
Coolify deploys database containers within the same project, connected over an internal Docker network. The internal connection URL keeps database traffic isolated from the public internet.
Navigate back to the project details page.
Click Add Resource.
Select Database.
Choose PostgreSQL as the database type.
Type a name for the database, such as
app-db.Click Create. Coolify starts the container and generates login credentials.
Copy the connection string shown on the database details page.
Open the Environment Variables section for your application.
Add
DATABASE_URLas a new variable and paste the connection string as the value.Click Restart so the application picks up the updated database configuration.
Configure CI/CD Pipeline
Coolify supports continuous deployment through GitHub webhooks, automatically rebuilding and redeploying your application on every push.
Enable Automatic Deployments
Navigate to the application details page.
Click Settings.
Enable Automatic Deployment.
Coolify shows the generated webhook URL. Copy it.
Open the GitHub repository that holds your application code.
Go to Settings, then click Webhooks and select Add webhook.
Enter the Coolify webhook URL in the Payload URL field.
Select application/json as the content type.
Choose Just the push event.
Click Add webhook to register it.
GitHub sends an initial test event. Check that a green checkmark appears next to the webhook entry.
Test the CI/CD Pipeline
Confirm that pushing code to GitHub triggers an automatic rebuild and deployment in Coolify.
Edit any file in your application code.
Stage the changes.
console$ git add .
Commit the changes.
console$ git commit -m "Update application feature"
Push to GitHub.
console$ git push origin main
Coolify detects the push event and starts a new deployment automatically.
Open the application details page in Coolify.
Click Deployments to view the deployment history.
The most recent entry appears at the top with a Building status.
Click Logs to follow the build output in real time.
When the build completes, the deployment status changes to Finished and the application restarts with the updated code.
Configure GitHub Actions for Testing
Set up a GitHub Actions workflow to run automated tests before every deployment. Coolify receives the webhook only after all checks pass, blocking broken code from reaching production.
Create the GitHub Actions workflow directory.
console$ mkdir -p .github/workflows
Open a new workflow file in a text editor.
console$ nano .github/workflows/ci.yaml
Paste the following configuration into the file. Update the test commands to match your application stack.
yamlname: CI on: push: branches: [ main ] pull_request: branches: [ main ] jobs: test: runs-on: ubuntu-latest steps: - uses: actions/checkout@v4 - name: Run tests run: | # Add your test commands here # Example for Node.js: # npm install && npm test # Example for Go: # go test ./... echo "Tests passed"
Save and close the file.
Stage the workflow file.
console$ git add .github/workflows/ci.yaml
Commit the changes.
console$ git commit -m "Add CI workflow"
Push to GitHub.
console$ git push origin main
GitHub Actions runs the tests on every push. Coolify deploys the application only after the workflow completes successfully.
Conclusion
You have successfully created a full-stack application with Cursor, pushed the code to GitHub, and deployed it on Vultr using Coolify. The application now serves traffic over a custom domain with automatic HTTPS and redeploys on every push to the repository. For more information, visit the official Coolify documentation.