
How to Deploy Discourse – Open-Source Community Discussion Platform
Discourse is an open-source community discussion platform that combines traditional forum discussions, mailing list workflows, and real-time conversations into a mobile-first interface. Built on Ruby on Rails and Ember.js, it provides extensive customization through plugins, themes, and an API. Discourse supports user authentication through Discourse ID, automatic HTTPS with Let's Encrypt, and email notifications for community engagement.
This article explains how to deploy Discourse using the official interactive installer, configure domain settings with either a custom domain or a free discourse.diy subdomain, and complete the initial community setup through the web-based dashboard.
Prerequisites
Before you begin, you need to:
- Have access to a Linux-based server (with at least 2 CPU cores and 4 GB of RAM) as a non-root user with
sudoprivileges. - Create a DNS A record pointing to your server’s IP address (for example,
discourse.example.com). - Create a free account at Discourse ID.
Claim a Free Subdomain (Optional)
Discourse requires a valid domain name to enable HTTPS and complete the installation process. If you do not own a custom domain, you can claim a free discourse.diy subdomain through Discourse ID.
Navigate to the Discourse Subdomain page.
Sign in using your Discourse ID account.
Choose a unique subdomain (for example,
mydiscourse.discourse.diy) and click Claim Subdomain.Click Generate Verification Code to receive a verification code.
This code expires after 10 minutes. If necessary, generate a new code from the same dashboard.Note
Run the Discourse Installer
The official Discourse installer prepares the host system and deploys the application using Docker. It installs Docker and required dependencies, generates the Discourse configuration files, enables HTTPS with Let's Encrypt, and launches the interactive setup wizard.
Create a project directory.
console$ mkdir discourse
Navigate to the project directory.
console$ cd discourse
Download and run the official installer script.
console$ wget -qO- https://raw.githubusercontent.com/discourse/discourse_docker/main/install-discourse | sudo bash
Only execute scripts from trusted sources. This installer runs with elevated privileges and modifies system packages, Docker configuration, firewall rules, and TLS settings. The script is maintained by the official Discourse development team.WarningAllow the script to complete system checks and start the interactive configuration wizard.
Configure the Deployment
The interactive configuration wizard collects the required settings to initialize the Discourse instance and generate the application configuration.
Site Details: Provide the administrative email address and domain information when prompted.
- Admin email: Enter the email address associated with your Discourse ID account.
- Domain selection:
- Select No when using a free
discourse.diysubdomain, then enter the claimed subdomain and verification code. - Select Yes when using a custom domain that already points to the server.
- Select No when using a free
- SMTP configuration:
- Select No to skip SMTP setup during installation. Discourse enables authentication using Discourse ID, but email delivery remains required for notifications and account recovery. Configure SMTP later from the admin dashboard.
- Select Yes to configure an SMTP server during installation.
Confirm settings: Review the configuration summary and select Yes to continue.
The installer builds and starts the Discourse containers. This step typically takes 5 to 10 minutes, depending on available system resources.NoteVerify the Discourse container is running.
console$ docker ps
The output displays a container with the image
local_discourse/apprunning with ports80and443mapped to the host.When the container runs for the first time, Discourse performs initial configuration tasks including database migrations and asset precompilation. This process can take up to 5 minutes before the web interface becomes accessible.Note
Access the Discourse Community Dashboard
After the installation completes, access the Discourse web interface to finalize the configuration.
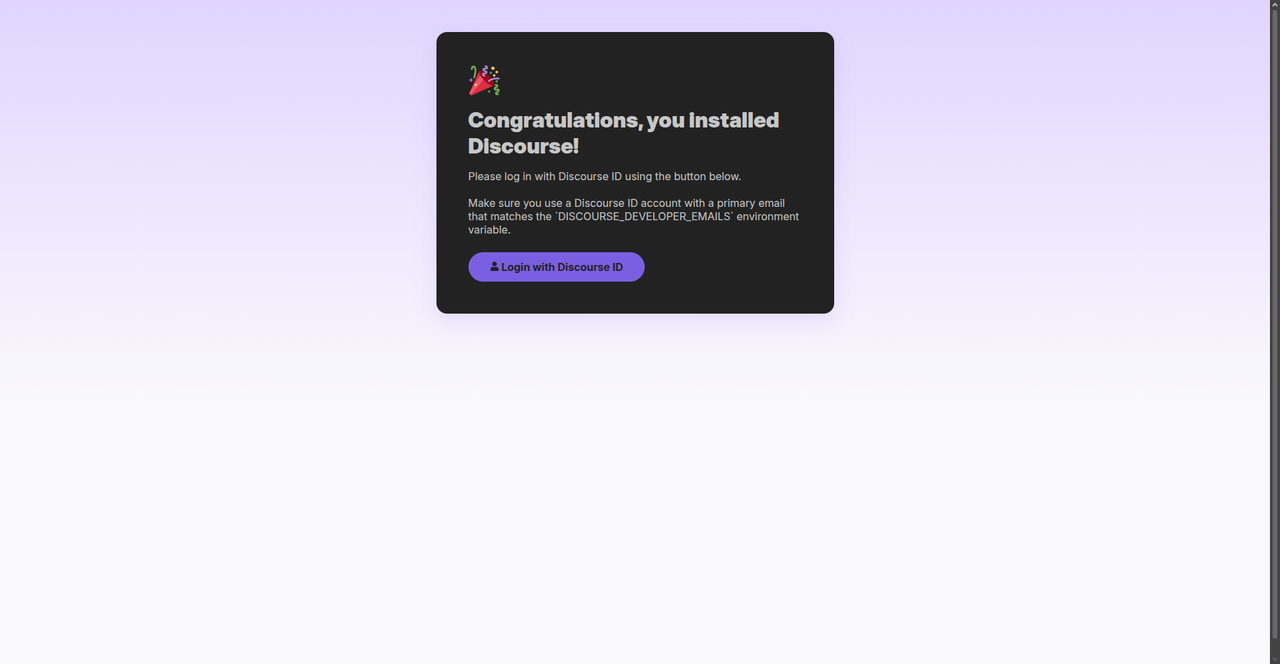
Open your web browser and navigate to your Discourse domain using HTTPS.
https://discourse.example.comReplace
discourse.example.comwith your custom domain ordiscourse.diysubdomain.Click Login with Discourse ID.
Complete the interactive Getting started wizard to configure your community's identity and privacy.
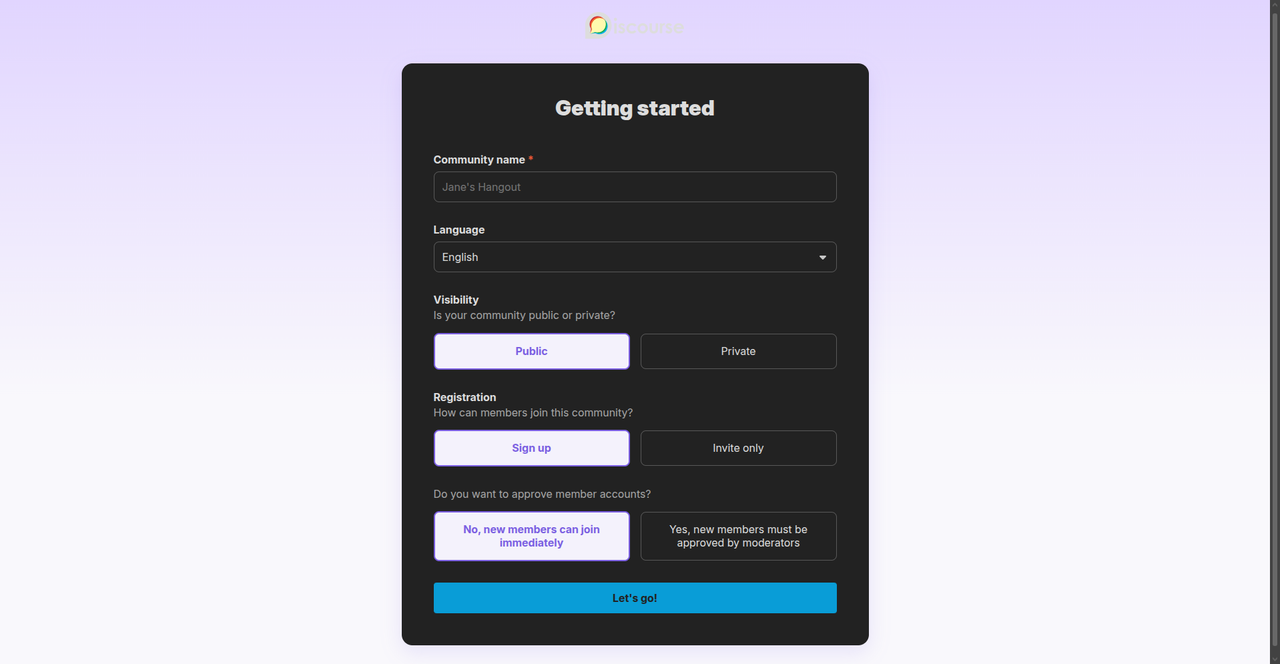
- Community name: Sets the official title of your forum.
- Language: Defines the primary interface language.
- Visibility: Choose Public to make your content accessible to everyone and searchable by search engines, or Private to restrict visibility to logged-in members.
- Registration: Select Sign up to allow open registration, or Invite only to restrict membership to those you specifically approve.
- Approve member accounts: This security feature requires moderators to manually review each new user. When enabled, new accounts stay in a "pending" state and cannot participate until an administrator approves them.
Click Let's go to save the settings.
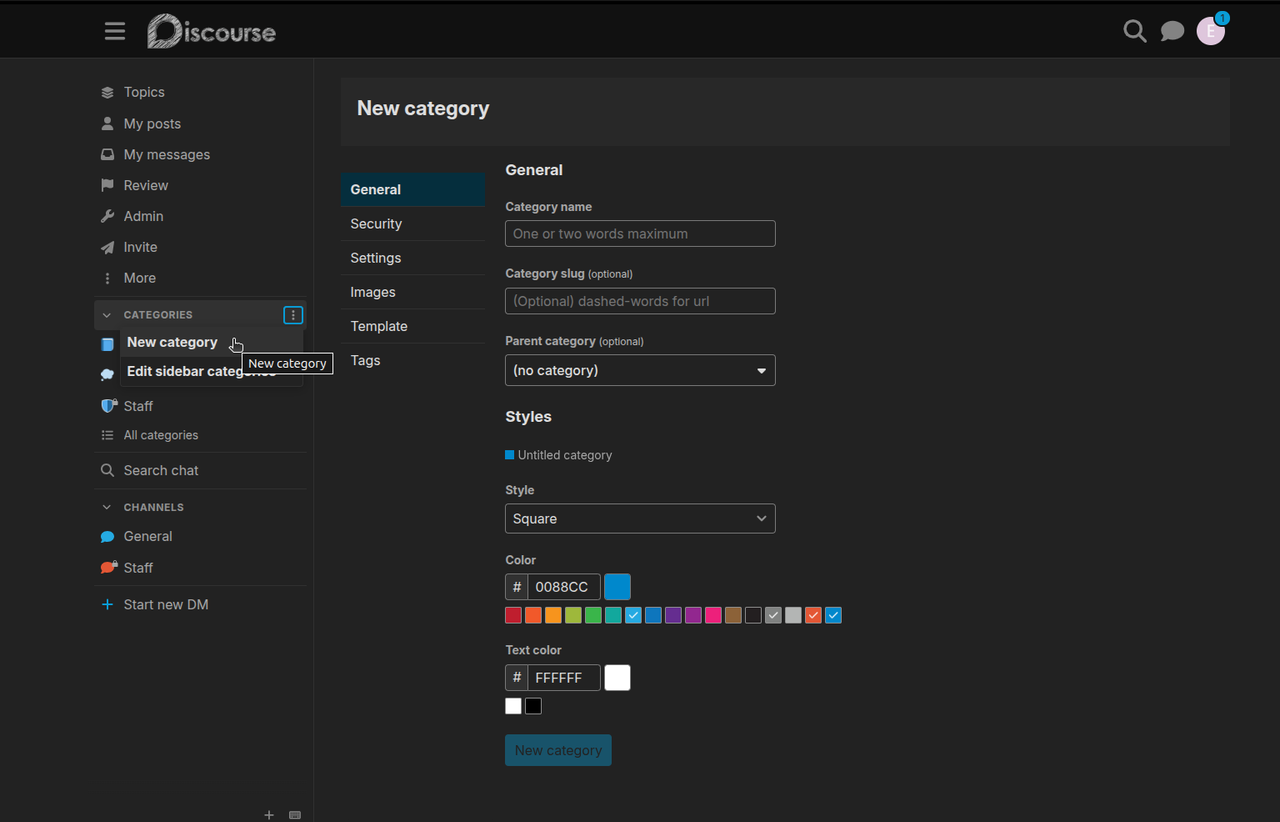
Select New Category, then define the name, slug, and appearance settings.
Publish an introductory post to welcome your members. Click New Topic, enter a descriptive title, select your preferred category, and write your message in the composer.
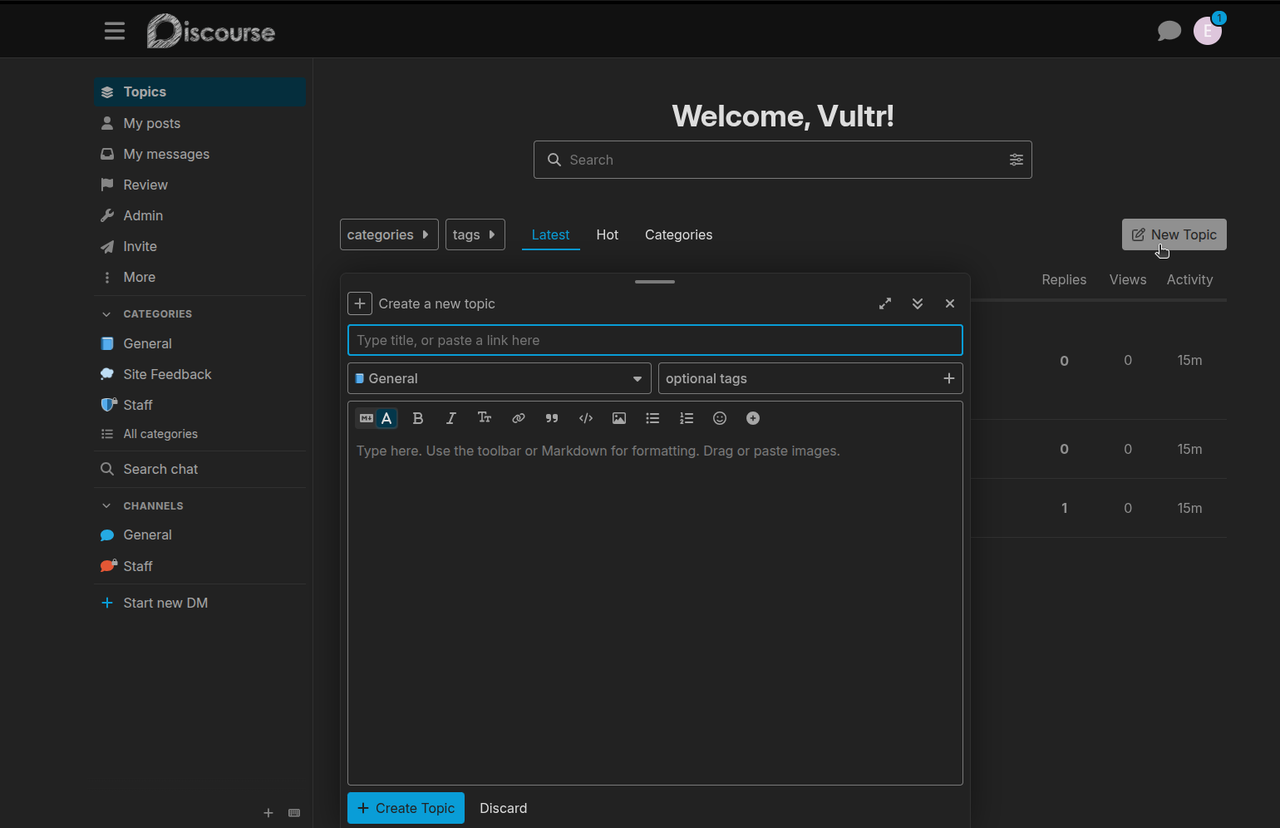
Click Create Topic to make the post live.
Conclusion
You have successfully deployed Discourse using the official installer with HTTPS enabled and domain configuration complete. The platform provides category management, user permissions, and plugin configuration through the admin dashboard. For more information, visit the official Discourse documentation.