
How to Deploy Immich – An Opensource Alternative to Google Photos

Immich is an open source, high-performance photo and video management solution that enables you to securely create, back up, and manage media files on a server. Immich is a self-hosted alternative to Google Photos, offering a user-friendly web-based interface for uploading and managing photos and videos. You can extend Immich with external storage solutions, such as Vultr Block Storage, making it a privacy-first solution for storing photos and videos using albums on your server.
This article explains how to install and configure Immich using Docker.
Prerequisites
Before you begin, you need to:
- Have access to an Ubuntu 24.04 server as a non-root user with sudo privileges.
- Install Docker and Docker Compose.
- Configure a domain name, such as
immich.example.com, to point to your server’s public IP address.
Set Up the Directory Structure, Configuration, and Environment Variables
This section prepares the project directory and environment variables file for deploying Immich.
Create a new project directory in your home directory, such as
immich, to store your Immich project files.console$ mkdir ~/immich
Switch to the project directory.
console$ cd ~/immich
Download the latest
.envfile for Immich.console$ wget -O .env https://github.com/immich-app/immich/releases/latest/download/example.env
Edit the
.envconfiguration for Immich using a text editor like nano.console$ nano .env
Uncomment the
#TZdirective and specify the timezone to use with Immich. For example,Europe/London.iniTZ=Europe/London
Save and close the file.
Within the
.envfile:UPLOAD_LOCATION: Specifies the default path to store all uploaded images and videos in Immich. The defaultlibraryvalue creates a new directory in your Immich project directory to store the uploaded files.DB_DATA_LOCATION: Specifies a storage path for all PostgreSQL database files.TZ: Specifies the timezone to use with Immich. See the list of tz database time zones for the supported formats.IMMICH_VERSION: Specifies the Immich version to run on your server.DB_PASSWORD: The database password to authenticate with a username for the PostgreSQL container.DB_USERNAME: The username to authenticate with the PostgreSQL database.DB_DATABASE_NAME: The database name to store all Immich configurations and metadata.
Deploy with Docker Compose
This section launches Immich and its required services using Docker Compose. Immich offers an official Docker Compose manifest that includes PostgreSQL for metadata storage and Valkey (a Redis-compatible in-memory datastore) for background jobs, caching, and task queues.
Download the latest Immich manifest for Docker Compose.
console$ wget https://github.com/immich-app/immich/releases/latest/download/docker-compose.yml
This file defines all required services, including:
immich-server: the main Immich applicationpostgres: stores metadata such as users, albums, and file referencesvalkey: handles background jobs, caching, and task queues
Add your user account to the docker user group.
console$ sudo usermod -aG docker $USER
Apply new group membership.
console$ newgrp docker
Start the Immich container and the Valkey, PostgreSQL dependency containers.
console$ docker compose up -d
List all active Docker containers and verify that the Immich, Valkey, and PostgreSQL containers are active.
console$ docker compose ps
The output displays three running containers with a status of
Up: the Immich server, the PostgreSQL database, and Valkey.Send a
GETrequest to the Immich port2283and verify that it's active.console$ curl -X GET 127.0.0.1:2283
The command returns an HTTP response from the Immich server, confirming that the application is running and reachable on the port.
Configure Nginx as a Reverse Proxy to Expose Immich
Immich runs on the host port 2283 and listens for HTTP connections, which is insecure by default. Follow the steps below to install Nginx and configure it as a reverse proxy to securely expose Immich using your immich.example.com domain.
Update the APT package index.
console$ sudo apt update
Install Nginx.
console$ sudo apt install nginx -y
Enable the Nginx system service to start at boot.
console$ sudo systemctl enable nginx
Remove the default configuration from the
/etc/nginx/sites-enableddirectory to disable it.console$ sudo rm /etc/nginx/sites-enabled/default
Create a new
immich.confNginx virtual host configuration in the/etc/nginx/sites-availabledirectory.console$ sudo nano /etc/nginx/sites-available/immich.conf
Add the following configurations to the file. Replace
immich.example.comwith your actual domain.iniserver { listen 80; server_name immich.example.com; location / { client_max_body_size 10M; proxy_pass http://127.0.0.1:2283; proxy_http_version 1.1; proxy_set_header Upgrade $http_upgrade; proxy_set_header Connection "upgrade"; proxy_set_header Host $host; proxy_set_header X-Real-IP $remote_addr; proxy_set_header X-Forwarded-For $proxy_add_x_forwarded_for; proxy_set_header X-Forwarded-Proto $scheme; } }
The above Nginx configuration:
- Listens on port 80 and handles requests addressed to
immich.example.com, and forwards them to the localhost port 2283 where Immich is active. - The
client_max_body_sizedirective limits uploads to10 MB. Increase this value if you plan to upload larger image or video files.
Save and close the file.
- Listens on port 80 and handles requests addressed to
Link the
immich.conffile to the/etc/nginx/sites-enableddirectory to enable it.console$ sudo ln -s /etc/nginx/sites-available/immich.conf /etc/nginx/sites-enabled/
Test the Nginx configuration for errors.
console$ sudo nginx -t
The output confirms that the configuration syntax is valid and the test is successful.
Restart Nginx to apply the configuration changes.
console$ sudo systemctl restart nginx
Allow incoming HTTP traffic through the firewall.
console$ sudo ufw allow 80/tcp
Allow HTTPS traffic through the firewall for secure access.
console$ sudo ufw allow 443/tcp
Reload UFW to apply the firewall configuration changes.
console$ sudo ufw reload
Secure Immich with Trusted TLS Certificates
Follow the steps below to secure incoming connections to Immich with trusted TLS certificates.
Install the Certbot Let's Encrypt plugin for Nginx.
console$ sudo apt install certbot python3-certbot-nginx -y
Generate a new TLS certificate for your Immich virtual host domain. Replace
immich.example.comwith your actual domain andadmin@example.comwith your active email address.console$ sudo certbot --nginx -d immich.example.com -m admin@example.com --non-interactive
Certbot automatically updates the Nginx configuration to enable HTTPS for your Immich domain.
Access and Configure Immich
Immich requires an active administrative user in order to upload and manage media on your server. Follow the steps below to access Immich using your immich.example.com domain, set up an administrative user, and configure Immich on your server.
Access your domain using a web browser such as Firefox.
https://immich.example.comClick Getting Started to begin the Immich configuration process.
Enter your administrator email, a strong password, and display name in the respective fields.
Click Sign up to save the administrator user information.
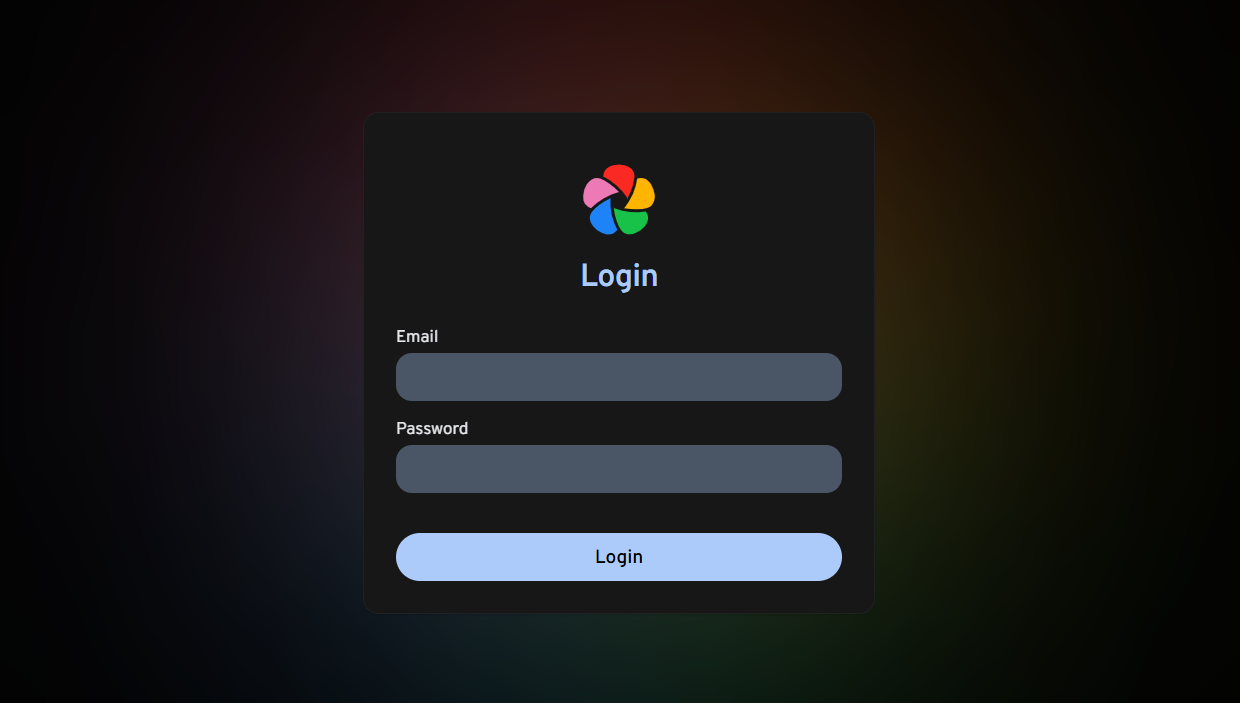
Enter your administrator email and password when prompted to log in to Immich.
Navigate through the default Immich setup steps to customize your installation:
- Click Theme to set up the Immich theme.
- Choose light or dark to set as the default Immich theme.
- Click Language and choose the preferred language from the dropdown list of options.
- Click Server Privacy and toggle the optional features on or off to enable or disable maps and version checks.
- Click User Privacy and select any optional features to enable or disable.
- Click Storage Template and toggle Enable storage template engine to enable the auto-organization of files based on your Immich templates.
- Click Backups and review the 3-2-1 backup strategy recommendations.
- Click Mobile App to download the client or mobile application for your device.
- Click Done to save and apply your Immich configuration.
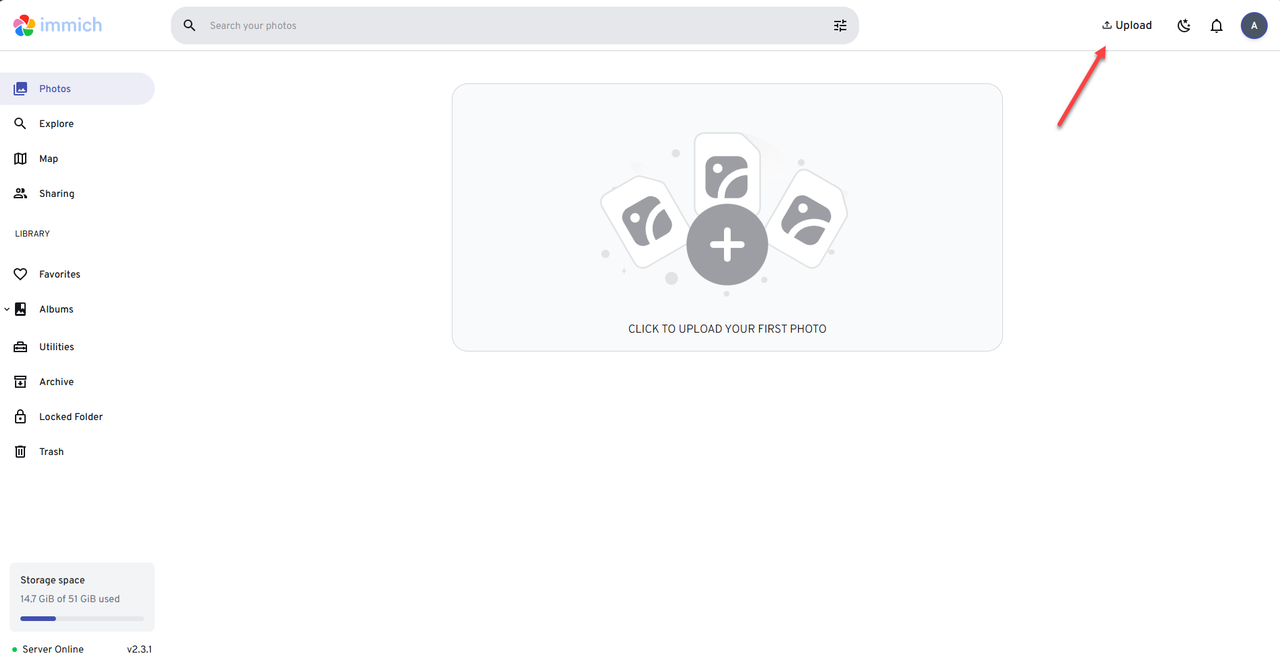
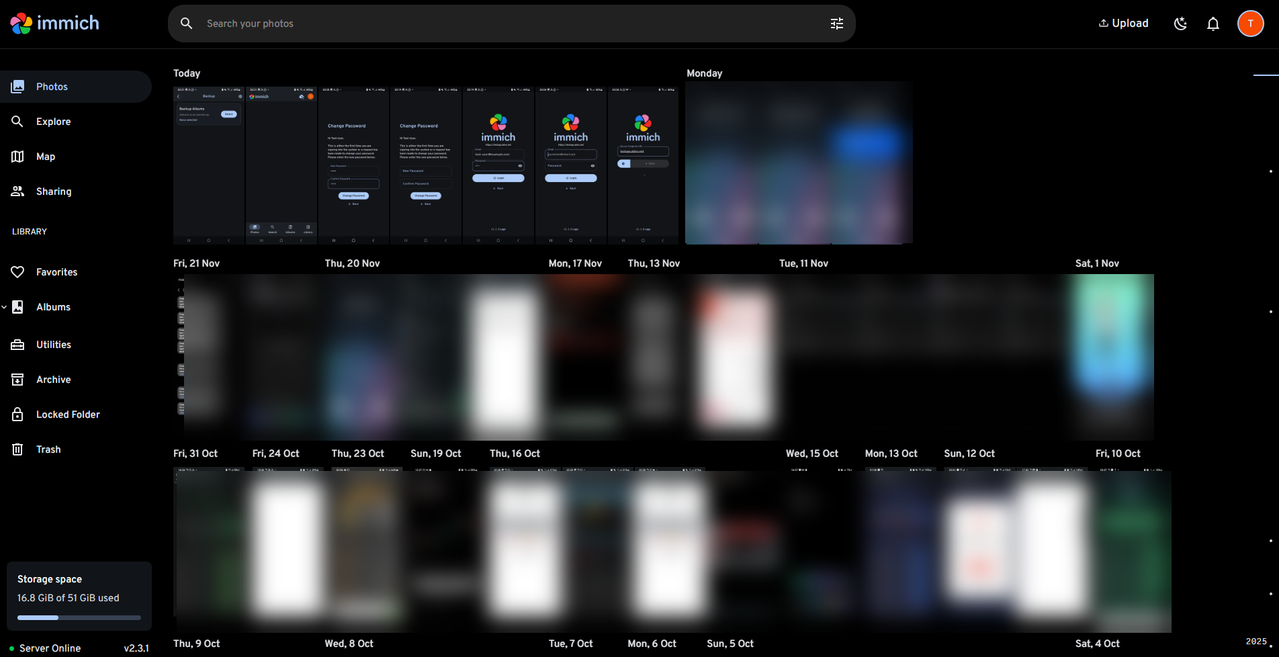
Verify that the Immich web management dashboard loads in your web browser.
Click Upload on the top navigation bar to upload images from your workstation.
Browse any images from your workstation and click Open to upload them to your Immich server.
Verify the uploaded images in your Photos catalog.
Create Users
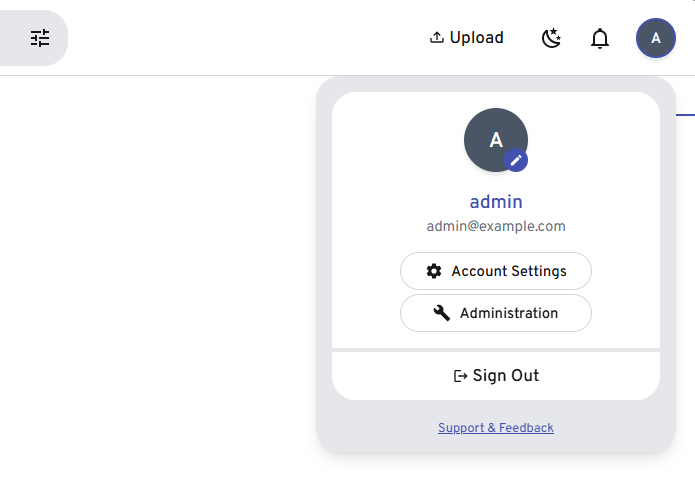
Click the user thumbnail in the top-right corner and select Administration from the list of options.
Click Users on the left navigation menu.
Click Create user within the User Management page.
Enter the new user's email, initial password, and display name. Then, enter the user's maximum storage in gigabytes within the Quota Size field and click Create to apply the changes.
Upload and Manage Photos Using Immich
You can upload multiple images and videos from multiple devices using Immich. Follow the steps below to download the latest mobile app for your device, configure your server endpoint, and upload images using Immich.
Open your mobile device's official application store. For example, Play Store for Android or App Store for iOS.
Enter Immich as the search keyword to browse the list of available apps.
Install the official Immich application.
Open Immich and enter your Immich server domain in the Server Endpoint URL field and click Next.
Enter your user email and password in the respective fields and click Login.
Grant the Immich application access to the photos and videos library on your mobile device.
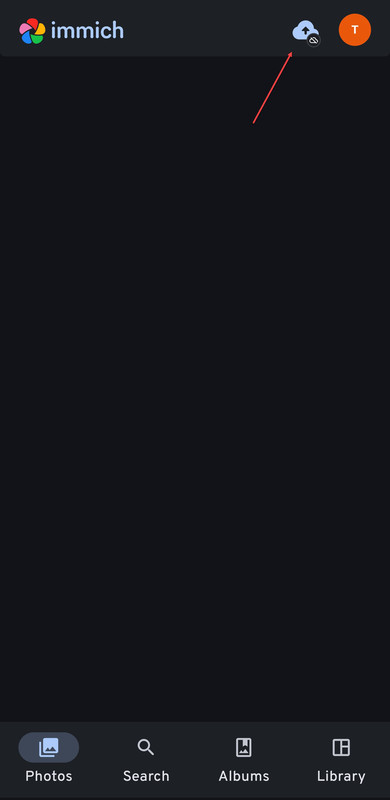
Click Backup next to your user's thumbnail.
Click Select to specify the albums on your mobile device that you want to upload to the Immich server.
Click Back and toggle Enable Backup to allow instant uploads to your Immich server.
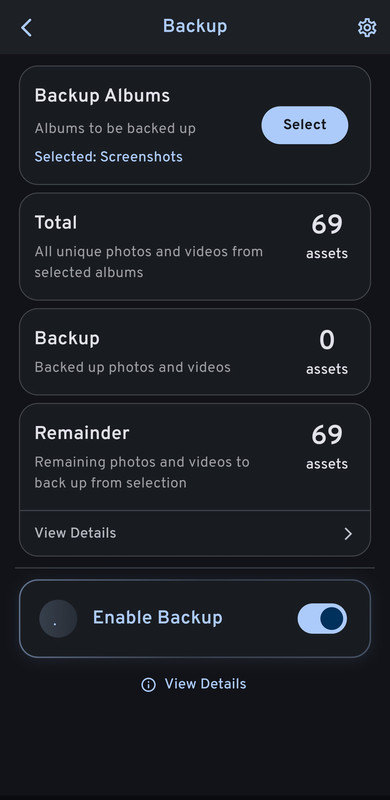
Monitor the upload progress within your Backup statistics.
Access your Immich server from a different workstation, log in with the same user, and verify that all files uploaded from your mobile device are available.
You can integrate Immich with Vultr Block Storage to store bulk images and videos with extended storage to keep your server storage well optimized. Follow the steps below to configure the Vultr Block Storage volume as the main storage path for Immich.
Provision a Vultr Block Storage volume using the Vultr Console.
Attach the volume to your Immich instance and mount it to
/mnt/blockstorage. See the attach a Block Storage volume documentation for details.List all storage devices attached to your Immich instance and verify that your Vultr Block Storage volume is available and mounted.
console$ lsblkNavigate to your Immich project directory.
console$ cd ~/immich
Stop the currently running Immich containers. This is critical to ensure the new storage configuration is loaded correctly.
console$ docker compose down
Manually create the required Immich folder structure on your Block Storage. This ensures all necessary subdirectories exist before the container starts.
console$ sudo mkdir -p /mnt/blockstorage/immich/{library,upload,thumbs,profile,encoded-video,backups}
Create the hidden
.immichsystem marker files in each directory. This prevents "System Integrity" errors during startup.console$ sudo touch /mnt/blockstorage/immich/{library,upload,thumbs,profile,encoded-video,backups}/.immich
Sync existing Immich media files to the Block Storage volume.
console$ sudo rsync -avzh ./library/* /mnt/blockstorage/immich/
Change the directory ownership to the Immich container user (UID 1000). This grants the container full read and write permissions.
console$ sudo chown -R 1000:1000 /mnt/blockstorage/immich
Open the
.envconfiguration.console$ nano .env
Change the
UPLOAD_LOCATION=value to the/mnt/blockstorage/immichpath.iniUPLOAD_LOCATION=/mnt/blockstorage/immich
Save and close the
.envfile.Start the Immich container with the new storage configuration.
console$ docker compose up -d
List all active Docker containers and verify that Immich is running.
console$ docker compose ps
Print the active Immich environment configuration and verify that the upload location points to your
/mnt/blockstorage/immichdirectory.console$ docker exec -it immich_server env | grep UPLOAD_LOCATION
Access the Immich web management dashboard using your domain or mobile application.
https://immich.example.comUpload new images to your server using Immich.
List files in the
/mnt/blockstorage/immichdirectory and verify that Immich stores all uploads to your Vultr Block Storage volume.console$ ls /mnt/blockstorage/immich/upload/
Conclusion
You have installed and configured Immich to store images. Immich supports image and video uploads from multiple devices and users, limited only by the storage and resources available on your server. You can migrate existing images from Google Photos to Immich and use external storage solutions like Vultr Block Storage to increase the storage size on your server.