How to Deploy Logto as a Microsoft Entra External ID Alternative
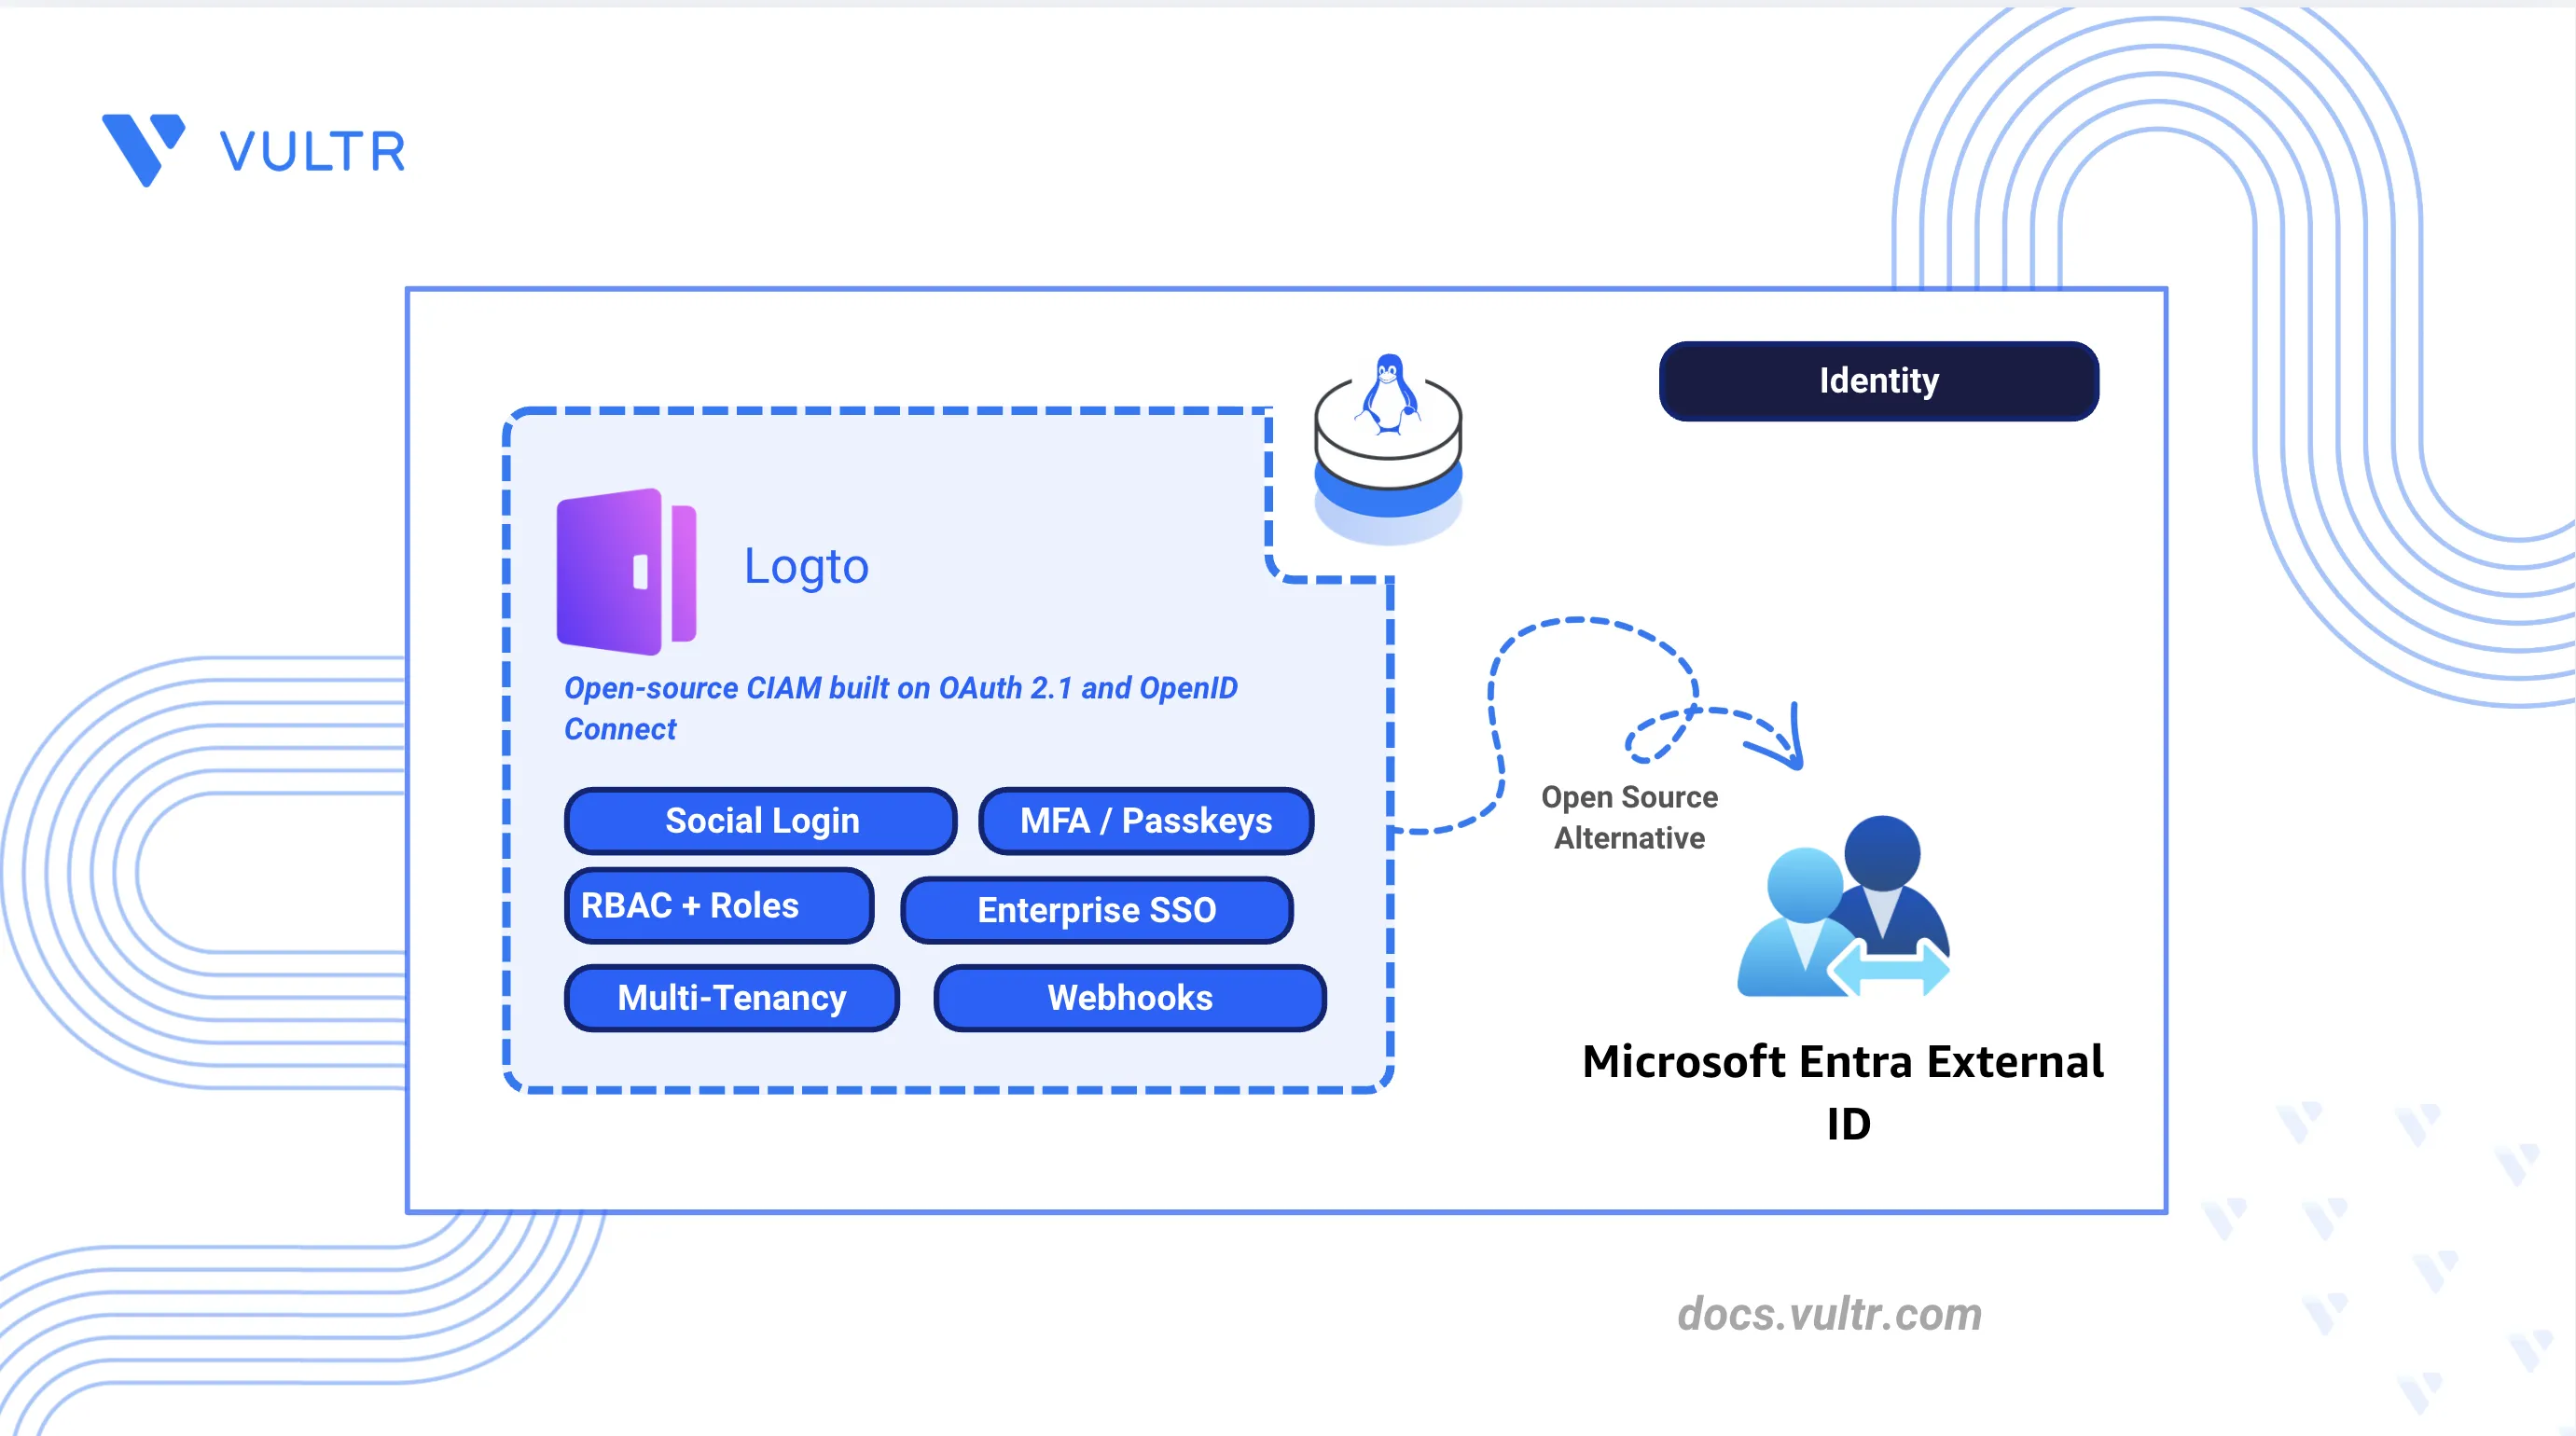
Microsoft Entra External ID is Microsoft's cloud-based CIAM service for customer-facing applications. It provides an external tenant customer directory, customizable authentication journeys, social and enterprise identity federation, multi-factor authentication, and integration with the Microsoft identity platform. It removes the need to operate an identity store, but it bills per monthly active user (MAU) above a free allowance of 50,000 MAU on the Basic tier, meters SMS phone verification separately by originating country, charges an additional per-MAU rate for the ID Governance add-on, and ties the directory and its authentication journeys to Microsoft Entra tenants.
Logto is an open-source Customer Identity and Access Management (CIAM) platform built on the OAuth 2.1 and OpenID Connect (OIDC) standards, and it covers the same ground on self-hosted infrastructure without per-user billing or cloud provider API dependencies. It provides a branded sign-in experience, social and enterprise Single Sign-On (SSO) federation, multi-factor authentication (MFA), role-based access control (RBAC), organizations for multi-tenancy, and webhooks, and it stores every user, application, and role in a PostgreSQL database you control. Because it implements the OIDC specification rather than a proprietary protocol, standard client libraries integrate with it unchanged. A self-hosted deployment also gives you direct control over the token lifetimes, the user schema, the connector set, and the data residency of the identity store.
This article explains how to deploy Logto as an alternative to Microsoft Entra External ID. It covers the Docker Compose deployment with Traefik as the reverse proxy, automatic HTTPS with Let's Encrypt, the admin console, the sign-in experience and brand identity, email and social login connectors, enterprise SSO, MFA, RBAC and API resources, organizations for multi-tenancy, application registration, webhooks, deployment verification, and migration from Microsoft Entra External ID.
Understanding Logto Architecture
Logto covers most Microsoft Entra External ID components through a self-hosted, OIDC-standard platform. The following table maps each External ID feature to its Logto counterpart and notes where no equivalent exists.
The Logto Core service (auth.example.com) exposes the OIDC endpoints, Management API (/api), and the user-facing sign-in experience. The Admin Console (admin.example.com) is a separate frontend that manages tenant configuration through the Management API.
Prerequisites
Before you begin:
- Have access to a Linux-based server (with at least 2 CPU cores and 8 GB of RAM) as a non-root user with sudo privileges.
- Install Docker and Docker Compose.
- Create DNS A records pointing to your server's IP address for the following subdomains:
auth.example.com(Logto Core API and sign-in experience) andadmin.example.com(Admin Console).
Deploy Logto with Docker Compose
Logto requires PostgreSQL 14 or later to store users, configuration, and session data. This section deploys Logto for production on a Linux server using Docker Compose, Traefik for automatic HTTPS with Let's Encrypt, and PostgreSQL for durable storage.
Create the project directory structure.
CONSOLENavigate to the project directory.
CONSOLECreate the Logto environment file.
CONSOLEAdd the following configuration:
INISave and close the file.
Replace:
auth.example.com: Your Logto Core API subdomain.admin.example.com: Your Admin Console subdomain.admin@example.com: Your email address for Let's Encrypt certificate notifications.DB-PASSWORD: A strong password for the PostgreSQL database.1.40.1: The Logto release version to deploy. Check the Logto releases page for the latest stable version when upgrading.
Download the Logto Docker Compose file for the pinned release.
Note
Pin the compose file URL to the same release tag as
TAGin the environment file. The followingdocker-compose.ymlfile is maintained by Logto.CONSOLEUpdate the
docker-compose.ymlfile for production use. The official compose file ships with hardcoded database credentials and is labeled for demonstration; replace those defaults before deployment.CONSOLEFind the
appservice and update theDB_URLunder theenvironmentsection as follows:YAMLFind the
postgresservice and update thePOSTGRES_PASSWORDvalue in theenvironmentsection:YAMLPin the PostgreSQL image to a specific release for reproducible deployments:
YAMLSave and close the file.
Create the Traefik Docker Compose override file.
CONSOLEAdd the following configuration:
YAMLSave and close the file.
Traefik routes HTTPS traffic to Logto on subdomain-based host rules. Port 3001 serves the Core API and sign-in experience; port 3002 serves the Admin Console. Let's Encrypt certificates are provisioned automatically once DNS resolves to this server. This stack pins
svhd/logtoto theTAGvalue in.env,traefiktov3.7.0, and PostgreSQL to17.5-alpinefor reproducible production deployments.Start the Logto stack.
CONSOLEVerify the containers are running.
CONSOLEThe output displays running containers for Traefik, Logto, and PostgreSQL.
Verify HTTPS on the Admin Console.
CONSOLEThe output returns
HTTP/2 302withlocation: /console/welcomeon first boot.Verify the OIDC discovery endpoint.
CONSOLEThe output returns JSON containing
authorization_endpointandissuervalues scoped to yourauth.example.comdomain.
Access the Admin Console
The Admin Console is the central management interface for configuring the Logto tenant.
- Open a web browser and navigate to the Logto Admin Console at
https://admin.example.com. - Follow the on-screen instructions to create the initial administrator account.
- Log in to the dashboard using the new credentials.
- Review the sidebar to confirm access to Applications, Sign-in & account, Multi-factor auth, Connectors, Enterprise SSO, API resources, Roles, Organizations, Webhooks, and Audit logs.
Configure Sign-in Experience
The sign-in experience defines the look, feel, and authentication flow for your users. Logto allows you to customize the interface to match your brand identity.
Set the Brand Identity
- Navigate to Sign-in & account in the left sidebar and select Branding.
- Upload the company logo (for example,
https://example.com/logo.png) and set the primary brand color (for example,#6139F6). - Click Done.
Configure the Email Connector
To verify user identities via email and enable password resets, configure an email connector with your SMTP provider credentials.
- Navigate to Connectors and select the Email and SMS connectors tab.
- Click Set up under the Email connector and select SMTP.
- Obtain the SMTP credentials from your email provider. You need the host, port, username, and password.
- Return to the Logto Console and enter the following SMTP settings. Replace the placeholder values with your provider's credentials.
- host:
SMTP-HOST - Port:
SMTP-PORT - Auth:
- type:
login - user:
SMTP-USERNAME - pass:
SMTP-PASSWORD
- type:
- From email:
SENDER-EMAIL-ADDRESS - Reply to:
REPLY-TO-EMAIL-ADDRESS
- host:
- Toggle Secure to On if your provider requires TLS.
- Send a test email to verify the connection.
- Click Save and Done.
Define Sign-up Identifiers and Sign-in Methods
Select the primary methods users can use to create an account and sign in. Logto supports username, email, and phone-based authentication.
- Navigate to Sign-in & account and select the Sign-up and sign-in tab.
- Select the Sign-up identifiers:
- Username: A unique public identifier.
- Email address: Recommended for communication and password recovery.
- Phone number: Enables SMS-based authentication for mobile-first applications.
- Configure the Sign-in methods to allow users to sign in with their chosen identifiers.
- Click Save Changes.
Enable Passwordless Sign-in
Passwordless authentication reduces friction by allowing users to sign in with one-time codes instead of a password.
- Remain on the Sign-up and sign-in tab.
- Under Sign-in methods, enable Email verification code or SMS verification code as a sign-in option.
- Ensure the corresponding email or SMS connector is configured under Connectors by selecting the Email and SMS connectors tab.
- Click Save Changes.
Preview the Sign-in UI
- Click the Live preview button on the right side of the Sign-up and sign-in page.
- Test the branded interface and enabled sign-in methods before applying changes to production traffic.
Note
While this article focuses on email via SMTP, Logto also supports SMS-based registration and sign-in via third-party providers such as Twilio or Vonage. To use phone numbers, configure an SMS connector under Connectors by selecting the Email and SMS connectors tab. Users access the hosted sign-in UI through a registered application with a valid client_id and redirect URI, not by visiting auth.example.com directly. Direct navigation without an application context returns an unknown-session page.
Set Up Social Login Connectors
Social login allows users to authenticate using their existing accounts from third-party identity providers, reducing friction during the registration process.
- Navigate to Connectors in the left sidebar and select the Social connectors tab.
- Click Add social connector and select Google from the list.
- Follow the on-screen instructions to create a project in the Google Cloud Console:
- Create a new project.
- Navigate to APIs & Services, then select OAuth consent screen.
- Configure the consent screen and add the domain (for example,
example.com) as an authorized domain. - Go to Credentials, click Create Credentials, and select OAuth client ID.
- Select Web application as the application type.
- Add the Logto Callback URI (for example,
https://auth.example.com/callback/google) to the Authorized redirect URIs.
- Copy the Client ID and Client Secret provided by Google.
- Paste the credentials into the corresponding fields in the Logto social connector configuration.
- Configure the Scope field in Logto. By default, Logto requests
openid,profile, andemail. If the application requires additional Google API access (such as Calendar or Drive), append the respective scope URLs separated by spaces. - Click Save and Done.
- Repeat the process for GitHub and Apple by selecting those providers from the Add social connector list and following each provider's OAuth configuration instructions.
- Navigate to Sign-in & account and select Sign-up and sign-in.
- Under Social sign-in, click Add social connector and select the connectors you configured.
- Click Save Changes and use the Live preview to test the social sign-in flow.
Configure Enterprise SSO
Enterprise Single Sign-On (SSO) enables corporate users to authenticate via their own Identity Provider (IdP), such as Okta or Microsoft Entra External ID.
- Navigate to Enterprise SSO in the left sidebar.
- Click Add enterprise connector and select Okta (or SAML / OIDC for a generic enterprise connector).
- Refer to the Connection guide button within the Logto Console for a direct link to the provider-specific setup instructions.
- Follow the on-screen steps to create an OIDC application in your Okta dashboard:
- Register a new OIDC application.
- Set the Login redirect URI to the value provided in the Logto console.
- Obtain the Client ID, Client Secret, and Issuer URL.
- Enter these details into the Logto connector configuration.
- Click Save to save the connector credentials.
- For SAML connectors, exchange IdP metadata with Logto by uploading the SAML metadata file or entering the metadata URL provided by your IdP.
- Navigate to the SSO Experience tab in the connector settings.
- Add the email domains associated with the organization (for example,
example.com).Note
Users with matching email domains are automatically routed to the enterprise IdP login page. Other sign-in methods like social login or local passwords are disabled for these domains to enforce corporate security policies.
- Enable JIT provisioning to create users automatically on first SSO sign-in.
- Click Save changes.
Enable Multi-Factor Authentication
Multi-factor Authentication (MFA) adds an extra layer of security by requiring secondary verification during the sign-in process.
- Navigate to Multi-factor auth in the left sidebar.
- Toggle the desired MFA methods to On:
- Authenticator app (TOTP): Standard time-based codes from apps like Google Authenticator.
- WebAuthn / Passkeys: High-security biometric (TouchID, FaceID) or hardware key (YubiKey) authentication.
- Backup codes: One-time use recovery codes for account fallback.
- SMS or Email OTP: Requires the corresponding connector configured under Connectors by selecting the Email and SMS connectors tab.
- Configure the MFA Policy to determine when users are prompted (for example, optional MFA or required on every login).
- Click Save changes.
Configure RBAC and API Resources
Role-Based Access Control (RBAC) securely limits access to specific backend resources and endpoints based on a user's assigned role.
- Navigate to API Resources and click Create API resource.
- Enter an API Name and a unique API Identifier (for example,
https://api.example.com/orders). - Define Permissions (Scopes) such as
read:ordersandwrite:orders. - Navigate to Roles and click Create role.
- Assign the API permissions to the role and click Save.
- On the Assign user screen, select users from the list and click Assign user, or click Skip to assign them later from the User management tab.
- Navigate to Custom JWT in the left sidebar if global roles must appear in access tokens. Configure an access token script to inject role claims into issued JWTs.
- Navigate back to API Resources and open the API resource you created.
- Click Check guide in the top-right corner. The console displays a Select a tutorial dialog with framework options such as Express, Python, and Spring Boot.
- Select the framework that matches your application. The console tutorial displays step-by-step integration code for initializing the Logto SDK, protecting API routes, and validating the access token against your API identifier.
Set Up Organizations for Multi-Tenancy
Organizations offer multi-tenant isolation, allowing you to build B2B applications where users belong to different corporate entities. An organization template serves as a blueprint, defining a consistent set of roles and permissions available to every organization in your Logto tenant.
- Navigate to Organization template in the left sidebar.
- Create Organization permissions. These are fine-grained, non-API actions that define business logic or UI features within an organization.
- Click Create organization permission.
- Enter a Permission name (for example,
read:resource) and Description. - Repeat the process to create other permissions such as
edit:resourceanddelete:resource.
- Create Organization roles. These are collections of organization permissions or API resource permissions that you can assign to members.
- Click Create organization role.
- Enter a name (for example,
AdminorMember) and a description. - Map the previously created organization permissions and any relevant API resource permissions to the role.
- Navigate to Organizations and click Create organization to provision a new tenant.
- Select the organization and navigate to the Members tab.
- Click Add Members and select users from the list.
- Assign an organization role to each member from the role dropdown. Logto scopes JWT tokens to include the organization context when organization-scoped tokens are requested.
- Click Check guide in the top-right corner to view integration tutorials for implementing multi-tenant features and org-scoped tokens in your application.
Register Applications
Register your frontend and backend services as applications within Logto to authenticate users and obtain tokens.
Note
Specific steps vary depending on the application type, such as Single-Page App, Traditional Web App, Native App, or Machine-to-Machine. Use the framework-specific tutorial provided in the console for detailed instructions.
- Navigate to Applications in the left sidebar.
- Initial Setup: If no applications exist, the console displays a grid of supported frameworks and languages (for example, React, Next.js, Node.js). Select your preferred framework to view the integration tutorial and click Start building to create the application.
- Subsequent Applications: If you have already registered an application, click Create application in the top-right corner to add another.
- Enter your application name and click Create application.
- Follow the Jumpstart guide to integrate Logto with your application.
- Configure the Redirect URIs, which dictate where Logto sends users after a successful sign-in.
- Configure the Post Sign-out Redirect URIs to determine where users land after logging out.
- Note the App ID and integration endpoint to initialize the Logto SDK in the application code.
- Click Save changes.
Register at least three application types to cover common architectures:
- Single-Page App (SPA): For React, Vue, or Angular frontends.
- Traditional Web App: For server-rendered applications with a backend session.
- Machine-to-Machine (M2M): For backend services that call the Management API or protected APIs without user interaction.
Open the application sign-in URL or use the Logto SDK in a test client to confirm the redirect-based sign-in flow completes successfully.
Configure Webhooks
Webhooks offer real-time notifications for identity events, allowing your backend systems to react asynchronously to changes within Logto without continuous polling.
- Navigate to Webhooks in the left sidebar and click Create webhook.
- Enter the backend Endpoint URL and assign a descriptive name.
- Select the specific Webhook events to monitor (for example,
User.Created,PostSignIn, orUser.Data.Updated). - Add optional Custom headers if the receiving endpoint requires authentication tokens or other metadata in the request.
- Click Create webhook.
- Secure the webhook. Logto provides a Signing Key in the webhook settings. Use this key to cryptographically verify that incoming payloads originated from the Logto instance and have not been tampered with.
- Send a test payload to confirm the endpoint receives and processes webhook events.
Verify the Deployment
After configuration, run the following checks to confirm the deployment is healthy end to end.
- Infrastructure: Confirm all containers are running with
docker ps. Traefik, Logto, and PostgreSQL should report anUpstatus. - TLS: Open
https://admin.example.comandhttps://auth.example.comin a browser. Both should load with valid Let's Encrypt certificates. - OIDC discovery: Run
curl -s https://auth.example.com/oidc/.well-known/openid-configurationand confirm theissuermatcheshttps://auth.example.com/oidc. - Admin Console: Create the initial admin account and confirm the dashboard loads with all sidebar sections (Applications, Sign-in & account, MFA, Connectors, Enterprise SSO, API resources, Roles, Organizations, Webhooks, Audit logs).
- User registration and sign-in: Register a test user through the application you created in the Register Applications section. Confirm password-based sign-in works.
- Social login: If configured, test Google, GitHub, or Apple sign-in through the Live preview or application redirect flow.
- MFA: Enable TOTP for a test user and confirm the second factor is enforced on the next sign-in.
- RBAC claims: Request an access token for an API resource and verify the token contains the expected scopes after role assignment.
- Organization-scoped login: Add a user to an organization, sign in, and confirm organization context appears in the token or session as documented in the organization integration tutorial.
- Audit logs: Navigate to Audit logs in the Admin Console and confirm sign-in and configuration events are recorded.
Migrate from Microsoft Entra External ID to Logto
Migrating from Microsoft Entra External ID to Logto involves mapping external tenant and directory resources to Logto tenants, replacing MSAL or Microsoft Graph SDK calls with Logto SDKs, and reimplementing Entra External ID custom authentication extensions using Logto webhooks, Custom JWT, or external middleware. Because Microsoft Entra External ID does not provide an API to export password hashes, most migrations follow a bulk user import with mandatory re-authentication strategy. The guidance below assumes you completed Deploy Logto with Docker Compose, Access the Admin Console, and Register Applications earlier in this article.
User Migration
Microsoft Entra External ID stores customer identities in a tenant and manages authentication through user flows or custom policies. Logto separates these responsibilities across users, the sign-in experience, applications, roles, and organizations within a self-hosted tenant.
- Export: Export user accounts using the Microsoft Graph API (
GET /users) or Microsoft Graph PowerShell. Include attributes such as display name, email addresses, identities, and custom extension attributes. - Import: Iterate over the exported data and create users through the Logto Management API on the Core endpoint (
POST /api/usersathttps://auth.example.com/api). Authenticate with an access token from a Logto Machine-to-Machine application. - Passwords: Microsoft Entra External ID does not allow password hashes to be exported. Import users with temporary credentials, send a password reset invitation, or if migrating from an intermediate system that stores password digests—use Logto's
passwordDigestandpasswordAlgorithmfields to import hashed passwords directly. - MFA enrollments: Authenticator registrations, passkeys, phone methods, and other MFA enrollments cannot be exported. Users must re-enroll their MFA methods after migration.
- Identity mapping: Store the original Microsoft Entra
object ID (id)in LogtocustomData(for example,legacy_entra_object_id) during import to preserve linkages in downstream application databases.
Application Migration
Application changes depend on how clients currently integrate with Microsoft Entra External ID.
If applications use Microsoft Authentication Library (MSAL), replace MSAL with the appropriate Logto SDK for your framework:
- Interactive sign-in: Redirect-based Universal Login through the Logto hosted sign-in experience.
- Application (Client) ID: Logto Application ID (
client_idin OIDC). - Redirect URIs: Redirect URIs and Post Sign-out Redirect URIs configured in the Logto Console.
- Token refresh: Logto SDK session management or standard OIDC refresh token flows.
If applications integrate directly with Microsoft identity platform endpoints, replace those integrations with Logto's OIDC endpoints:
- Authorization endpoint: Replace Microsoft authorization endpoints with Logto's OIDC authorization endpoint.
- Token endpoint: Exchange authorization codes using Logto's token endpoint.
- User profile: Replace Microsoft Graph
/merequests used only for authentication with the OIDC UserInfo endpoint or the Logto Management API where appropriate. - Access tokens: Validate JWTs using the Logto JWKS endpoint (
https://auth.example.com/oidc/jwks) with issuerhttps://auth.example.com/oidc.
In both cases, update backend middleware to validate Logto-issued JWTs instead of Microsoft Entra-issued tokens. Refer to the Logto protect-your-api documentation for framework-specific examples.
Role and Group Migration
Entra External ID provides Security Groups for directory-level membership and App Roles for application-level RBAC. Logto offers two mapping paths depending on whether these represent global permissions or tenant-scoped membership.
- Entra External ID App Roles → Logto Roles: Application role assignments that gate API access or admin capabilities map to global Roles. Create each role (
POST /api/roles), define API resource scopes, and assign users (POST /api/users/{userId}/roles). Granted scopes are automatically included in access tokens when the token is requested for the associated API resource. To emit roles in a custom claim format, configure a Custom JWT access token script in the Admin Console. - Entra External ID Security Groups / Tenant boundaries → Logto Organizations: Directory groups that represent business units, customer tenants, or corporate entities in a multi-tenant app map to Organizations. Create the organization (
POST /api/organizations), define organization roles and permissions in the Organization Template, and add members with roles (POST /api/organizations/{id}/users). For tenant-scoped API access, assign organization-level scopes to organization roles. - Authorization Enforcement: Update backend route guards and policy engines to validate Logto-issued access token scopes (via
scopeclaim) and organization membership claims (viaorganization_idin ID tokens) rather than Entra ID'sgroupsorrolesclaims.
Custom Authentication Extension Migration
Entra External ID custom authentication extensions invoke an Azure Function at specific points in the authentication lifecycle (onTokenIssuanceStart, onAttributeCollectionStart, onAttributeCollectionSubmit). Logto does not support synchronous blocking hooks in the same way; each extension type maps to a different replacement with distinct operational characteristics.
- Post-confirmation / Post-authentication (async): Map to Logto Webhooks for events such as
User.Created,PostSignIn, orUser.Data.Updated. Webhooks deliver HTTP payloads asynchronously after the auth flow completes. Refer to the Logto webhook documentation. - Pre-token Generation (sync, claims modification): Map to Custom JWT access token scripts in the Admin Console. Scripts run in a sandbox during token issuance to inject roles, organization memberships, or custom attributes into the JWT.
- Pre-authentication / Pre-sign-up (sync, blocking): Map to application middleware, API gateway rules, or a custom authentication proxy. Logto webhooks cannot block or reject an in-progress sign-in synchronously.
- Custom Message: Map to email or SMS connectors configured under Connectors, or handle notification logic in a webhook consumer that calls your messaging provider.
Unlike custom authentication extensions, which run synchronously inside the token issuance pipeline, Custom JWT scripts execute on every token issuance and webhook consumers run as always-on services. Account for this operational difference when planning capacity.
Data Storage Considerations
For environments with existing identity data and active sessions:
- Session Invalidation: Entra External ID sessions and refresh tokens become invalid at cutover. Force re-authentication across all client applications and clear local session caches (including MSAL's browser cache).
- Downstream Identity References: Applications that store Entra External ID
object IDsin their own databases rely on thelegacy_entra_object_idmapping in LogtocustomDatauntil those references are updated. - Management API Integration: Replace calls to Microsoft Graph endpoints (
GET /users/{id},PATCH /users/{id},GET /users) with the Logto Management API athttps://auth.example.com/api. Authenticate M2M clients with a Logto Machine-to-Machine application. - Federation Metadata: If Entra External ID federates external IdPs through SAML, WS-Fed, or OIDC (Enterprise Applications), recreate those federation relationships as Logto Enterprise SSO connectors or social connectors rather than attempting to migrate Entra's internal federation configuration directly.
Things to Take Care During Migration
- MSAL SDK to Logto SDK: Interactive flows (popup/redirect) built on MSAL and any direct Graph API calls must move to redirect-based OIDC flows via Logto SDKs. Daemon/service apps using MSAL's client credentials flow map to Logto Machine-to-Machine applications. This is the largest application-code change in most migrations.
- Custom Authentication Extensions: Entra External ID supports synchronous, blocking extensions during token issuance. Logto webhooks are asynchronous only; blocking validation requires application middleware or an API gateway.
- Identity Protection / Conditional Access: Entra External ID Identity Protection and Conditional Access policies have no direct Logto OSS equivalent. Implement rate limiting, WAF rules, or bot protection at the reverse proxy layer, and re-evaluate any compliance controls that relied on Conditional Access.
- MFA Re-enrollment: TOTP secrets and WebAuthn/FIDO2 credentials cannot be extracted from Entra External ID. Users must re-enroll authenticator apps, passkeys, or SMS factors after cutover.
- Token Format Differences: Entra External ID access tokens use custom claims such as
roles,groups,oid, andtid. Logto issues standard OIDC claims (sub,email,scope,organization_id). Update API parsers and authorization middleware accordingly. - Cost Model Change: Entra ID pricing is per-user licensing across Free, P1, and P2 tiers, with features like Identity Protection gated behind P2. Logto OSS costs are infrastructure-based. Logto Cloud uses per-tenant or per-MAU pricing. Calculate total cost of ownership before cutover, including any compliance features you'd need to replace.
- Cutover Sequencing: Run a phased migration with dual-write or read-replica validation where possible. Import users first, validate token flows in a staging tenant, then redirect production traffic to Logto and disable sign-in through the Entra External ID app registrations. Maintain the Entra External ID tenant in a recoverable state for a defined rollback window. Keep
legacy_entra_object_idmappings intact until all downstream systems are verified.
Conclusion
You have deployed Logto behind a Traefik reverse proxy, configured the sign-in experience, social and enterprise SSO, MFA, RBAC, organizations, applications, and webhooks, and verified the deployment end to end. The migration section also covers the key steps and considerations for moving users and applications from Microsoft Entra External ID to Logto. For additional deployment options, advanced configuration, and SDK integrations, refer to the official Logto documentation.


0 Comments
Be the first to comment and share your perspective with the community.