Metabase is an open-source business intelligence tool that lets you create charts and dashboards from data. It supports databases like MySQL, PostgreSQL, MongoDB, and Redshift. By choosing to deploy Metabase on Kubernetes, you can ensure scalable real-time analytics and seamless data sharing across teams, boosting collaboration and KPI tracking.
This article explains how to deploy Metabase on a Kubernetes cluster. You will create a database and load up a sample dataset, install Metabase, and integrate the database to create a dashboard to visualize data. In addition, you will install Nginx Ingress controller to expose Metabase securely using a domain name in your cluster.
Prerequisites
Before you begin, you need to:
- Have an existing Kubernetes cluster.
- Have access to a Linux-based instance, such as Ubuntu to use as the management workstation.
- Have access to a remote MySQL server and ensure it is accessible in your Kubernetes cluster.
- Install and Configure Kubectl to access your Kubernetes cluster.
- Install Helm on your workstation.
- Set up a domain name to use with Metabase.
Set Up a Sample Database
The Sakila sample database is a fictitious database designed to represent a DVD rental store featuring films, actors, film-actor relationships, and a central inventory table that connects films, stores, and rentals. Follow the steps below to set up the Sakila database to use with Metabase.
Install Unzip if it's not available on your workstation.
console$ sudo apt install zip -y
Download the Sakila database archive from the MySQL downloads page.
console$ wget https://downloads.mysql.com/docs/sakila-db.zip
Extract files from the
sakila-db.ziparchive.console$ unzip sakila-db.zip
The Sakila archive contains three files,
sakila-schema.sql,sakila-data.sql, andsakila.mwb.Log in to your remote MySQL database server. Replace
<HOST_ENDPOINT>with your actual MySQL hostname and<DATABASE_PORT>with the database server port.mysql$ mysql -h <HOST_ENDOINT> -P <DATABASE_PORT> -u <ADMIN_USER> -p
Enter your password when prompted and press Enter to log in.
Create a new
sakiladatabase.sqlmysql> CREATE DATABASE sakila;
Execute the
sakila-schema.sqlscript to create the database structure.sqlmysql> SOURCE sakila-db/sakila-schema.sql;
Execute the
sakila-data.sqlscript to populate the database.sqlmysql> SOURCE sakila-db/sakila-data.sql;
Deploy Metabase on Kubernetes
Follow the steps below to deploy Metabase by creating a deployment using the latest Metabase image and a metabase-svc load balancer service in your cluster.
Create a new
metabase.yamldeployment YAML file.console$ nano metabase.yaml
Add the following configurations to the file to create a new deployment and service.
yamlapiVersion: apps/v1 kind: Deployment metadata: name: metabase spec: selector: matchLabels: app: metabase replicas: 1 template: metadata: labels: app: metabase spec: containers: - name: metabase image: metabase/metabase:latest ports: - containerPort: 3000 protocol: TCP --- apiVersion: v1 kind: Service metadata: name: metabase-svc annotations: service.beta.kubernetes.io/vultr-loadbalancer-protocol: "http" spec: type: LoadBalancer selector: app: metabase ports: - name: http port: 8080 targetPort: 3000
Save and close the file.
Apply the configuration to your Kubernetes cluster to deploy Metabase.
console$ kubectl apply -f metabase.yaml
View the cluster deployments and verify that the
metabaseresource is ready.console$ kubectl get deployments
Output:
NAME       READY   UP-TO-DATE   AVAILABLE   AGE
metabase   1/1     1            1           27s
View all cluster services and verify the external IP of the
metabase-svcservice.console$ kubectl get services
NAME TYPE CLUSTER-IP EXTERNAL-IP PORT(S) AGE kubernetes ClusterIP 10.96.0.1 <none> 443/TCP 71m metabase-svc LoadBalancer 10.107.143.49 192.0.2.9 8080:30561/TCP 53s192.0.2.9is the externalmetabase-svcIP address based on the above output. The external IP address assignment may delay as the load balancer deploys to your cluster. Wait for at least3minutes and refresh the cluster services if the address is not available in your output.Access the Metabase port
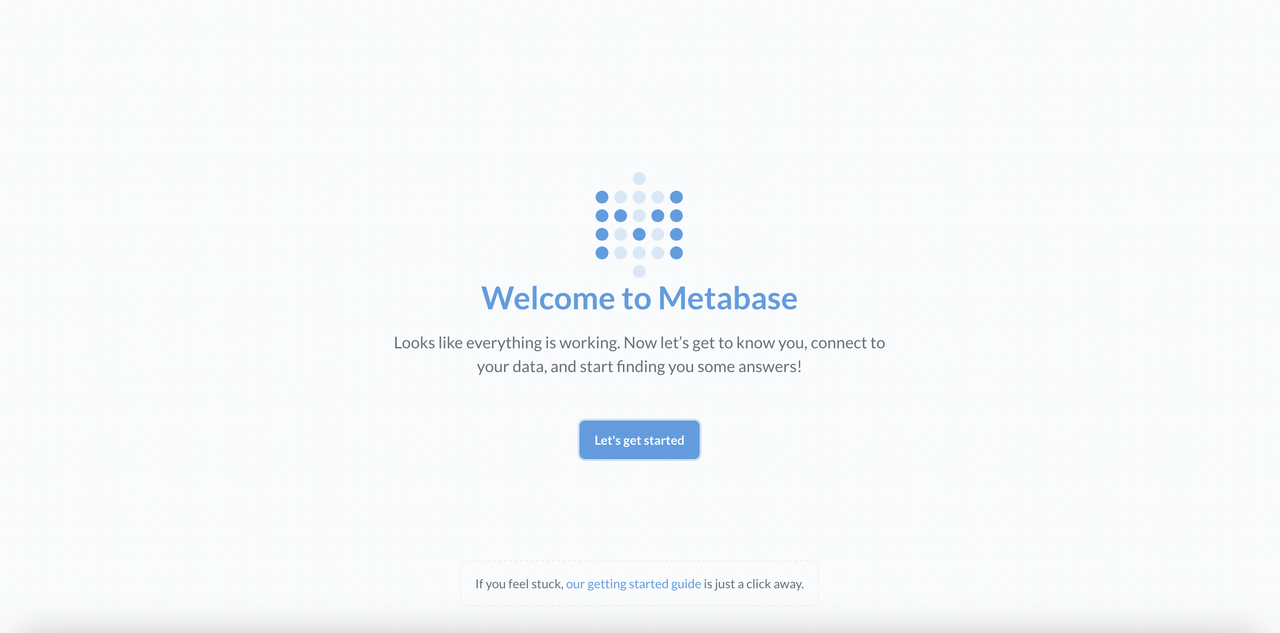
8080using the external IP to load Metabase in your web browser.http://192.0.2.9:8080Verify that the Metabase welcome page displays in your browser.

Configure Metabase to Access the Sample Database
Follow the steps below to configure Metabase to use the Sakila sample database you created earlier.
Click Let's get started on the Metabase page.
Select your preferred language.
Enter your first name, last name, email, company name, and specify a strong password in the respective fields.
Select your purpose for using Metabase.
Select MySQL as the database engine.
Enter a descriptive label in the
Display namefield to associate with the database.Enter your MySQL host, port, database name, user name, and password information in the respective fields.
Click Connect Database.
Select your usage data-sharing preferences and click Finish.
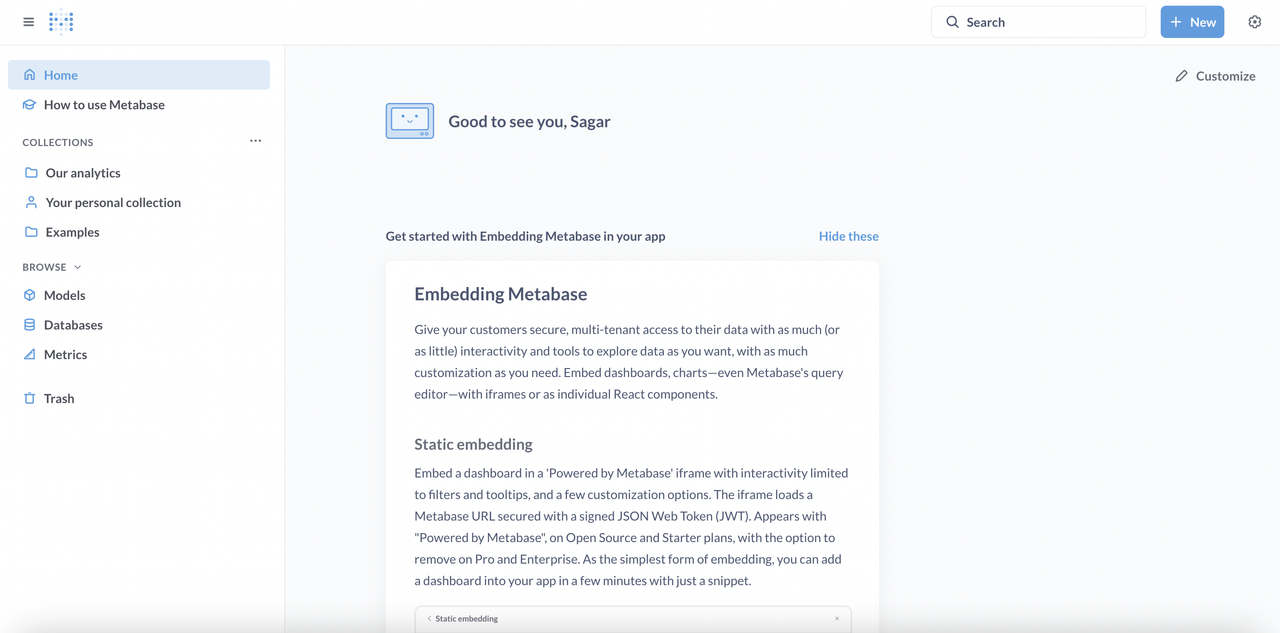
Click Take me to Metabase to redirect to the Metabase dashboard.

Create a Metabase Dashboard
Follow the steps below to create a Metabase dashboard.
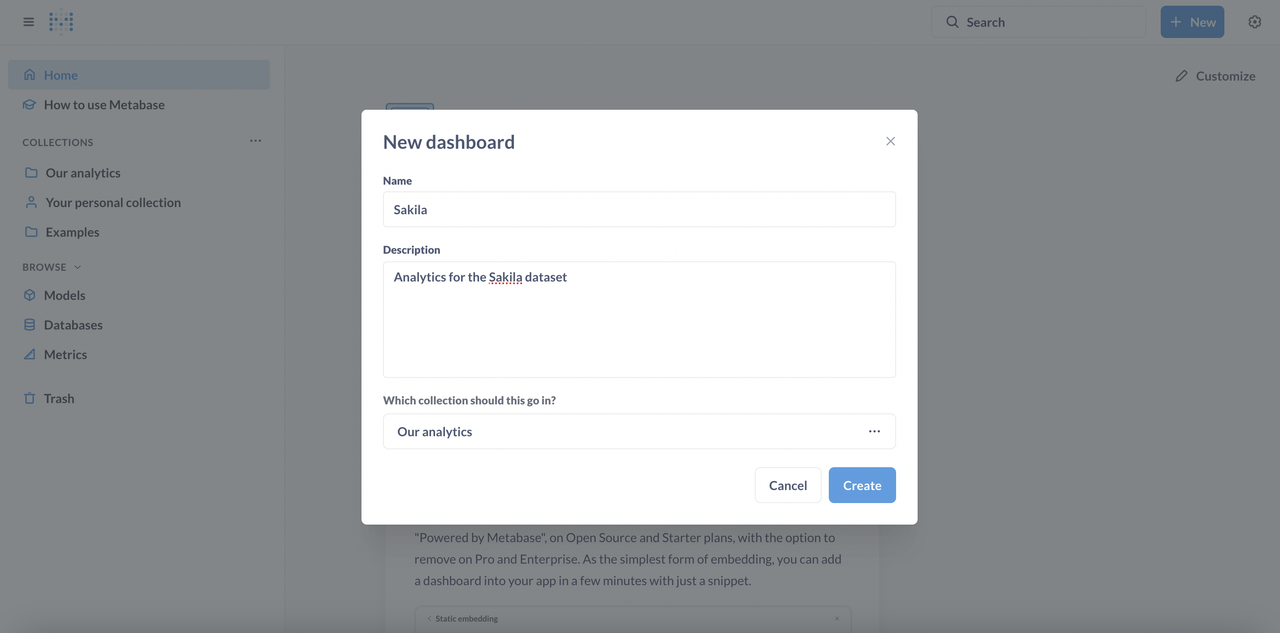
Click
+ Newin the top right corner and selectDashboard.Enter the dashboard details in the respective fields and click Create.

Click Add a chart within the dashboard.
Click the New SQL query and select your database.
Add following query to get the total revenue of all stores by date in the Sakila dataset.
sqlSELECT CAST(payment_date AS DATE) AS payment_date, SUM(amount) AS total_revenue FROM payment GROUP BY CAST(payment_date AS DATE) ORDER BY payment_date;
Click Run Query on the right navigation menu to view the results in a tabular format.
To visualize the output,
Click
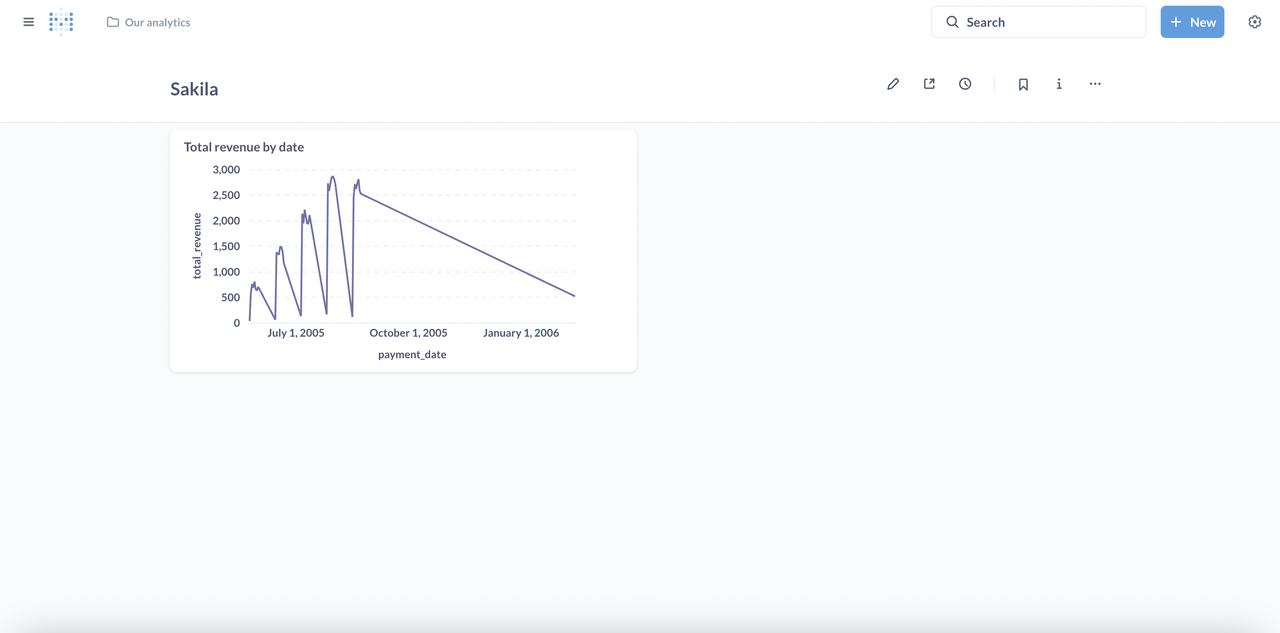
Visualizationat the bottom left, select theLineoption, and click Done.Verify that a line chart displays your results.
Click Save, specify a name for your chart, and save it.
Verify a line chart with your results displays in the dashboard.

Secure Metabase with TLS Encryption
Follow the steps below to secure Metabase with TLS encryption and expose the application using the Nginx Ingress controller with trusted SSL certificates.
Patch the
metabase-svcservice and change thetypefromLoadBalancertoClusterIP.console$ kubectl patch svc metabase-svc -p '{"spec": {"type": "ClusterIP"}}'
Get all cluster services and verify that the
metabase-svcstatus changes toClusterIP.console$ kubectl get services
Output:
NAME           TYPE        CLUSTER-IP     EXTERNAL-IP   PORT(S)    AGE
kubernetes     ClusterIP   10.96.0.1      <none>        443/TCP    3h52m
metabase-svc   ClusterIP   10.110.26.90   <none>        8080/TCP   53m
Use Helm to install the Nginx Ingress controller to enable TLS encryption for your Metabase deployment.
console$ helm install my-ingress-nginx ingress-nginx \ --repo https://kubernetes.github.io/ingress-nginx \ --namespace ingress-nginx --create-namespace
The above command installs the latest Nginx Ingress controller chart from the official repository in a new
ingress-nginxnamespace.Get all cluster services and verify the
nginxservice's public IP address and set up a domain A record pointing to the address.console$ kubectl get services -n ingress-nginx
Install Cert-Manager.
console$ kubectl apply -f https://github.com/cert-manager/cert-manager/releases/download/v1.17.0/cert-manager.yaml
The above command installs cert-manager version v1.17.0 in a new cert-manager namespace. Visit the official releases page to verify the latest version to install in your cluster.
Create a new
cert-issuer.yamlmanifest to set up an Issuer resource.console$ nano cert-issuer.yaml
Add the following contents to the
cert-issuer.yamlfile to specify Let's Encrypt CA and email.yamlapiVersion: cert-manager.io/v1 kind: Issuer metadata: name: tls-certificate-issuer namespace: default spec: acme: server: https://acme-v02.api.letsencrypt.org/directory email: abc@example.com privateKeySecretRef: name: letsencrypt-private-key solvers: - http01: ingress: class: nginx
Save and close the file.
Apply the Issuer resource to your cluster.
console$ kubectl apply -f cert-issuer.yaml
Create a new
ingress.yamlmanifest for the Ingress resource.console$ nano ingress.yaml
Add the following contents to the
ingress.yamlfile. Replaceexample.comwith your actual domain that's pointing to the Nginx Ingress Controller's external IP address.yamlapiVersion: networking.k8s.io/v1 kind: Ingress metadata: name: ingress-metabase annotations: cert-manager.io/issuer: tls-certificate-issuer spec: ingressClassName: nginx rules: - host: example.com http: paths: - pathType: Prefix path: "/" backend: service: name: metabase-svc port: number: 8080 tls: - hosts: - example.com secretName: my-webapp-tls
Save and close the file.
Apply the Ingress resource to the cluster.
console$ kubectl apply -f ingress.yaml
View all Ingress resources in your cluster.
console$ kubectl get ingress
NAME                        CLASS    HOSTS          ADDRESS   PORTS     AGE
cm-acme-http-solver-l54s6   <none>   example.com              80        8s
ingress-metabase            nginx    example.com              80, 443   11s
The first ingress resource created by the cert-manager handles ACME challenges to verify the domain ownership. Verify that the
ingress-metabaseaddress changes to your controller's public IP.NAME CLASS HOSTS ADDRESS PORTS AGE cm-acme-http-solver-l54s6 <none> example.com 192.0.2.11 80 5m17s ingress-metabase nginx example.com 192.0.2.11 80, 443 5m20sGet all certificates and verify that the
my-webapp-tlsresource is ready.console$ kubectl get certificate
Sample output:
NAME            READY   SECRET          AGE
my-webapp-tls   True    my-webapp-tls   20m
Open your Metabase dashboard using your domain name with TLS encryption.
https://example.com
Conclusion
You have deployed Metabase in a Kubernetes cluster and integrated a database with sample data to visualize it. You accessed Metabase with a load-balancer service, allowing you to secure connections ot the cluster. You can use Metabase to visualize data by creating charts and databases using the graphical web interface. Visit the Metabase documentation for more information and configuration options.