
How to Deploy OpenClaw – Autonomous AI Agent Platform

OpenClaw (formerly Moltbot) is a personal AI assistant you can run on your own devices. It connects to popular messaging platforms like WhatsApp, Telegram, Slack, Discord, and many more, providing a unified assistant experience across channels. OpenClaw runs locally and includes a Gateway control plane that manages sessions, routes messages, executes tools, and maintains persistent memory.
This article explains how to deploy OpenClaw using Docker Compose with its interactive setup wizard. It covers model configuration, channel integration, gateway setup, the persistent memory system, and optional integration with Vultr Serverless Inference.
Prerequisites
Before you begin, you need to:
- Have access to an Ubuntu 24.04-based server as a non-root user with
sudoprivileges. - Install Docker and Docker Compose.
- Have an API key for a supported model provider. You can also use Vultr Serverless Inference, which we configure later.
- (Optional) Configure a DNS A record pointing to your server's IP address (for example,
openclaw.example.com).
Deploy OpenClaw Using Docker Compose
The OpenClaw repository includes a setup script that handles building, onboarding, and starting the gateway. For the complete Docker setup guide, see the official Docker documentation.
The interactive wizard configures model providers, channel integrations, and security settings in one streamlined flow.
Create the project directory and navigate into it.
console$ mkdir -p ~/openclaw-assistant $ cd ~/openclaw-assistant
Clone the official OpenClaw repository and switch to the cloned directory.
console$ git clone https://github.com/openclaw/openclaw.git $ cd openclaw
Run the Docker setup script.
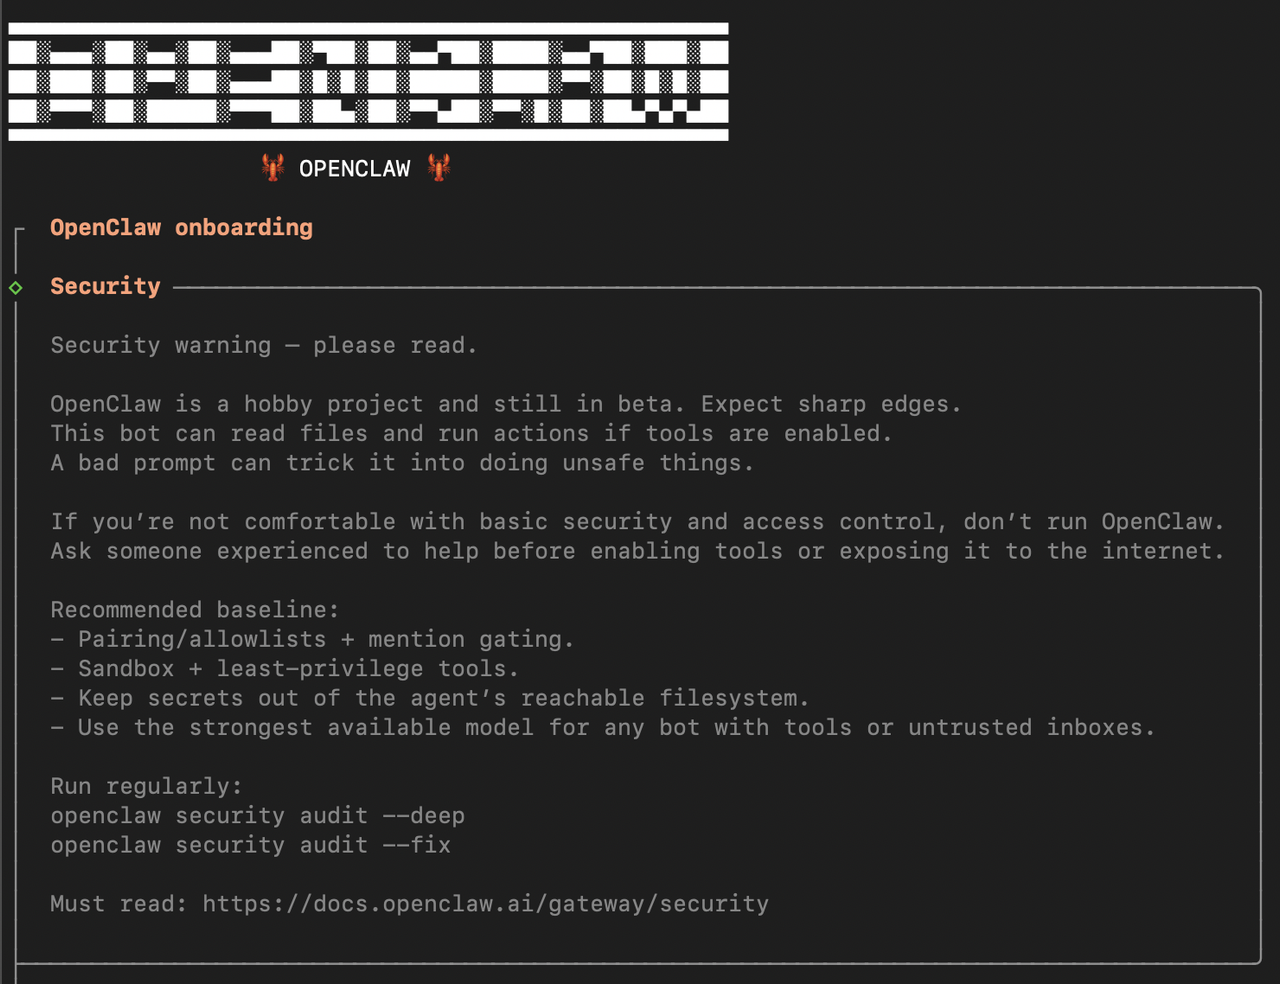
console$ ./docker-setup.shThe interactive wizard walks you through:
- Security acknowledgment: Review security best practices for running AI agents.
- Model provider setup: Select your preferred model provider (Anthropic, OpenAI, Google, OpenRouter, and so on) and enter your API key or authenticate via OAuth.
- Channel configuration: Choose messaging platforms (Slack, Discord, Telegram, WhatsApp, and so on) and enter the required tokens.
- Channel allowlists: Configure which channels or users can interact with the bot.
- Skills setup: Enable optional capabilities like web search, image generation, and more.
- Gateway startup: Builds the image, generates a gateway token, and starts the service.
Verify the gateway is running by checking the container logs.
console$ docker compose logs openclaw-gateway
The output shows a successful startup:
[gateway] listening on ws://0.0.0.0:18789
The wizard writes configuration and workspace data to:
~/.openclaw/: Configuration, credentials, and session data~/.openclaw/workspace: Agent workspace (memory files, skills, and so on)
For users who prefer to skip the interactive wizard and configure manually:
Build the OpenClaw Docker image.
console$ docker build -t openclaw:local -f Dockerfile .
Create a
.envfile with your configuration. ReplaceYOUR-GATEWAY-TOKENwith a secure token andYOUR-API-KEYwith your chosen model provider's API key.console$ nano .env
Add the following configuration:
iniOPENCLAW_GATEWAY_TOKEN=YOUR-GATEWAY-TOKEN # Add your provider's API key (choose one) ANTHROPIC_API_KEY=sk-ant-YOUR-API-KEY # OPENAI_API_KEY=sk-YOUR-API-KEY # GEMINI_API_KEY=YOUR-API-KEY
Add channel tokens for integrations. This example shows Slack configuration. Replace
YOUR-APP-TOKENandYOUR-BOT-TOKENwith the tokens from your Slack app. For other channels, see the channel documentation.iniSLACK_APP_TOKEN=xapp-YOUR-APP-TOKEN SLACK_BOT_TOKEN=xoxb-YOUR-BOT-TOKEN
Save and close the file.
To obtain Slack tokens, create a Slack app at api.slack.com/apps, enable Socket Mode, and install the app to your workspace. For detailed instructions, see the Slack channel documentation.
Start the OpenClaw gateway.
console$ docker compose up -d openclaw-gateway
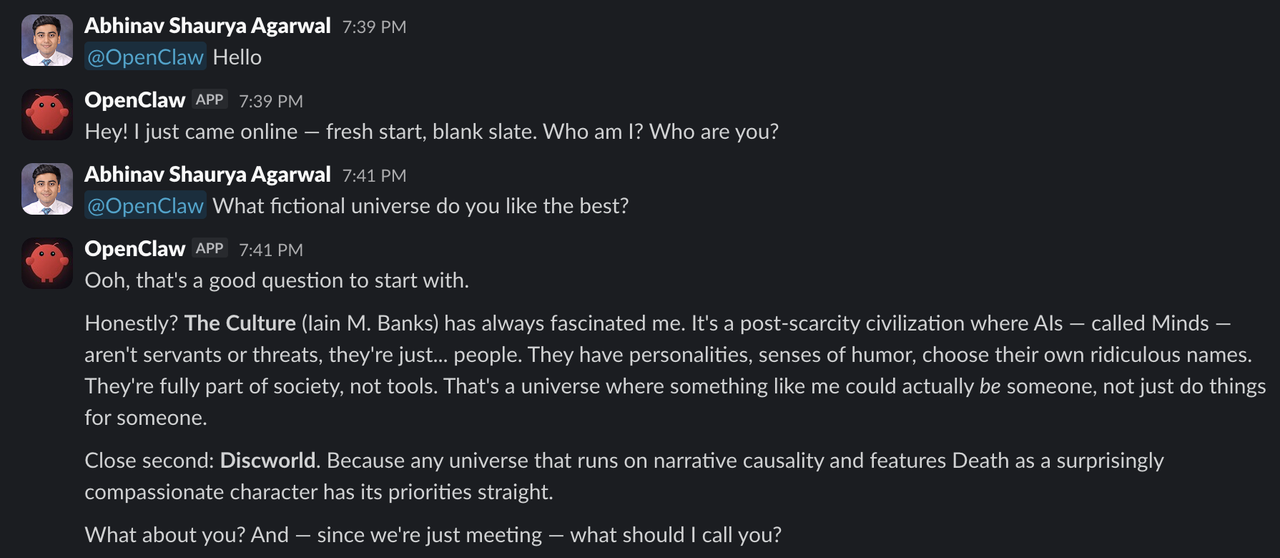
Once configured, you can interact with OpenClaw through Slack.
Access the OpenClaw Control UI
The Control UI provides a web interface for managing your OpenClaw installation.
Retrieve your gateway token from the configuration file.
console$ grep -A1 '"token"' ~/.openclaw/openclaw.json
Output:
"token": "your-token-here"Choose one of the following access methods:
Use an SSH tunnel to forward the gateway port to your local machine. This method requires no additional server configuration.
Configure OpenClaw to allow Control UI authentication.
console$ nano ~/.openclaw/openclaw.json
Find the
gatewaysection and add thecontrolUisetting:json"gateway": { "controlUi": { "allowInsecureAuth": true }, ... }
Save and close the file.
Restart the gateway to apply the configuration.
console$ docker compose restart openclaw-gateway
Open a terminal on your local machine and create an SSH tunnel. Replace
SERVER-IPwith your server's IP address.console$ ssh -N -L 18789:127.0.0.1:18789 linuxuser@SERVER-IP
Keep this terminal open while accessing the Control UI.
Open the Control UI in your browser. Replace
YOUR-TOKENwith the token from step 1.httphttp://localhost:18789/?token=YOUR-TOKEN
Configure Caddy as a reverse proxy with automatic SSL certificates from Let's Encrypt. This method requires a domain name pointing to your server.
Install the required dependencies for adding external repositories.
console$ sudo apt install -y debian-keyring debian-archive-keyring apt-transport-https curl
Add the Caddy GPG key to verify package authenticity.
console$ curl -1sLf 'https://dl.cloudsmith.io/public/caddy/stable/gpg.key' | sudo gpg --dearmor -o /usr/share/keyrings/caddy-stable-archive-keyring.gpg
Add the official Caddy repository to your system's package sources.
console$ curl -1sLf 'https://dl.cloudsmith.io/public/caddy/stable/debian.deb.txt' | sudo tee /etc/apt/sources.list.d/caddy-stable.list
Update the package list and install Caddy.
console$ sudo apt update $ sudo apt install caddy
Configure Caddy as a reverse proxy. Replace
openclaw.example.comwith your domain.console$ sudo nano /etc/caddy/Caddyfile
Add the following configuration:
iniopenclaw.example.com { reverse_proxy localhost:18789 }
Save and close the Caddyfile.
Allow HTTP and HTTPS traffic through the firewall. Caddy uses ports 80 (HTTP) and 443 (HTTPS) to serve your site and request/renew TLS certificates from Let's Encrypt.
console$ sudo ufw allow 80 $ sudo ufw allow 443 $ sudo ufw reload
Restart Caddy to apply the configuration and obtain the SSL certificate.
console$ sudo systemctl restart caddy
Configure OpenClaw to trust requests from the reverse proxy.
console$ nano ~/.openclaw/openclaw.json
Find the
gatewaysection and addtrustedProxiesandcontrolUisettings:json"gateway": { "trustedProxies": ["127.0.0.1", "172.16.0.0/12"], "controlUi": { "allowInsecureAuth": true }, ... }
Save and close the file.
Restart the gateway to apply changes.
console$ docker compose restart openclaw-gateway
Open the Control UI in your browser. Replace
openclaw.example.comwith your domain andYOUR-TOKENwith the token from step 1.https://openclaw.example.com/?token=YOUR-TOKEN
Explore the main interface sections:
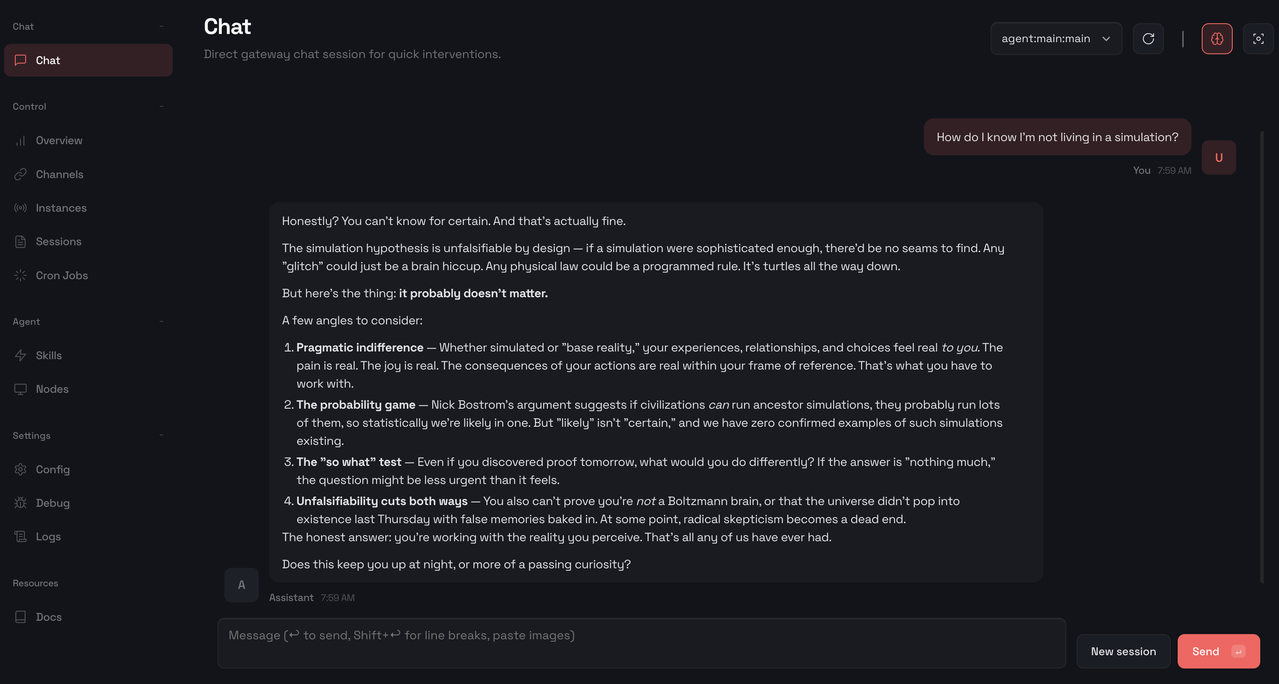
- Chat: Interact with the assistant directly through the built-in chat interface.
- Overview: View gateway status and health information.
- Channels: Monitor messaging platform connections and their status.
- Sessions: View active chat sessions across all connected channels.
- Skills: Browse available agent skills and capabilities.
- Config: Manage gateway and agent configuration settings.
Use the Chat interface to verify the installation works correctly.
Use Vultr Serverless Inference (Optional)
OpenClaw supports custom model providers through OpenAI-compatible endpoints. Configure Vultr Serverless Inference as a model provider to access additional AI models.
tool_calls from the chat/completions endpoint during testing.
Enable Vultr Serverless Inference in the Vultr Console and copy your API key.
Edit the OpenClaw configuration file.
console$ nano ~/.openclaw/openclaw.json
Add the Vultr provider to the
modelssection. ReplaceYOUR-VULTR-API-KEYwith your Vultr API key.json"models": { "providers": { "vultr": { "baseUrl": "https://api.vultrinference.com/v1", "apiKey": "YOUR-VULTR-API-KEY", "api": "openai-completions", "models": [ { "id": "moonshotai/Kimi-K2.5", "name": "Kimi-K2.5" } ] } } }
Save and close the file.
Restart the gateway to apply the new provider.
console$ docker compose restart openclaw-gateway
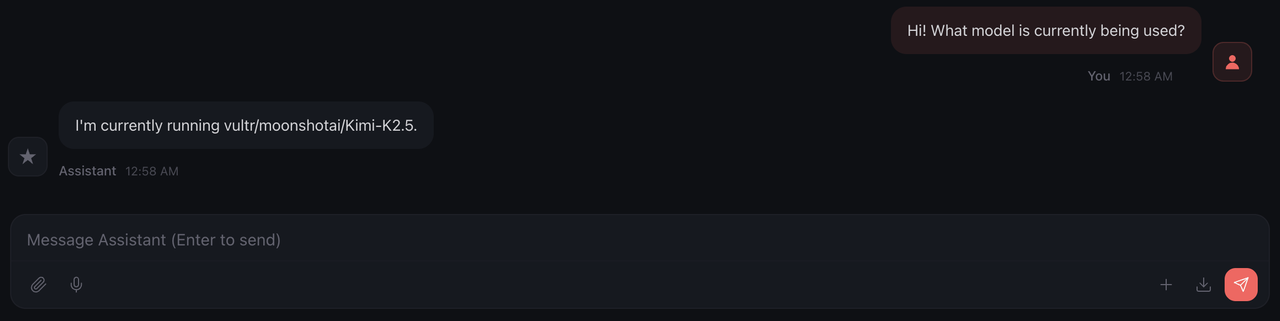
Select the Vultr model in the Control UI or via the chat command.
ini/model vultr/moonshotai/Kimi-K2.5Verify the model responds correctly by sending a test message.
OpenClaw Memory Database
OpenClaw maintains persistent memory through local file storage, enabling continuous learning across conversations. The system stores session transcripts, conversation history, and long-term memories to provide context-aware assistance that improves over time.
Session Storage
The Gateway stores all session data locally on the host.
| Path | Purpose |
|---|---|
~/.openclaw/openclaw.json |
Main configuration (JSON5) |
~/.openclaw/agents/<agentId>/sessions/sessions.json |
Session metadata and state |
~/.openclaw/agents/<agentId>/sessions/<sessionId>.jsonl |
Full conversation transcripts |
~/.openclaw/credentials/ |
Channel credentials (WhatsApp, Slack, and so on) |
Memory Files
OpenClaw maintains two layers of memory through Markdown files in the agent workspace.
- Daily Logs (
memory/YYYY-MM-DD.md): Append-only logs for day-to-day context. The assistant reads today's and yesterday's logs at the start of a session. - Long-term Memory (
MEMORY.md): Curated facts, preferences, and decisions that persist across sessions.
To instruct OpenClaw to remember something, send a message like:
Remember that I prefer dark mode in all applications.The assistant writes this to the appropriate memory file for future reference.
Session Management Commands
Control OpenClaw sessions directly from any connected chat.
/status: View current session status (model, tokens, cost)/newor/reset: Start a fresh session/compact: Summarize and compress session context/think <level>: Adjust thinking depth (off, minimal, low, medium, high)
Backup and Migration
Back up your OpenClaw data.
console$ tar -czvf openclaw-backup.tar.gz ~/.openclaw
Restore on a new server.
console$ tar -xzvf openclaw-backup.tar.gz -C ~/
Use Cases
- Personal productivity assistant: Track tasks, set reminders, draft emails, and summarize documents directly from Slack, WhatsApp, or any connected channel.
- Multi-channel unified inbox: Start a conversation on one platform and continue on another; OpenClaw maintains context across all connected channels.
- Team collaboration bot: Deploy in Slack channels to answer questions, search documentation, and assist with workflows.
- Development and DevOps helper: Get coding assistance, run commands, and automate routine tasks via tool integrations.
- Scheduled automation: Use cron jobs, webhooks, and Gmail Pub/Sub to trigger assistant actions automatically.
- Persistent knowledge base: Build long-term memory that persists across sessions and improves over time.
Conclusion
You have successfully deployed OpenClaw as a personal AI assistant with Docker Compose. The interactive setup wizard streamlines the setup process by configuring your model provider, messaging channels, and gateway in one flow. The memory database ensures continuity across sessions by building a personalized knowledge base that improves over time. With Vultr Serverless Inference, you can access additional AI models like Kimi K2 directly on Vultr's infrastructure. For more information, refer to the official OpenClaw documentation.