How to Deploy Typebot - Open-Source Conversational Form Builder
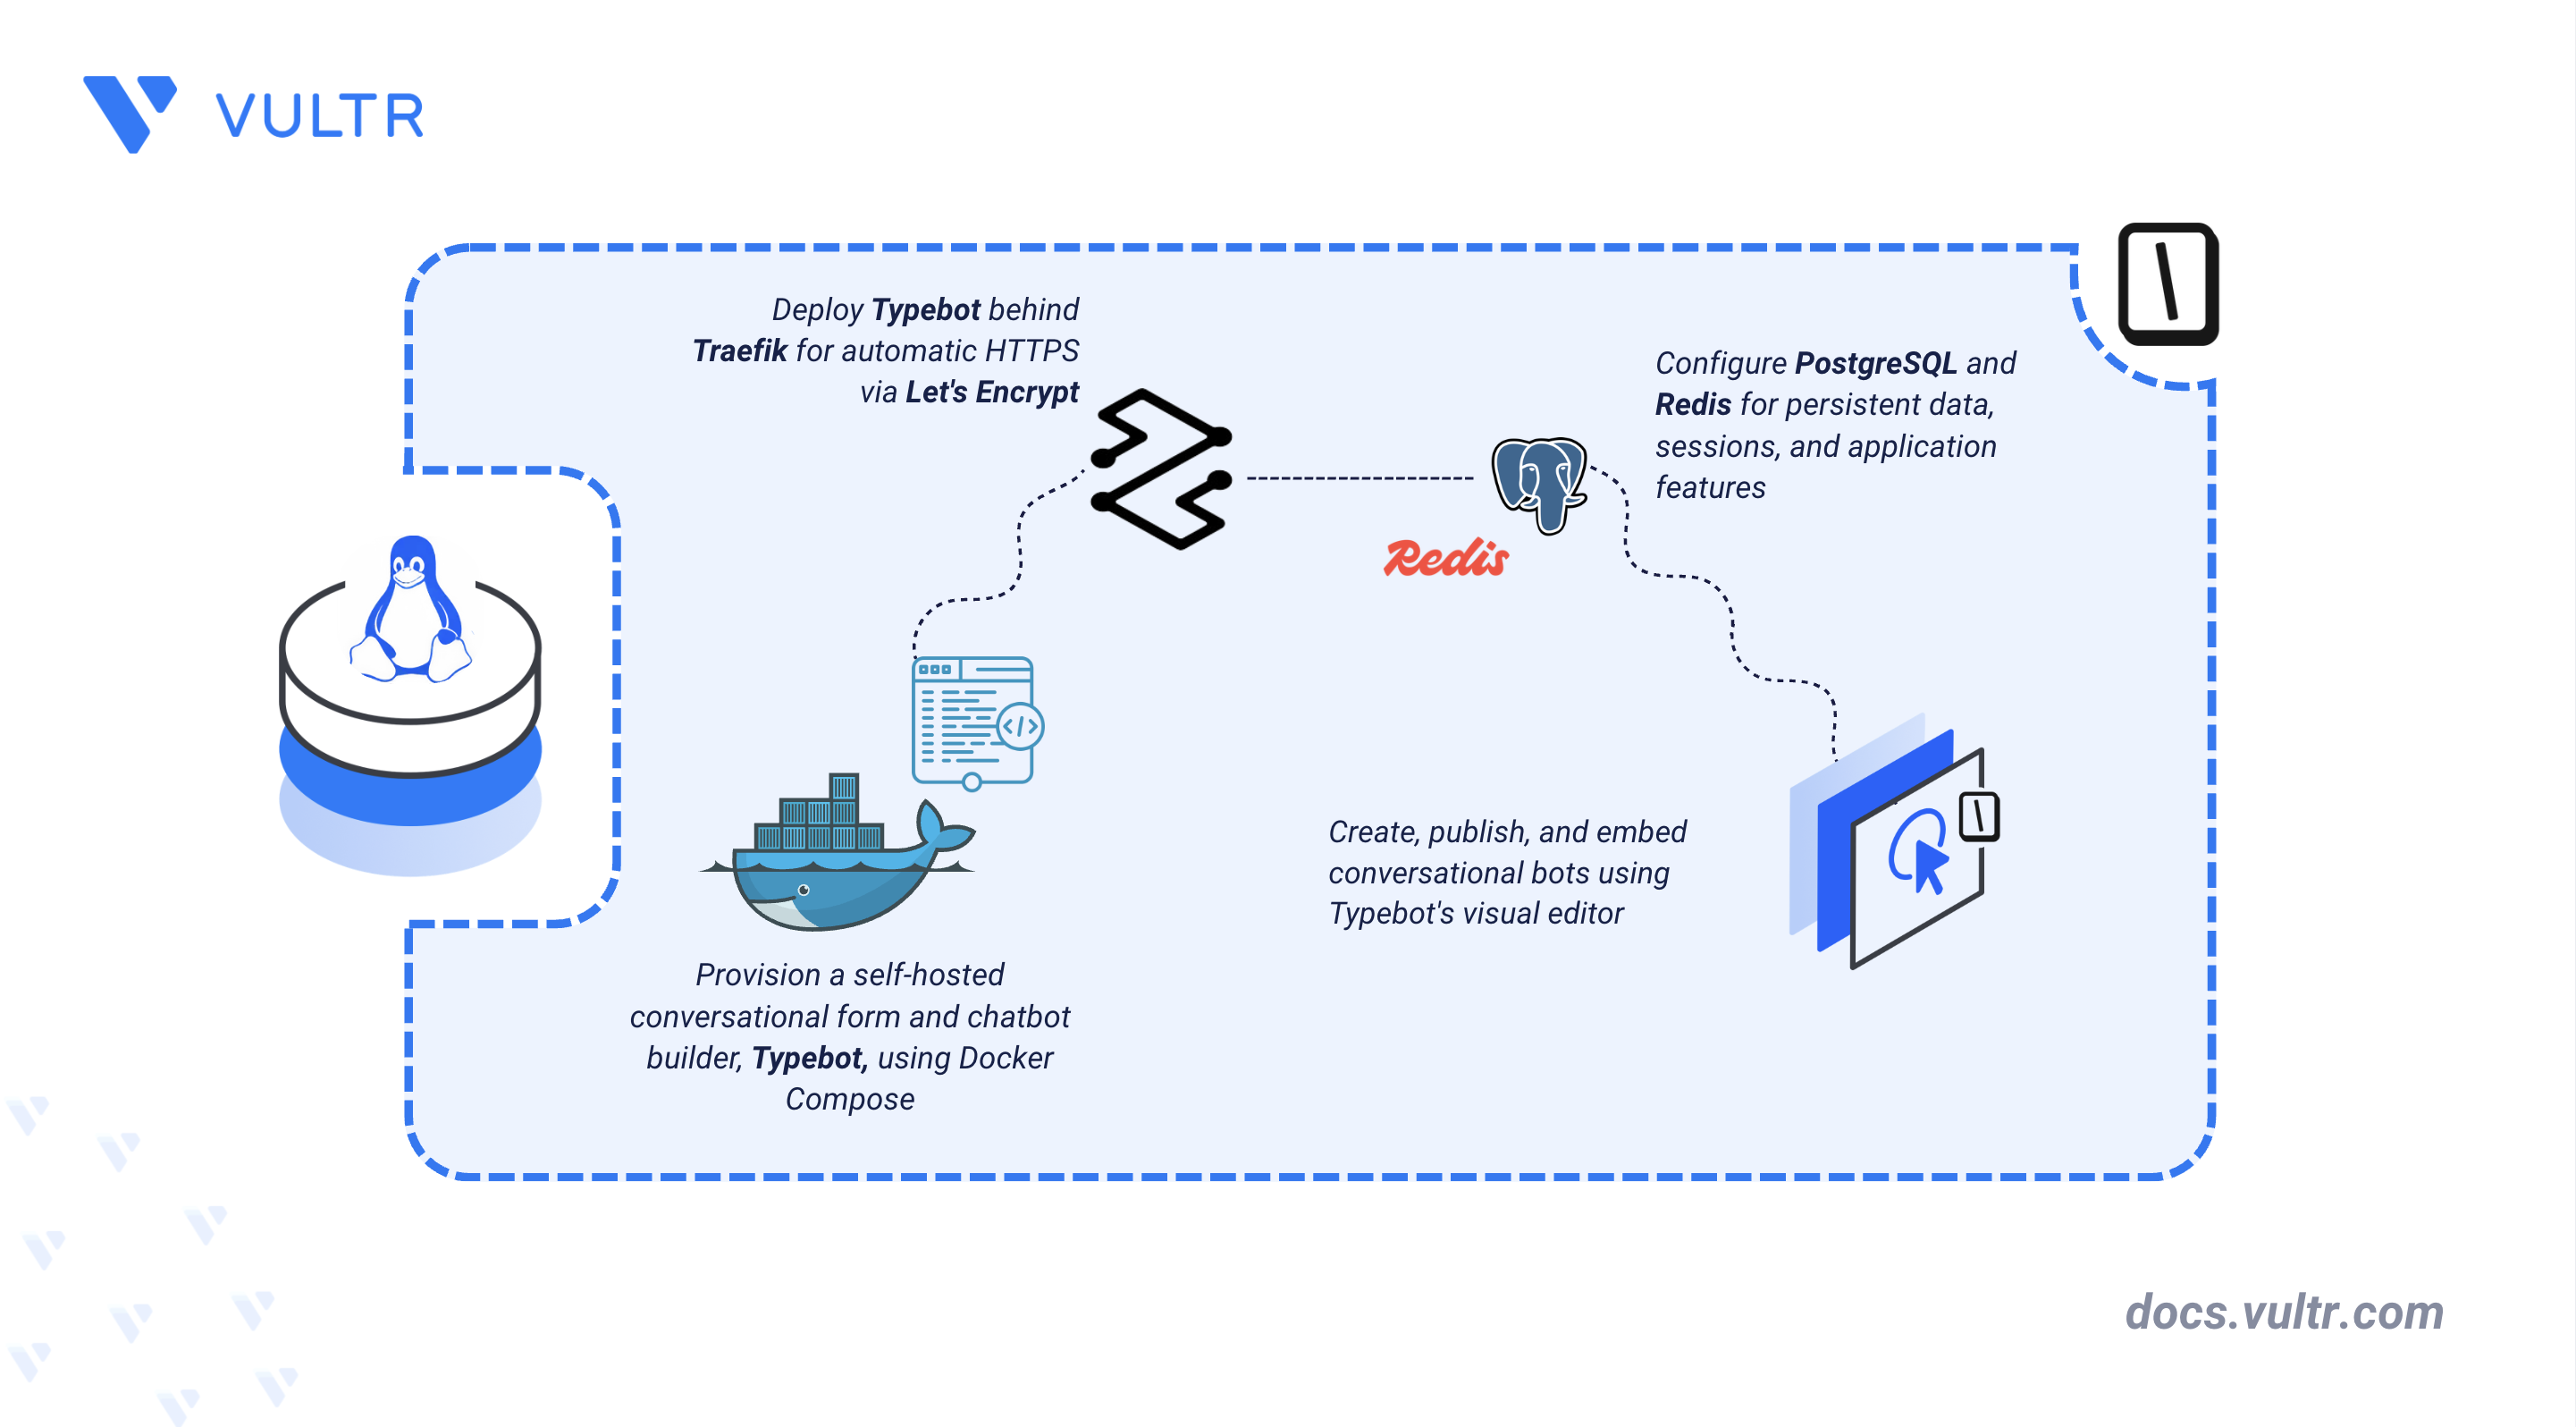
Typebot is an open-source, visually-driven conversational form and chatbot builder. It serves as a self-hosted alternative to hosted form and chatbot builders, giving you full data ownership and control over integrations and embedding.
This article explains how to deploy Typebot on a Linux server using Docker Compose with PostgreSQL, Redis, and Traefik for reverse proxy and TLS termination.
Prerequisites
Before you begin, you need to:
- Have access to a Linux-based server as a non-root user with
sudoprivileges. - Install Docker and Docker Compose.
- Configure two domain A records pointing to your server, such as
builder.example.comandviewer.example.com. - Have an email address for Let's Encrypt certificate registration.
Set Up the Directory Structure and Environment Variables
To prevent data loss during container restarts or updates, the deployment relies on host-mounted volumes for PostgreSQL, Redis, and TLS certificates. Docker Compose reads secrets, URLs, and credentials from a .env file in the project directory and substitutes them into the service definitions at startup.
Create a project directory for the Typebot deployment.
CONSOLEThe command creates four subdirectories:
pgdata: Persists PostgreSQL database files.redisdata: Stores Redis data used by Typebot's Redis-backed features, such as sign-in rate limiting and media uploads.letsencrypt: Stores Traefik ACME certificates for automatic HTTPS renewal.data: Stores Mailpit local email data.
Navigate to the project directory.
CONSOLEGenerate a strong random encryption secret that is used to encrypt sensitive data such as credentials and bot content.
CONSOLECopy the output. Use this value for the
ENCRYPTION_SECRETvariable in the next steps when creating the.envfile.Note
Store this value securely and never change it once the deployment starts handling real data. Typebot uses
ENCRYPTION_SECRETto encrypt stored credentials, and rotating it makes any previously encrypted data unreadable.Create a
.envfile to store the environment variables.CONSOLEAdd the following variables.
INIDEFAULT_WORKSPACE_PLAN=UNLIMITEDapplies the unlimited plan to every new workspace, not only the administrator's. Signup stays open until later in this guide, so anyone who registers during that window also receives an unlimited workspace.Replace the following:
builder.example.comandviewer.example.comwith your actual domains pointing to the server.admin@example.comwith your email for Let's Encrypt and admin access.YOUR_GENERATED_SECRETwith the output from the openssl command.STRONG_DATABASE_PASSWORDwith a secure password for PostgreSQL.YOUR_SMTP_USERNAMEwith your username.YOUR_SMTP_PASSWORDwith a strong, secure password for your mail.notifications@example.cominNEXT_PUBLIC_SMTP_FROMwith a sender address on your own domain.
Save and close the file.
Deploy with Docker Compose
Docker Compose orchestrates the full Typebot stack: Traefik for reverse proxy and HTTPS, PostgreSQL for persistent storage, Redis for sessions and caching, the Builder and Viewer services, and Mailpit for email. This configuration is adapted from the official Typebot Docker setup to use Traefik and persistent volumes.
Create the Docker Compose manifest.
CONSOLEAdd the following content:
YAMLtraefik- Acts as a reverse proxy and HTTPS termination layer for both the Builder and Viewer.
- Listens on ports 80 and 443 for incoming web traffic and automatically redirects HTTP to HTTPS.
- Requests and renews TLS certificates from Let's Encrypt using the email address defined in
LETSENCRYPT_EMAIL. - Stores certificates persistently in the
./letsencryptdirectory.
postgres- Runs PostgreSQL 16 as the primary database to store all bots, user responses, workspaces, and configuration data.
- Uses database credentials defined in the
.envfile. - Persists database files in the
./pgdatadirectory on the host. - Includes a health check to ensure the database is fully initialized before the Typebot services start.
redis- Runs Redis 8 (Alpine), a required dependency for the Builder and Viewer services to start.
- Supports sign-in rate limiting by IP and multiple media uploads on WhatsApp.
- Persists data in the
./redisdatadirectory. - Includes a health check to verify Redis is responsive.
typebot-builder- Runs the official Typebot Builder application (the visual editor).
- Loads all configuration and secrets from the
.envfile. - Connects to both PostgreSQL and Redis, waiting for their health checks to pass before starting.
- Registers itself with Traefik using Docker labels so it can be securely accessed via your builder domain.
typebot-viewer- Runs the official Typebot Viewer application (the public-facing bot runtime).
- Loads all configuration and secrets from the
.envfile. - Connects to both PostgreSQL and Redis, waiting for their health checks to pass before starting.
- Registers itself with Traefik using Docker labels so published bots can be accessed and embedded via your viewer domain.
mailpit- Runs Mailpit as a local email testing tool, bound to
127.0.0.1so it is not exposed publicly. - Exposes the web UI on port
8025and the SMTP service on port1025locally. - Stores email data in the
./datadirectory. - Lets Typebot send sign-in verification codes to a local inbox instead of a real mailbox.
- Lets you read messages in your local browser at
http://localhost:8025via an SSH tunnel after deployment.
Note
Mailpit only captures mail locally. It never delivers to a real inbox, so it is not a production email path. To send real email, either request that Vultr unblock outbound port 25 on this instance and self-host a mail delivery service such as Postal, pointing
SMTP_HOST,SMTP_PORT,SMTP_USERNAME, andSMTP_PASSWORDat it, or route outbound mail through an authenticated relay on port 587 or 465. Outbound port 25 is blocked by default on new Vultr instances. See Why Is SMTP Blocked? before choosing a self-hosted mail path.- Runs Mailpit as a local email testing tool, bound to
Save and close the file.
Validate the syntax of the file.
CONSOLEStart the services in detached mode.
CONSOLEVerify that the containers are running and healthy.
CONSOLEAll six containers should show a status of
Up, withmailpit,typebot-postgres, andtypebot-redisalso showing(healthy).View the logs for the Builder service to ensure it connected successfully to the database and Redis.
CONSOLEView the logs for the Viewer service to ensure it connected successfully to the database and Redis.
CONSOLE
Access and Configure Typebot
Typebot requires email-based verification instead of a password for the first sign-in, which this deployment routes through Mailpit. This section confirms the administrator account, verifies that both the Builder and Viewer domains are reachable, and closes public registration.
Open your web browser and navigate to the Builder domain using HTTPS.
Replace
builder.example.comwith the actual domain you set in the.envfile for the Builder.Sign in with the email address defined in the
ADMIN_EMAILvariable. A six-digit verification code is sent to your Mailpit email server.Because Mailpit is bound to
127.0.0.1and not exposed publicly, access its web interface by setting up an SSH local port forwarding tunnel from your local terminal.CONSOLEReplace
USERNAMEwith your server's username andYOUR_SERVER_IPwith your server's IP. If your server uses key-based SSH authentication, add-i /path/to/your-private-keybefore-N. The-Nflag tells SSH to only forward the port instead of opening a remote shell.Open your local web browser and navigate to the Mailpit inbox at
http://localhost:8025.Open the Mailpit inbox and copy the verification code sent by Typebot.
Return to the Builder tab and enter the code to complete sign-in.
Return to the terminal running the SSH tunnel and press Ctrl + C to close it, since Mailpit access is no longer needed until the next sign-in.
Open the Viewer domain in a new tab.
Replace
viewer.example.comwith the domain you configured in the.envfile.Click the dashboard link on the Viewer page to verify that it opens the Builder interface.
Open your
.envfile to disable public registrations now that your admin account is created.CONSOLEUpdate the signup configuration.
INISave and close the file, then apply the changes to the Builder container.
CONSOLENote
This prevents unauthorized users from registering new accounts on your public Builder instance.
Create and Embed a Typebot
Typebot publishes each bot as a hosted page on the Viewer domain and provides a JavaScript snippet that embeds that page into any website. Publishing a bot makes it reachable at that public link before you add it to a page.
In the Builder tab still open from the previous section, click Create a typebot.
Select Start from scratch to create a new bot manually.
From the top left corner, change the typebot name to your preferred title, for example, My first bot.
In the visual editor, drag a Text bubble block onto the canvas and enter a welcome message, for example, "Hello! How can I help you today?"
Drag a connection line from the Start block's output dot to the Text bubble block so the flow begins there.
Drag an Input block, for example Text, and connect it to the previous block.
Click Publish in the top-right corner.
Under Embed your typebot, click Iframe.
Copy the
<iframe>snippet shown in the dialog.Open the main HTML file of your sample website or any page where you want to add the bot.
Paste the snippet just before the closing
</body>tag.HTMLReplace
viewer.example.com/your-bot-idwith the link shown in the Iframe dialog.Save the file and open your website in a browser to test the bot.
Return to the Typebot Builder, open the Results tab, and verify that responses are being captured.
Test a Bot
Typebot's built-in templates route respondents through a Choice input block, so each button ends its own path through the flow instead of all leading to the same message. The Results tab records which option a respondent picked as its own column, alongside any text or email fields the flow collects.
- Click Create a typebot.
- Select Start from template.
- Choose the Customer Support template from the left pane, then click Use this template.
- Click Publish.
- Open the link shown under Your typebot links.
- Click one of the response options, for example I have a feature request. Verify that the bot responds with a follow-up message and a link, then click Restart to return to the beginning.
- Return to the Typebot Builder, open the Results tab, and verify that the option you clicked appears under the Menu column.
Conclusion
You have deployed a self-hosted Typebot instance with Docker Compose, PostgreSQL, Redis, and Traefik for automatic HTTPS, with separate Builder and Viewer services on their own domains. For more information, see the official Typebot documentation.
Tags:Open Source


0 Comments
Be the first to comment and share your perspective with the community.