
How to Deploy Windsurf Projects on Vultr Using Coolify
Windsurf is an AI-powered, agentic Integrated Development Environment (IDE) built on VS Code that generates complete full-stack applications from natural language prompts. Coolify is a self-hosted platform-as-a-service (PaaS) that manages Docker container builds, deployments, and reverse proxy routing through a web dashboard.
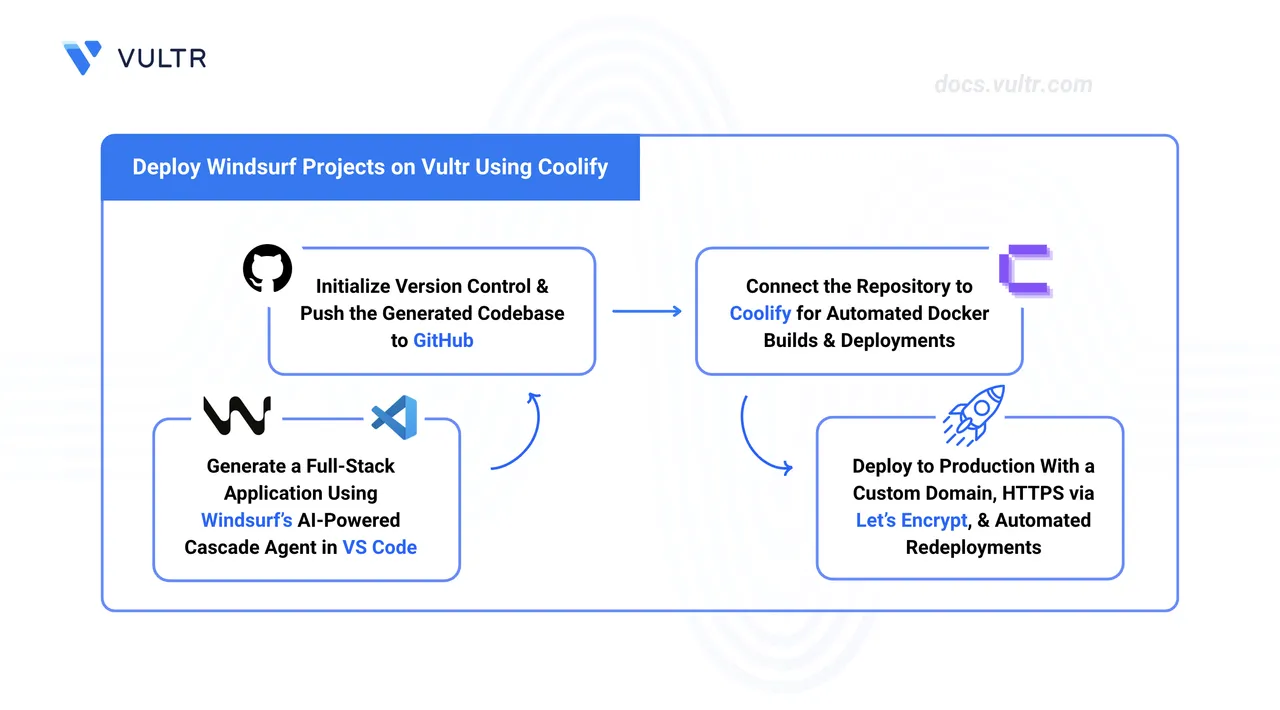
This guide explains how to create a full-stack application using Windsurf, pushing the source code to GitHub, and deploying it on Vultr using Coolify.
Prerequisites
- Have a Windsurf account.
- Have a GitHub account.
- Deploy a new instance with the Vultr Marketplace Application for Coolify.
- Set up a domain name, such as
app.example.com, and point it to your server's public IP address using an A record.
Set Up Windsurf
Download and install Windsurf, then sign in to activate the Cascade AI agent.
- Download Windsurf and complete the installation process.
- Launch the application.
- Click Get Started, and configure the initial workspace preferences.
- Log in to your Windsurf account in the browser page.
Create an Application Using AI
The Cascade agent generates full-stack application files from a text prompt. Push the generated source code to GitHub.
Click Generate a New Project to initialize the AI agent.
Enter a detailed prompt that describes the application and instructs the agent to make it Coolify-compatible. Include all necessary features and the desired service stack, and request either a Dockerfile or a
docker-compose.yamlfile if the application requires multiple services.Press Enter to generate the application files.
Press Ctrl + Backtick or Cmd + Backtick on Mac to open the integrated terminal.
Optionally, test the application locally using the instructions in the generated
README.mdfile.Create a new repository on GitHub.
Initialize the local Git repository.
console$ git init
Stage the generated files for commit.
console$ git add .
Commit the files to the local repository.
console$ git commit -m "Initial commit"
Set the default branch to main.
console$ git branch -M main
Add your GitHub repository as the remote origin. Replace
YOUR_REPOSITORY_URLwith your repository URL.console$ git remote add origin YOUR_REPOSITORY_URL
Push the source code to GitHub.
console$ git push -u origin main
Access the Coolify Dashboard
The Vultr Marketplace app provides the Coolify dashboard address in the instance management page. Open it to complete the initial account setup.
- Access your Vultr instance’s Overview page.
- In the App Instructions section, find the Coolify dashboard address and open it in a new tab.
- Set your administrator account credentials in the initial configuration wizard.
Configure a Dashboard Domain
Assigning a domain to your Coolify instance gives GitHub a stable, publicly reachable webhook endpoint and enables HTTPS for the dashboard. Coolify uses this domain when registering the GitHub App.
- At your DNS registrar, create an A record pointing a subdomain to your server's public IP address, for example
coolify.example.com. - Open the Coolify dashboard at
http://YOUR_SERVER_IP:8000. - Click Settings in the left sidebar.
- Under General, enter your fully-qualified domain with the
https://scheme in the URL field, for examplehttps://coolify.example.com. - Click Save.
- Open
https://coolify.example.comin a new tab to confirm the dashboard loads over HTTPS.
Connect GitHub Repository
Authorize Coolify to retrieve your application's source code from the GitHub repository.
- Click Sources in the left sidebar of the Coolify dashboard.
- Click Add.
- In the New GitHub App dialog, optionally update the app name. Leave the Organization field empty to use your personal GitHub account.
- Click Continue.
- On the GitHub App configuration page, open the Webhook Endpoint dropdown. It lists your server IP, your configured domain, and localhost. Select your domain so GitHub can reach the endpoint over HTTPS.
- Click Register Now. Coolify redirects you to GitHub.
- Click Create GitHub App on GitHub to register the app. GitHub redirects you back to Coolify.
- On the GitHub App page in Coolify, click Install Repositories on GitHub. GitHub opens the app installation page.
- Select All repositories or Only select repositories, then click Install.
Create a New Project
Projects allow you to isolate Coolify applications into separate environments.
- Click Projects in the left sidebar.
- Click Add.
- Type a name for your project.
- Click Continue to create your project.
Configure the Application
Link your GitHub repository to a new Coolify resource and configure the build settings before triggering the first deployment.
- Click Add Resource inside your project’s page.
- Choose Private Repository (with GitHub App) or Public Repository, depending on your repository visibility.
- Choose your GitHub app.
- Select your application repository from the dropdown.
- Set the branch to
main. - Select Docker Compose or Dockerfile in the Build Pack dropdown depending on your project.
- Click Continue. Coolify opens the application’s Configuration page.
- In the Domains field, click Generate Domain to assign a temporary
.sslip.iodomain for testing. - Click Save.
Add a Database
Provision a managed database before deploying so the application can connect to it on startup.
- Navigate back to your Coolify project page.
- Click + New Resource.
- Select Database and choose the database type that matches your application.
- Enter a name for your database and click Create.
- Click Start to deploy the database container.
- Copy the internal connection URL from the database configuration page.
Configure Environment Variables
Set the database connection URL and any other required secrets before the first deploy.
- Open your application’s configuration page and click Environment Variables in the left sidebar.
- Click + Add.
- Enter
DATABASE_URLas the name and paste the internal connection URL as the value. - Add any other variables your application requires.
- Click Save.
Start the Deployment
Trigger the build and verify the application starts correctly using the generated test domain.
Click Deploy in the top right corner of the application’s configuration page.
Click Links in the top navigation bar.
Click the generated
.sslip.iodomain link and verify the application loads.If the deployment fails, click the latest running instance of deployment under the Deployment tab to view the full error output. Copy the error and share it with the Windsurf Cascade agent to diagnose and fix the issue. Once the code is updated, push the fix to trigger a new deployment cycle:
Stage the updated files.
console$ git add .
Commit the changes.
console$ git commit -m "Fix deployment error"
Push the fix to the remote repository. Coolify detects the push and redeploys automatically.
console$ git push origin main
Coolify detects the push and redeploys automatically.
Configure Custom Domain with HTTPS
Replace the temporary test domain with your own domain. Coolify provisions a Let’s Encrypt certificate automatically when the domain uses https://.
- Open your application’s Configuration page.
- In the Domains field, replace the
.sslip.ioaddress with your custom domain, for examplehttps://app.example.com. Include thehttps://prefix to trigger automatic Let’s Encrypt certificate provisioning. - Click Save, then Redeploy.
- Once redeployed, open your custom domain and confirm the padlock icon is visible in the address bar.
Conclusion
You have successfully created a full-stack application with Windsurf, pushed the source code to GitHub, and deployed it on Vultr using Coolify. The application now serves traffic over a custom domain secured with a Let's Encrypt TLS certificate and redeploys automatically on every push to the repository. For more information and advanced configuration options, visit the official Coolify documentation.