
How to Install Caddy Webserver on Rocky Linux 9
Introduction
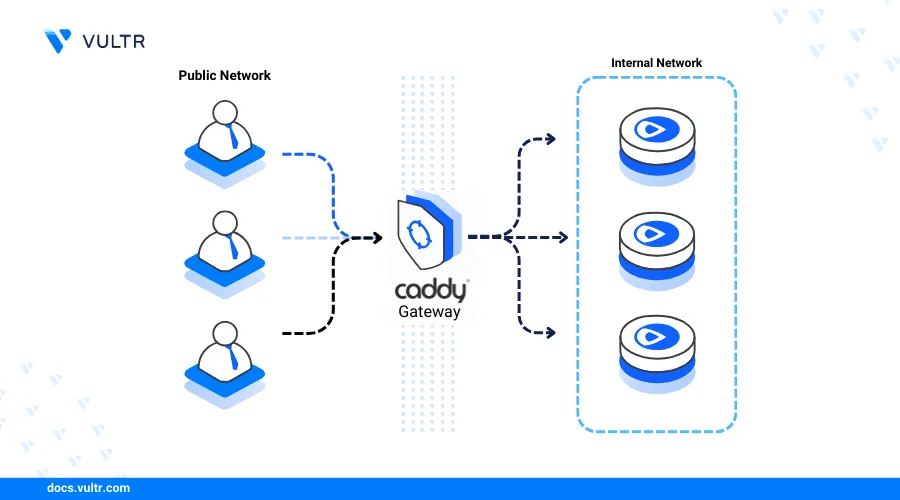
Caddy is an open-source webserver for developing and delivering static web applications. The webserver supports HTTP/3 and automatic SSL termination. Caddy also works as a reverse proxy or a load balancer that forwards HTTP client requests to backend services. You can also install Caddy plugins to extend the webserver's functionalities.
This article explains how to install the Caddy webserver on Rocky Linux 9.
Prerequisites
- Deploy a Rocky Linux 9 Cloud Compute instance on Vultr.
- Set up a domain A record pointing to the instance's public IP address. For example,
app.example.com. - Access the instance using SSH as a non-root user with sudo privileges.
- Update the instance.
Install Caddy
Caddy is available in the Extra Packages for Enterprise Linux (EPEL) repository on Rocky Linux 9 but the version might be outdated. Follow the steps below to install the webserver from the Caddy Community Projects (COPR) repository.
Install the DNF Copr Plugin.
console$ sudo dnf install 'dnf-command(copr)'
Enable the Caddy COPR repository.
console$ sudo dnf copr enable @caddy/caddy
Enter Y when prompted to add the repository on your server.
Install Caddy.
console$ sudo dnf -y install caddy
View the Caddy version on your server.
console$ caddy -v
Your output should be similar to the one below.
v2.8.4 h1:q3pe0wpBj1OcHFZ3n/1nl4V4bxBrYoSoab7rL9BMYNk=Allow Caddy HTTP port
80through the firewall.console$ sudo firewall-cmd --permanent --zone=public --add-service=http
Reload the firewall to apply changes.
console$ sudo firewall-cmd --reload
Manage the Caddy System Service
The caddy.service system service manages and controls the Caddy processes on your server. Follow the steps below to enable the service to automatically start at boot and manage the Caddy processes.
Enable the Caddy service to automatically start at boot.
console$ sudo systemctl enable caddy
Start the Caddy service.
console$ sudo systemctl start caddy
View the Caddy service status and verify that it's running.
console$ sudo systemctl status caddy
Output:
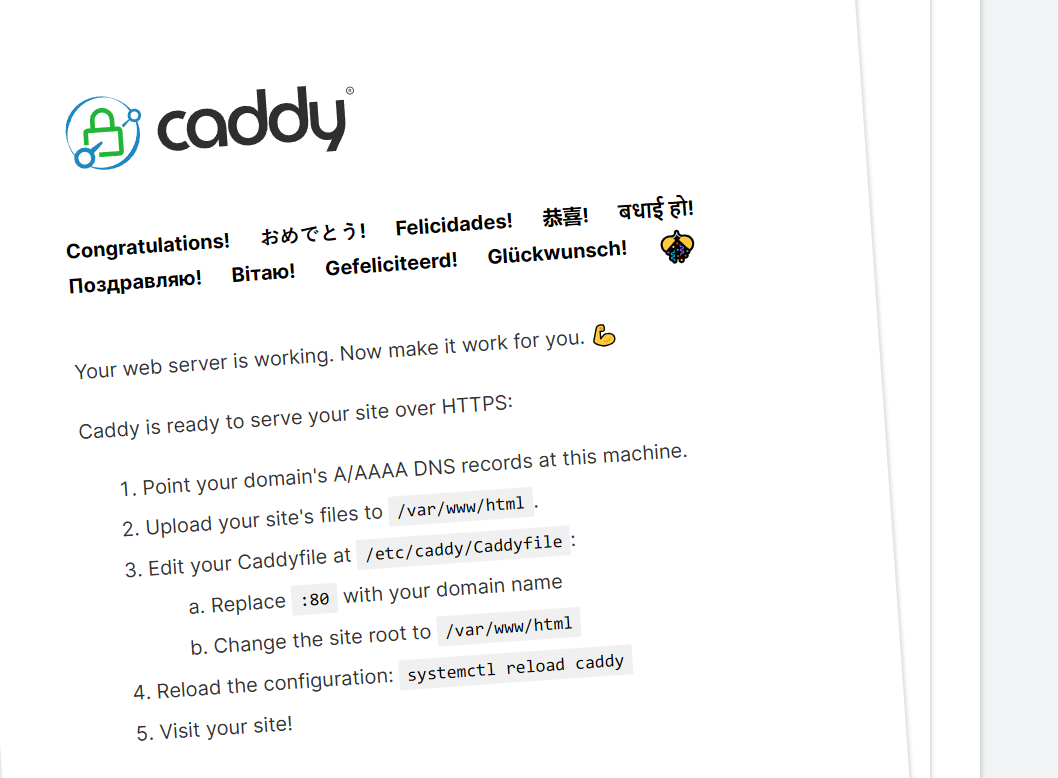
● caddy.service - Caddy
 Loaded: loaded (/usr/lib/systemd/system/caddy.service; enabled; preset: disabled)
 Active: active (running) since Mon 2024-07-22 06:45:49 UTC; 1 week 0 days ago
   Docs: https://caddyserver.com/docs/
Main PID: 59399 (caddy)
  Tasks: 7 (limit: 4632)
 Memory: 22.8M
    CPU: 18.830s
 CGroup: /system.slice/caddy.service
         └─59399 /usr/bin/caddy run --environ --config /etc/caddy/Caddyfile
Open a browser such as Firefox and access your server's public IP address.
http://192.0.2.1Caddy should now display the default web application page.
Create a New Caddy Virtual Host
Caddy stores configurations for virtual hosts under the /etc/caddy directory. It supports virtual host configurations via Caddyfile from any location on your server. Follow the steps below to create a new Caddy virtual host to serve the website from the /var/www/app.example.com/html directory.
Create a new virtual host web root directory. For instance,
/var/www/app.example.com/html.console$ sudo mkdir /var/www/app.example.com/html -p
Use a text editor like Nano to create a sample
index.htmlfile under the new directory.console$ sudo nano /var/www/app.example.com/html/index.html
Add the following contents to the
index.htmlfile.html<html> <head> <title>Caddy Server Install Test</title> </head> <body> <h1>Greetings from Vultr!</h1> </body> </html>
Save and close the file.
Create a new
/etc/caddy/hostsdirectory to store the Caddy virtual host configuration files.console$ sudo mkdir /etc/caddy/hosts
Open
/etc/caddy/Caddyfile, the main Caddy configuration file.console$ sudo nano /etc/caddy/Caddyfile
Add the following directive at the end of the
/etc/caddy/Caddyfilefile.iniimport hosts/*Save and close the file.
The above
importdirective instructs Caddy to include additional configuration files from the/etc/caddy/hostsdirectory.Create a new virtual host configuration file in the
/etc/caddy/hosts/directory. For example,app.example.com.console$ sudo nano /etc/caddy/hosts/app.example.com
Add the following configurations to the file.
iniapp.example.com { tls admin@example.com root * /var/www/app.example.com/html file_server { index index.html } log { output file /var/log/caddy/app.example.log format console } }
Save and close the file.
The above configuration creates a new virtual host that delivers web applications for the
app.example.comdomain. Within the configuration:app.example.com: Creates a new virtual host profile that listens for HTTP connections for theapp.example.comdomain.tls: Sets the email address for validating Let's Encrypt SSL certificates.root: Sets the virtual host web directory.file_server: Enables serving static files.index: Sets the default file to serve when an HTTP client requests your domain.log: Enables and specifies access and error logging.output: Sets the location of the access log file.format: Specifies the log file format.
Validate the Caddy configuration for errors.
console$ caddy validate --config /etc/caddy/hosts/app.example.com --adapter caddyfile
If you receive the following warning:
WARN Caddyfile input is not formatted; run 'caddy fmt --overwrite' to fix inconsistencies {"adapter": "caddyfile", "file": "/etc/caddy/hosts/app.example.com", "line": 2}Run the following command to correct the configuration file.
console$ sudo caddy fmt --overwrite /etc/caddy/hosts/app.example.com
Create the Caddy logs directory.
console$ sudo mkdir /var/log/caddy
Reload the Caddy webserver to apply the configuration changes.
console$ sudo systemctl reload caddy
Secure the Caddy Server
Caddy runs under the caddy user and group. The user enables the webserver to read and write configuration files on the server. Follow the steps below to restrict access to the Caddy configuration files and the virtual host web applications directory.
Grant Caddy access to the Caddy logs directory.
console$ sudo chown -R caddy:caddy /var/log/caddy
Grant Caddy access to the
/etc/caddydirectory.console$ sudo chown -R caddy:caddy /etc/caddy
Grant Caddy access to the virtual host web applications directory.
console$ sudo chown -R caddy:caddy /var/www/app.example.com/html
Configure SELinux
SELinux is active and blocks specific application operations on Rocky Linux 9 by default. Follow the steps below to configure SELinux and grant the Caddy webserver access to the web applications directory.
Enable the webserver file security context on the virtual host web applications directory.
console$ sudo semanage fcontext -a -t httpd_sys_rw_content_t "/var/www/app.example.com/html(/.*)?"
Apply the SELinux policy.
console$ sudo restorecon -Rv /var/www/app.example.com/html/
Allow Caddy to create external network connections.
console$ sudo setsebool -P httpd_can_network_connect 1
Set Up Firewall Rules
Caddy delivers web applications using the HTTP port 80 and HTTPS port 443 depending on the virtual host configurations. Follow the steps below to enable the default Firewalld utility and enable network connections to all required ports.
View the firewall status to ensure the firewall is running.
console$ sudo firewall-cmd --state
Your output should look like the one below when active.
runningAllow HTTP port
80through the firewall.console$ sudo firewall-cmd --permanent --zone=public --add-service=http
Allow HTTPS port
443through the firewall.console$ sudo firewall-cmd --permanent --zone=public --add-service=https
Reload the firewall to apply the new changes.
console$ sudo firewall-cmd --reload
Open a web browser and access your virtual host domain (For example,
app.example.com) to run your web application.https://app.example.com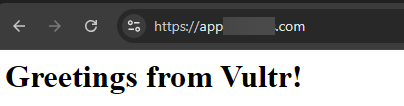
Conclusion
You have installed Caddy on Rocky Linux 9 and set up a virtual host configuration to serve web applications. You can also implement Caddy as a reverse proxy or a load balancer. For more information, visit the Caddy documentation.