
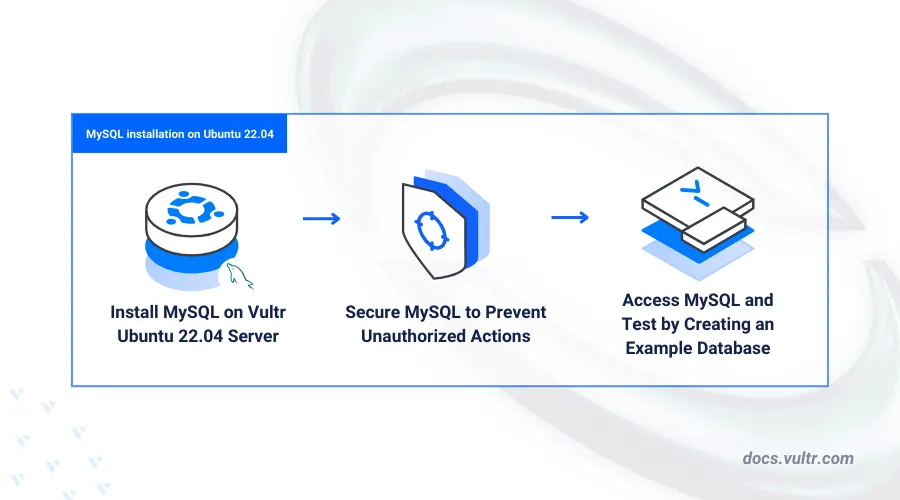
How to Install MySQL on Ubuntu 22.04
MySQL is a popular open-source relational database management system (RDBMS) that uses SQL to store, manage, and retrieve data efficiently. It’s widely used for web applications, data storage, and complex data management. Installing MySQL on Ubuntu 22.04 provides a stable environment for building and securing databases.
In this article, you’ll learn how to install and configure MySQL on Ubuntu 22.04, from system updates to securing your database. If you’re working with other Linux distributions, you can check out our article on installing MySQL on Debian 12 for a similar approach.
Prerequisites
Before you begin:
Have an Ubuntu 22.04 server.
Access the server using SSH as a non-root user with sudo privileges.
Install MySQL on Ubuntu 22.04
MySQL is available in the default APT repositories on Ubuntu 22.04. You can install the latest version directly or use a PPA for a specific release. Follow the steps below to update your server and install MySQL.
Update the server package index.
console$ sudo apt update
Install the MySQL server package.
console$ sudo apt install mysql-server -y
View the installed MySQL version on your server.
console$ mysql --version
Output:
mysql Ver 8.0.41-0ubuntu0.22.04.1 for Linux on x86_64 ((Ubuntu))
Manage the MySQL System Service
MySQL runs under the mysql system service to manage database processes on Ubuntu 22.04. Follow the steps below to enable the service to start at boot and verify its status.
Enable MySQL to automatically start at boot time.
console$ sudo systemctl enable mysql
Output:
Synchronizing state of mysql.service with SysV service script with /usr/lib/systemd/systemd-sysv-install.
Executing: /usr/lib/systemd/systemd-sysv-install enable mysql
Start the MySQL database server.
console$ sudo systemctl start mysql
View the MySQL server status and verify that it's running.
console$ sudo systemctl status mysql
Output:
● mysql.service - MySQL Community Server
     Loaded: loaded (/lib/systemd/system/mysql.service; enabled; vendor preset: enabled)
     Active: active (running) since Sun 2025-04-06 10:58:51 UTC; 5min ago
   Main PID: 17189 (mysqld)
     Status: "Server is operational"
      Tasks: 39 (limit: 9415)
     Memory: 365.9M
     CGroup: /system.slice/mysql.service
             └─17189 /usr/sbin/mysqld
Secure the MySQL Server
Securing the MySQL server is essential to protect databases from unauthorized access. By default, privileged users like root can access the MySQL console without a password. Follow the steps below to set a new root password and disable insecure defaults to secure your database server.
Run the following command to start the MySQL secure installation script.
console$ sudo mysql_secure_installation
Follow the script prompts below to set up a new root user password, remove anonymous users, disallow remote root login, and remove test databases on your MySQL database server.
- VALIDATE PASSWORD component: Enter Y and press Enter to enable password validation on your server.
- Password Validation Policy: Enter 2 to enable the usage of strong passwords on your server.
- Do you wish to continue with the password provided?: Enter Y to apply the new user password.
- Remove anonymous users?: Enter Y to revoke MySQL console access to unknown database users.
- Disallow root login remotely?: Enter Y to disable remote access to the MySQL root user account on your server.
- Remove test database and access to it?: Enter Y to delete the MySQL test databases.
- Reload privilege tables now?: Enter Y to refresh the MySQL privilege tables and apply your new configuration changes.
Log in to the MySQL database server as
root.console$ sudo mysql
Set a strong password for the root user.
sqlmysql> ALTER USER 'root'@'localhost' IDENTIFIED WITH mysql_native_password BY 'your_strong_password';
Replace
your_strong_passwordwith a strong password depending on your password strength policy.Reload the MySQL Privilege tables to apply changes.
sqlmysql> FLUSH PRIVILEGES;
Exit the MySQL console.
sqlmysql> EXIT;
Restart the MySQL service to apply your configuration changes.
console$ sudo systemctl restart mysql
Access MySQL
Log in to the MySQL database server as
root.console$ mysql -u root -p
Enter the root user password you set earlier when prompted.
Create a new sample MySQL database. For example,
my_database.sqlmysql> CREATE DATABASE my_database;
Create a new MySQL database user with a strong password. For example,
my_userand replacemy_passwordwith your desired password depending on your password strength policy.sqlmysql> CREATE USER 'my_user'@'localhost' IDENTIFIED BY 'my_password';
Grant the database user
my_userfull privileges to your sample databasemy_database.sqlmysql> GRANT ALL PRIVILEGES ON my_database.* TO 'my_user'@'localhost';
Grant the user
my_userpermission to create databases on the server.sqlmysql> GRANT CREATE ON *.* TO 'my_user'@'localhost';
Grant the user
my_userpermission to perform CRUD operations (SELECT, INSERT, UPDATE, DELETE) on all databases.sqlmysql> GRANT SELECT, INSERT, UPDATE, DELETE ON *.* TO 'my_user'@'localhost';
Refresh the MySQL privilege tables to apply the new user changes.
sqlmysql> FLUSH PRIVILEGES;
Exit the MySQL database console.
sqlmysql> EXIT;
Create a Sample MySQL Database
By default, non-privileged MySQL users have CREATE privileges on the database server. In the following steps, we’ll create an example database using the non-privileged user my_user and add new records to the database tables.
Log in to the MySQL database console using the database user
my_useryou created earlier.console$ mysql -u my_user -p
Enter the
my_userpassword you set earlier when prompted.List all databases available to the MySQL user
sqlmysql> SHOW DATABASES;
Output:
+--------------------+
| Database           |
+--------------------+
| information_schema |
| my_database        |
| mysql              |
| performance_schema |
| sys                |
+--------------------+
Create another sample MySQL database. For example,
bookstore_db.sqlmysql> CREATE DATABASE example_vultr;
Switch to the new database.
sqlmysql> USE example_vultr;
Create a new sample table with the 3 columns to store different data types.
sqlmysql> CREATE TABLE sample_table ( id INT AUTO_INCREMENT PRIMARY KEY, name VARCHAR(255) NOT NULL, description TEXT, created_at TIMESTAMP DEFAULT CURRENT_TIMESTAMP );
Insert sample data into the
sample_tabletable.sqlmysql> INSERT INTO sample_table (name, description) VALUES ('Sample Item 1', 'This is the first sample item.'), ('Sample Item 2', 'This is the second sample item.'), ('Sample Item 3', 'This is the third sample item.');
Select all table records to verify that the new table data is available.
sqlmysql> SELECT * FROM sample_table;
Output:
+----+--------------+-------------------------------+---------------------+
| id | name         | description                   | created_at          |
+----+--------------+-------------------------------+---------------------+
|  1 | Sample Item 1| This is the first sample item.| 2024-06-19 10:00:00 |
|  2 | Sample Item 2| This is the second sample item.| 2024-06-19 10:00:00|
|  3 | Sample Item 3| This is the third sample item. | 2024-06-19 10:00:00|
+----+--------------+-------------------------------+---------------------+
Conclusion
In this article, you installed MySQL on your Ubuntu 22.04 server and secured the database to ensure authenticated access for valid users. MySQL integrates seamlessly with modern web applications, and you can use your server as a dedicated remote database server or as the database backend for dynamic application stacks such as LAMP.