
How to Install OpenSSH on Windows Server 2019 or 2022

OpenSSH is a robust and widely used tool for secure remote access, enabling encrypted communication between a client and a remote server. By encrypting all transmitted data, OpenSSH ensures confidentiality and integrity, protecting against various network attacks such as connection hijacking, packet sniffing, and eavesdropping. This makes it an essential tool for system administrators who need to manage servers remotely without compromising security.
With OpenSSH natively supported in Windows Server 2019 and 2022, administrators can seamlessly integrate it into their environment to enable secure remote administration, automate tasks, and facilitate file transfers over a protected connection.
In this article, we will walk you through the step-by-step process of installing and configuring OpenSSH on a Windows Server. Whether you're setting up SSH for the first time or looking to enhance your server’s security, this guide will provide you with the necessary knowledge to get started.
Prerequisites
Install OpenSSH on Windows Server 2019 or 2022
Through Windows Settings
Open the Windows Start Menu.
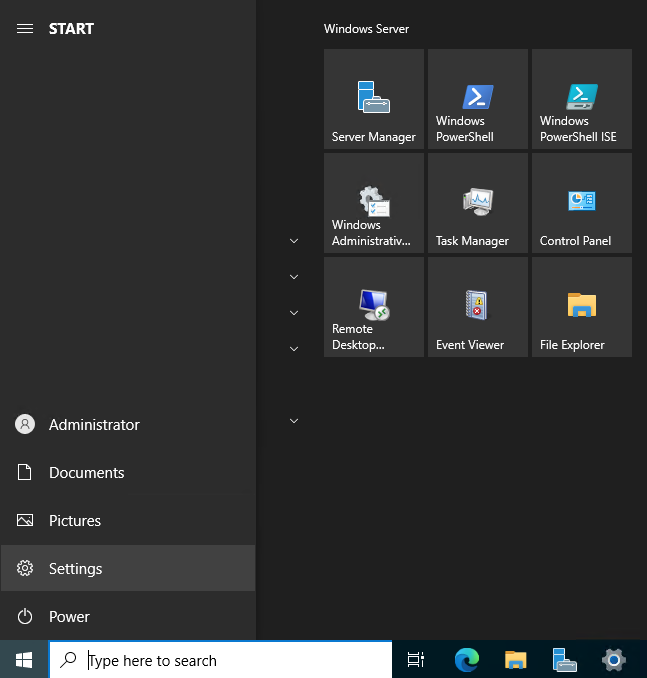
Locate and open Windows Settings. In the new Window, navigate to Apps, and Select Optional Features under Apps & Features.
Click Add Feature, then enter the keyword OpenSSH in the search box. Next, select OpenSSH Server from the list of results, then click Install.
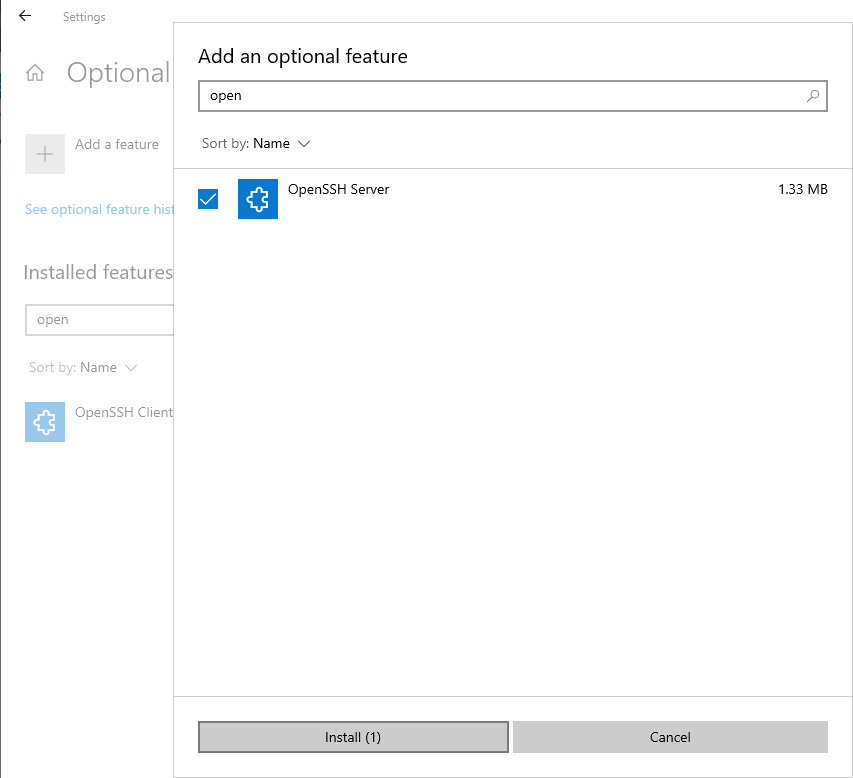
Once installed, both OpenSSH Client and Server will be available on the list of Installed Features.
Using Windows PowerShell
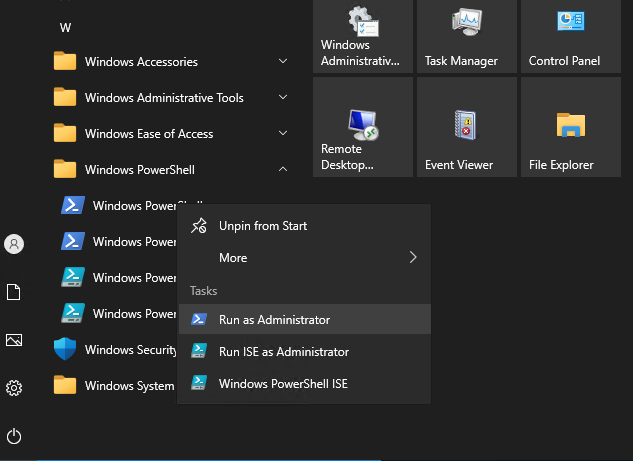
Open PowerShell as an Administrator.
Paste the following commands to Install OpenSSH Server:
Add-WindowsCapability -Online -Name OpenSSH.ServerInstall OpenSSH Client:
Add-WindowsCapability -Online -Name OpenSSH.ClientOutput:
Path          :
Online        : True
RestartNeeded : False
To configure OpenSSH, use the following command to open the main configuration file in Notepad and make your preferred changes.
start-process notepad C:\Programdata\ssh\sshd_configConfigure Firewall
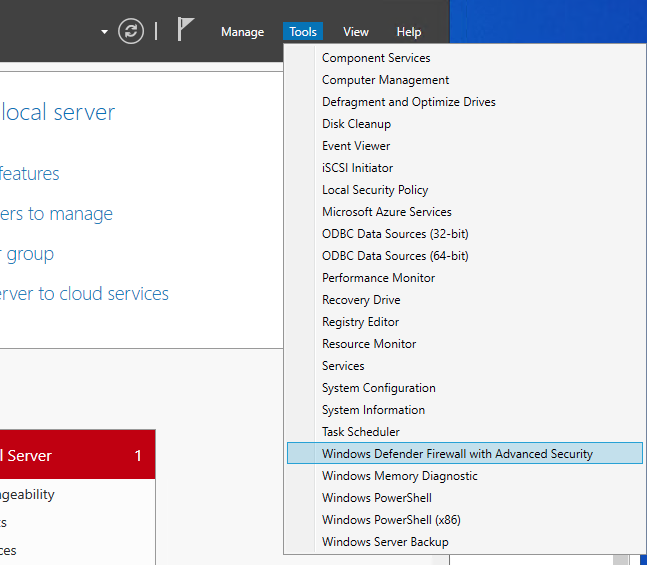
Open the Windows start menu, locate and click Server Manager. In the Server Manager window, navigate to Tools, and select Windows Defender Firewall with Advanced Security from the drop-down list.
Now, click Inbound Rules in the open Firewall window. Then, select New Rule from the right pane.
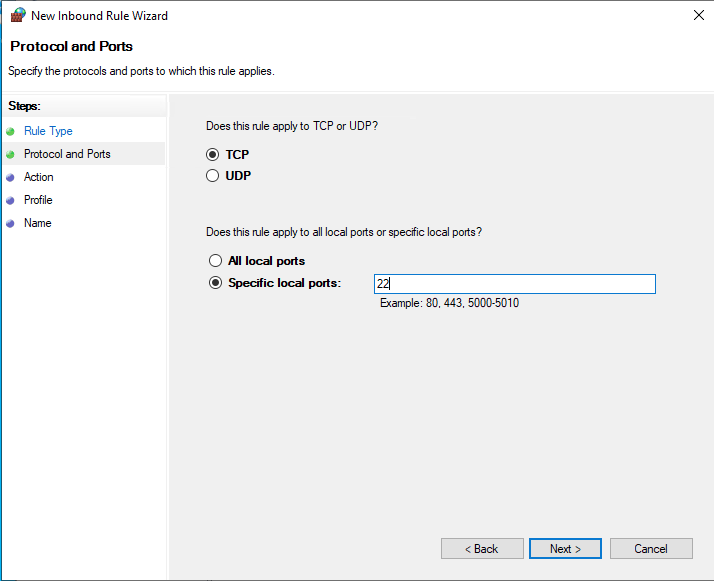
In the New Inbound Rule Wizard, select Port from the list of options, then click Next. Select ‘TCP’, then enter port 22 in the Specific local ports: section.
Next, allow the connection, assign the rule to server profiles, and set a custom name for easy identification from the list of Firewall rules.
Click Finish to save the new firewall rule.
Login to Windows Server using SSH
First, start the OpenSSH server by entering the following command in your PowerShell terminal.
Start-Service sshdLog out of the RDP session.
Then, initiate an SSH connection from your local computer to the server using the following command:
$ ssh -l Administrator SERVER-IPReplace Administrator with your target username and SERVER-IP with your actual Vultr Windows server address.
ECDSA key fingerprint is SHA256:Vv2A8NOfzCLR/e35Fm5UyqGeJptrn6ZlY6Vabx0wHXQ.
Are you sure you want to continue connecting (yes/no/[fingerprint])?
Verify the server key by accepting with yes. Then, enter the user account password to connect to the remote Windows server over SSH.
Once logged in, your SSH terminal should be similar to the one below:
Microsoft Windows [Version 10.0.20348.405]
(c) Microsoft Corporation. All rights reserved.

Administrator@EXAMPLE C:\Users\Administrator>
Conclusion
Congratulations, you have successfully installed OpenSSH on a Windows Server. To fine-tune your SSH configuration file, consider visiting the Windows SSH configuration documentation here.