Introduction
PostgreSQL is an open-source Relational Database Management System (RDBMS) that supports complex data types, ACID-compliant transactions. The RDBMS is widely used in web applications, data warehousing, and geospatial data management. PostgreSQL supports Structured Query Language (SQL) for storing and retrieving data in tables.
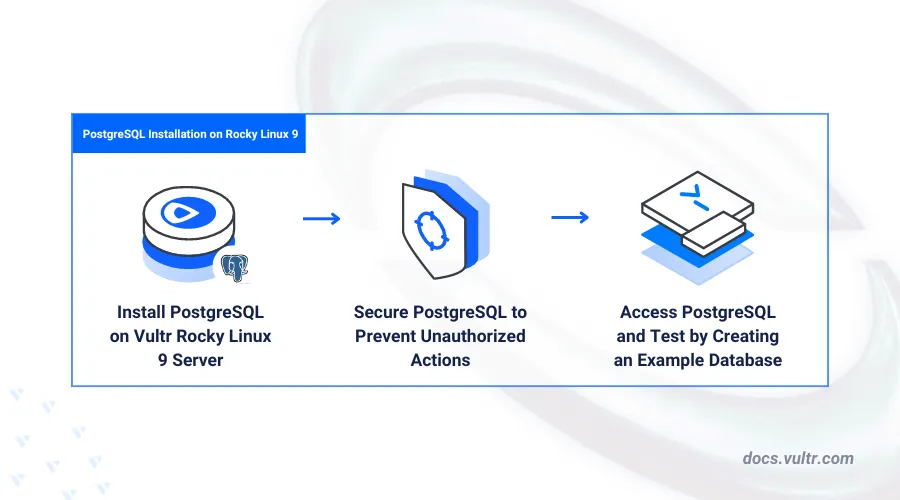
This article explains how to install PostgreSQL on Rocky Linux 9 and how to enable authentication for database users.
Prerequisites
Before you begin:
- Deploy a Rocky Linux 9 Cloud Compute instance on Vultr.
- Access the instance using SSH.
- Create a non-root user with sudo privileges and switch to the user.
Install PostgreSQL
PostgreSQL is available in the default package repositories on Rocky Linux 9. Follow the steps below to install the latest PostgreSQL database server package using the dnf package manager.
Update the server's package information index.
console$ sudo dnf update -y
List all available PostgreSQL packages.
console$ sudo dnf list postgresql-server
Output:
Available Packages
postgresql-server.x86_64                                            13.14-1.el9_3                                             appstream
Based on the above output, PostgreSQL
13is the latest version available in the Rocky Linux 9 repository sources.Install the PostgreSQL database server package.
console$ sudo dnf install -y postgresql-server postgresql
Manage the PostgreSQL System Service
PostgreSQL uses the postgresql system service to manage the database server runtime and processes on Rocky Linux 9. Follow the steps below to enable the PostgreSQL database server to automatically start at system boot and verify the service processes.
Enable the PostgreSQL service to automatically start at boot.
console$ sudo systemctl enable postgresql
Output:
Created symlink /etc/systemd/system/multi-user.target.wants/postgresql.service → /usr/lib/systemd/system/postgresql.service.Initialize the PostgreSQL database server to enable the default
postgresuser.console$ sudo postgresql-setup --initdb
Output:
* Initializing database in '/var/lib/pgsql/data'
* Initialized, logs are in /var/lib/pgsql/initdb_postgresql.log
Start the PostgreSQL service.
console$ sudo systemctl start postgresql
View the PostgreSQL service status and verify that it's active.
console$ sudo systemctl status postgresql
Output:
● postgresql.service - PostgreSQL database server
     Loaded: loaded (/usr/lib/systemd/system/postgresql.service; enabled; preset: disabled)
     Active: active (running) since Sun 2024-08-18 13:17:29 UTC; 10s ago
    Process: 13643 ExecStartPre=/usr/libexec/postgresql-check-db-dir postgresql (code=exited, status=0/SUCCESS)
   Main PID: 13645 (postmaster)
      Tasks: 8 (limit: 4632)
     Memory: 16.5M
        CPU: 42ms
     CGroup: /system.slice/postgresql.service
             ├─13645 /usr/bin/postmaster -D /var/lib/pgsql/data
             ├─13646 "postgres: logger "
             ├─13648 "postgres: checkpointer "
             ├─13649 "postgres: background writer "
             ├─13650 "postgres: walwriter "
             ├─13651 "postgres: autovacuum launcher "
             ├─13652 "postgres: stats collector "
             └─13653 "postgres: logical replication launcher "
Secure the PostgreSQL Server
PostgreSQL runs with a default postgres administrative database user account that requires no password. Follow the steps below to set up password authentication for the postgres user and create standard users on PostgreSQL.
Log in to the PostgreSQL database server as the
postgresuser.console$ sudo -u postgres psql
Modify the
postgresuser to use a new strong password. Replacestrong_passwordwith your desired password.sqlpostgres=# ALTER USER postgres WITH PASSWORD 'strong_password';
Create a sample
db_admindatabase user and set a strong password for the user.sqlpostgres=# CREATE USER db_admin WITH PASSWORD 'strong-password';
Exit the PostgreSQL console
sqlpostgres=# \q
Back up the main
pg_hba.confPostgreSQL configuration file.console$ sudo cp /var/lib/pgsql/data/pg_hba.conf /var/lib/pgsql/data/pg_hba.conf.bak
Open the
pg_hba.conffile using a text editor like Nano.console$ sudo nano /var/lib/pgsql/data/pg_hba.conf
Find the following configuration section within the file.
ini# TYPE DATABASE USER ADDRESS METHOD # "local" is for Unix domain socket connections only local all all peer
Change the
peervalue tomd5to enable password authentication.ini# TYPE DATABASE USER ADDRESS METHOD # "local" is for Unix domain socket connections only local all all md5
Save and close the file.
Restart the PostgreSQL service to apply the configuration changes.
console$ sudo systemctl restart postgresql
Access PostgreSQL
You can access the PostgreSQL database server console using the psql client utility that ships with the database server package. Follow the steps below to access the PostgreSQL database server console and perform database operations.
Create a sample
example-vultrdatabase and assign the database to thedb_adminuser.console$ sudo -u postgres createdb example-vultr -O db_admin
Enter the
postgresuser password you set earlier when prompted.Log in to the PostgreSQL database server as the
db_adminuser to test access to theexample-vultrdatabase.console$ sudo -u postgres psql -U db_admin -d example-vultr
Enter the
db_adminuser password you created earlier when prompted.Create a sample
shoptable.sqlexample-vultr=> CREATE TABLE shop ( id SERIAL PRIMARY KEY, name VARCHAR(50), location VARCHAR(100) );
Insert sample data into the
shoptable.sqlexample-vultr=> INSERT INTO shop (name, location) VALUES ('The Gadget Store', '123 Tech Ave'), ('Book Haven', '456 Knowledge St');
Query the
shoptable to view all available sample records.sqlexample-vultr=> SELECT * FROM shop;
Output:
 id |       name       |     location
----+------------------+------------------
  1 | The Gadget Store | 123 Tech Ave
  2 | Book Haven       | 456 Knowledge St
(2 rows)
Exit the PostgreSQL database server console.
sqlexample-vultr=> \q
Conclusion
You have installed PostgreSQL on Rocky Linux 9 and enabled password authentication to allow users to securely access the database console. You can integrate PostgreSQL with graphical management tools such as PGAdmin and install specific application modules to use the database server with other applications. For more information and configuration options, visit the PostgreSQL documentation.