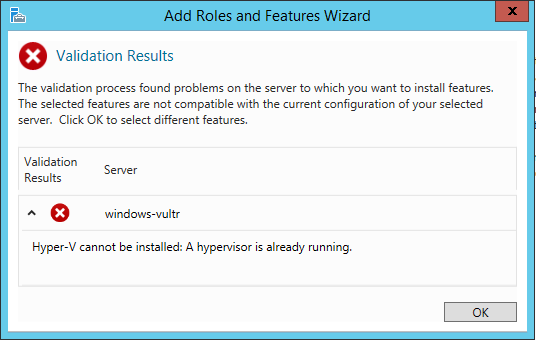
Hyper-V is a virtualization technology by Microsoft that allows you to easily deploy virtual machines on a Windows server. However, upon install of Hyper-V on a VPS, an error message will appear and you will not be able to continue. This happens because Microsoft is assuming you want to run virtual machines on a VPS, which is not possible and/or allowed. However, if you only want to use the Hyper-V manager (which cannot be separately installed through the Server Manager), there is a workaround you can use to only install the tools needed for remote administration instead of Hyper-V itself.

Step 1: Installing the manager
In order to install the Hyper-V manager as well as the Hyper-V Virtual Machine Connection programs, open PowerShell and execute:
Install-WindowsFeature Hyper-V-ToolsStep 2: Checking installation
To check if the installation succeeded, execute the following command in PowerShell. It will find all available Hyper-V modules.
Get-WindowsFeature Hyper-V*If the box for "Hyper-V GUI Management Tools" is ticked, the management tools were successfully installed.
Should you also want to install the module for PowerShell itself, execute:
Install-WindowsFeature Hyper-V-PowerShellStep 3: Connecting to a remote Hyper-V server
Now that we have the management tools installed on our local server, we can connect to a remote Hyper-V server to manage servers hosted there.
Open the Hyper-V Manager, and click "Connect to Server..." (sidebar on the right) and enter the information needed to connect to the server. If your servers are connected to a domain controller, you should connect the local server too as there is a possibility to search through the directory for Hyper-V servers.
After connecting, you can manage all servers on a remote Hyper-V server from the local server!
No comments yet.