
How to Migrate DigitalOcean Spaces Object Storage to Vultr Object Storage
Object storage is a critical component for businesses and developers who need to store and manage large amounts of data in a scalable, reliable, and cost-effective way. Vultr Object Storage and DigitalOcean Spaces are both popular choices, offering S3-compatible solutions with robust features like high availability, data redundancy, and secure access. Migrating from DigitalOcean Spaces to Vultr Object Storage offers a few performance differences, including the following.
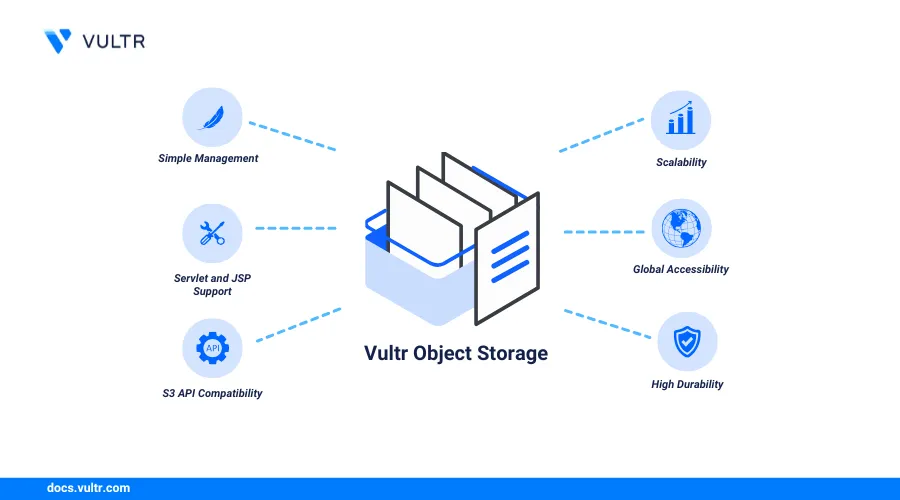
- Multiple Locations: Vultr Object Storage is available in multiple locations, providing you with a variety of regions to deploy your storage volume.
- Better Performance: Vultr Object Storage can offer better performance for your applications depending on the instance location.
- Enhanced Features: Vultr Object Storage includes a more direct management interface that provides you with more options to create buckets and store objects on your instance.
- Centralized Infrastructure: Using Vultr Object Storage together with other cloud services, such as block storage and cloud servers, enables simplified management of your cloud resources in a single account.
Follow this guide to migrate from DigitalOcean Spaces to Vultr Object Storage. You will migrate all existing buckets and objects, then verify that the destination Vultr Object Storage contents match your source DigitalOcean Spaces.
Prerequisites
Before you begin, you need to:
- Have an existing DigitalOcean Spaces subscription and generate new access keys to use when migrating to Vultr Object Storage.
- Provision a Vultr Object Storage subscription and retrieve the S3 Credentials in the Overview tab.
- Deploy an Ubuntu 24.04 instance on Vultr to use as the migration workstation and enable the Limited User Login feature.
- Access the instance using SSH.
Set Up the Migration Workstation
Rclone is an open-source command-line-based application used to manage cloud storage volumes. You can use Rclone to access, synchronize, and test cloud storage volumes such as Vultr Object Storage and DigitalOcean Spaces. Follow the steps below to install Rclone on your source migration workstation.
Update the server's APT package index.
console$ sudo apt update
Download the latest Rclone installation script.
console$ wget -O rclone.sh https://rclone.org/install.sh
Execute the
rclone.shscript using Bash to install Rclone.console$ sudo bash rclone.sh
View the installed Rclone version.
console$ rclone version
Output:
rclone v1.69.0
- os/version: ubuntu 22.04 (64 bit)
- os/kernel: 6.8.0-49-generic (x86_64)
- os/type: linux
- os/arch: amd64
- go/version: go1.23.4
- go/linking: static
- go/tags: none
Generate a new Rclone configuration file.
console$ rclone config file
Output:
Configuration file doesn't exist, but rclone will use this path: /home/linuxuser/.config/rclone/rclone.conf/home/linuxuser/.config/rclone/rclone.confis the Rclone configuration path based on the above output.
Configure Rclone to Authenticate with DigitalOcean Spaces
Follow the steps below to configure Rclone to authenticate with DigitalOcean Spaces.
Open the Rclone configuration file.
console$ nano /home/linuxuser/.config/rclone/rclone.conf
Add the following DigitalOcean Spaces configuration block to the file. Replace
YOUR_DIGITALOCEAN_ACCESS_KEYandYOUR_DIGITALOCEAN_SECRET_ACCESS_KEYwith your actual credentials.ini[dg] type = s3 provider = DigitalOcean access_key_id = YOUR_DIGITALOCEAN_ACCESS_KEY secret_access_key = YOUR_DIGITALOCEAN_SECRET_ACCESS_KEY endpoint = nyc3.digitaloceanspaces.com acl = bucket-owner-full-control
Save and close the file.
The above configuration creates a new cloud storage block that uses
DigitalOceanas the provider. The configuration uses theaccess_key_idandsecret_access_keycredentials to authenticate with thenyc3.digitaloceanspaces.comendpoint to access all DigitalOcean spaces buckets in your account.Test the Rclone configuration and verify that the DigitalOcean configuration is active.
console$ rclone listremotes
Output:
dg:
Configure Rclone to Authenticate with Vultr Object Storage
Follow the steps below to configure Rclone to authenticate with Vultr Object Storage.
Open the Rclone configuration file.
console$ nano /home/linuxuser/.config/rclone/rclone.conf
Add the following Vultr Object Storage configuration block to the file. Replace
ewr1.vultrobjects.comwith your actual Vultr Object Storage hostname andYOUR_VULTR_ACCESS_KEY,YOUR_VULTR_SECRET_ACCESS_KEYwith your actual S3 credentials.ini[vultr] type = s3 provider = Other access_key_id = YOUR_VULTR_ACCESS_KEY secret_access_key = YOUR_VULTR_SECRET_ACCESS_KEY endpoint = ewr1.vultrobjects.com env_auth = false
Save and close the file.
The above Rclone configuration block authenticates with the Vultr S3-compatible endpoint
ewr1.vultrobjects.comusing your S3 credentials to access all buckets in your subscription.Test the Rclone configuration and verify that your Vultr Object Storage configuration is active.
console$ rclone listremotes
Output:
dg:
vultr:
Show the Rclone configuration and verify your credentials to use when migrating.
console$ rclone config show
Your output should be similar to the one below.
[dg]
type = s3
provider = DigitalOcean
access_key_id = example-access-key123
secret_access_key = example-secret-key123
endpoint = nyc3.digitaloceanspaces.com
acl = bucket-owner-full-control

[vultr]
type = s3
provider = Other
access_key_id = example-access-key123
secret_access_key = example-secret-key123
endpoint = ewr1.vultrobjects.com
env_auth = false
Migrate Buckets From DigitalOcean Spaces to Vultr Object Storage
You can migrate individual DigitalOcean objects or entire storage buckets to Vultr Object Storage. Follow the steps below to transfer all DigitalOcean Spaces buckets with all existing objects to Vultr Object Storage.
List all buckets in your DigitalOcean Spaces subscription.
console$ rclone lsd dg:
Your output should be similar to the one below.
-1 2025-01-21 09:18:18        -1 dgbucket
-1 2025-01-21 09:20:08        -1 dgnewbucket
Transfer all DigitalOcean Spaces buckets to Vultr Object Storage and track the migration progress.
console$ rclone sync dg: vultr: --progress
The migration process may take some time to complete depending on the size of your DigitalOcean Spaces buckets. Your output should be similar to the one below when the migration is successful.
Transferred:      568.451 KiB / 568.451 KiB, 100%, 63.161 KiB/s, ETA 0s
Transferred:           15 / 15, 100%
Elapsed time:        11.5s
Run the following command to migrate a specific bucket to Vultr Object Storage. Replace
dgbucketandvultrbucketwith your actual buckets.console$ rclone sync dg:dgbucket vultr:vultrbucket --progress
Output:
Transferred:      356.809 KiB / 356.809 KiB, 100%, 89.202 KiB/s, ETA 0s
Transferred:            7 / 7, 100%
Elapsed time:         5.7s
Test the Vultr Object Storage Subscription
Follow the steps below to verify that the DigitalOcean Spaces Object Storage to Vultr Object Storage migration is successful.
List all buckets in your Vultr Object Storage subscription and verify that all DigitalOcean Spaces buckets are migrated.
console$ rclone lsd vultr:
Output:
-1 2025-01-21 09:37:35        -1 dgbucket
-1 2025-01-21 09:37:39        -1 dgnewbucket
Run a checksum comparison to test the source and destination storage to verify that the migration is successful.
console$ rclone check dg: vultr:
Output:
2025/01/21 10:19:13 NOTICE: S3 root: 0 differences found
2025/01/21 10:19:13 NOTICE: S3 root: 12 matching files
The
0 differences foundmessage in the above output shows that the migration is successful and the source DigitalOcean Spaces Object Storage contents match the destination Vultr Object Storage subscription.Update your application configurations and replace the DigitalOcean Spaces endpoints to use your new Vultr Object Storage subscription.
Delete the source DigitalOcean Spaces Object Storage to avoid incurring new charges, and use the destination Vultr Object Storage subscription in your applications.
Conclusion
You have migrated DigitalOcean Spaces Object Storage to Vultr Object Storage using Rclone. The migration process minimizes downtime and ensures your applications run seamlessly well with the new storage backend. For more information on managing your Vultr Object Storage subscription, visit the product documentation page.