
How to Set Up Argo Workflows on Vultr Kubernetes Engine
Introduction
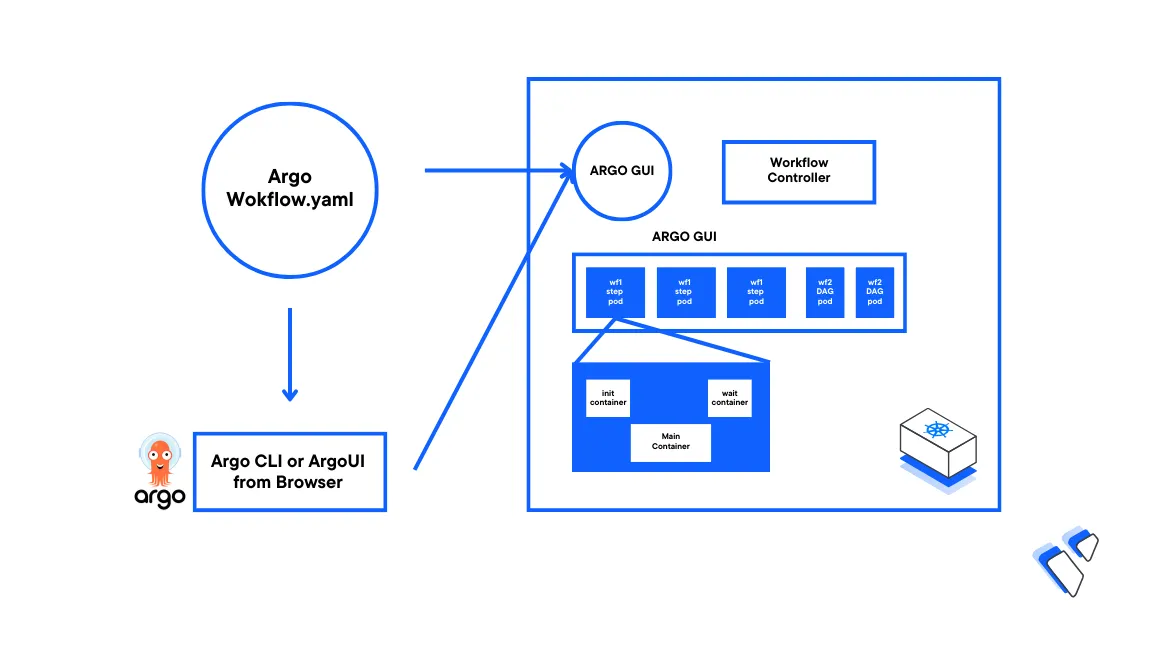
Argo Workflows is an open source Workflow engine used to orchestrate multiple Kubernetes Jobs. A Workflow is an instance of a defined set of steps in which many individual Jobs are executed in parallel or a sequence. You can use Argo Workflows to create CI/CD pipelines, orchestrate data pipelines, and automate complex tasks while leveraging the Kubernetes Cluster Infrastructure.
This article explains how to set up Argo Workflows on a Vultr Kubernetes Engine (VKE) cluster. To implement Workflows, you will explore available templates and create a sample Workflow to manage in a cluster.
Prerequisites
Before you begin:
- Deploy a Vultr Kubernetes Engine cluster with at least
3nodes. - Deploy a Vultr Ubuntu server to use as the management machine.
- Access the server using SSHas a non-root user with sudo privileges.
- Install and Configure Kubectl to access the VKE cluster.
Install the Argo WorkFlows Controller
Create a new Argo Workflows namespace to separate cluster resources.
console$ kubectl create namespace argo
Install the latest Argo Workflows release file that includes all essential components.
console$ kubectl apply -n argo -f https://github.com/argoproj/argo-workflows/releases/download/v3.4.10/install.yaml
This article uses version
3.4.10. Visit the Argo Workflows releases page to use the latest version.Verify that all necessary resources are installed and available in the Argo Workflows namespace.
console$ kubectl get all -n argo
Set up the Argo UI to View Cluster Workflows
The Argo Server provides a graphical web interface through which you can view and manage all Workflows available in your cluster. To access the Argo user interface, you must activate any of the following authentication methods:
- Client Authentication: This is the default method in which a client sends the Argo Server a Kubernetes bearer token used to gain access to the cluster resources.
- Server Authentication: In this method, the server handles the authentication process with no need for the client to send any tokens to access the web interface.
Follow the steps below to set the authentication method and access the Argo Interface.
For the best results, patch the Argo Workflows deployment to change the authentication mode to
Server Authentication.console$ kubectl patch deployment \ argo-server \ --namespace argo \ --type='json' \ -p='[{"op": "replace", "path": "/spec/template/spec/containers/0/args", "value": [ "server", "--auth-mode=server" ]}]'
Output:
deployment.apps/argo-server patchedPatch the Argo Server service to change the access type to
LoadBalancerand activate the external IP Address value.console$ kubectl patch svc argo-server -n argo -p '{"spec": {"type": "LoadBalancer"}}'
Output:
service/argo-server patchedWait for at least
3minutes and view the generatedargo-serverexternal IP Address value.console$ kubectl get svc argo-server -n argo
Your output should look like the one below:
NAME          TYPE           CLUSTER-IP       EXTERNAL-IP   PORT(S)          AGE
argo-server   LoadBalancer   10.100.100.195   192.168.0.30   2746:31357/TCP   17m
Using a web browser such as Chrome, access the external IP Address on port
2746to access the Argo Server web interface. Replace192.168.0.30https://192.168.0.30:2746If you receive an untrusted SSL certificate connection Error. Accept the risk to skip the warning and access the Argo UI dashboard.
Core Concepts of Argo Workflows
Argo Workflows is a Custom Resource Definition (CRD) implemented by its own controller. You can manage Argo Workflows using kubectl, Argo CLI, and the Argo UI dashboard. It includes two core concepts Workflow and Template.
Workflow
In Argo Workflows, a Workflow is treated as a live object and represents two entities:
- The definition of the desired state and spec of a Workflow.
- An implemented instance of the spec.
Template
A template is a reusable named definition of an entity used as an individual step of a Workflow.You can define a template once and use it as multiple steps in a Workflow. In Argo, a template is defined in the spec.templates field with a - name property that defines its name together with other definitions.
There are six types of Argo templates:
Container: Uses an image container similar to other Kubernetes API objects. For example:
yaml- name: container-template container: image: busybox command: ["/bin/sh"] args: ["-c", "echo Container type Template"]
Script: It's based on the container type template and allows you to run a script within the container defined in the
sourcesub-field. For example:yaml- name: script-template script: image: python:3.9 command: - python source: | # This is a Python script that prints a message print("Example of Script Template")
Resource: Performs a specific action (create, delete, patch, among others) on existing Kubernetes objects in a cluster. The spec of the operation is defined in the
manifestsub-field. For example:yaml- name: resource-template resource: action: create manifest: | apiVersion: batch/v1 kind: Job metadata: name: resource-job spec: template: spec: containers: - name: print image: busybox command: ["/bin/sh"] args: ["-c", "Job created using Resource Template"] restartPolicy: Never
Suspend: Suspend the execution of a Workflow. You can use this type of template to handle a step that requires other conditions to be met within the cluster. For example:
yaml- name: delay-template suspend: duration: "100s"
Steps: Orchestrates a sequence of steps in which each step may run a set of templates in a sequence or parallel defined within the
stepssub-field. The outer steps (prefixed with- -) are executed in a sequence while each step can have a set of inner steps (prefixed with a single-) that run in parallel. For example:yaml- name: steps-sequence steps: - - name: step1 template: print-start - - name: step2a-parallel template: download-package1 - name: step2b-parallel template: download-package2 - - name: step3 template: compile-application
In the above template steps,
step1runs first, thenstep2a-parallelandstep2b-parallelrun in parallel. After that, the Workflow moves tostep3.DAG: Directed Acyclic Graph (DAG) calls other templates and orchestrates them. You can make an individual step dependent upon the completion of any previous step. A step can only execute if its dependent steps are completed as illustrated in the following example:
yaml- name: dag-example dag: tasks: - name: A template: echo - name: B dependencies: [A] template: echo - name: C template: echo - name: D dependencies: [B, C] template: echo
In the above template, the list of steps is defined within the
dag.taskssection. TaskBis dependent upon the completion of taskA. TaskChas no dependencies, so it runs as soon as it's turn comes up.
Create a Workflow Spec
Using a text editor such as Vim, create a new Workflow resource YAML file.
console$ vim workflow.yaml
Add the following contents to the file.
yamlapiVersion: argoproj.io/v1alpha1 kind: Workflow metadata: generateName: hello-world- spec: entrypoint: main templates: - name: main container: image: busybox command: ["/bin/sh"] args: ["-c", "echo 'This template is the first step of the Workflow'"]
Save and close the file.
Below are the components of the above spec file:
- The
apiVersionfor Argo Workflow isargoproj.io/v1alpha1 - The resource
kindisWorkflow generateName: Acts as a prefix for the name of pods that are created for the Workflow. The Argo Controller names all pods in the Workflow by adding a unique suffix to this valuespec: Specifies the Workflow itself. It contains information about all the steps of a Workflow and template definitionsentrypoint: Specifies the template name that acts as the first step of the Workflowtemplates: Contains the template definitions. All templates defined in this field can be used within the Workflow.container: Sets the Argo Workflow template definition type to Container.
- The
Create the Workflow in your cluster
console$ kubectl -n argo create -f workflow.yaml
Output:
workflow.argoproj.io/hello-world-nb42c created
Create a Workflow using the Argo UI
In your web browser, access the Argo UI dashboard.
https://192.168.0.30:2746On the left navigation bar, click the Workflow Templates menu item to open the Workflow templates page.
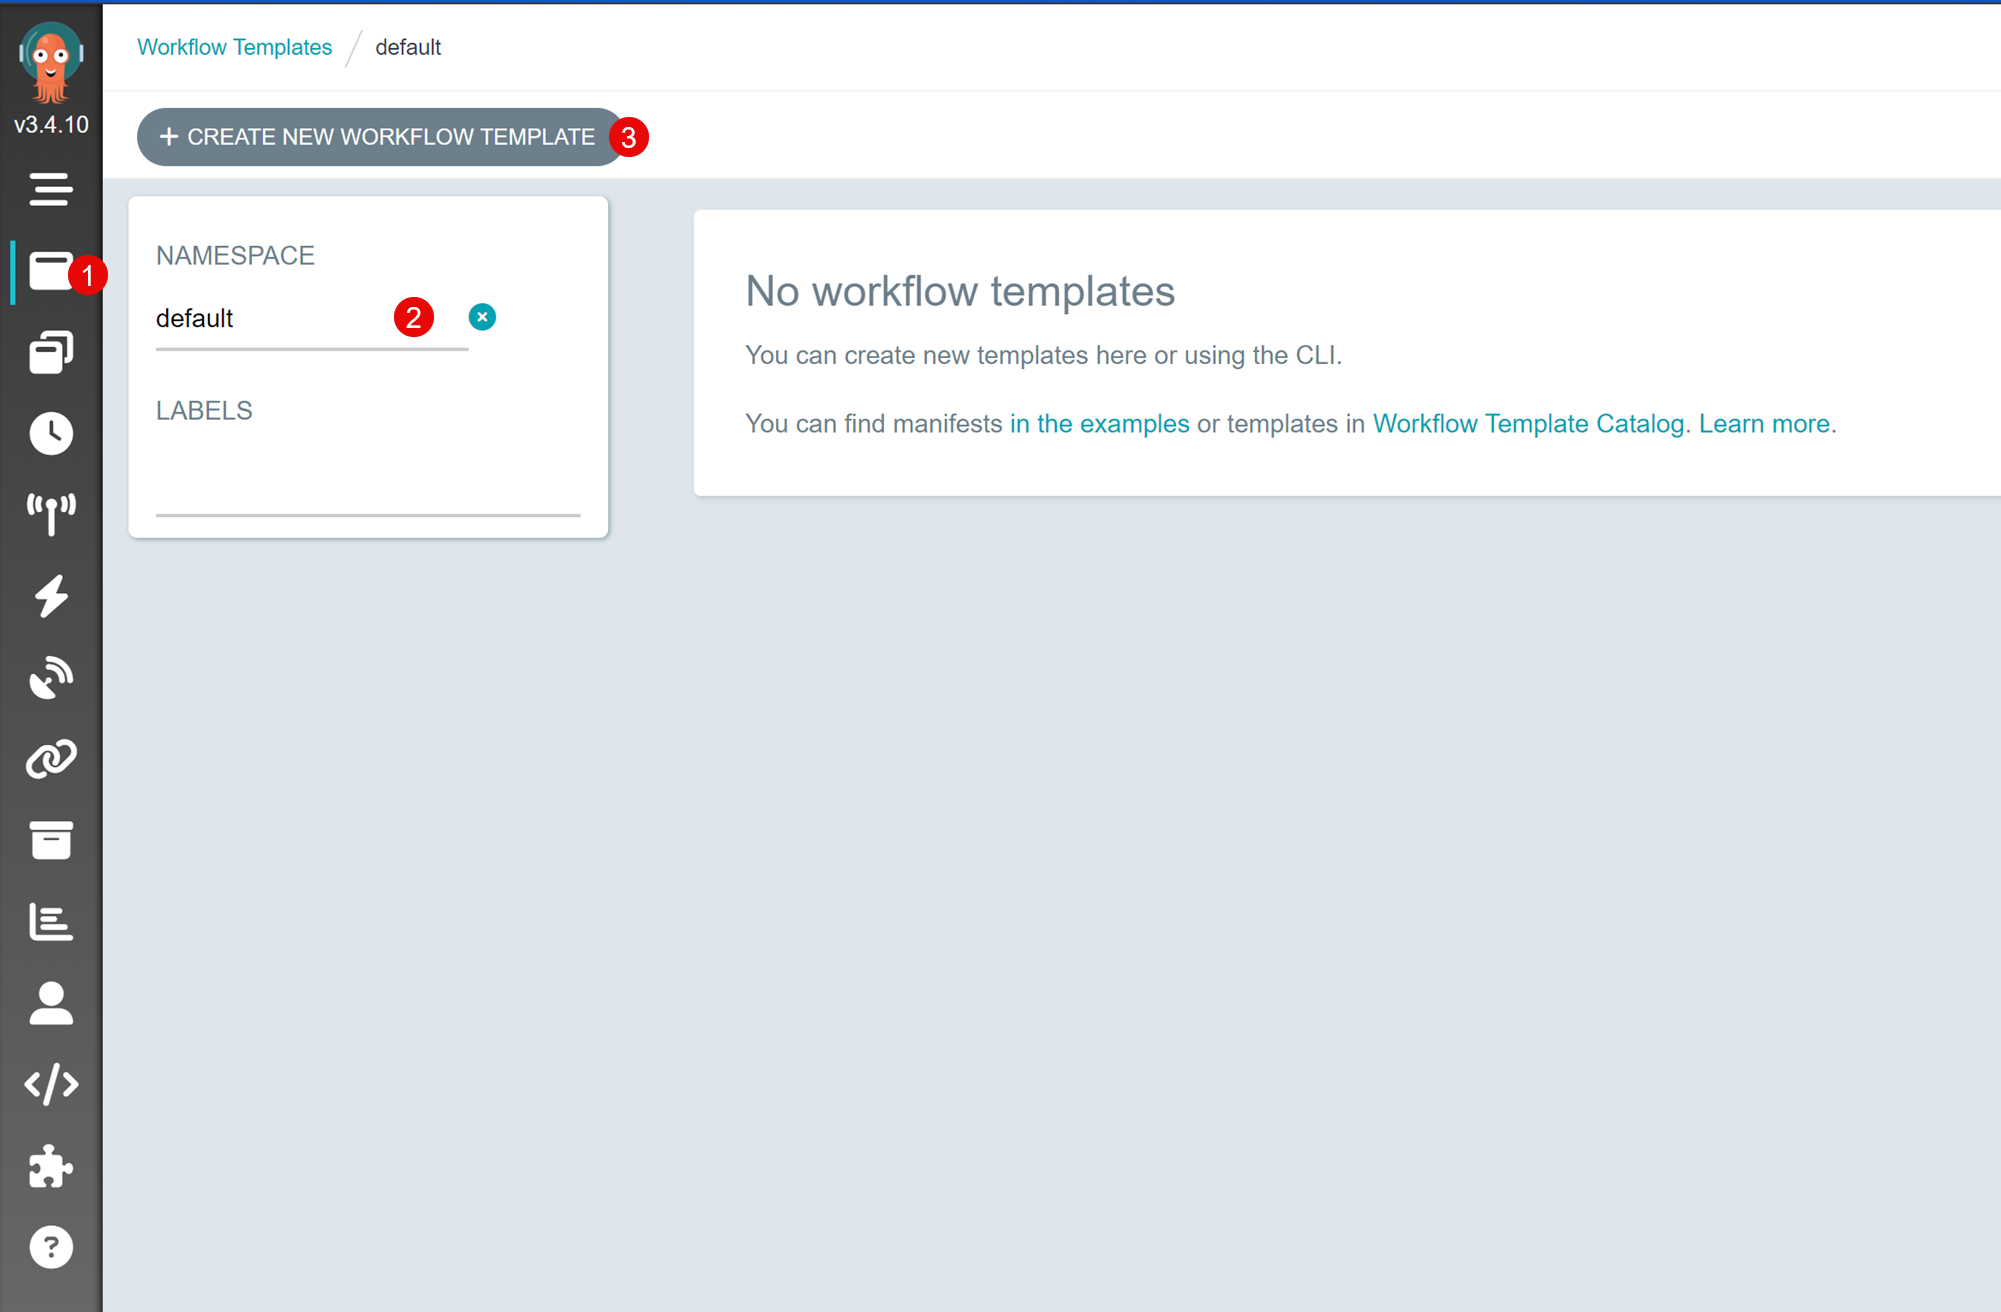
Rename the NAMESPACE field to
argoand press Enter to apply new templates to the namespace.Click the CREATE NEW WORKFLOW TEMPLATE button to open a new template pop-up side panel.
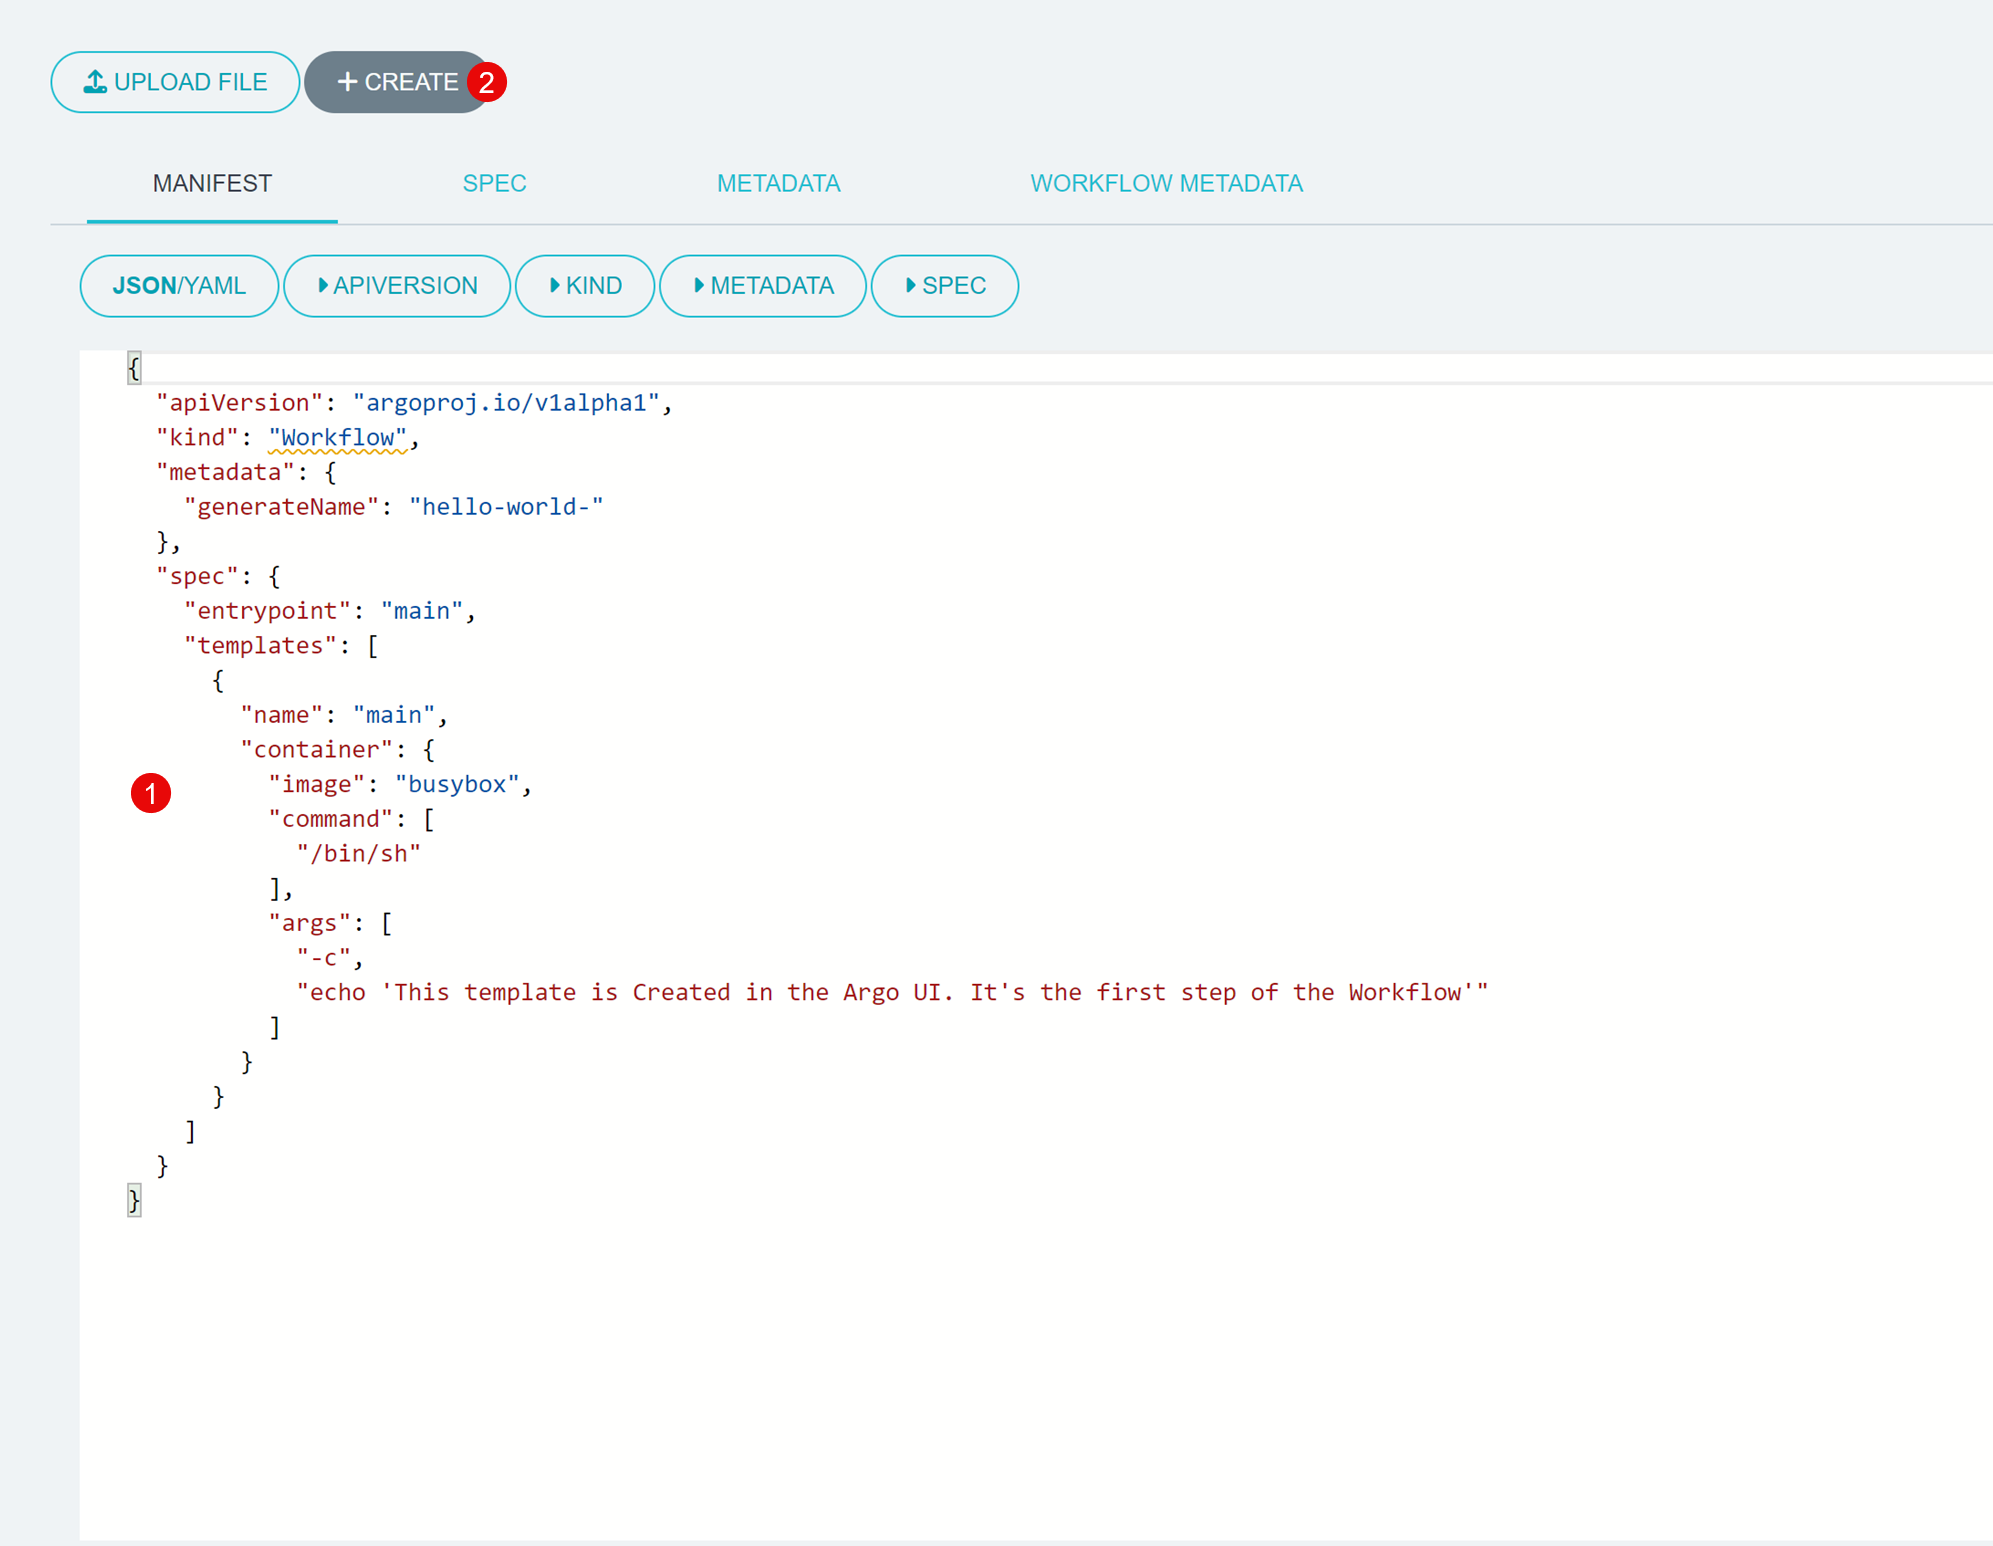
Click within the Manifest tab field prefilled with demo values. Press Ctrl + A to select all values, then, paste the following contents to replace the existing values in the field.
yamlapiVersion: argoproj.io/v1alpha1 kind: Workflow metadata: generateName: hello-world- spec: entrypoint: main templates: - name: main container: image: busybox command: ["/bin/sh"] args: ["-c", "echo 'This template is Created in the Argo UI. Its the first step of the Workflow'"]
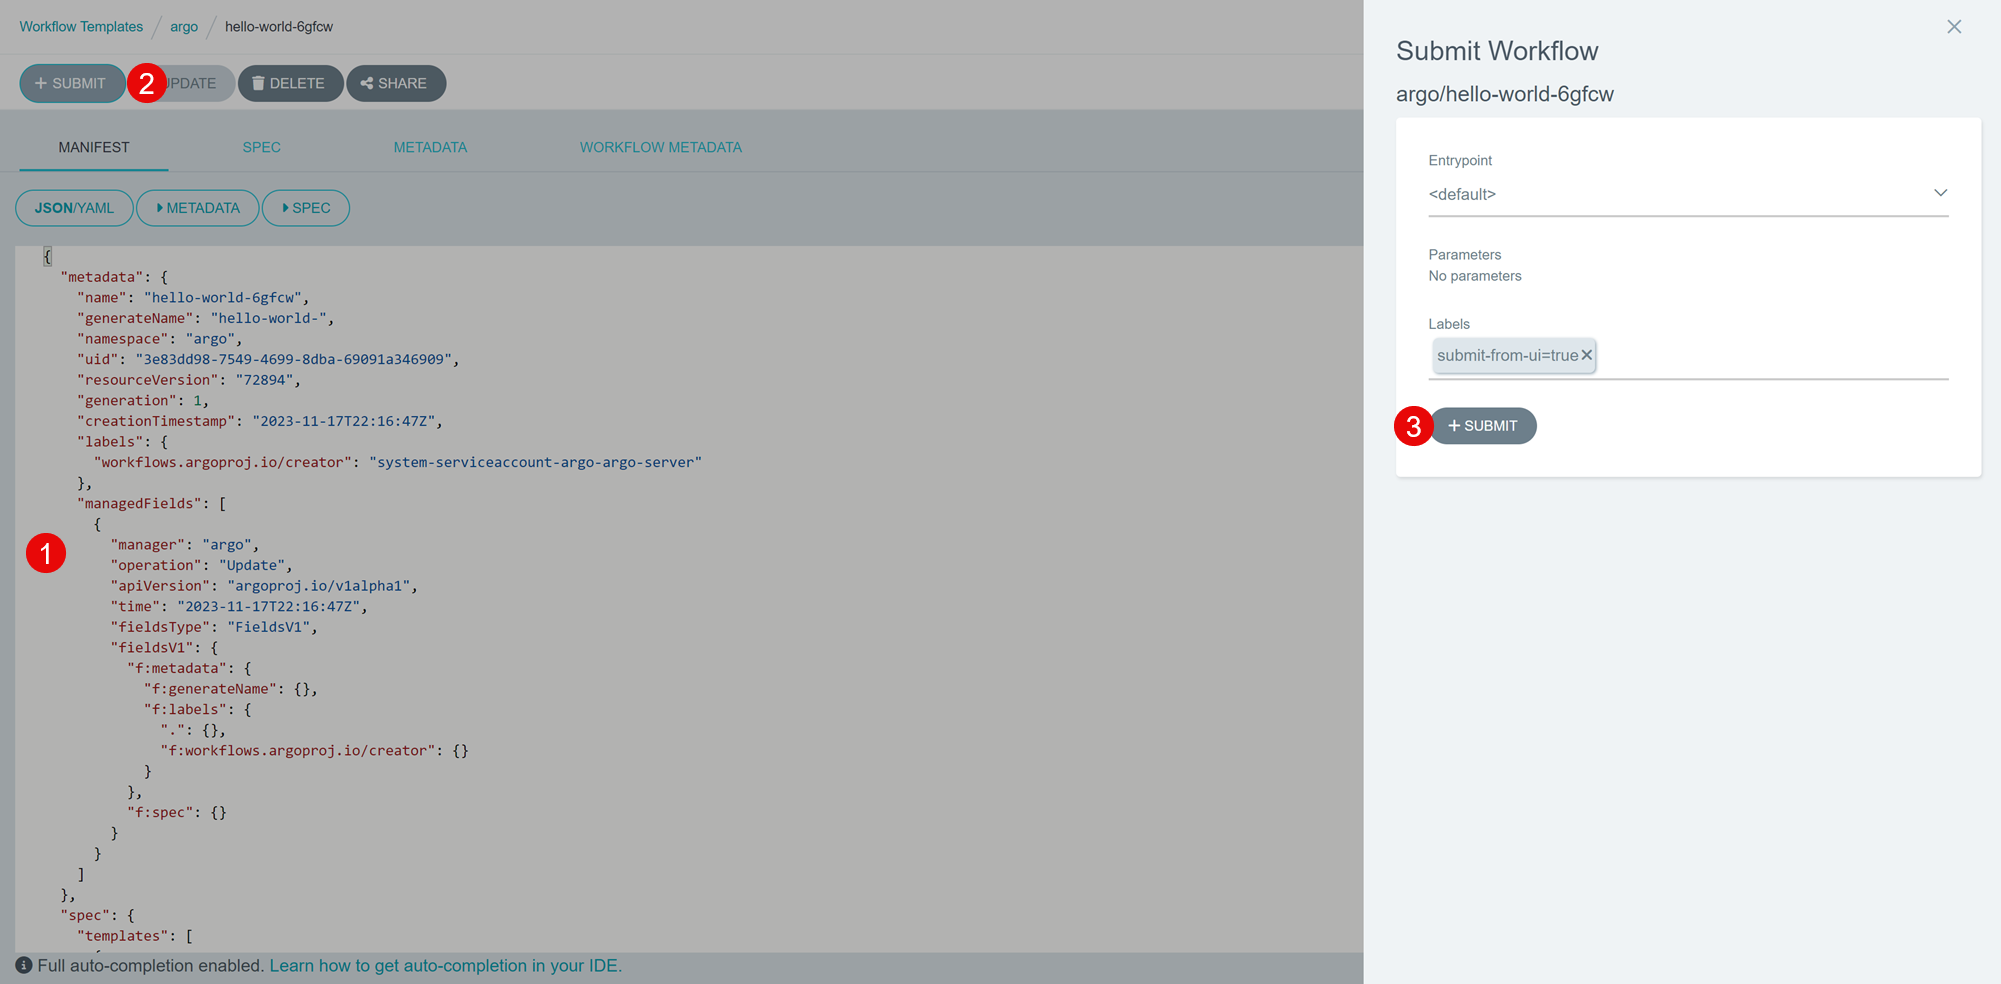
Click the CREATE button on the top bar to create the new Workflow.
On the new template details page, click the SUBMIT button to apply changes, then verify the assigned labels and click SUBMIT in the new side panel to apply changes to your cluster.
Monitor the Workflow deployment progress to your cluster, and verify that a green checkmark node displays when successful.
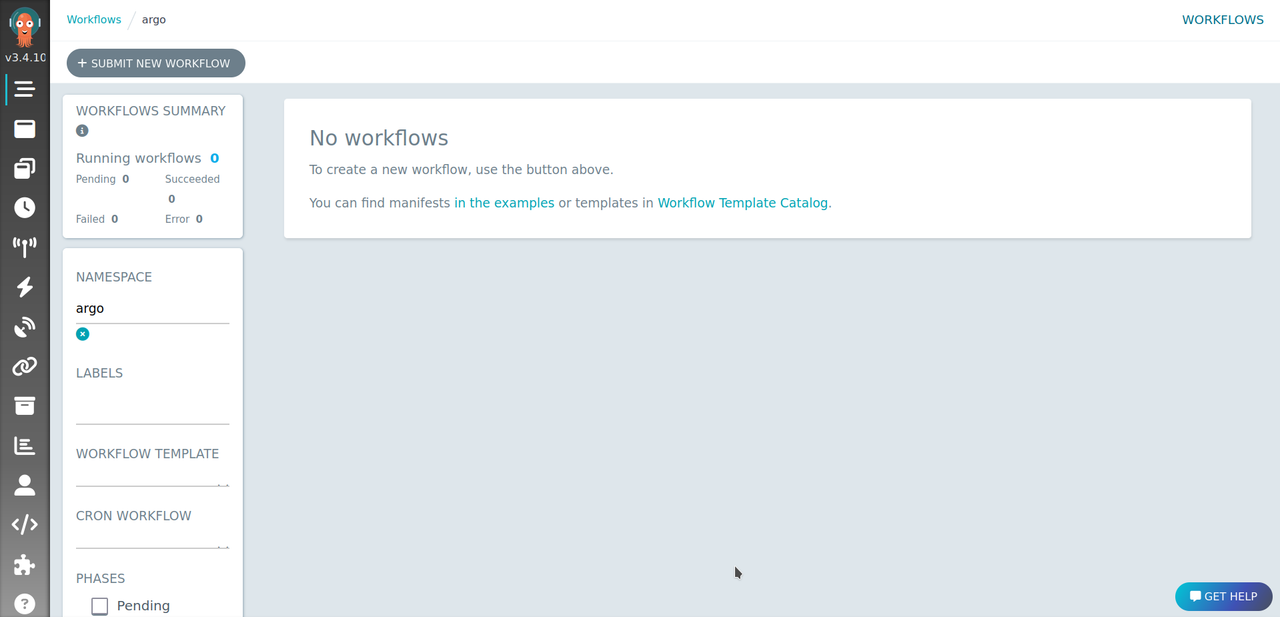
Manage Workflows
View the list of all available Workflows in the
argonamespace.console$ kubectl -n argo get wf
Output:
NAME                      STATUS      AGE     MESSAGE
hello-world-c8wrx-rvm9f   Succeeded   6m50s
If any Workflow fails, the error code displays in the MESSAGE output similar to the output below:
NAME                      STATUS   AGE   MESSAGE
hello-world-qnfj8-hfm7j   Failed   79s   Error (exit code 127)
For example, in the above output, the Workflow failed with the Error (exit code 127).
View the pods associated with this Workflow. For example,
hello-world-qnfj8-hfm7j.console$ kubectl -n argo get pods --selector=workflows.argoproj.io/workflow=hello-world-qnfj8-hfm7j
Output:
NAME                      READY   STATUS      RESTARTS   AGE
hello-world-c8wrx-rvm9f   0/2     Completed   0          8m39s
View the pod logs, for example pod
hello-world-c8wrx-rvm9fconsole$ kubectl -n argo logs hello-world-c8wrx-rvm9f
Output:
This template is the first step of the Workflow
time="2023-11-15T19:56:54.629Z" level=info msg="sub-process exited" argo=true error="<nil>"
As displayed in the above output, the prompt message you declared in your Workflow template file displays in the Workflow Pod logs.
Conclusion
You have set up Argo Workflows on a Vultr Kubernetes Engine (VKE) cluster and explored the core Workflow components. In addition, you created a sample Workflow in the cluster and managed the resource by viewing the respective pod logs. For more information and code samples, visit the official Argo Workflows documentation.