Node.js is an open-source, cross-platform runtime environment that executes JavaScript code on the server side. Installing Node.js on Ubuntu provides access to its powerful features, including the Node Package Manager (npm), the official registry for JavaScript packages. It is widely adopted for both front-end and back-end development and backed by a large developer community with extensive documentation, making it a key tool in modern application development.
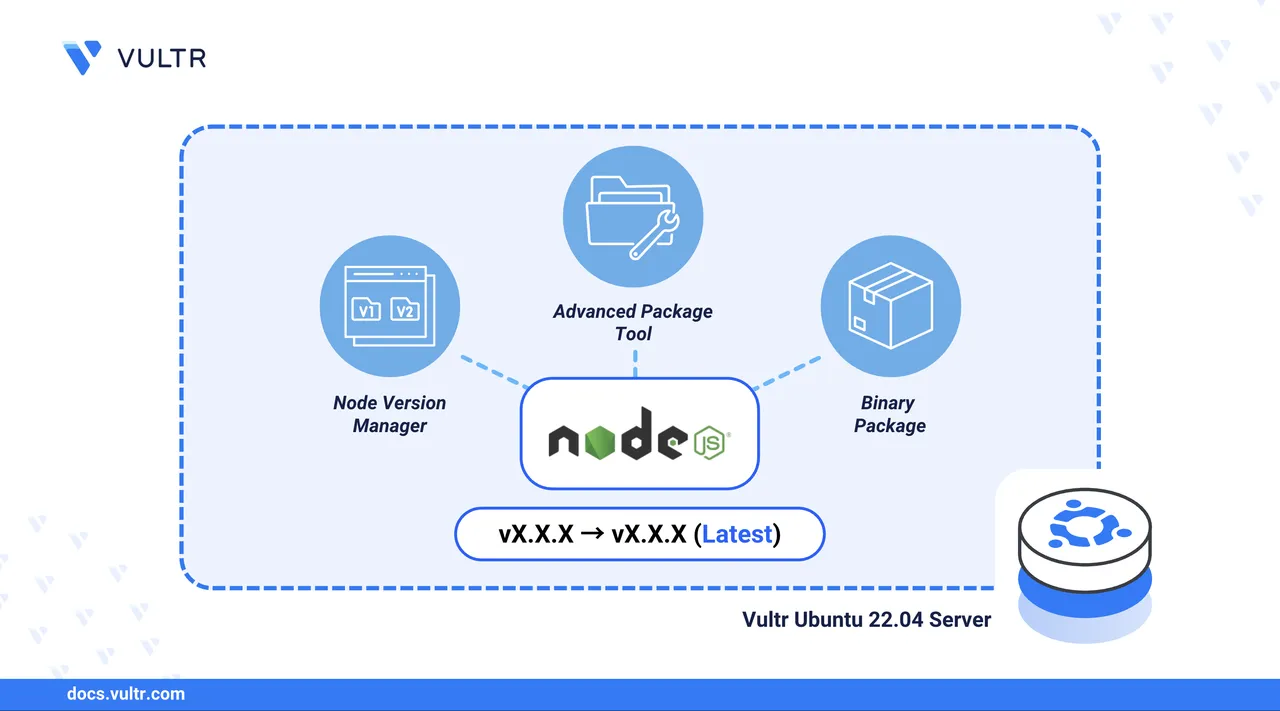
This article shows how to upgrade Node.js on Ubuntu 24.04 using three methods: NVM (Node Version Manager), official binary packages, and the APT package manager. It also explains how to check the current version before and after upgrading.
Prerequisites
Before you begin, make sure you have the following:
- An Ubuntu 24.04 instance with Node.js already installed.
- SSH access to the server.
- A non-root user with
sudoprivileges. - A reference to the NodeSource distribution chart to check which Node.js versions are supported for Ubuntu 24.04.
Verify the Installed Node.js Version
Before upgrading, verify the currently installed Node.js version. This lets you confirm whether the upgrade process successfully changed the version.
$ node -v
Output:
v18.19.1If you encounter a command not found error, Node.js isn't installed. In that case, follow one of the upgrade methods in this article to install the version you need.
Install Node Version Manager
Node Version Manager (NVM) is a command-line tool that lets you install and manage multiple Node.js versions on the same system. It allows easy upgrades, version switching, and setting a default version for your terminal sessions. Follow the steps below to install NVM.
Download and run the latest NVM installation script using
curl.console$ curl -o- https://raw.githubusercontent.com/nvm-sh/nvm/v0.40.2/install.sh | bash
Reload your shell configuration to activate NVM.
console$ source ~/.bashrc
If you're using Zsh instead of Bash, run
source ~/.zshrcinstead.Verify that NVM is installed.
console$ nvm --version
Output:
0.40.2
Upgrade Node.js in Ubuntu 24.04
You can upgrade Node.js on Ubuntu 24.04 using NVM (Node Version Manager), official binary packages, or the APT package manager, depending on your environment and version requirements.
NVM lets you install and manage multiple Node.js versions on the same system. It supports installing the latest LTS release or a specific version, making it ideal for development environments that need flexibility.
Install the Latest LTS Version
Use this method to install the most stable, production-ready Node.js release. The latest Long-Term Support (LTS) version ensures compatibility, security updates, and extended maintenance for most applications. Follow the steps below to install and switch to the latest available LTS version of Node.js.
List available Node.js versions.
console$ nvm list-remote
Output:
...
    v20.12.2   (LTS: Hydrogen)
    v22.14.0   (LTS: Iron)
    v23.0.0
This command displays all available Node.js versions, including LTS releases.
Install the latest LTS version.
console$ nvm install --lts
Output:
Installing latest LTS version.
Downloading and installing node v22.14.0...
Now using node v22.14.0 (npm v10.6.0)
This confirms that the latest LTS version installed is
v22.14.0, which aligns with the output fromnvm list-remote.Set the installed version as the default for all terminal sessions.
console$ nvm alias default node
Output:
default -> node (-> v22.14.0)
For production environments, it's generally recommended to use an LTS (Long-Term Support) version of Node.js for stability and long-term updates.
Install a Specific Version
If your project requires a specific Node.js version, you can install it with the following steps.
List all available Node.js versions.
console$ nvm list-remote
Output:
...
    v18.19.1   (LTS: Hydrogen)
    v20.12.2   (LTS: Iron)
    v22.1.0
Install the desired version. Replace
<version>with the version number (e.g.,20.12.2).console$ nvm install <version>
Set the installed version as the default for all future terminal sessions.
console$ nvm alias default <version>
After switching versions, global npm packages installed under previous versions won’t carry over. Reinstall them if needed using npm install -g <package>.
The official Node.js website provides precompiled binary packages for Linux systems. This method is ideal when you need a specific version that isn't available through package managers like APT or NVM.
Download the Node.js binary package. Replace
<version>with your desired version number. You can find the available versions on the official Node.js downloads page.console$ wget https://nodejs.org/dist/v<version>/node-v<version>-linux-x64.tar.xz
Extract the archive to
/usr/local/to install Node.js system-wide.console$ sudo tar -C /usr/local --strip-components 1 -xJf node-v<version>-linux-x64.tar.xz
Add
/usr/local/binto the beginning of yourPATHso the system prioritizes the new version.console$ export PATH=/usr/local/bin:$PATH
Make the
PATHchange permanent by appending it to your shell config file.console$ echo 'export PATH=/usr/local/bin:$PATH' >> ~/.bashrc
Reload your shell configuration to apply the updated
PATH.console$ source ~/.bashrc
If you're using Zsh, replace
~/.bashrcwith~/.zshrcin the last two steps.
APT is Ubuntu’s default package manager. This method upgrades Node.js by adding the official NodeSource repository and is ideal for system-managed environments or automated server setups.
Download and run the NodeSource setup script. Replace
<version>with the major version number followed by.x, such as 20.x or 22.x. For supported versions, visit the NodeSource distributions page.console$ curl -fsSL https://deb.nodesource.com/setup_<version> | sudo -E bash -
Update the package index.
console$ sudo apt update
Install Node.js.
console$ sudo apt install -y nodejs
Confirm that npm was installed alongside Node.js.
console$ npm -v
Output:
10.5.0The Node.js package from NodeSource includes npm by default, so you don’t need to install it separately.
Verify the Active Node.js Version
After completing the upgrade, confirm that your system is using the correct Node.js and npm versions. This ensures that the installation method worked as expected and the environment is ready for development or deployment.
Check the active Node.js version.
console$ node -v
Output:
v22.16.0Check the npm version bundled with Node.js.
console$ npm -v
Output:
10.9.2
If the output displays the version you just installed, the upgrade was successful and your environment is correctly configured.
Conclusion
In this article, you upgraded Node.js on Ubuntu 24.04 using one of three supported methods: NVM, binary packages, or the APT package manager. You verified the upgrade by checking the active Node.js and npm versions. Depending on your setup, each method provides flexibility for development, manual control, or automated system-wide deployments. For more configuration options, refer to the official Node.js documentation.