How to Use Vultr CDN Pull Zones with Object Storage to Enable Global Caching
Introduction
Vultr Object Storage is an S3-compatible service that enables the storage and delivery of files as objects. Vultr Object Storage buckets are compatible with reverse DNS which ensures access to objects using a bucket name and your object storage URL. Vultr CDN is a content delivery service that automatically caches static assets to multiple regions to enable fast delivery and distribution of assets. You can integrate your existing Vultr Object Storage bucket with a Vultr CDN pull zone and cache all available assets to improve the availability, distribution and delivery of objects.
This article explains how to use Vultr CDN pull zones with object storage to enable global caching. You will create a new Vultr Object Storage bucket, upload files, and enable the delivery objects using your Vultr CDN URL.
Prerequisites
Before you begin:
Deploy a Vultr Object Storage instance.
Create a new bucket. For example,
webfiles.Upload sample files to the bucket using an S3 Client such as Cyberduck, S3cmd, or S3 Browser.
This article uses the example filesNoteimage1.pnganddownloadfile.zip. Replace the files with your actual values and enable READ permissions forAll Usersto avoidfile not foundorAccessDeniederrors.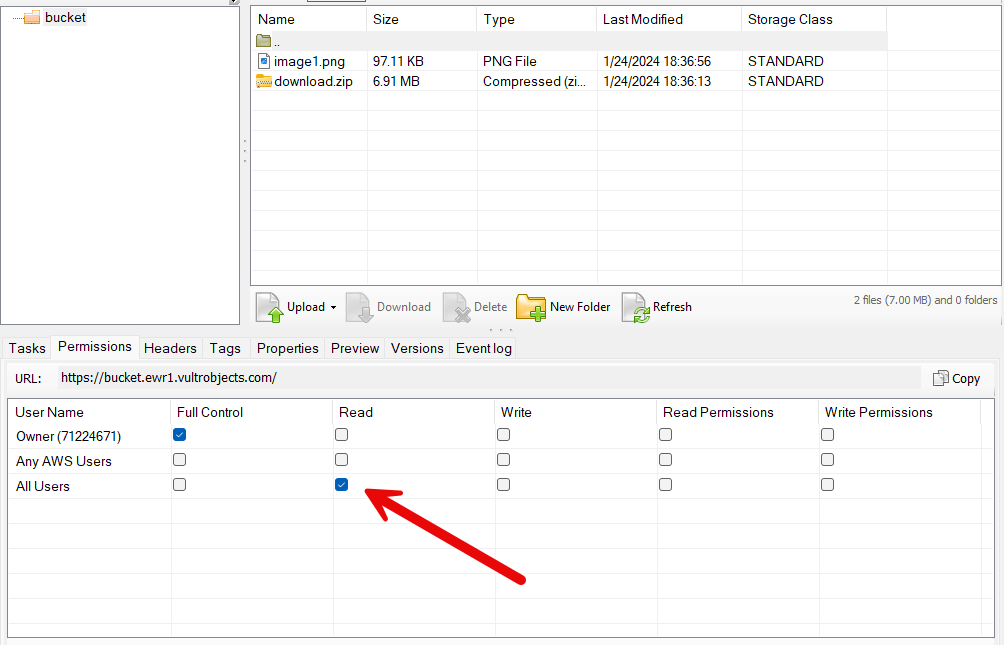
Create a Vultr CDN Pull Zone Using your Object Storage URL
Vultr CDN Pull Zones automatically cache objects from your origin URL for delivery using your CDN URL. Follow the steps below to create a new pull zone using your Vultr Object Storage bucket URL as the origin URL.
Open the Vultr Customer Portal.
Click Products on the main navigation menu and click CDN.
Select Pull Zones from the list of options.
Click Add CDN Pull Zone to set up a new pull zone.

Enter a new descriptive name in the Label to identify your pull zone subscription. For example,
object-storage-cdn.Enter your reverse DNS Vultr Object Storage bucket URL in the Origin URL field using the following format:
https://[Bucket Name].[Vultr Object Storage URL]For example:
https://webfiles.ewr1.vultrobjects.com/Select additional features to enable on your Vultr CDN URL. For example,
gzip.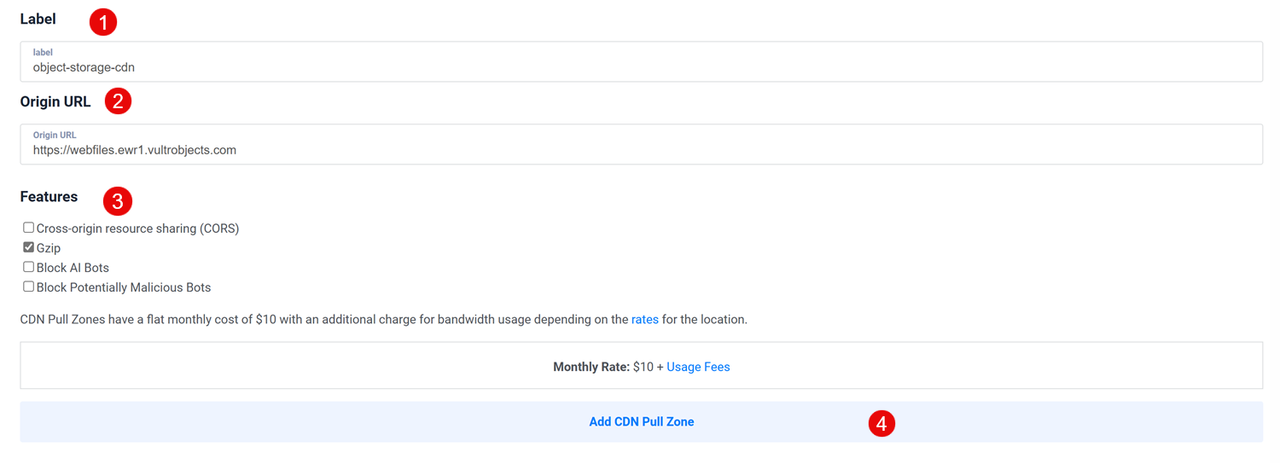
Click Add CDN Pull Zone to create your new Vultr CDN Pull Zone.
Verify that your new Vultr CDN Pull Zone is created and available on your CDN Pull Zones list.

Click your pull zone's CDN Domain field to open its management page.
Find CDN Information within your Overview tab and verify that the Origin URL value correctly points to your Vultr Object Storage bucket URL.
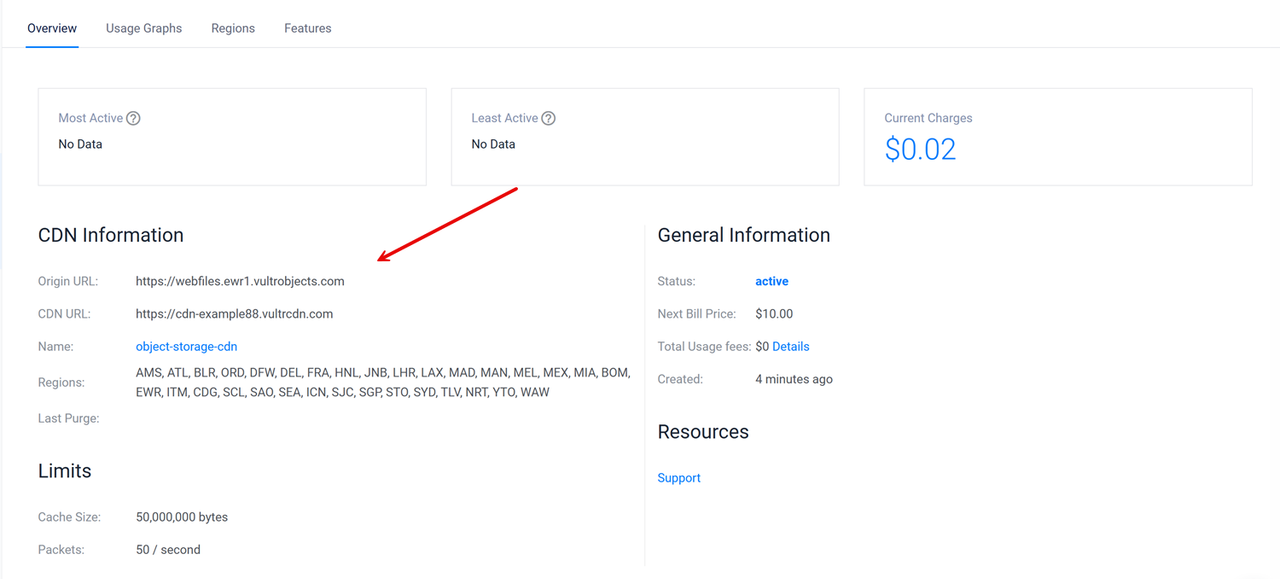
Copy your CDN URL value to use when accessing your cached objects. For example,
https://cdn-example88.vultrcdn.com.
Test
Vultr Object Storage bucket contents are accessible using your reverse DNS URL that uses the bucket name and object storage URL. Your Vultr CDN Pull Zone automatically pulls the latest bucket contents for delivery using your Vultr CDN URL. Follow the steps below to access your cached Vultr Object Storage objects using your Vultr CDN URL.
Access your Vultr Object Storage's management page.
Navigate to Buckets and open your
webfilesbucket to view the available objects.Verify all objects available in your bucket such as
image1.pnganddownloadfile.zip.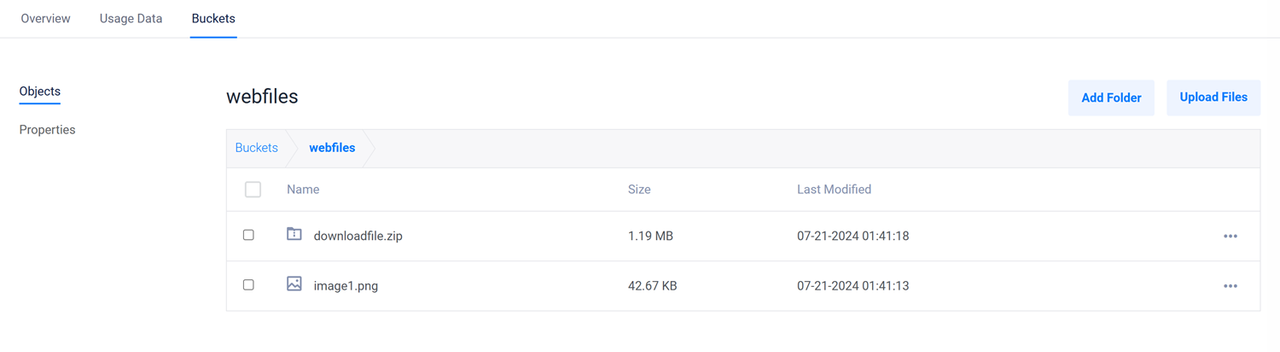
Access your Vultr CDN URL using a web browser such as Firefox.
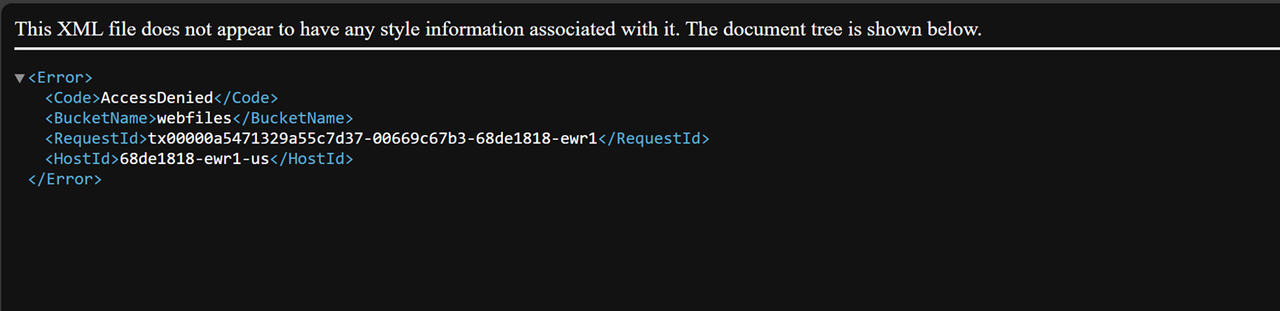
https://cdn.example88.vultrcdn.comVerify that an XML Access Denied message displays in your web browser to verify that you have reached your Vultr Object Storage's root bucket directory.
Add a valid object name available in your bucket to your Vultr CDN URL. For example,
downloadfile.zipand verify that the object is accessible depending on your permission configurations.https://cdn.example88.vultrcdn.com/image1.png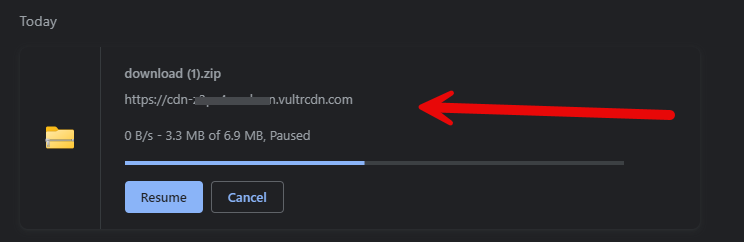
Conclusion
You have used Vultr CDN Pull Zones with Vultr Object Storage to enable global caching of objects with a Vultr CDN URL. You can set up a new domain CNAME record that points to your Vultr CDN URL to securely deliver cached objects to multiple regions depending on the Vultr locations enabled in your pull zone configuration. For more information, please visit the Vultr CDN documentation.