
Introduction
phpMyAdmin is a web-based open-source database administration tool for MySQL and MariaDB servers. You can use it to easily manage databases, tables, indices, users, permissions, and more, without touching the command-line interface.
With its intuitive web interface, phpMyAdmin allows you to import and export data in various formats, including CSV and plain text SQL, making it one of the best GUI-based database management software.
In this tutorial, you'll install, configure and secure the phpMyAdmin package with a LAMP stack on your Ubuntu 20.04 LTS server.
Prerequisites
To proceed with this phpMyAdmin setup, make sure you have the following:
1. Install the phpMyAdmin Package
SSH to your Ubuntu server and update the package repository index.
$ sudo apt update -yMake sure your system has the following required PHP extensions.
$ sudo apt install -y php-json php-mbstring php-zip php-gd php-curlInstall the phpmyadmin package.
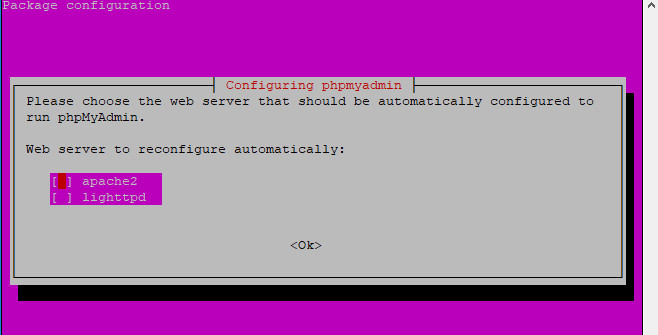
$ sudo apt install -y phpmyadminWhen prompted to choose a web server, hit Tab, then Enter to select apache2 as shown in the screenshot below.
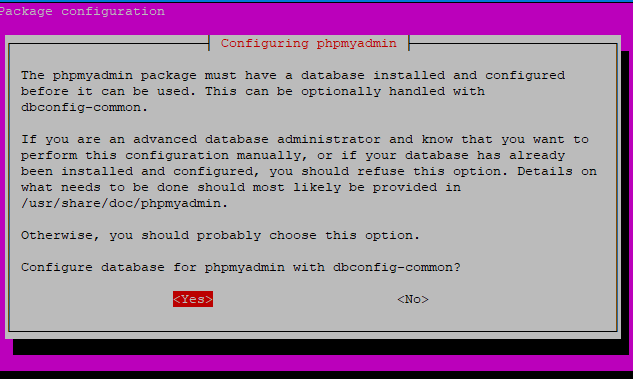
When prompted to configure a database for your phpMyAdmin package, choose Yes and press Enter to proceed.
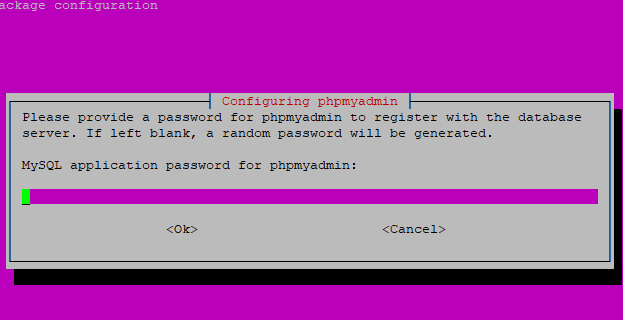
Enter a strong password for the phpMyAdmin package. Press Tab and Enter to proceed.
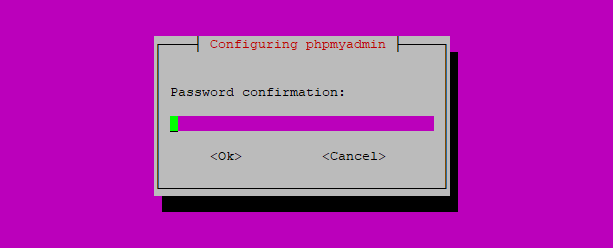
Repeat the same password to finalize the installation process. Press Tab and Enter to continue.
Use the a2enconf command to enable the new configuration file created by the phpMyAdmin.
$ sudo ln -s /etc/phpmyadmin/apache.conf /etc/apache2/conf-available/phpmyadmin.conf
$ sudo a2enconf phpmyadmin.conf
Restart Apache to load the new configuration file.
$ sudo systemctl restart apache2With the phpMyAdmin package installed, you'll create a sample database and a user next to demonstrate the login process via a web browser.
2. Set up a Sample Database and User
Log in to your MySQL server as root via the command-line interface.
$ sudo mysql -u root -pEnter your MySQL root password and press Enter to proceed.
Create a sample_db database.
mysql> CREATE database sample_db;Create a test_user for the sample_db and exit from the command-line interface. Use the command for your database engine, either MySQL or MariaDB.
MySQL.
  mysql> CREATE USER 'test_user'@'localhost' IDENTIFIED WITH mysql_native_password BY 'EXAMPLE_PASSWORD';
  mysql> GRANT ALL PRIVILEGES ON sample_db.* TO 'test_user'@'localhost';
  mysql> FLUSH PRIVILEGES;
  mysql> QUIT;
MariaDB.
  MariaDB> GRANT ALL PRIVILEGES on sample_db.* TO 'test_user'@'localhost' identified by 'EXAMPLE_PASSWORD';
  MariaDB> QUIT;
Navigate to the URL below in a web browser to test the installation. Replace 192.0.2.1 with the correct domain name or public IP address of your server.
http://192.0.2.1/phpmyadminThen enter the credentials of the test_user you've just created to log in.
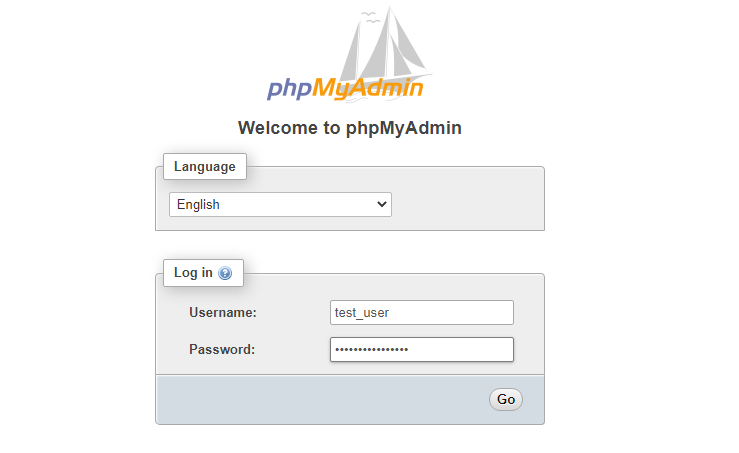
You should now see the phpMyAdmin dashboard as shown below. As you can see, the sample_db is now among the list of databases that you can access.
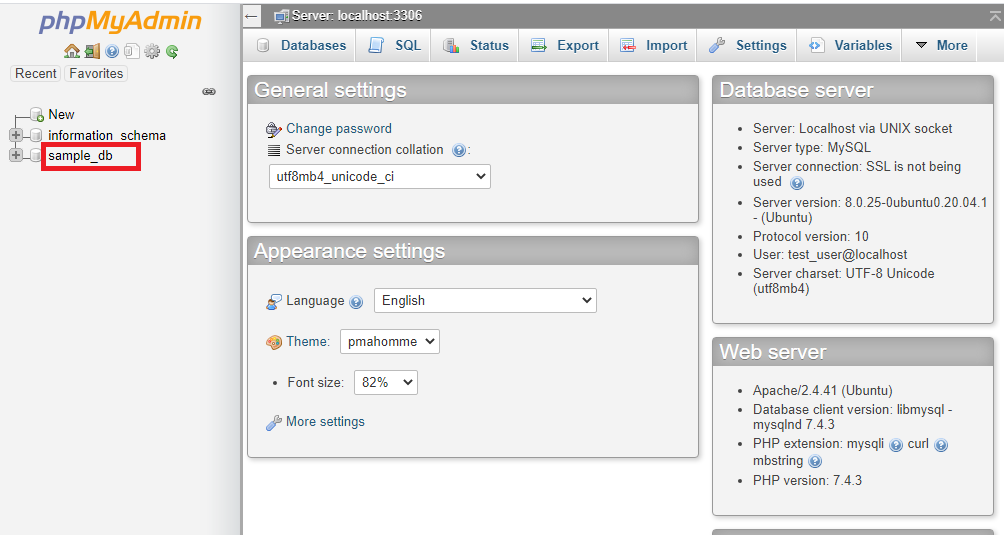
Your phpMyAdmin software is now in place. In the next step, you'll harden its security using Apache basic authentication.
3. Secure the phpMyAdmin Package
While the web-based phpMyAdmin software makes MySQL/MariaDB administration easy for you since you can access it from any computer with an internet connection, it can become a target for hackers. Without an additional layer of security, your login URL can be bombarded by brute-force attacks.
In this guide, you'll restrict access to the phpMyAdmin login page using Apache basic authentication. You'll store hashed authentication details of allowed users in a .htpasswd file which you will create under the /etc/phpmyadmin/ directory.
Use the htpasswd utility to create the first user named EXAMPLE_USER. The -c option creates the .htpasswd file for you if it doesn't exist. It is mandatory to define it when creating the first user.
$ sudo htpasswd -c /etc/phpmyadmin/.htpasswd EXAMPLE_USEREnter your preferred password for the EXAMPLE_USER and confirm it to add the new user to the /etc/phpmyadmin/.htpasswd file. If you'd like to create more users, run the command again without the -c option. For instance, to create EXAMPLE_USER_2, run the command below.
$ sudo htpasswd /etc/phpmyadmin/.htpasswd EXAMPLE_USER_2Next, instruct the phpMyAdmin package to only allow authentications from users defined in the /etc/phpmyadmin/.htpasswd file. But before you do this, you need to allow the phpMyAdmin to use a .htaccess file.
Open the main phpMyAdmin configuration file using nano.
$ sudo nano /etc/apache2/conf-available/phpmyadmin.confThen, locate the <Directory /usr/share/phpmyadmin> ... </Directory> tags.
 ...

<Directory /usr/share/phpmyadmin>
    Options SymLinksIfOwnerMatch
    DirectoryIndex index.php

   ...

</Directory>

...
Next, add the line AllowOverride All inside the tags just under the line DirectoryIndex index.php.
...

<Directory /usr/share/phpmyadmin>
    Options SymLinksIfOwnerMatch
    DirectoryIndex index.php
    AllowOverride All

   ...

</Directory>

...
Save the file by pressing Ctrl + X, then Y and Enter. Then, create a new .htaccess file under the directory /usr/share/phpmyadmin/.
$ sudo nano /usr/share/phpmyadmin/.htaccessEnter the information below into the file.
AuthType Basic
AuthName "Restricted Resource"
AuthUserFile /etc/phpmyadmin/.htpasswd
Require valid-user
Save and close the /usr/share/phpmyadmin/.htaccess file. Restart Apache to load the new changes.
$ sudo systemctl restart apache2Navigate to the URL below in a web browser. Replace 192.0.2.1 with the correct domain name or public IP address of your server.
http://192.0.2.1/phpmyadminYou should be prompted to authenticate yourself with a username and a password before you can access the phpMyAdmin login page. Enter the EXAMPLE_USER credentials that you've just created and press Sign In to continue.
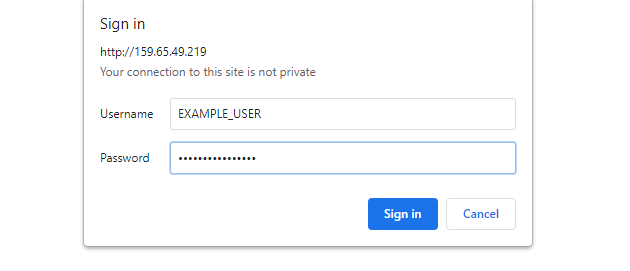
Once authenticated, you can proceed to log in with your normal database username (test_user) and password (EXAMPLE_PASSWORD).

You've now implemented Apache Basic password authentication for your phpMyAdmin package.
Conclusion
In this tutorial, you've installed, configured, and secureD the phpMyAdmin package with a LAMP stack on Ubuntu 20.04 server. Use the phpMyAdmin web-based interface to manage your MySQL/MariaDB databases for your next website or application to speed up the development process.
No comments yet.