How To Commit Changes to an Image in Docker
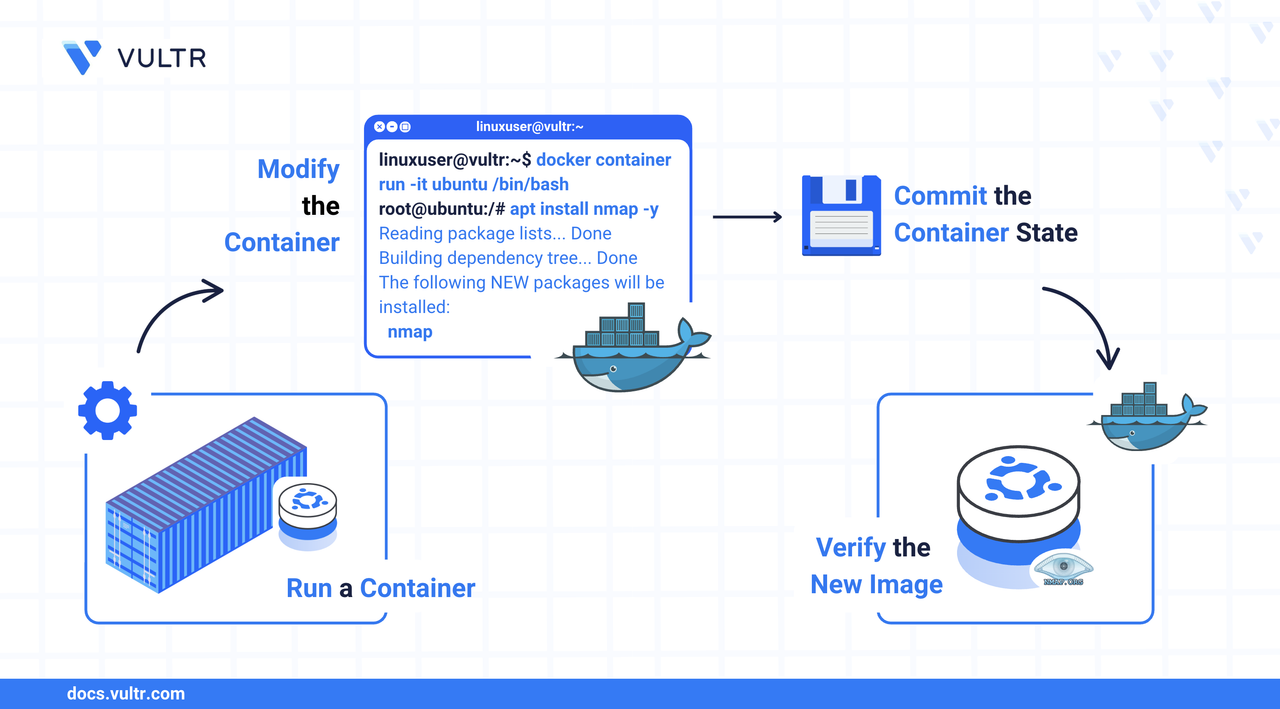
Docker is an open-source platform for deploying, scaling, and managing applications in lightweight, isolated containers. Containers package applications with their dependencies to ensure consistent behaviour across environments. Changes to a running container, such as installing packages or modifying files, are temporary. These changes are lost when the container is removed or recreated unless volumes are used to persist data. However, stopping a container preserves its state, allowing you to restart it with its data intact. Docker retains the container’s filesystem and metadata until you explicitly remove it.
This article explains how to commit changes to a Docker image using the latest Docker CLI commands. You’ll see step-by-step examples, flag explanations, and best practices to help you decide when and how to use docker container commit in your workflow.
docker container commit vs docker image push
The Short Answer
Use the following commands as a quick reference to commit changes from a running container, create a new image, and optionally push it to a container registry:
Command Usage
The docker container commit command creates a new image from the present state of a running or exited container. Use it after making changes to a container such as installing packages or configuring software, to save those modifications as a reusable Docker image.
The syntax for the command is:
Command Options
Note
The docker container commit command captures internal container changes but excludes data stored in mounted volumes or external storage.
Commit Changes to a New Docker Image
Follow the steps below to commit changes from a modified container into a new image.
To create a new Docker image from a modified container, start by running a container from a base image using the
-itflag to open an interactive terminal session.CONSOLEThe command above pulls the latest Ubuntu image from Docker Hub if it does not already exist locally, and opens a Bash shell as the root user.
Inside the container, make your changes for example, update the package list and install Nmap, a tool used to scan networks and identify security issues.
CONSOLEExit the container. It will stop running, but Docker retains its state, allowing you to commit the changes.
CONSOLEList all containers to find the one you just modified.
CONSOLEFind the modified container in the list and copy its container ID. You will use this ID in the next step to commit the changes to a new image. Your output should look similar to the following:
Use the
docker container commitcommand to save it as a new image.CONSOLEReplace
fbd1f006ee67with the container ID you copied earlier, andubuntu-with-nmap:v1with your desired image name and tag. Docker returns the image ID if the command runs without errors. Your output should look similar to the one below.Confirm that the image has been created.
CONSOLEYour custom image name and tag should appear in the output, similar to the example below:
When to Commit Changes
Use the docker container commit command to capture changes made inside a running container and save them as a new image. This is useful in scenarios such as:
- Install Tools or Packages: Install additional utilities such as Nmap or add custom scripts inside a container, then save the configured environment for later use or deployment.
- Apply Configuration Changes: Modify system settings or define environment variables that optimise the container's performance or behaviour, and commit those changes to preserve the setup.
- Capture a Debugging or Testing State: Troubleshoot or test inside a container, then commit the exact state to replicate the environment on another system or share it with your team.
- Create a Snapshot Before Changes: Save a point-in-time version of your container before applying further updates or installing new packages, allowing you to roll back if needed.
While docker container commit is useful for quick snapshots and small-scale workflows, it is not ideal for production environments. For consistent, repeatable image builds in team-based or production deployments, use Dockerfiles with version control. Dockerfiles give better visibility, traceability, and control over image configurations.
Conclusion
In this article, you have created a new Docker image by committing changes from a running container using Docker CLI commands. You ran a container, made changes inside it, and saved those changes as a reusable image. You also learned when to use the docker container commit command and how it differs from docker image push. This process helps you capture and reuse container modifications without writing a Dockerfile. For more image management features and best practices, refer to the Docker documentation.
Tags:Docker


0 Comments
Be the first to comment and share your perspective with the community.