
How to Deploy Apache Airflow on Ubuntu 20.04

Introduction
To efficiently manage and schedule workflows, you can install Airflow on Ubuntu, an open-source platform known as Apache Airflow. It is a scalable, flexible, and robust solution for authoring, scheduling, and monitoring ETL (Extract, Transform, and Load) data pipelines.
Airflow uses standard Python code to manage workflow tasks, and workflows are Directed Acyclic Graphs (DAGs) scheduled to run automatically at different intervals. DAG intervals are defined using the crontab syntax.
DAGS, are created using Python code and scheduled to run automatically at specified intervals using the Airflow scheduler. This article explains how to deploy Apache Airflow on a Ubuntu 20.04 server.
Prerequisites
Before you begin:
- Deploy a Ubuntu 20.04 server on Vultr.
- Set up a new domain A record pointing to the Server IP Address.
- Using SSH, access the server.
- Create a non-root sudo user, and switch to the account.
- Update the server.
- Install Nginx.
Install Apache Airflow on Ubuntu
Install the Python package manager, and virtual environment.
$ sudo apt-get install -y python3-pip python3-venvCreate a new project directory.
$ mkdir airflow-projectChange to the directory.
$ cd airflow-projectCreate a new virtual environment.
$ python3 -m venv airflow-envActivate the virtual environment.
$ source airflow-env/bin/activateYour terminal prompt should change as below:
(airflow-env) user@example:~/airflow-project$Using pip, install Airflow.
$ pip install apache-airflowInitialize a new SQLite database to create the Airflow meta-store that Airflow needs to run.
$ airflow db initOutput:
 ...
 DB: sqlite:////root/airflow/airflow.db
 [2023-02-05 17:08:48,821] {migration.py:205} INFO - Context impl SQLiteImpl.
 [2023-02-05 17:08:48,822] {migration.py:208} INFO - Will assume non-transactional DDL.
 INFO  [alembic.runtime.migration] Context impl SQLiteImpl.
 INFO  [alembic.runtime.migration] Will assume non-transactional DDL.
 INFO  [alembic.runtime.migration] Running stamp_revision  -> ***
 WARNI [Airflow.models.crypto] empty cryptography key - values will not be stored encrypted.
 Initialization done
Create the administrative user and password used to access Airflow.
$ airflow users create --role Admin --username admin --email admin --firstname admin --lastname admin --password my-passwordUsing
nohup, start the Airflow scheduler to run in the background. Airflow appends the output of running the scheduler to thescheduler.logfile.$ nohup airflow scheduler > scheduler.log 2>&1 &The Scheduler command starts the Airflow scheduler, queues, and runs the workflows defined in the DAG code.
Start the Airflow web server on port
8080.$ nohup airflow webserver -p 8080 > webserver.log 2>&1 &
Configure Nginx as a Reverse Proxy to serve Apache Airflow
Create a new Airflow Nginx configuration file.
$ sudo touch /etc/nginx/airflow.confUsing a text editor such as
Nano, edit the file.$ sudo nano /etc/nginx/airflow.confAdd the following configurations to the file.
 server {
     listen 80;
     server_name app-online.example.com;

     location / {
         proxy_pass http://localhost:8080;
         proxy_set_header Host $host;
         proxy_set_header X-Real-IP $remote_addr;
         proxy_set_header X-Forwarded-For $proxy_add_x_forwarded_for;
         proxy_set_header X-Forwarded-Proto $scheme;
         proxy_set_header X-Frame-Options SAMEORIGIN;
         proxy_buffers 16 4k;
         proxy_buffer_size 2k;
         proxy_busy_buffers_size 4k;
     }
 }
Replace
app-online.example.comwith your actual domain name.Save and close the file.
Test the Nginx configuration for configuration errors.
$ sudo nginx -tRestart Nginx to load changes.
$ sudo systemctl restart nginx
Security
To allow access to Apache Airflow through the Nginx reverse proxy, open the necessary HTTP and HTTPS firewall ports as described below.
By default, Uncomplicated Firewall (UFW) is active on Vultr Ubuntu servers. Verify that the firewall is running.
$ sudo ufw statusAllow HTTP access on port
80.$ sudo ufw allow 80/tcpAllow HTTPS on port
443.$ sudo ufw allow 443/tcpRestart the firewall to load changes.
$ sudo ufw reload
For more firewall configuration options, learn how to configure UFW on Ubuntu.
Generate Let's Encrypt SSL Certificates
To secure your server, serve Apache Airflow requests over HTTPS by installing an SSL certificate to encrypt traffic between the application and the users over the Internet as described below.
Install the Certbot Let's Encrypt Client.
$ sudo snap install --classic certbotActivate the Certbot command.
$ sudo ln -s /snap/bin/certbot /usr/bin/certbotGenerate an SSL Certificate for your domain as set in the Nginx configuration file.
$ sudo certbot --nginx --redirect -d app-online.example.com -m hello@example.com --agree-tosReplace
app-online.example.comwith your domain name, andhello@example.comwith your actual email.When successful, verify that Certbot auto renews your certificate on expiry.
$ sudo certbot renew --dry-runRestart Nginx to load changes.
$ sudo systemctl restart nginx
For more Certbot configuration options, visit the Install Let's Encrypt SSL on Ubuntu page.
Access Apache Airflow
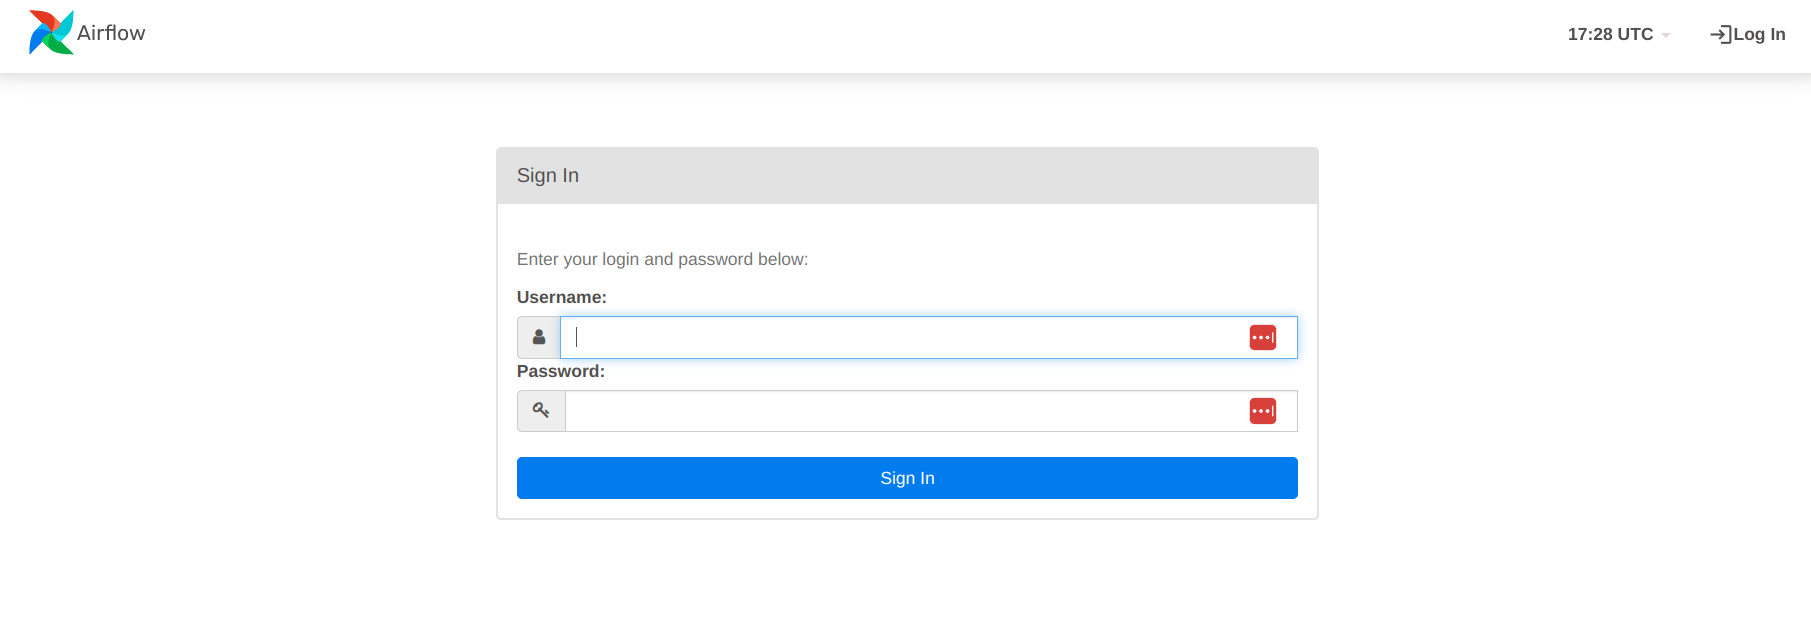
In a web browser such as Chrome. Visit your configured domain to access the Airflow web interface.
https://app-online.example.comLog in using the administrative username and password you created earlier.
How to run a DAG on the airflow setup
Airflow provides sample DAGs that offer a great way to learn Airflow. To run the first DAG on your Airflow instance, follow the steps below.
In your web browser, access the Airflow UI dashboard. in your web browser.
https://app-online.example.comWhen logged in, find the list of default/starter DAGs on the dashboard.
Click any DAG to open the detail page. For example:
dataset_consumes_1.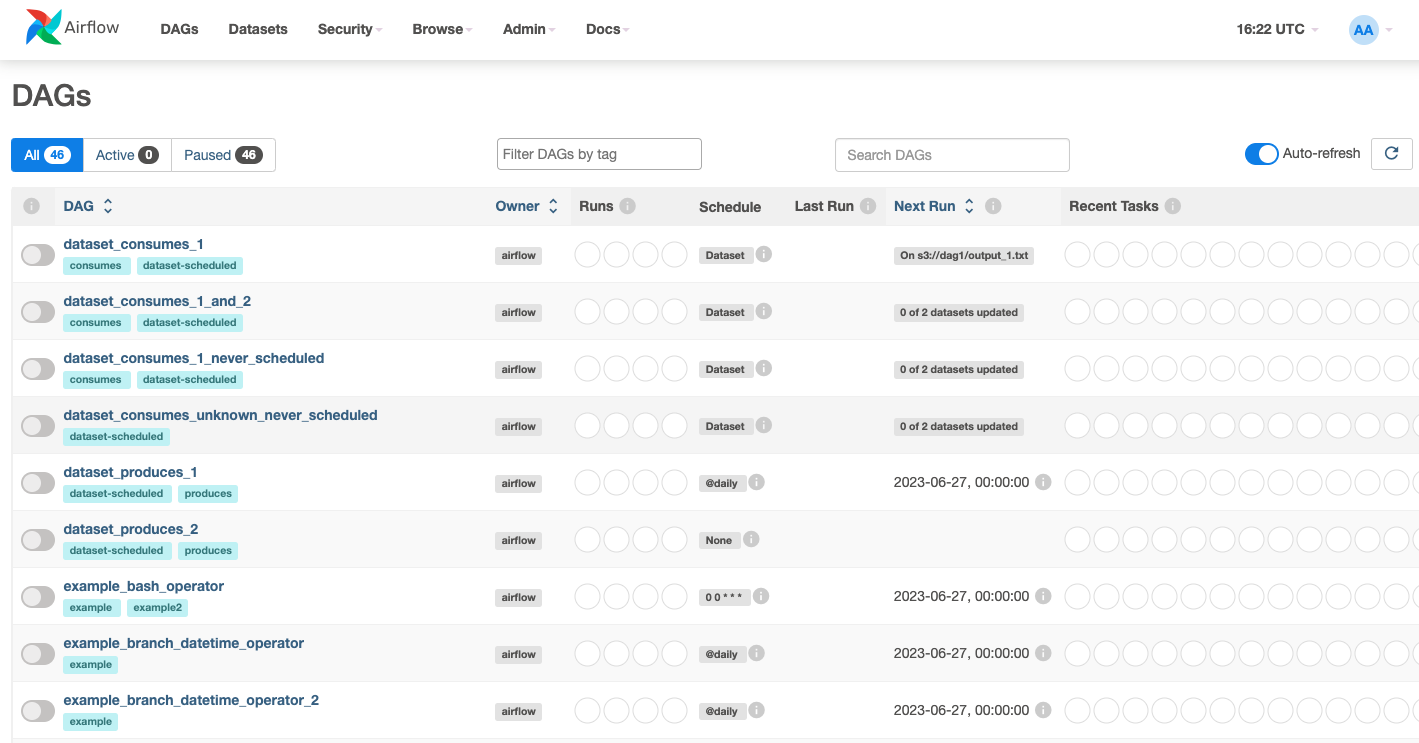
In the upper left corner, toggle the switch button to ON to activate the DAG.
Find and click the play button, then select
trigger DAGfrom the drop down to run the DAG.
You have activated and run your first DAG. Using the DAG, you can start customizing and building workflows to utilize Airflow's powerful features and components.
Conclusion
Airflow is a widely used tool in the data engineering ecosystem, employed by many companies to manage their data pipelines. It is well-suited for ETL (Extract, Transform, Load) processes and other related data engineering tasks. As a versatile and essential addition to any data engineering toolkit, it is highly valuable for data engineers and data scientists. In this article, you deployed Airflow on an Ubuntu server, for more information and configuration options, visit the official Airflow documentation.