
How to Install Apache Airflow on Ubuntu 24.04
Apache Airflow is an open-source workflow management platform that manages data pipelines and automates workflows such as Extract, Transform, and Load (ETL) processes. If you want to install Apache Airflow on Ubuntu 24.04, it utilizes Python-based Directed Acyclic Graphs (DAGs) to schedule and execute tasks while streamlining the management of all required dependencies for error-free execution.
This article explains how to install Apache Airflow on Ubuntu 24.04, configure a secure environment, and test your deployment with a sample Directed Acyclic Graph (DAG).
Prerequisites
Before you begin, you need to:
- Have access to an Ubuntu 24.04 instance with at least 4 GB RAM.
- Create a new domain A record pointing to the instance's IP address.
Install Apache Airflow on Ubuntu 2.04
Apache Airflow is available as a Python package you can install using a package manager such as Pip. Follow the steps below to install Python if it's not available on your system, create a new virtual environment, and install Apache Airflow.
Update the server's package index.
console$ sudo apt update
View the available Python version on your server.
console$ python3 --version
Your output should be similar to the one below.
Python 3.12.3Install Python if it's not available on your server.
console$ sudo apt install python3
Install the
python3-venvPython virtual environment module and the PostgreSQL development library.console$ sudo apt install python3-venv libpq-dev -y
Create a new virtual environment such as
airflow_env.console$ python3 -m venv airflow_env
Activate the
airflow_envvirtual environment.console$ source ~/airflow_env/bin/activate
Verify that your shell prompt changes to the
airflow_envvirtual environment.console(airflow_env) linuxuser@example:~$
Use Pip to install Apache Airflow with support for PostgresQL.
console$ pip install apache-airflow[postgres] psycopg2
Install PostgreSQL.
console$ sudo apt install postgresql postgresql-contrib
Start the PostgreSQL service.
console$ sudo systemctl start postgresql
Access the PostgreSQL console using the
postgresuser.console$ sudo -u postgres psql
Your output should be similar to the one below:
psql (16.6 (Ubuntu 16.6-0ubuntu0.24.04.1))
Type "help" for help.

postgres=#
Create a new
airflowPostgreSQL user with a strong password. ReplaceYourStrongPasswordwith your desired password.psqlpostgres=# CREATE USER airflow PASSWORD 'YourStrongPassword';
Create a new database, for example,
airflowdb.psqlpostgres=# CREATE DATABASE airflowdb;
Grant the
airflowuser full privileges to all tables in the public schema.psqlpostgres=# GRANT ALL PRIVILEGES ON ALL TABLES IN SCHEMA public TO airflow;
Grant the
airflowuser ownership privileges to theairflowdbdatabase.psqlpostgres=# ALTER DATABASE airflowdb OWNER TO airflow;
Grant the
airflowuser all privileges on the public schema.psqlpostgres=# GRANT ALL ON SCHEMA public TO airflow;
Exit the PostgreSQL console.
psqlpostgres=# exit;
Open the
airflow.cfgfile in your Airflow installation directory.console$ nano ~/airflow/airflow.cfg
Temporarily initialize the database and start the Airflow scheduler to create the necessary directories if the
airflowdirectory is missing.console$ airflow db init; airflow scheduler
Press Ctrl+C to stop the scheduler.
Replace the default
executorandsql_alchemy_connvalues with the following configuration to enable parallel execution and set PostgreSQL as the metadata database.iniexecutor = LocalExecutor sql_alchemy_conn = postgresql+psycopg2://airflow:YourStrongPassword@localhost/airflowdb
Save and close the file.
Initialize the Airflow metadata database to apply the changes.
console$ airflow db init
Your output should be similar to the one below:
DB: postgresql+psycopg2://airflow:***@localhost/airflow
[2025-01-05T23:58:36.808+0000] {migration.py:207} INFO - Context impl PostgresqlImpl.
[2025-01-05T23:58:36.809+0000] {migration.py:210} INFO - Will assume transactional DDL.
INFO  [alembic.runtime.migration] Context impl PostgresqlImpl.
INFO  [alembic.runtime.migration] Will assume transactional DDL.
INFO  [alembic.runtime.migration] Running stamp_revision  -> 5f2621c13b39
WARNI [airflow.models.crypto] empty cryptography key - values will not be stored encrypted.
Initialization done
Create a new administrative user to use with Apache Airflow. Replace
adminwith your desired username.console$ airflow users create \ --username admin \ --password yourSuperSecretPassword \ --firstname Admin \ --lastname User \ --role Admin \ --email admin@example.com
Start the Airflow web server on port
8080as a background process and redirect all logs to thewebserver.logfile.console$ nohup airflow webserver -p 8080 > webserver.log 2>&1 &
Start the Airflow scheduler and redirect all logs to the
scheduler.logfile.console$ nohup airflow scheduler > scheduler.log 2>&1 &
Configure Nginx as a Reverse Proxy to Expose Apache Airflow
Apache Airflow listens for connections using the default port 8080. Follow the steps below to secure Apache Airflow's port using Nginx and serve requests over HTTP and HTTPS.
Install Nginx.
console$ sudo apt install -y nginx
Create a new
airflowNginx virtual host configuration file.console$ sudo nano /etc/nginx/sites-available/airflow
Add the following configurations to the file. Replace
airflow.example.comwith your actual domain.nginxserver { listen 80; server_name airflow.example.com; location / { proxy_pass http://127.0.0.1:8080; proxy_set_header Host $host; proxy_set_header X-Real-IP $remote_addr; proxy_set_header X-Forwarded-For $proxy_add_x_forwarded_for; proxy_set_header X-Forwarded-Proto $scheme; } }
Save and close the file.
The above Nginx configuration listens for incoming connections using your
airflow.example.comdomain and forwards all connections to the Apache Airflow port8080.Link the Airflow configuration to the Nginx
sites-enableddirectory to enable it.console$ sudo ln -s /etc/nginx/sites-available/airflow /etc/nginx/sites-enabled/
Test the Nginx configuration for errors.
console$ sudo nginx -t
Your output should be similar to the one below.
nginx: the configuration file /etc/nginx/nginx.conf syntax is ok
nginx: configuration file /etc/nginx/nginx.conf test is successful
Reload Nginx to apply the configuration changes.
console$ sudo systemctl reload nginx
Allow connections to the HTTP port
80through the firewall.console$ sudo ufw allow 80/tcp
Reload UFW to apply the firewall configuration changes.
console$ sudo ufw reload
Access your
airflow.example.comdomain using a web browser such as Chrome and verify that the Airflow login page displays.http://airflow.example.com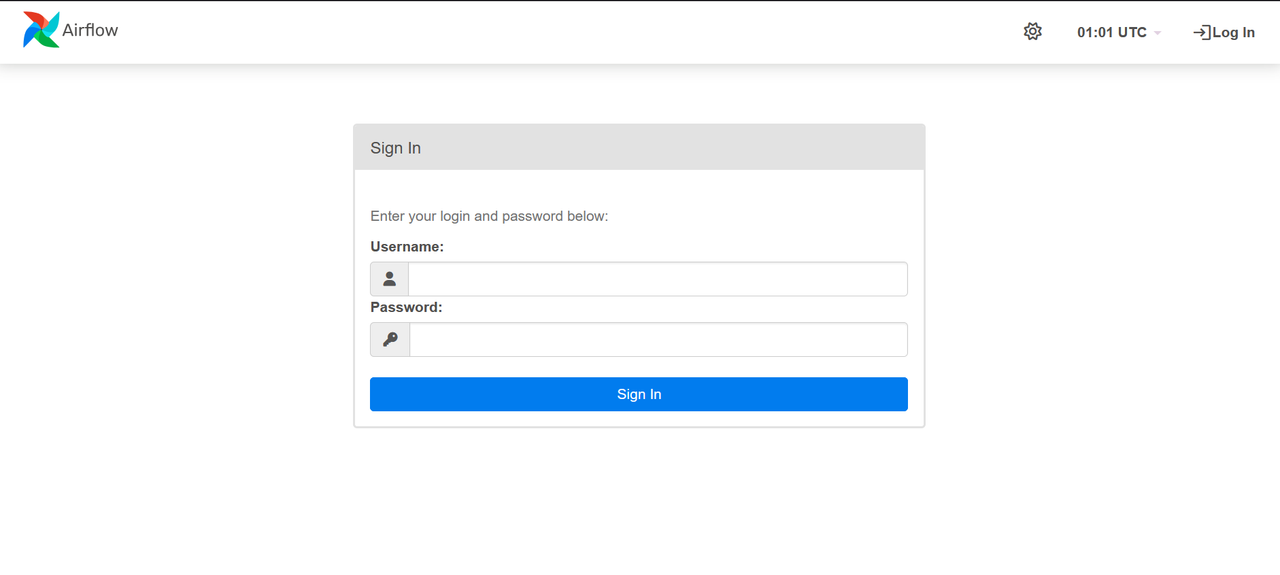
Generate Trusted SSL Certificates to Secure Apache Airflow
SSL certificates encrypt the connection between a client and the Apache Airflow server. Follow the steps below to generate Let's Encrypt SSL certificates using Certbot to secure connections to Apache Airflow.
Install the Certbot Let's Encrypt Client.
console$ sudo snap install --classic certbot
Install Snap if it's not available on your workstation.
console$ sudo apt install snapd -y
Move the Certbot binary to the
/usr/binpath to enable it as a system-wide command.console$ sudo ln -s /snap/bin/certbot /usr/bin/certbot
Request a new Let's Encrypt SSL certificate using the Nginx plugin and your domain. Replace
aiflow.example.comwith your actual domain andadmin@example.comwith your active email address.console$ sudo certbot --nginx --redirect -d airflow.example.com -m admin@example.com --agree-tos
Your output should be similar to the one below when the certificate request is successful.
...
Account registered.
Requesting a certificate for airflow.example.com

Successfully received certificate.
Certificate is saved at: /etc/letsencrypt/live/airflow.example.com/fullchain.pem
Key is saved at:         /etc/letsencrypt/live/airflow.example.com/privkey.pem
This certificate expires on 2025-04-21.
These files will be updated when the certificate renews.
Certbot has set up a scheduled task to automatically renew this certificate in the background.

Deploying certificate
Successfully deployed certificate for airflow.example.com to /etc/nginx/sites-enabled/airflow
Congratulations! You have successfully enabled HTTPS on https://airflow.example.com
...
Verify that Certbot auto-renews the SSL certificate before it expires.
console$ sudo certbot renew --dry-run
Restart Nginx to apply the SSL configuration changes.
console$ sudo systemctl restart nginx
Access Apache Airflow
Follow the steps below to access the Apache Airflow interface and run DAGs of your server.
Access the Apache Airflow web interface using your domain.
https://airflow.example.comEnter the following credentials you set earlier to log in to Apache Airflow.
- Username:
admin - Password:
yourSuperSecretPassword
- Username:
Create and Run DAGs Using Apache Airflow
Follow the steps below to create and run a sample DAG using Apache Airflow.
Create the
dagsdirectory in the Airflow installation directory.console$ mkdir ~/airflow/dags
Create a new
my_first_dag.pyPython application file in thedagsdirectory.console$ nano ~/airflow/dags/my_first_dag.py
Add the following code to the
my_first_dag.pyfile to define a new DAG.pythonfrom airflow import DAG from airflow.operators.python_operator import PythonOperator from datetime import datetime, timedelta with DAG( 'my_first_dag', start_date=datetime(2024, 1, 1), schedule_interval=timedelta(days=1), catchup=False ) as dag: def print_hello(): print('Greetings from Vultr') hello_task = PythonOperator( task_id='hello_task', python_callable=print_hello )
Save and close the file.
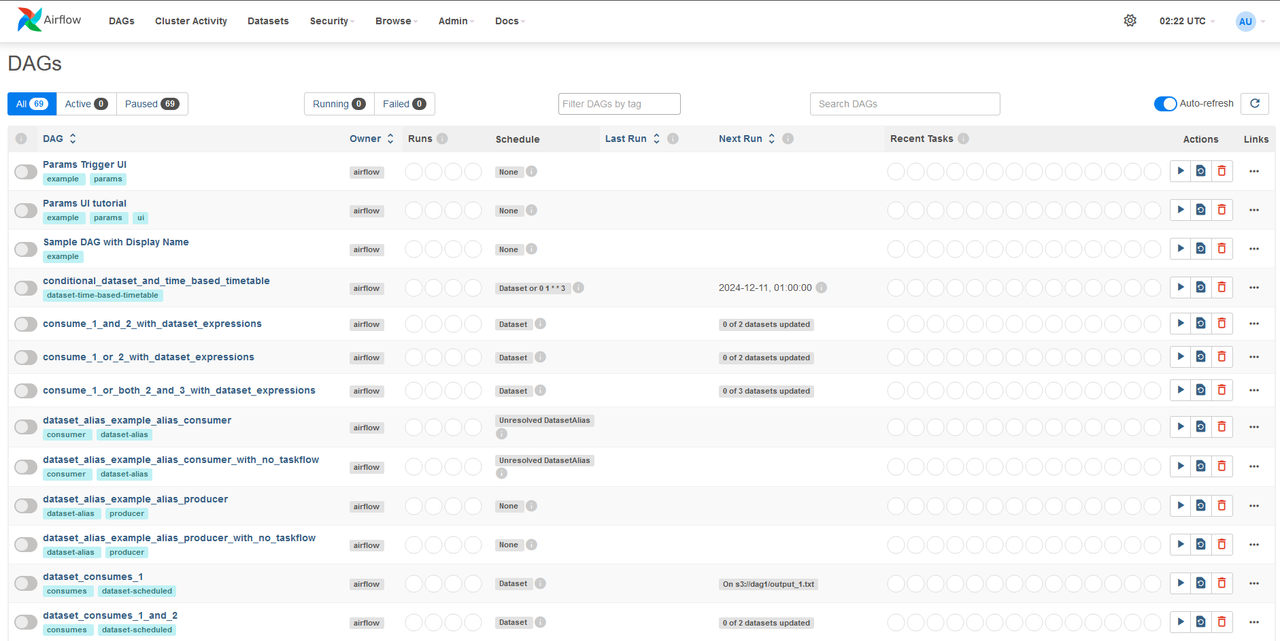
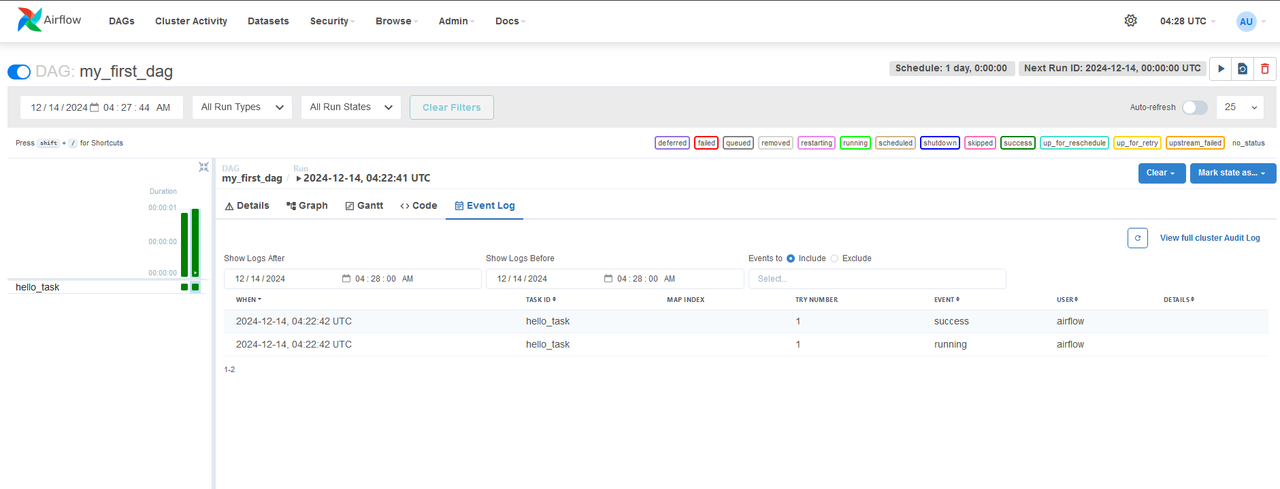
The above application code creates a
my_first_dagsample DAG that runs daily and prints aGreetings from Vultr.Navigate to the DAGs within the Apache Airflow interface. Find and enable the DAG to manually trigger it.
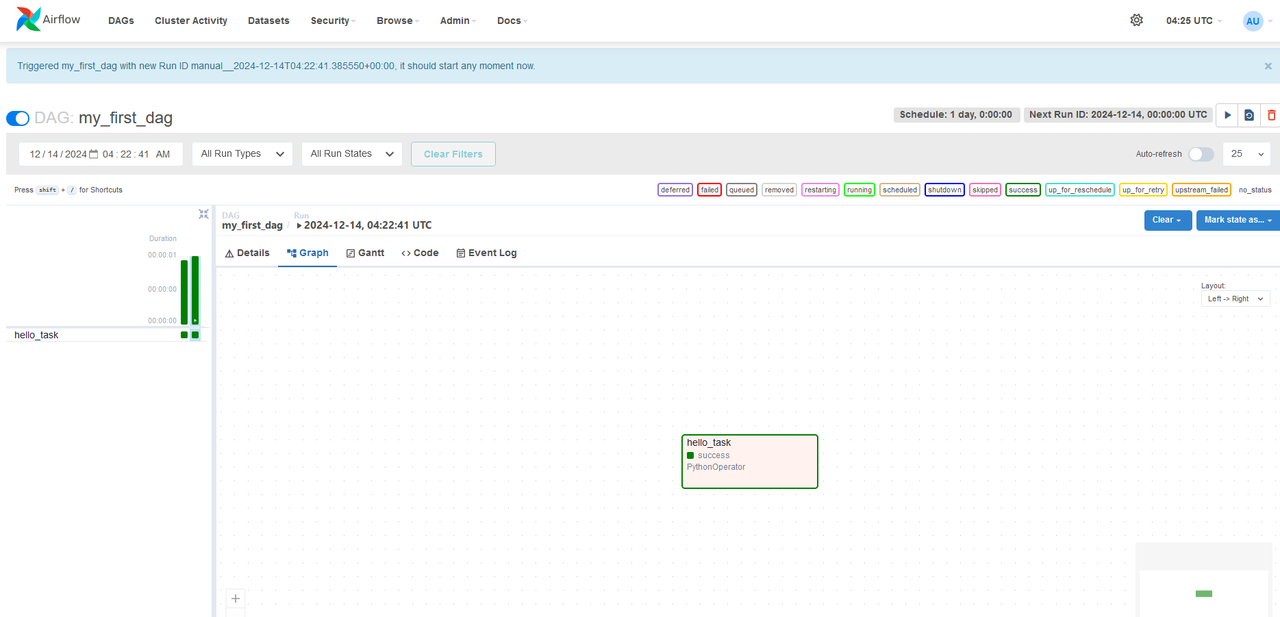
Use the Graph View and Event Log to monitor the DAG.
Conclusion
You have installed Apache Airflow on Ubuntu 24.04 and secured access to the application using Nginx as a reverse proxy. You can use Apache Airflow to create multiple workflows and DAGs to match your project needs. For more information, visit the Airflow documentation.