
How to Install Apache Web Server on Ubuntu 20.04
Apache is an open-source web server that serves both static and dynamic web applications. It's highly customizable, supports numerous modular extensions, and can function as a reverse proxy or load balancer for delivering web applications or backend services on your server.
This article provides instructions for installing Apache on Ubuntu 20.04 and configuring it to securely deliver web applications using virtual hosts.
Prerequisites
Before you begin:
Have an Ubuntu 20.04 server.
Set up a new A record for your domain that points to the server IP address.
Access the server using SSH as a non-root user with sudo privileges.
Install Apache
The Apache web server package is included in the default repositories on Ubuntu 20.04. Follow the steps below to install the latest version of Apache using the default APT package manager and configure the web server to start automatically at boot time.
Update the server's package index.
console$ sudo apt update
Install the Apache web server package.
console$ sudo apt install apache2 -y
View the installed Apache web server version.
console$ apachectl -v
Output:
Server version: Apache/2.4.41 (Ubuntu)
Server built:   2024-07-17T18:58:09
Allow connections on the HTTP port
80through the default UFW firewall configurations.console$ sudo ufw allow 80/tcp
Access your public server IP using a web browser such as Chrome and verify that the default Apache web page displays.
http://SERVER-IP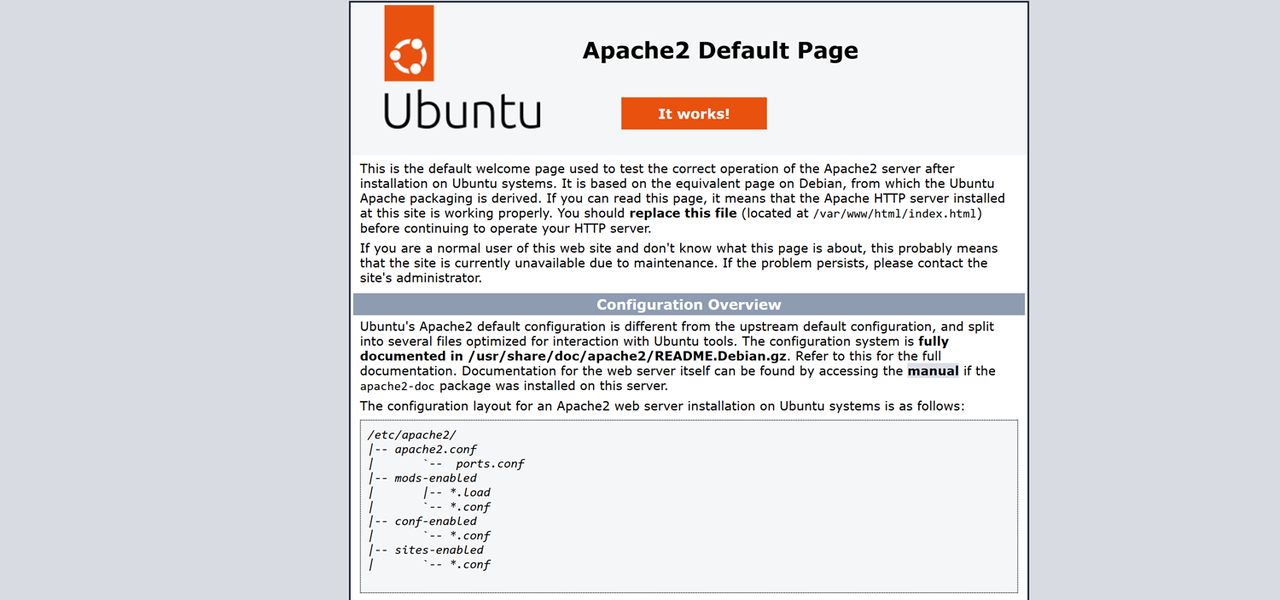
Manage the Apache System Service
Apache operates under the apache system service profile, which manages the web server's runtime processes on your server. Follow the steps below to enable Apache to start automatically at boot time and check the status of the system service.
Enable the Apache service to automatically start at boot time.
console$ sudo systemctl enable apache2
Output:
Synchronizing state of apache2.service with SysV service script with /usr/lib/systemd/systemd-sysv-install.
Executing: /usr/lib/systemd/systemd-sysv-install enable apache2
Start the Apache web server.
console$ sudo systemctl start apache2
View the Apache service status and verify that it's active on your server.
console$ sudo systemctl status apache2
Output:
● apache2.service - The Apache HTTP Server
     Loaded: loaded (/lib/systemd/system/apache2.service; enabled; vendor preset: enabled)
     Active: active (running) since Sun 2025-04-06 08:30:18 UTC; 3min 26s ago
       Docs: https://httpd.apache.org/docs/2.4/
   Main PID: 3588 (apache2)
      Tasks: 55 (limit: 9415)
     Memory: 7.0M
     CGroup: /system.slice/apache2.service
             ├─3588 /usr/sbin/apache2 -k start
             ├─3589 /usr/sbin/apache2 -k start
             └─3590 /usr/sbin/apache2 -k start
Stop the Apache web server.
console$ sudo systemctl stop apache2
Restart the Apache web server.
console$ sudo systemctl restart apache2
Create a New Apache Virtual Host
The Apache web server uses virtual host configurations to deliver web applications. By default, the virtual host listens for incoming connections on all server IP addresses through the default HTTP port 80. Follow the steps below to disable the default virtual host and set up a new virtual host that listens for requests on your domain using port 80.
Create a new Apache virtual host configuration file in the
/etc/apache2/sites-available/directory. You can use a text editor likenano. For example, create a file namedwebsite.conf.console$ sudo nano /etc/apache2/sites-available/website.conf
Add the following contents to the file. Replace
app.example.comwith your domain andwebmaster@example.comwith your web administrator email.ini<VirtualHost *:80> ServerAdmin webmaster@example.com ServerName app.example.com DocumentRoot /var/www/html/website DirectoryIndex index.html index.php ErrorLog ${APACHE_LOG_DIR}/error.log CustomLog ${APACHE_LOG_DIR}/access.log combined <Directory /var/www/html/website> Options Indexes FollowSymLinks AllowOverride All Require all granted </Directory> </VirtualHost>
Save and close the file.
The above Apache configuration creates a new virtual host that serves web application files from the
/var/www/html/websitedirectory using the domainapp.example.com. The configuration includes the following key settings:<VirtualHost *:80>: Specifies the virtual host to listen on HTTP port80.ServerAdmin webmaster@example.com: Sets the email address of the web server administrator for error and alert notifications.ServerName example.com: Defines the domain name for the virtual host to deliver web applications.DocumentRoot /var/www/html/website: Specifies the directory where web application files are stored and served from.DirectoryIndex index.html: Defines the default file (index.html) to be served when accessing the virtual host domainapp.example.com.ErrorLog ${APACHE_LOG_DIR}/error.log: Configures a custom file path to store error logs for the virtual host.CustomLog ${APACHE_LOG_DIR}/access.log combined: Specifies the access log file location and format (combined).<Directory /var/www/html/example>: Defines configurations for handling requests to the web root directory.Options Indexes FollowSymLinks: Enables directory listing (Indexes) and symbolic link following (FollowSymLinks).AllowOverride All: Allows.htaccessfiles to override Apache settings.Require all granted: Grants access to all users for the files in the web root directory.
Disable the default Apache virtual host configuration.
console$ sudo a2dissite 000-default
Enable the new Apache virtual host configuration.
console$ sudo a2ensite website
Create the web root directory
/var/www/html/websitereferenced in your virtual host configuration.console$ sudo mkdir -p /var/www/html/website
Test the Apache configuration for errors.
console$ sudo apachectl configtest
Output:
Syntax OKCreate a new sample HTML application
index.htmlfile in the web root directory.console$ sudo nano /var/www/html/website/index.html
Add the following contents to the file.
html<!DOCTYPE html> <html lang="en"> <head> <meta charset="UTF-8"> <meta name="viewport" content="width=device-width, initial-scale=1.0"> <title>Apache Web Server</title> </head> <body> <h1>Greetings from Vultr</h1> </body> </html>
Save and close the file.
The above HTML code displays
Greetings from Vultrmessage when the application is accessed using your virtual host domainapp.example.comGrant the web server user and group
www-dataownership privileges to the/var/www/html/websiteweb root directory.console$ sudo chown -R www-data:www-data /var/www/html/website
Restart the Apache web server to apply your configuration changes.
console$ sudo systemctl restart apache2
Secure the Apache Web Server
By default, the Apache web server listens for connection requests on HTTP port 80, which allows unencrypted communication between the server and a user's browser. HTTPS, on the other hand, provides encrypted connections by using valid SSL certificates to authenticate the web server with the user's browser. Follow the steps below to secure your Apache server with trusted Let's Encrypt SSL certificates, enabling encrypted network connections and redirecting all HTTP traffic to HTTPS.
Install the Certbot Let's Encrypt client package using the Snap package manager.
console$ sudo snap install certbot --classic
Request a new Let's Encrypt SSL certificate on your server using your virtual host domain. Replace
app.example.comwith your actual domain andhello@example.comwith your email address.console$ sudo certbot --apache --agree-tos --redirect -d app.example.com -m hello@example.com
Your output should be similar to the one below when successful.
Successfully received certificate.
Certificate is saved at: /etc/letsencrypt/live/app.example.com/fullchain.pem
Key is saved at:         /etc/letsencrypt/live/app.example.com/privkey.pem
This certificate expires on 2025-07-05.
These files will be updated when the certificate renews.
Certbot has set up a scheduled task to automatically renew this certificate in the background.

Deploying certificate
Successfully deployed certificate for app.example.com to /etc/apache2/sites-available/website-le-ssl.conf
Congratulations! You have successfully enabled HTTPS on https://app.example.com
Test the Certbot SSL certificate renewal process.
console$ sudo certbot renew --dry-run
Output:
- - - - - - - - - - - - - - - - - - - - - - - - - - - - - - - - - - - - - - - -
Processing /etc/letsencrypt/renewal/app.example.com.conf
- - - - - - - - - - - - - - - - - - - - - - - - - - - - - - - - - - - - - - - -
Account registered.
Simulating renewal of an existing certificate for app.example.com

- - - - - - - - - - - - - - - - - - - - - - - - - - - - - - - - - - - - - - - -
Congratulations, all simulated renewals succeeded:
  /etc/letsencrypt/live/app.example.com/fullchain.pem (success)
- - - - - - - - - - - - - - - - - - - - - - - - - - - - - - - - - - - - - - - -
Restart the Apache web server to apply your SSL configuration changes.
console$ sudo systemctl restart apache2
Set Up Firewall Rules
Uncomplicated Firewall (UFW) is enabled by default on Vultr Ubuntu 20.04 servers. Follow the steps below to configure UFW and allow network connections through the Apache web server firewall profile.
List all available UFW application profiles.
console$ sudo ufw app list
Verify that the default Apache profile
apacheis available similar to the following output:Apache Apache Full Apache Secure OpenSSHAllow the
Apache Fullprofile to enable both HTTP port80and HTTPS port443connections through the firewall.console$ sudo ufw allow 'Apache Full'
Reload UFW to apply the firewall changes.
console$ sudo ufw reload
View the firewall status and verify that the new rules are available.
console$ sudo ufw status
Output:
To                         Action      From
--                         ------      ----
22/tcp                     ALLOW       Anywhere
Apache Full                ALLOW       Anywhere
22/tcp (v6)                ALLOW       Anywhere (v6)
Apache Full (v6)           ALLOW       Anywhere (v6)
Access your virtual host domain
app.example.comin a new web browser window and verify that Apache serves your HTML application with aGreetings from Vultrmessage.https://app.example.com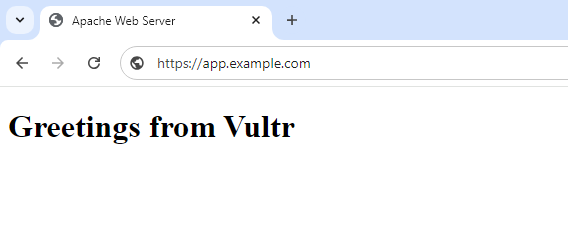
Conclusion
You have successfully installed the Apache web server on your Ubuntu 20.04 server. Apache allows you to host static websites and integrate with dynamic content processors like PHP to serve modern web applications, including WordPress. Additionally, you can configure Apache as a reverse proxy using the mod_proxy extension to securely deliver backend services.