How to Deploy BookStack - Open-Source Documentation Platform
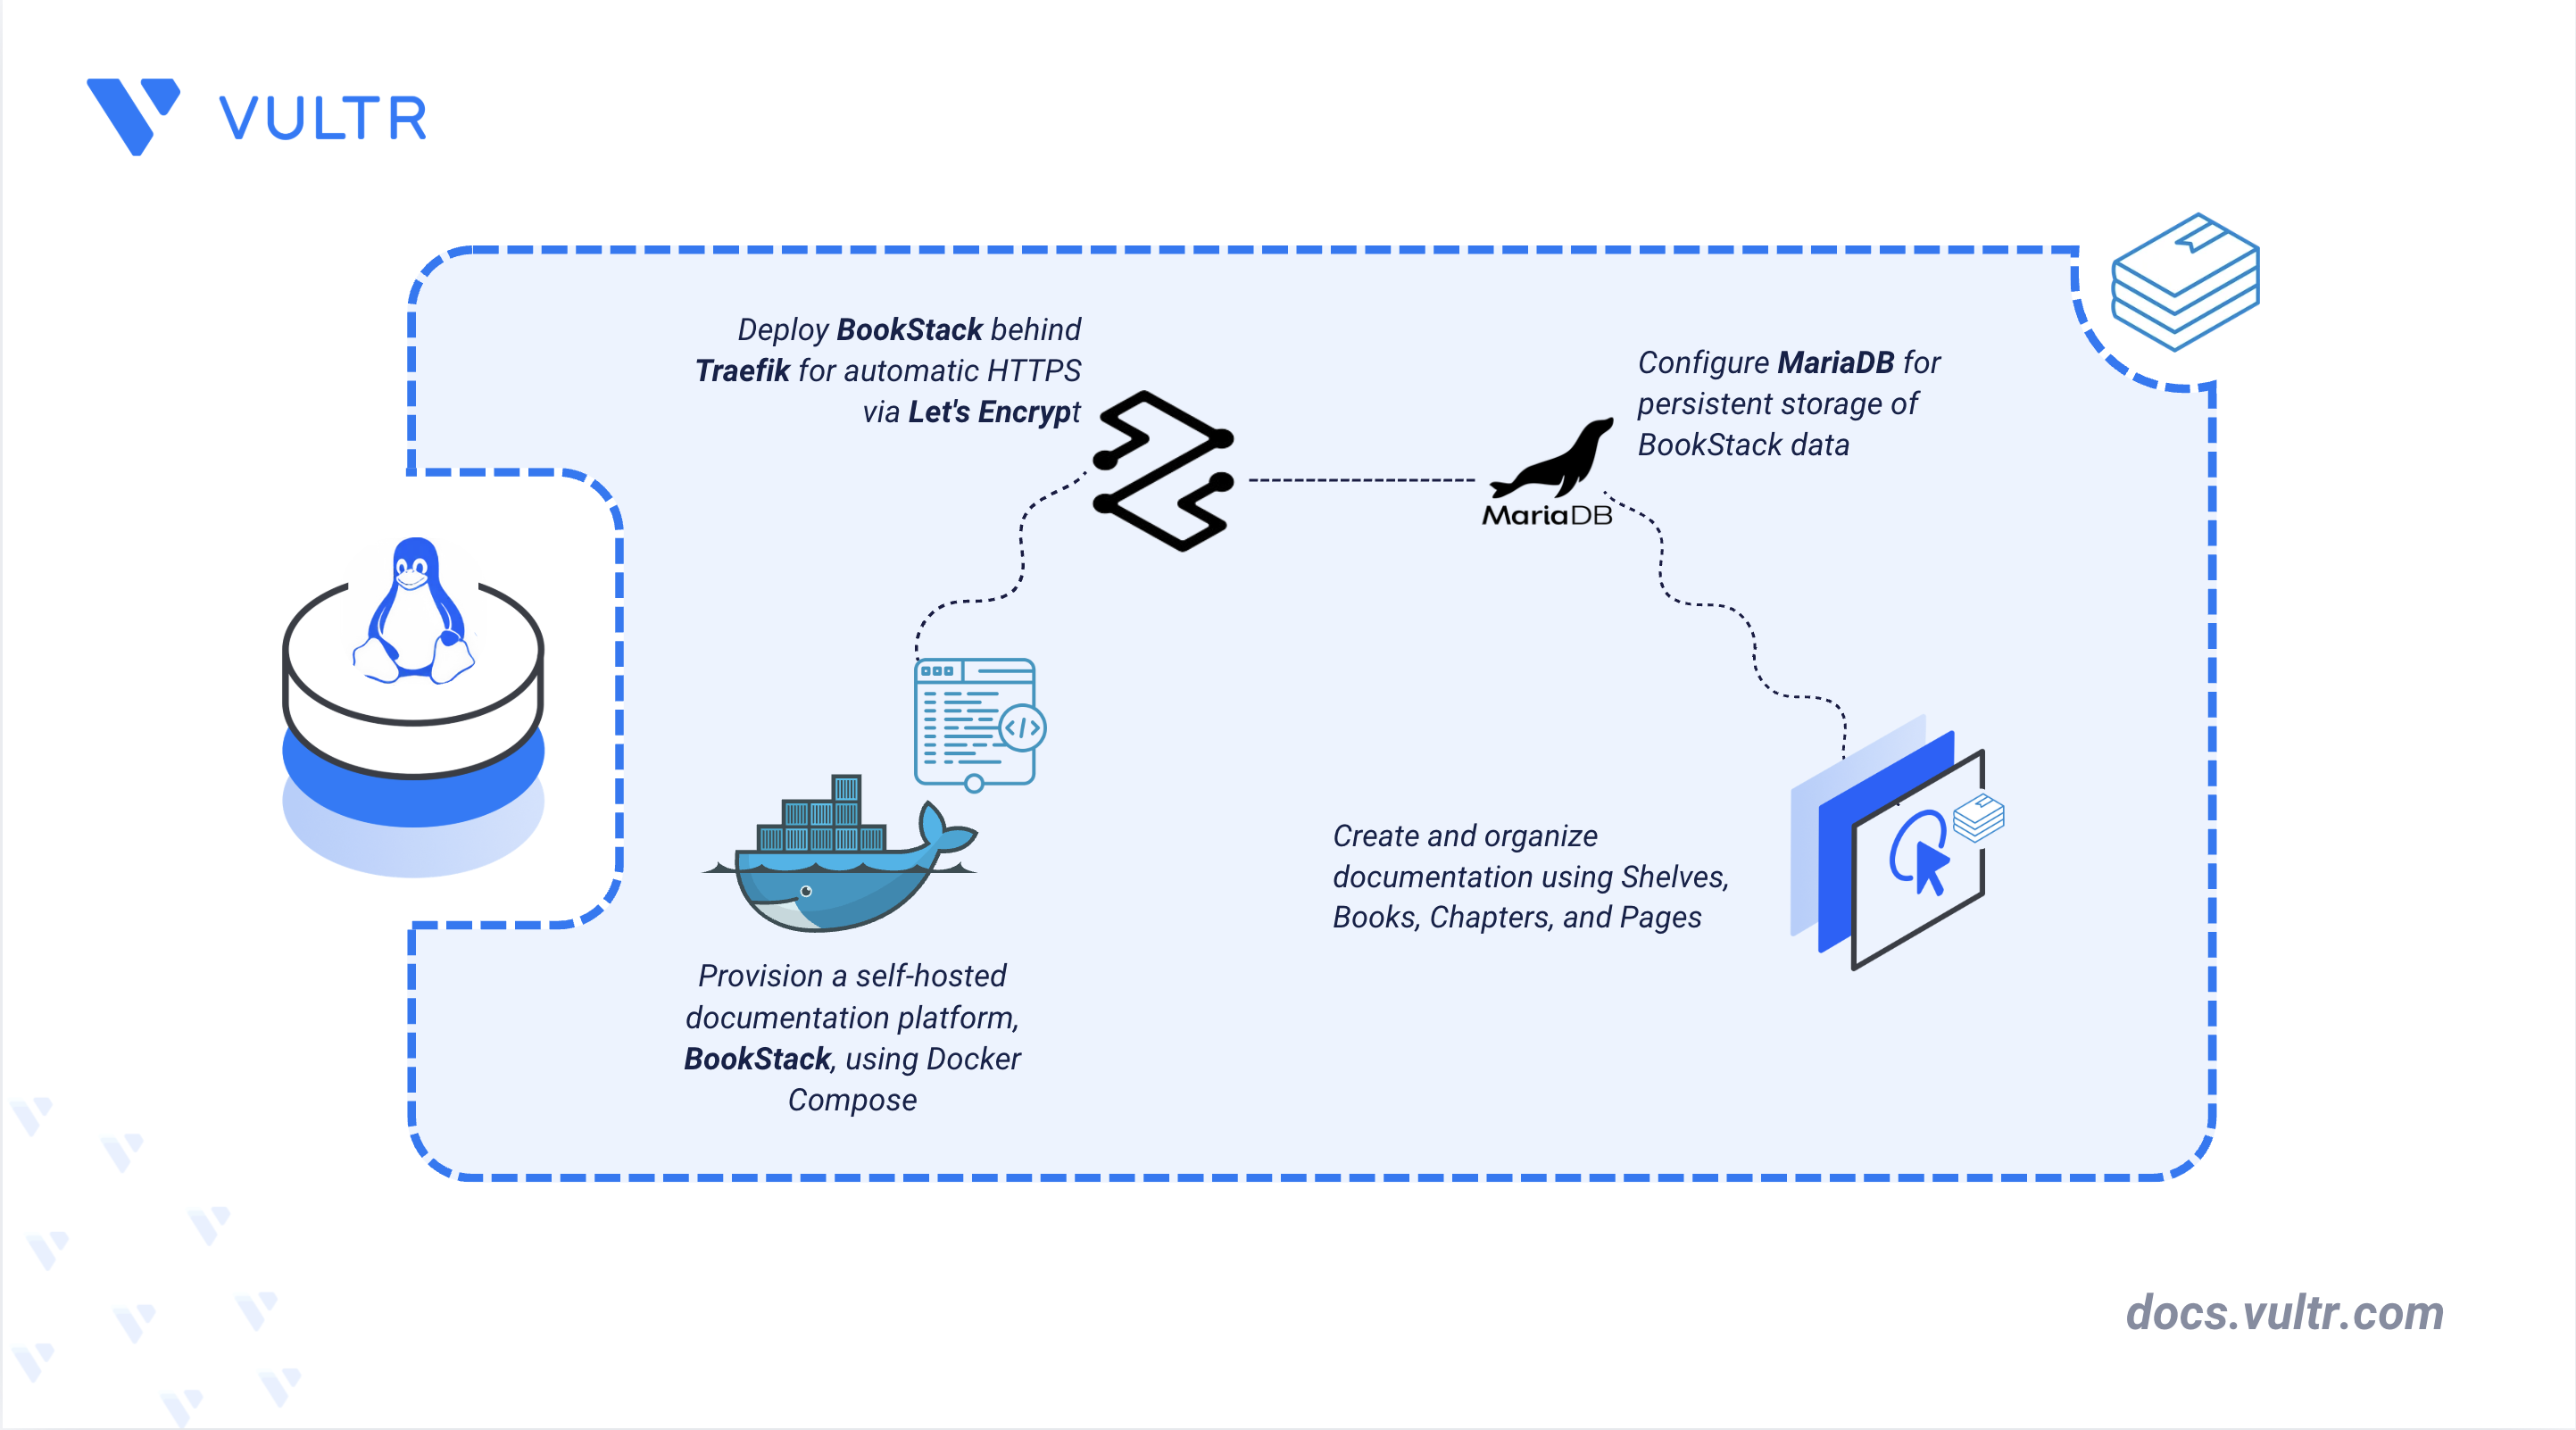
BookStack is an open-source documentation platform for creating, organizing, and managing knowledge bases. It provides a web interface for structuring documentation into Shelves, Books, Chapters, and Pages, making it easy to organize technical documentation, internal wikis, project documentation, and team knowledge.
This article explains how to deploy BookStack on a Linux server using Docker Compose with MariaDB for data storage and Traefik as the reverse proxy for TLS termination. It covers directory and environment setup, the Docker Compose deployment, the initial server setup, and demonstrates documentation management features by creating Shelves, Books, Chapters, and Pages through the web interface.
Prerequisites
Before you begin, you need to:
- Have access to a Linux-based server (with at least 4 CPU cores and 8 GB of RAM) as a non-root user with sudo privileges.
- Install Docker and Docker Compose.
- Create a DNS A record pointing to your server's IP address (for example,
book.example.com).
Set Up the Directory Structure, Configuration, and Environment Variables
BookStack requires a configuration file to define environment variables, database connections, and application settings. The setup includes persistent storage for the MariaDB database, uploaded files, and application configuration to ensure data is retained across server restarts.
Create the project directory.
CONSOLENavigate to the project directory.
CONSOLEGenerate a secret key for the BookStack application.
CONSOLESave the output for use in the environment file.
Create an environment file.
CONSOLEAdd the following configuration.
INIReplace:
book.example.comwith your domain name.admin@example.comwith your email address.YOUR_GENERATED_APP_KEYwith the output from the earlier step.STRONG_DATABASE_PASSWORD_1andSTRONG_DATABASE_PASSWORD_2with two different secure passwords.
Save and close the file.
Deploy with Docker Compose
The deployment stack uses Traefik as the reverse proxy for TLS termination and deploys BookStack and MariaDB containers with mounted application and database volumes. This configuration is based on the official BookStack Docker Compose configuration.
Create the Docker Compose manifest file.
CONSOLEAdd the following configuration.
YAMLSave and close the file.
In the above manifest:
traefik: Serves as the reverse proxy and TLS termination point, using the official Traefik image. It exposes ports80and443for HTTP and HTTPS traffic, stores certificates in the./letsencryptdirectory, and automatically provisions them through Let's Encrypt.mariadb: Stores the BookStack database, including users, Shelves, Books, Chapters, Pages, and application data, using the LinuxServer.io MariaDB image. The database name, username, password, and root password come from the.envfile, and the data persists in the./bookstack_data/mariadb_datadirectory.bookstack: Runs the BookStack web application, using the LinuxServer.io BookStack image, and starts only after themariadbservice is available. The application URL, application key, database connection settings, and time zone come from the.envfile, the application configuration and uploaded files persist in the./bookstack_data/app_datadirectory, and the Traefik labels route HTTPS requests for your domain to this container.
All three services use
restart: unless-stopped, so they restart automatically if they fail or the server reboots.Start all services in detached mode.
CONSOLEVerify that the services are running.
CONSOLEThe output displays all the containers in the
Upstate.View the service logs to confirm all components started successfully.
CONSOLE
Note
For more information on managing a Docker Compose stack, see the How to Use Docker Compose article.
Access and Configure BookStack
BookStack provides a web interface for organizing and managing documentation using shelves, books, and pages. The dashboard provides a central place to manage your documentation and workspace.
Open your web browser and navigate to BookStack at
https://book.example.com, replacingbook.example.comwith your configured domain.On the screen, enter Email as
admin@admin.comand Password aspasswordto create the admin account.Click Log In to access the BookStack dashboard.
To change the login password, click the Admin menu in the top-right navigation and select My Account. Then, under the My Account menu on the left, select Access & Security. From here, you can change your password and configure Multi-Factor Authentication (MFA).
Build and Organize Your Documentation in BookStack
BookStack organizes documentation into a hierarchy that makes related content easy to manage and navigate. This workflow creates a Shelf, builds a Book and Chapter within it, and adds a Page containing sample documentation to validate the setup and demonstrate the platform's core features.
Create a Shelf
A Shelf serves as the top-level container for organizing related Books within a documentation collection.
Click Shelves in the top navigation menu.
Click Create one now or New Shelf under the Actions panel.
Enter a shelf name, such as
Team Documentation, and an optional description.Click Save Shelf.
Create a Book within the Shelf
A Book groups related Chapters and Pages together within a Shelf.
Open the
Team Documentationshelf you created in the previous step.Click Create New Book.
Enter a book name, such as
Employee Onboarding, and an optional description.Click Save Book.
Create a Chapter within the Book
Chapters organize related Pages into logical sections within a Book.
Open the
Employee Onboardingbook you created in the previous step.Click Add a chapter.
Enter a chapter name, such as
Getting Started, and an optional description.Click Save Chapter.
Create and Edit a Page within the Chapter
Pages are where you create, edit, and organize documentation using the built-in rich text editor.
Open the
Getting Startedchapter you created in the previous step.Click Create a new page.
Enter a page title such as
Development Environment Setup.Add a brief introduction, followed by a heading titled
Prerequisites.Add a bulleted list describing the required software and tools.
Click Save Page.
Reopen the
Development Environment Setuppage, click Edit under the Actions panel, and add another heading namedNext Steps, then click Save Page again.
Conclusion
You have deployed BookStack on a Linux server using Docker Compose and configured data storage and TLS termination. This creates a documentation platform for organizing knowledge into Shelves, Books, Chapters, and Pages. For more information and advanced configuration, see the official BookStack documentation.
Tags:Open Source


0 Comments
Be the first to comment and share your perspective with the community.