How to Deploy Chatwoot - Open-Source Customer Support Platform
Chatwoot is an open-source customer engagement platform that unifies conversations from live chat, email, social media, and messaging apps into a shared inbox. It provides real-time visitor tracking, canned responses, team collaboration features, and integrations with popular CRM and helpdesk tools.
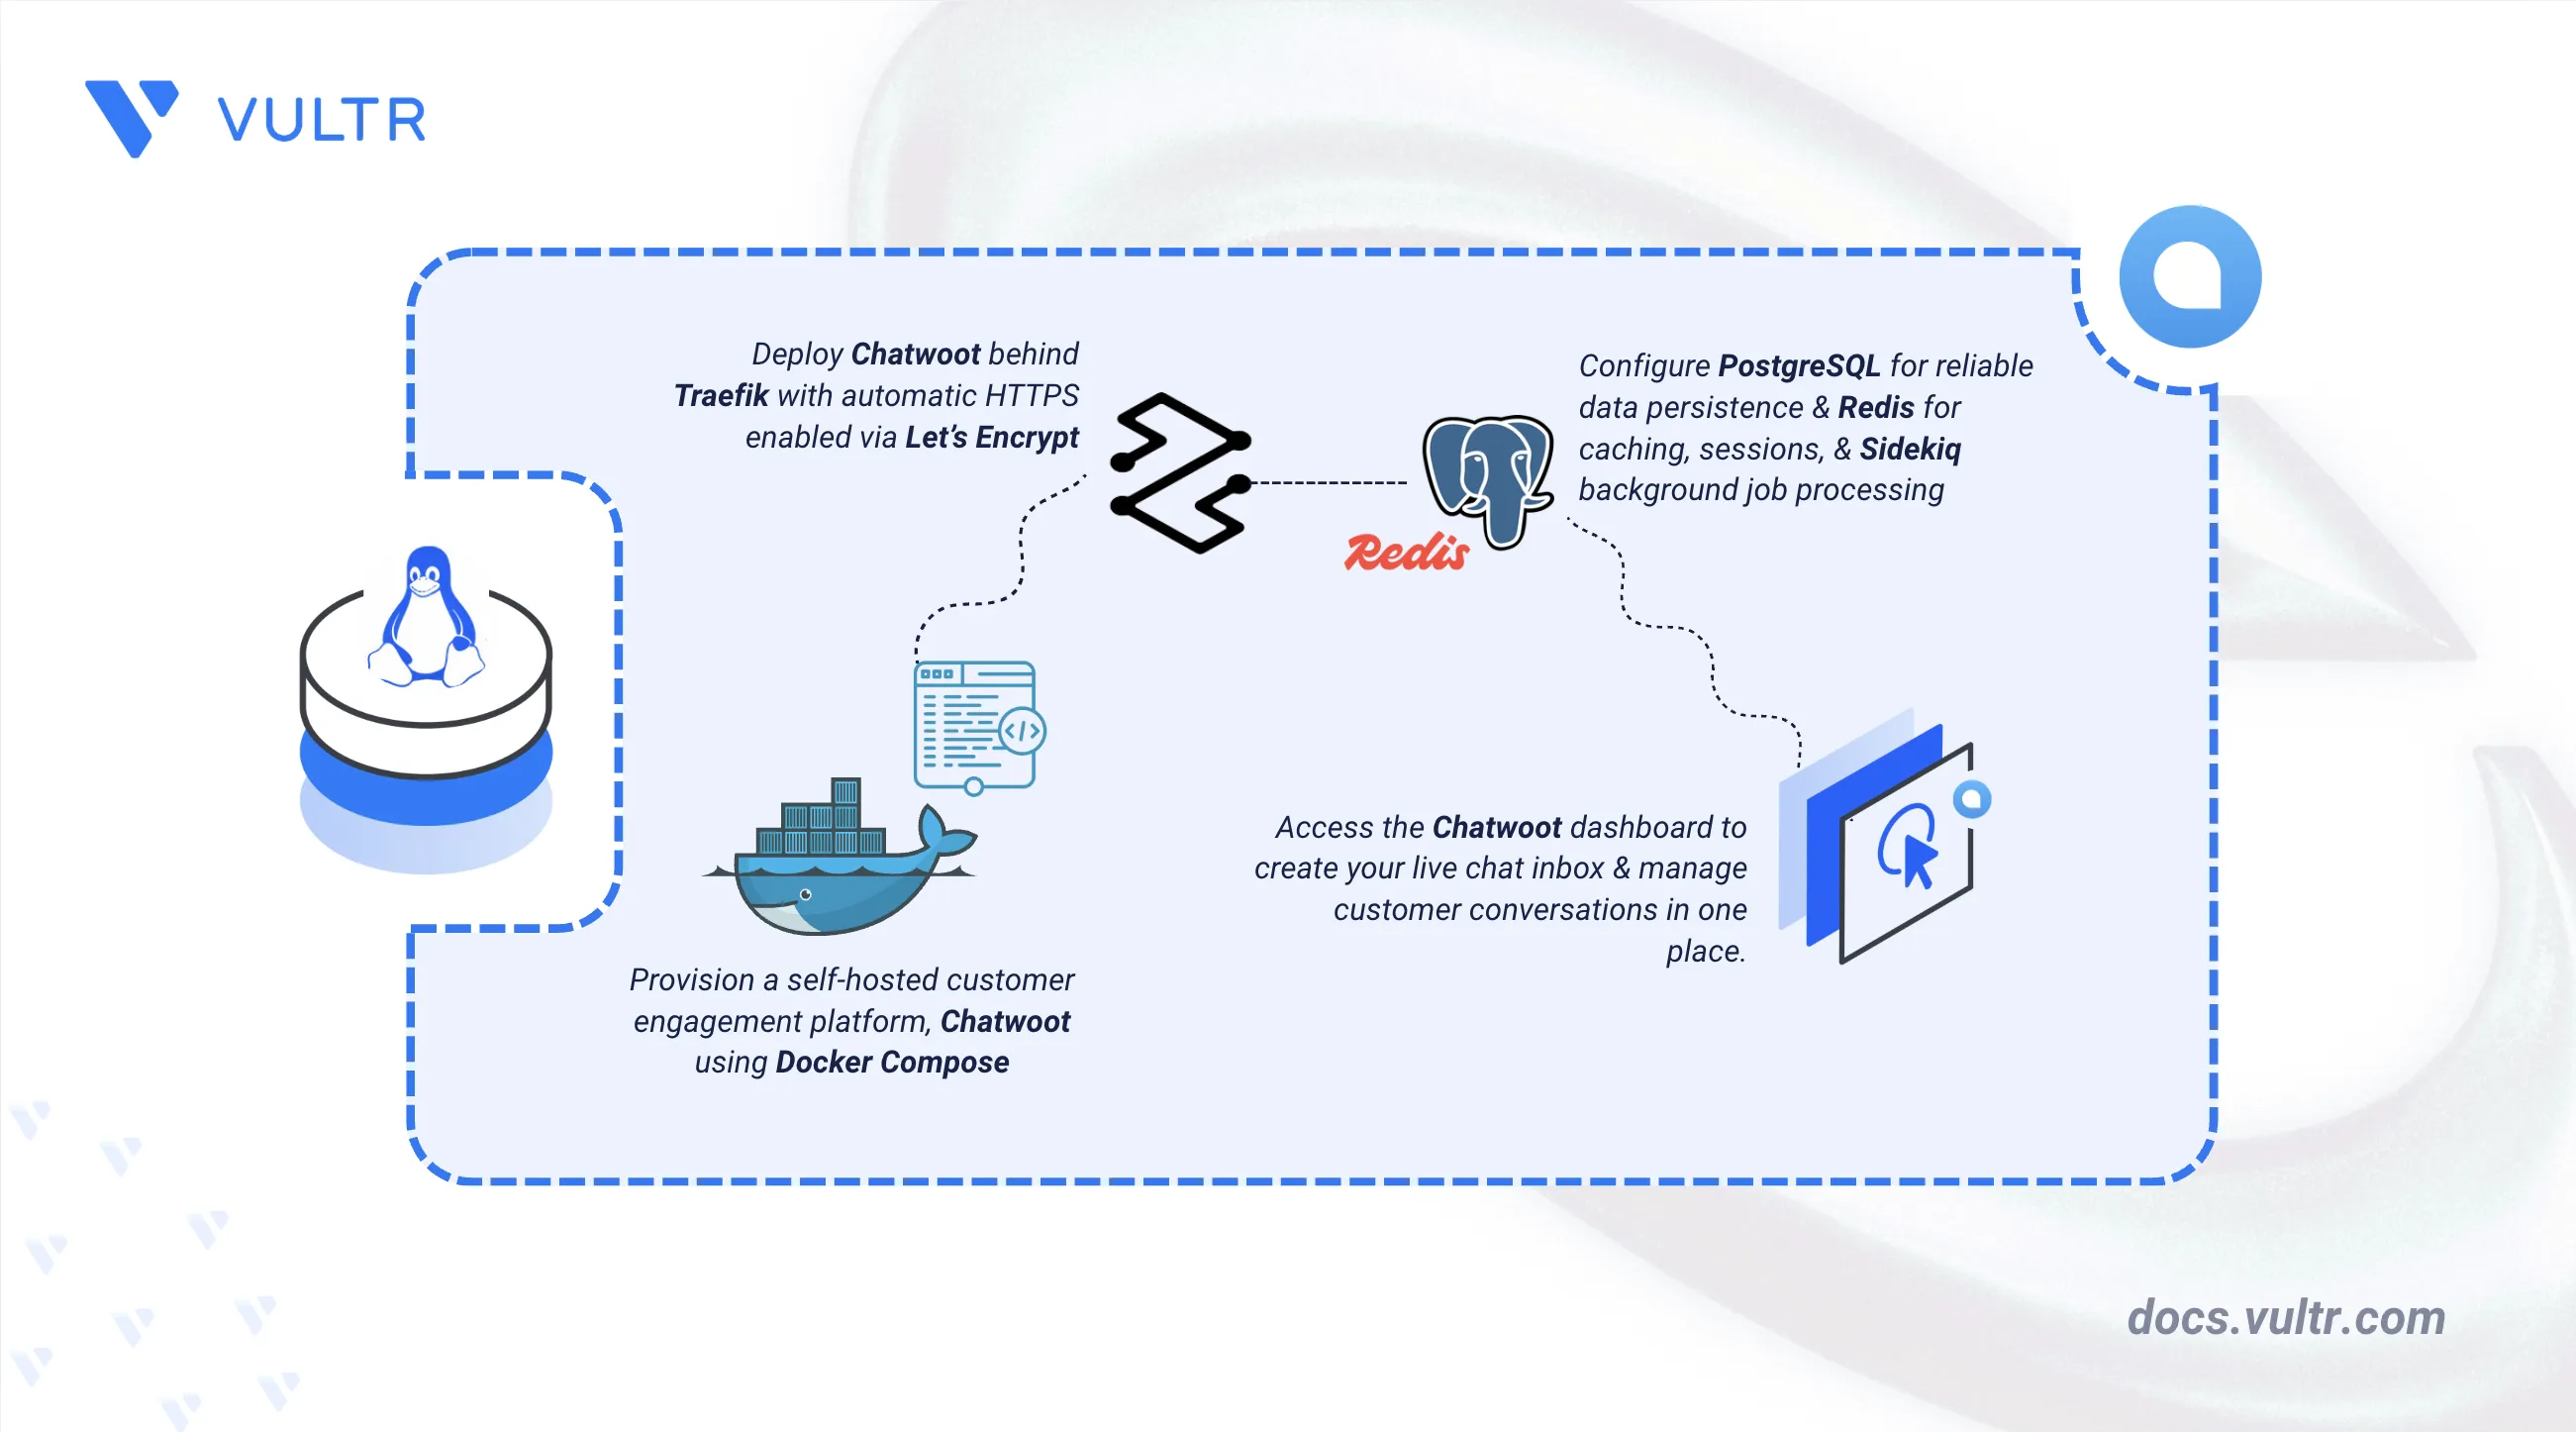
This article explains how to deploy Chatwoot on a Linux server using Docker Compose with PostgreSQL as the database, Redis for caching and background jobs, and Traefik for reverse proxy. It covers directory setup, environment configuration, database preparation, accessing the dashboard, and demonstrating live chat functionality.
Prerequisites
Before you begin, you need to:
- Have access to a Linux-based server (with at least 4 CPU cores and 8 GB of RAM) as a non-root user with sudo privileges.
- Install Docker and Docker Compose.
- Create a DNS A record pointing to your server's IP address (for example,
chatwoot.example.com). - Have SMTP credentials for email notifications. Chatwoot can run without SMTP, but features like email channel support, password resets, and conversation notifications require it.
Set Up the Directory Structure, Configuration, and Environment Variables
Chatwoot requires a project directory with persistent storage for the database, Redis data, and uploaded files. Environment variables control the application configuration, including database connections, secret keys, and SMTP settings.
Create the project directory with all the required subdirectories.
CONSOLEThis command creates the following directories:
postgres: Persists PostgreSQL database files.redis: Stores Redis data for caching and background job queues.storage: Stores file attachments and uploads.letsencrypt: Stores Traefik ACME certificates for HTTPS renewal.
Navigate to the project directory.
CONSOLEGenerate a secret key for the application.
CONSOLESave the output for use in the environment file.
Create the environment file.
CONSOLEAdd the following configuration. Replace
chatwoot.example.comwith your domain name,admin@example.comwith your email address,STRONG_POSTGRES_PASSWORDwith a secure database password, andGENERATED_SECRET_KEYwith the generated secret key from the previous step.INIIf SMTP functionality for Chatwoot is required, then uncomment the Optional section in the configuration file above and replace
smtp.example.comwith your SMTP server address,SMTP_USERNAMEwith your desired username,SMTP_PASSWORDwith a strong password,chatwoot.example.comwith your domain name andnoreply@chatwoot.example.comwith your desired sender email address.Save and close the file.
Deploy with Docker Compose
Docker Compose orchestrates Chatwoot with PostgreSQL as the database, Redis for caching and background jobs, Sidekiq for worker processes, and Traefik as the reverse proxy. This configuration is based on the official Chatwoot Docker deployment guide.
Create the Docker Compose file.
CONSOLEAdd the following configuration.
YAMLSave and close the file.
In the above manifest:
traefik: Serves as the reverse proxy and TLS termination point. It listens on ports 80 and 443, automatically redirects HTTP to HTTPS, and provisions Let's Encrypt certificates.postgres: Runs PostgreSQL 16 as the primary database for storing conversations, users, and configuration.redis: Runs Redis 7 for caching, session storage, and Sidekiq background job queues.rails: Runs the Chatwoot web application server on port 3000, handling HTTP requests and WebSocket connections for real-time updates.sidekiq: Runs background workers for processing emails, webhooks, and scheduled tasks.
Prepare the database by running migrations.
CONSOLEThis creates the database schema and runs all necessary migrations.
Start all services in detached mode.
CONSOLEVerify that all containers are running.
CONSOLEVerify that all containers show a
STATUSofUp.View the logs for the services.
CONSOLEConfirm that the
rails,sidekiq, andtraefikservices start without repeatedERRORor connection-refused entries.Note
For more information on managing a Docker Compose stack, see the How To Use Docker Compose article.
Access and Configure Chatwoot
After deployment, access the Chatwoot dashboard to create the administrator account and configure the workspace.
Visit your chatwoot domain name (such as
https://chatwoot.example.com) in a web browser.If the server returns a 502 Bad Gateway error, wait a few seconds and then refresh to access the setup page.
On the welcome screen, enter your Name, Company Name, Work Email, and Password.
Optionally, check or uncheck the newsletter subscription checkbox to get occasional updates from Chatwoot.
Click Finish Setup to create your account and access the dashboard.
Application Use Case
Chatwoot supports multiple communication channels, including website live chat, email, and social media integrations. This section demonstrates how to create a live chat inbox and test visitor conversations.
Create a Website Live Chat Inbox
An inbox connects a communication channel, such as a website widget, to your Chatwoot workspace.
On the welcome dashboard, select Click here to create an inbox under the All your conversations in one place section.
Select Website from the channel options to create a live-chat widget.
Enter a Website Name (for example,
My Website) and your Website Domain.Configure the widget appearance by selecting a Widget Color, entering a Welcome Heading, and adding a Welcome Tagline.
Optionally, select Enable channel greeting to auto-send messages when customers start a conversation.
Click Create inbox.
On the Add Agents screen, select agents from the dropdown or click Add agents to proceed without adding any.
On the confirmation screen that appears after creating the inbox, click Copy to copy the JavaScript snippet for embedding the chat widget on your website.
Click Take me there to open the inbox settings, or More settings to configure additional options.
Test the Live Chat Widget
Embedding the widget in a live preview confirms that visitor messages reach the Chatwoot dashboard in real time.
In the left sidebar, click Settings and then click Inboxes.
Click the settings icon next to the inbox you created.
Click Script at the top of the page to view the embed code.
Click Open in CodePen to open an interactive preview of the chat widget in a new browser tab.
Click the chat bubble in the corner of the CodePen page, enter a test message (for example,
Hello, I need help), and send it.Return to the Chatwoot dashboard and click Conversations in the left sidebar. The test message appears in the conversation list.
Click the new conversation in the Conversations list.
Type a response in the message input field at the bottom.
Click the Send button to send the reply. The conversation history is saved and accessible to any team member assigned to the inbox.
Conclusion
You have deployed Chatwoot on a Linux server using Docker Compose with PostgreSQL for data storage, Redis for caching and background jobs, and Traefik as a reverse proxy. Your self-hosted instance provides a unified customer engagement platform with live chat, team collaboration, and conversation management while keeping full control of your data. For advanced configuration, including email channels, social media integrations, and API access, refer to the official Chatwoot documentation.
Tags:Open Source


0 Comments
Be the first to comment and share your perspective with the community.