
How to Deploy ClearML as an Azure ML Alternative
Azure Machine Learning is Microsoft's cloud-native machine learning platform that provides experiment tracking, managed compute, pipelines, a model registry, and model serving as hosted services within the Azure ecosystem. It abstracts infrastructure management but ties teams to Azure-specific APIs, managed compute pricing, and Microsoft's tooling.
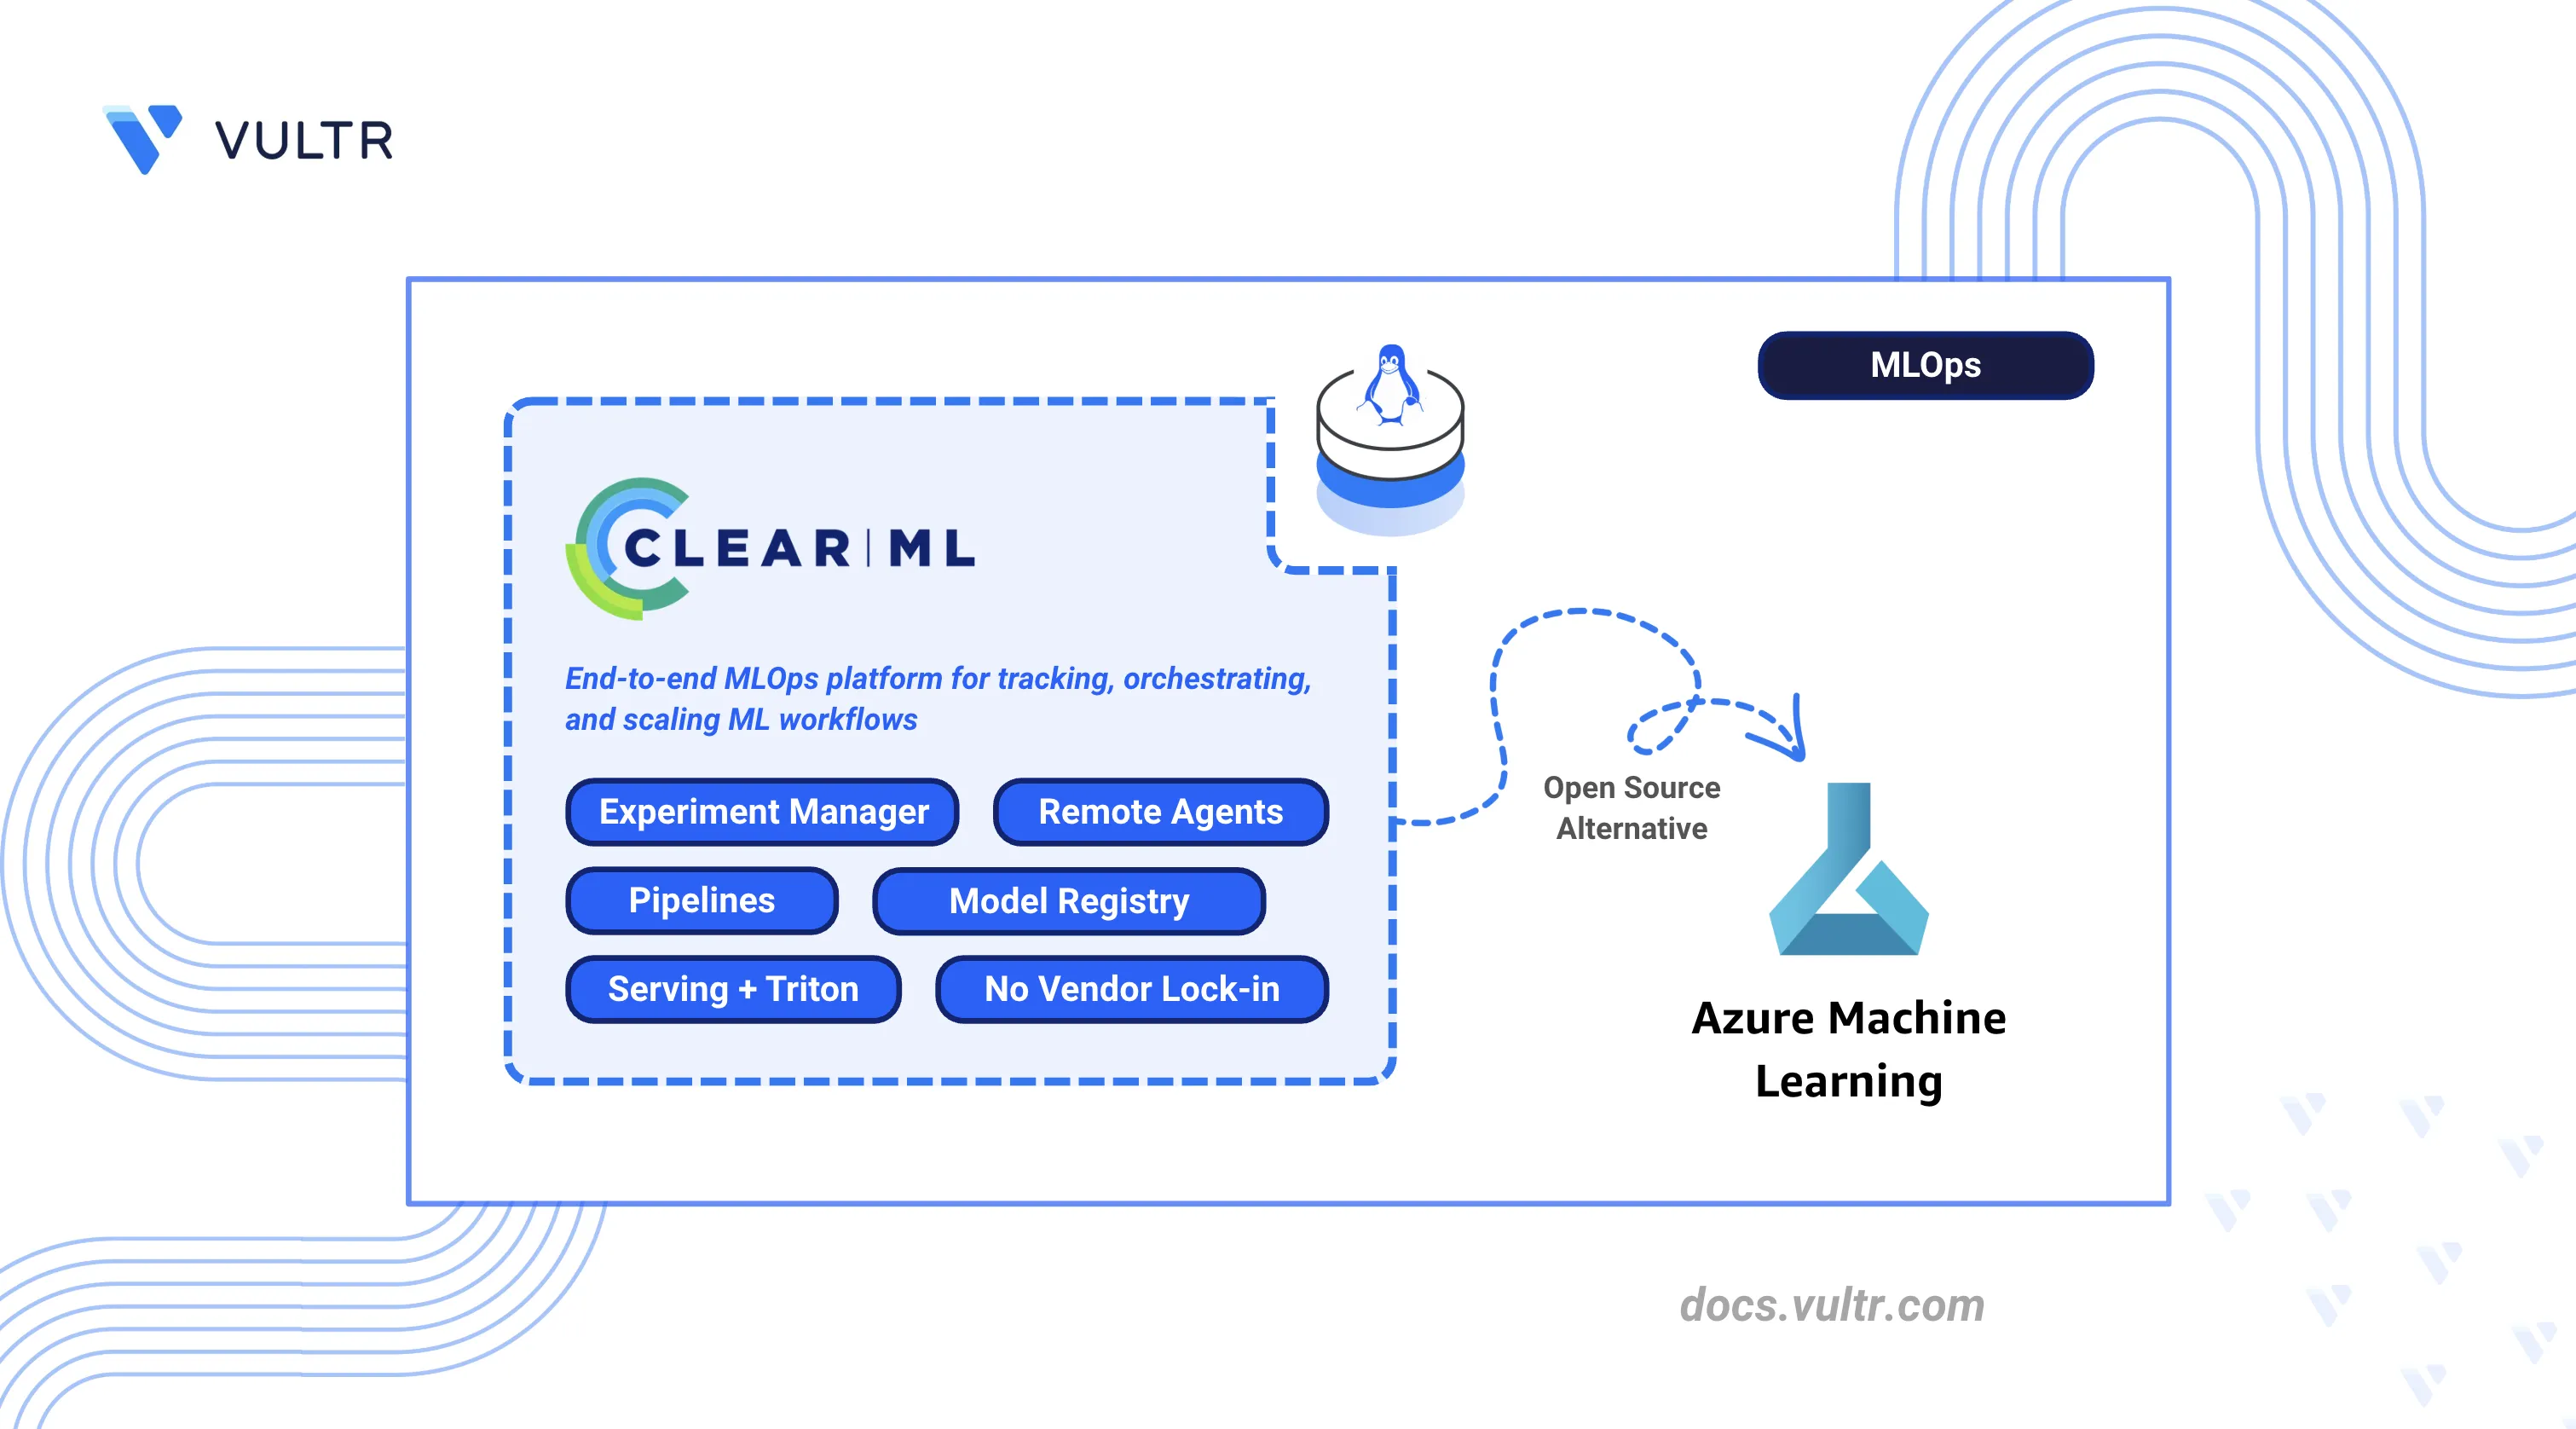
ClearML is an open-source MLOps platform that provides the same experiment tracking, pipeline orchestration, model registry, and serving capabilities as a self-hosted deployment on any infrastructure. It integrates with existing Python training code through automatic logging, removes dependency on Azure-managed compute, and stores all data within the team's own environment.
This article demonstrates how to deploy ClearML Server using Docker Compose with Traefik as a reverse proxy, configure agents for remote execution, and run machine learning workflows. It also explains how to track experiments, build pipelines, perform hyperparameter optimization, serve models with Triton, and migrate from Azure Machine Learning.
Understanding ClearML Architecture
ClearML maps directly to Azure Machine Learning components, providing equivalent functionality through a self-hosted, cloud-agnostic platform.
| Azure Machine Learning | ClearML Equivalent | Description |
|---|---|---|
| Azure ML Studio | ClearML Web UI | Browser-based interface for experiment monitoring, configuration, and visualization |
| Azure ML Experiments | ClearML Experiment Manager | Automatic tracking of hyperparameters, metrics, code versions, and artifacts |
| Azure ML Jobs | ClearML Agent + Tasks | Agent-based execution where any machine becomes a remote worker |
| Azure ML Pipelines | ClearML Pipelines | Python-native DAG orchestration with caching and dependency management |
| Azure ML Model Registry | ClearML Model Repository | Versioned model storage with lineage tracking |
| Azure ML Endpoints | ClearML Serving | Model deployment with Triton inference server |
| Azure Monitor | ClearML Scalars/Plots | Real-time metrics visualization and hardware monitoring |
The ClearML architecture consists of:
- ClearML Server: Central hub comprising the API server, web UI, and file server. Stores experiment metadata in MongoDB and Elasticsearch.
- ClearML Agent: Worker daemon that pulls tasks from queues and executes them. Runs on any machine with Python and optionally GPU support.
- ClearML SDK: Python library that instruments code for automatic logging and remote execution.
- ClearML Serving: Model deployment stack using Triton inference server for production endpoints.
Prerequisites
Before you begin, you need to:
- Have access to a Linux-based server as a non-root user with sudo privileges.
- Install Docker and Docker Compose.
- Configure DNS A records pointing to your server's IP address for the following subdomains:
app.clearml.example.com(Web UI),api.clearml.example.com(API server), andfiles.clearml.example.com(file server). - (Optional) Install the NVIDIA Container Toolkit for GPU workloads with ClearML agents.
Deploy ClearML Server with Docker Compose
ClearML Server operates as a multi-container application that uses Elasticsearch for indexing, MongoDB for metadata storage, and Redis for caching. Traefik manages HTTPS termination and routes incoming traffic to the appropriate service.
Increase the virtual memory limit for Elasticsearch.
console$ echo "vm.max_map_count=524288" | sudo tee /etc/sysctl.d/99-clearml.conf
Apply the sysctl configuration.
console$ sudo sysctl --system
Restart the Docker service to apply memory changes.
console$ sudo systemctl restart docker
Create the directory structure for persistent storage.
console$ sudo mkdir -p /opt/clearml/{data/elastic_7,data/mongo_4/db,data/mongo_4/configdb,data/redis,data/fileserver,logs,config}
data/elastic_7: Elasticsearch index storagedata/mongo_4: MongoDB database filesdata/redis: Redis cache persistencedata/fileserver: Uploaded artifacts and modelslogs: Service log filesconfig: Configuration files
Set ownership to match the container user IDs.
console$ sudo chown -R 1000:1000 /opt/clearml
Create the project directory.
console$ mkdir -p ~/clearml
Navigate to the project directory.
console$ cd ~/clearml
Download the official ClearML Docker Compose file.
console$ curl -fsSL https://raw.githubusercontent.com/clearml/clearml-server/master/docker/docker-compose.yml -o docker-compose.yml
Open the Docker Compose file to modify port mappings and network configuration.
console$ nano docker-compose.yml
Locate each
ports:block under theapiserver,webserver, andfileserverservices and comment them out by adding#at the beginning of each line. Traefik handles external routing, so direct port exposure is not needed.Locate the
networksblock at the bottom of the file and update it to use named bridge networks:yamlnetworks: backend: name: clearml_backend driver: bridge frontend: name: clearml_frontend driver: bridge
Save and close the file.
Create the environment file for ClearML service URLs. Replace
clearml.example.comwith your domain.console$ nano .env
Add the following configuration:
iniCLEARML_WEB_HOST=https://app.clearml.example.com CLEARML_API_HOST=https://api.clearml.example.com CLEARML_FILES_HOST=https://files.clearml.example.com
Save and close the file.
Start the ClearML services.
console$ docker compose up -d
Verify all containers are running.
console$ docker compose ps
The output displays containers for
clearml-webserver,clearml-apiserver,clearml-fileserver,clearml-mongo,clearml-elastic, andclearml-redis.Check the logs for startup errors.
console$ docker compose logs --tail 50
For more information on managing Docker Compose stacks, see the How To Use Docker Compose article.
Configure Traefik Reverse Proxy
Traefik routes HTTPS traffic to ClearML services through subdomain-based routing, assigning each component its own subdomain with automatic certificate provisioning via Let’s Encrypt.
Create the Traefik directory.
console$ mkdir -p ~/clearml/traefik
Navigate to the Traefik directory.
console$ cd ~/clearml/traefik
Create the Let's Encrypt storage directory.
console$ mkdir -p letsencrypt
Create the certificate storage file.
console$ touch letsencrypt/acme.json
Restrict the file permissions so only the owner can read and write it. Let's Encrypt requires this permission level before it writes any certificate data.
console$ chmod 600 letsencrypt/acme.json
Create the Traefik environment file. Replace
admin@example.comwith your email address for Let's Encrypt notifications.console$ nano .env
Add the following configuration:
iniLETSENCRYPT_EMAIL=admin@example.com
Save and close the file.
Create the Traefik Docker Compose file.
console$ nano docker-compose.yml
Add the following configuration:
yamlservices: traefik: image: traefik:v3.6 container_name: traefik command: - "--log.level=INFO" - "--providers.file.filename=/etc/traefik/dynamic_conf.yml" - "--entryPoints.web.address=:80" - "--entryPoints.websecure.address=:443" - "--entryPoints.web.http.redirections.entrypoint.to=websecure" - "--certificatesResolvers.le.acme.httpChallenge.entryPoint=web" - "--certificatesResolvers.le.acme.email=${LETSENCRYPT_EMAIL}" - "--certificatesResolvers.le.acme.storage=/letsencrypt/acme.json" ports: - "80:80" - "443:443" volumes: - "./letsencrypt:/letsencrypt" - "./dynamic_conf.yml:/etc/traefik/dynamic_conf.yml:ro" networks: - clearml-frontend restart: unless-stopped networks: clearml-frontend: name: clearml_frontend external: true
Save and close the file.
Create the Traefik dynamic configuration file. Replace
clearml.example.comwith your domain.console$ nano dynamic_conf.yml
Add the following routing rules:
yamlhttp: routers: clearml-web: rule: "Host(`app.clearml.example.com`)" entryPoints: - websecure service: clearml-web tls: certResolver: le clearml-api: rule: "Host(`api.clearml.example.com`)" entryPoints: - websecure service: clearml-api tls: certResolver: le clearml-files: rule: "Host(`files.clearml.example.com`)" entryPoints: - websecure service: clearml-files tls: certResolver: le services: clearml-web: loadBalancer: servers: - url: "http://clearml-webserver:80" clearml-api: loadBalancer: servers: - url: "http://clearml-apiserver:8008" clearml-files: loadBalancer: servers: - url: "http://clearml-fileserver:8081"
Save and close the file.
Start Traefik.
console$ docker compose up -d
Verify Traefik obtained the SSL certificates.
console$ docker logs traefik 2>&1 | grep -i certificate
The output indicates certificate generation for each subdomain.
Configure ClearML Server
The ClearML Web UI provides initial setup and ongoing configuration management through a browser-based interface.
Open a web browser and navigate to the ClearML Web UI at
https://app.clearml.example.com.Create the administrator account on first access:
- Enter a username (for example,
admin). - Enter your company name.
- Click Create Account.
- Enter a username (for example,
Navigate to Settings in the left sidebar.
Click Workspace to view the workspace configuration.
Click Create new credentials to generate API credentials.
Copy and save the credentials block. This contains the API access key and secret key required for agent and SDK configuration.
The credentials block follows this format:
iniapi { web_server: https://app.clearml.example.com api_server: https://api.clearml.example.com files_server: https://files.clearml.example.com credentials { "access_key" = "YOUR_ACCESS_KEY" "secret_key" = "YOUR_SECRET_KEY" } }
Deploy ClearML Agents for Remote Execution
ClearML Agent transforms any machine into a remote worker that retrieves tasks from queues and executes them with consistent, reproducible environments. It automatically handles virtual environments, GPU allocation, and code versioning.
Create the agent directory.
console$ mkdir -p ~/clearml-agent
Navigate to the agent directory.
console$ cd ~/clearml-agent
Install the Python virtual environment package.
console$ sudo apt install python3.12-venv -y
Create and activate a virtual environment.
console$ python3 -m venv clearml_venv $ source clearml_venv/bin/activate
Install the ClearML Agent package.
console$ pip install clearml-agent
Initialize the agent configuration.
console$ clearml-agent init
The command starts an interactive setup. When prompted:
- Paste the credentials block copied from the ClearML Web UI.
- Press Enter to accept the default output URI.
- Press Enter to skip Git username (uses SSH key authentication).
- Press Enter to skip additional artifact repository.
The agent saves the configuration to
~/clearml.conf.Start the agent in daemon mode on the
defaultqueue.console$ clearml-agent daemon --queue default --detached
For GPU workloads, specify GPU indices:
console$ clearml-agent daemon --gpus 0,1 --queue default --detached
Verify the agent registered in the ClearML Web UI by navigating to Workers & Queues and selecting the Workers tab.
Install ClearML SDK
The ClearML SDK instruments Python scripts for automatic experiment tracking, logging hyperparameters, metrics, code versions, and model artifacts without code changes.
Ensure the virtual environment is active.
console$ source ~/clearml-agent/clearml_venv/bin/activate
Install the ClearML SDK and common data science dependencies.
console$ pip install clearml scikit-learn joblib pandas
Configure the SDK connection to your ClearML Server.
console$ clearml-initPaste the credentials block from the ClearML Web UI when prompted. The configuration saves to
~/clearml.conf.
Create First ClearML Experiment
ClearML tracks every script execution as a task, automatically logging hyperparameters, metrics, code changes, and artifacts. The following experiment trains a Random Forest classifier to verify the server connection and demonstrate the tracking workflow.
Create a directory for experiments.
console$ mkdir -p ~/clearml/experiments
Navigate to the experiments directory.
console$ cd ~/clearml/experiments
Create the experiment script.
console$ nano 01_first_experiment.py
Add the following code:
pythonimport joblib from clearml import Task from sklearn.datasets import load_iris from sklearn.model_selection import train_test_split from sklearn.ensemble import RandomForestClassifier from sklearn.metrics import accuracy_score, classification_report # Initialize the ClearML task. This registers the run in the project and # begins capturing code, environment, and hyperparameter information. task = Task.init( project_name='ClearML Tutorial', task_name='01_First_Experiment', tags=['tutorial', 'random-forest'] ) # Define hyperparameters and connect them to the task so they appear in # the Configuration tab and can be overridden for remote execution. hyperparams = { 'n_estimators': 100, 'max_depth': 5, 'random_state': 42 } task.connect(hyperparams) print(f"Training with hyperparameters: {hyperparams}") # Load and split the Iris dataset iris = load_iris() X_train, X_test, y_train, y_test = train_test_split( iris.data, iris.target, test_size=0.2, random_state=42 ) # Train the model using the connected hyperparameters clf = RandomForestClassifier( n_estimators=hyperparams['n_estimators'], max_depth=hyperparams['max_depth'], random_state=hyperparams['random_state'] ) clf.fit(X_train, y_train) # Evaluate and report metrics to the ClearML Scalars tab y_pred = clf.predict(X_test) accuracy = accuracy_score(y_test, y_pred) report = classification_report(y_test, y_pred, target_names=iris.target_names, output_dict=True) print(f"Model Accuracy: {accuracy:.4f}") logger = task.get_logger() logger.report_scalar(title='Performance', series='Accuracy', value=accuracy, iteration=1) for label, metrics in report.items(): if isinstance(metrics, dict): for metric_name, value in metrics.items(): logger.report_scalar(title=f'Class: {label}', series=metric_name, value=value, iteration=1) # Save the model locally and upload it as a tracked artifact model_path = 'iris_rf_model.pkl' joblib.dump(clf, model_path) task.upload_artifact(name='trained_model', artifact_object=model_path) print(f"Model saved and uploaded: {model_path}") task.close() print("Experiment completed.")
Save and close the file.
Run the experiment.
console$ python3 01_first_experiment.py
The output displays a task URL. Open the URL to view the experiment in the ClearML Web UI.
Open the ClearML Web UI and navigate to the ClearML Tutorial project to view the experiment details.
The web interface organizes experiment data into tabs:
- Execution: Source code, Git commit, installed packages, and uncommitted changes.
- Configuration: Hyperparameters, command-line arguments, and environment variables.
- Artifacts: Uploaded model files and datasets with metadata.
- Console: Real-time stdout and stderr logs.
- Scalars: Interactive charts for numerical metrics over iterations.
- Plots: Visualizations like confusion matrices and ROC curves.
Build ClearML Pipeline
ClearML Pipelines chain tasks into a Directed Acyclic Graph (DAG) where step outputs feed into downstream inputs. The pipeline controller manages execution order, caching, and data flow between steps.
Navigate to the experiments directory.
console$ cd ~/clearml/experiments
Create the pipeline script.
console$ nano 02_pipeline.py
Add the following code:
pythonfrom clearml import PipelineController # Step 1: Download and load the Iris dataset into a pandas DataFrame. # Imports inside the function body are required when running steps remotely # via an agent, as each step runs in its own isolated environment. def step_one(pickle_data_url): import pickle import pandas as pd from clearml import StorageManager pickle_data_url = pickle_data_url or 'https://github.com/allegroai/events/raw/master/odsc20-east/generic/iris_dataset.pkl' local_iris_pkl = StorageManager.get_local_copy(remote_url=pickle_data_url) with open(local_iris_pkl, 'rb') as f: iris = pickle.load(f) data_frame = pd.DataFrame(iris['data'], columns=iris['feature_names']) data_frame['target'] = iris['target'] return data_frame # Step 2: Split the DataFrame into training and testing sets def step_two(data_frame, test_size=0.2, random_state=42): from sklearn.model_selection import train_test_split y = data_frame['target'] X = data_frame.drop(columns=['target']) X_train, X_test, y_train, y_test = train_test_split( X, y, test_size=test_size, random_state=random_state) return X_train, X_test, y_train, y_test # Step 3: Train a Logistic Regression model on the processed data def step_three(data): from sklearn.linear_model import LogisticRegression X_train, X_test, y_train, y_test = data model = LogisticRegression(solver='lbfgs', max_iter=1000) model.fit(X_train, y_train) return model if __name__ == '__main__': # Initialize the pipeline controller with a version for reproducibility pipe = PipelineController( project='ClearML Tutorial', name='02_Pipeline_Experiment', version='1.0', add_pipeline_tags=True, ) # Define a pipeline-level parameter that steps can reference pipe.add_parameter( name='url', description='URL to the dataset', default='https://github.com/allegroai/events/raw/master/odsc20-east/generic/iris_dataset.pkl' ) # Wire each step into the pipeline. ClearML infers execution order # from input/output dependencies declared in function_kwargs. pipe.add_function_step( name='step_one', function=step_one, function_kwargs=dict(pickle_data_url='${pipeline.url}'), function_return=['data_frame'], cache_executed_step=True, # Reuse result if inputs are unchanged ) pipe.add_function_step( name='step_two', function=step_two, function_kwargs=dict(data_frame='${step_one.data_frame}'), function_return=['processed_data'], cache_executed_step=True, ) pipe.add_function_step( name='step_three', function=step_three, function_kwargs=dict(data='${step_two.processed_data}'), function_return=['model'], cache_executed_step=True, ) pipe.start_locally(run_pipeline_steps_locally=True) print('Pipeline completed.')
Save and close the file.
Run the pipeline.
console$ python3 02_pipeline.py
View the pipeline execution graph in the ClearML Web UI under the ClearML Tutorial project.
Set Up Hyperparameter Optimization
Hyperparameter Optimization (HPO) automates the search for optimal model parameters by spawning experiment variations. ClearML clones a baseline experiment, modifies parameters according to defined search ranges, and tracks each trial independently.
Navigate to the experiments directory.
console$ cd ~/clearml/experiments
Create the HPO script.
console$ nano 03_hpo.py
Add the following code:
pythonfrom clearml import Task from clearml.automation import ( HyperParameterOptimizer, DiscreteParameterRange, UniformIntegerParameterRange, RandomSearch ) print("Searching for base experiment '01_First_Experiment'...") tasks = Task.get_tasks( project_name='ClearML Tutorial', task_filter={'status': ['completed', 'published']}, task_name='01_First_Experiment' ) if not tasks: raise ValueError("Base experiment not found. Run 01_first_experiment.py first.") base_task_id = tasks[-1].id print(f"Found base task ID: {base_task_id}") Task.init( project_name='ClearML Tutorial', task_name='03_Hyperparameter_Optimization', task_type=Task.TaskTypes.optimizer ) optimizer = HyperParameterOptimizer( base_task_id=base_task_id, hyper_parameters=[ UniformIntegerParameterRange('General/n_estimators', min_value=10, max_value=200, step_size=20), DiscreteParameterRange('General/max_depth', values=[3, 5, 7, 10]) ], objective_metric_title='Performance', objective_metric_series='Accuracy', objective_metric_sign='max', optimizer_class=RandomSearch, max_number_of_concurrent_tasks=2, total_max_jobs=6 ) print("Starting optimization...") optimizer.start() optimizer.wait() print("Optimization completed.") top_exp = optimizer.get_top_experiments(1) if top_exp: print(f"Best Experiment ID: {top_exp[0].id}") params = top_exp[0].get_parameters_as_dict().get('General', {}) print(f"Best Hyperparameters: {params}")
Save and close the file.
Run the optimization.
console$ python3 03_hpo.py
Monitor the optimization progress in the ClearML Web UI under ClearML Tutorial.
Deploy Models with ClearML Serving
ClearML Serving provides model deployment with Triton inference server support. It enables production endpoints with versioning, monitoring, and automatic model updates.
Navigate to the project directory.
console$ cd ~/clearml
Clone the ClearML Serving repository.
console$ git clone https://github.com/clearml/clearml-serving.git
Install the ClearML Serving package.
console$ pip install clearml-serving
Create a serving service.
console$ clearml-serving create --name "serving-example"
Copy the Serving Service ID from the output for use in subsequent steps.
Open the serving environment file.
console$ nano clearml-serving/docker/.env
Update the configuration with your ClearML server details. Replace the placeholders with your actual values.
iniCLEARML_WEB_HOST="https://app.clearml.example.com" CLEARML_API_HOST="https://api.clearml.example.com" CLEARML_FILES_HOST="https://files.clearml.example.com" CLEARML_API_ACCESS_KEY="YOUR_ACCESS_KEY" CLEARML_API_SECRET_KEY="YOUR_SECRET_KEY" CLEARML_SERVING_TASK_ID="SERVING_SERVICE_ID"
Replace:
clearml.example.comwith your domain.YOUR_ACCESS_KEYwith your ClearML API access key.YOUR_SECRET_KEYwith your ClearML API secret key.SERVING_SERVICE_IDwith the ID from the previous step.
Save and close the file.
Start the serving stack.
console$ cd ~/clearml/clearml-serving/docker $ docker compose --env-file .env -f docker-compose-triton.yml up -d
Install the PyTorch example dependencies.
console$ pip install -r ~/clearml/clearml-serving/examples/pytorch/requirements.txt
Train and register a sample model.
console$ python3 ~/clearml/clearml-serving/examples/pytorch/train_pytorch_mnist.py
Navigate to the task's Artifacts tab in the ClearML Web UI and copy the Model ID.
Add the model endpoint to the serving service. Replace
SERVING_SERVICE_IDandMODEL_IDwith your actual values.console$ clearml-serving --id SERVING_SERVICE_ID model add \ --engine triton \ --endpoint "test_model_pytorch" \ --preprocess "clearml-serving/examples/pytorch/preprocess.py" \ --model-id MODEL_ID \ --input-size 1 28 28 \ --input-name "INPUT__0" \ --input-type float32 \ --output-size 10 \ --output-name "OUTPUT__0" \ --output-type float32
Restart the serving containers to load the new endpoint.
console$ docker compose --env-file .env -f docker-compose-triton.yml restart
Test the inference endpoint. Replace
SERVER-IPwith your server's IP address.console$ curl -X POST "http://SERVER-IP:8080/serve/test_model_pytorch" \ -H "Content-Type: application/json" \ -d '{"url": "https://raw.githubusercontent.com/clearml/clearml-serving/main/examples/pytorch/5.jpg"}'
Verify the Deployment
Validate the complete ClearML deployment by testing each component's functionality.
Navigate to
https://app.clearml.example.comand verify you can log in and view projects.Verify the API server responds.
console$ curl -s https://api.clearml.example.com/debug.ping | head -c 100
Confirm the file server is accessible.
console$ curl -s -o /dev/null -w "%{http_code}" https://files.clearml.example.com/
Navigate to Workers & Queues in the Web UI and confirm the agent appears under the Workers tab.
Confirm the first experiment appears in the ClearML Tutorial project with metrics, artifacts, and execution details.
Clone an experiment in the Web UI, modify a hyperparameter, and enqueue it. Verify the agent picks up and executes the task.
Migrate from Azure Machine Learning to ClearML
Migrating from Azure Machine Learning to ClearML shifts workflows from a managed cloud service to a self-hosted, infrastructure-agnostic platform.
Experiment Tracking Migration
Azure ML uses the azure.ai.ml SDK with a job-based execution model, organizing experiments, jobs, and schedules under a unified workspace.
- Migration: Replace Azure ML job definitions with
clearml.Task. - Benefit: ClearML automatically captures Git state, uncommitted changes, and environment dependencies without explicit logging calls.
Training Job Migration
Azure ML uses command jobs via azure.ai.ml SDK to run training on managed compute clusters.
- Migration: Replace Azure ML job submission with
clearml.Task. - Workflow: Run scripts locally to verify them, then use
task.execute_remotely()or enqueue through the Web UI. Agents running on any infrastructure pick up and execute tasks.
Pipeline Migration
Azure ML Pipelines use Python-based DAG definitions via the azure.ai.ml SDK.
- Migration: Convert to ClearML
PipelineControlleror the@pipelinedecorator. - Benefit: ClearML pipelines run via agent-based execution and integrate experiment tracking automatically, with simpler orchestration and less platform coupling.
Hyperparameter Tuning Migration
Azure ML uses HyperDrive for automated hyperparameter optimization, integrated with command jobs.
- Migration: Replace Azure ML HyperDrive with ClearML
HyperParameterOptimizer. - Benefit: ClearML HPO runs on your own agents, clones experiments automatically, and reports optimization results in the Experiment Manager with full trial history.
Model Registry Migration
Azure ML uses the Model Registry via azure.ai.ml SDK to version, store, and manage models.
- Migration: Replace Azure ML model registration with ClearML
OutputModelfor automatic model tracking. - Benefit: ClearML links models to source experiments with full lineage including code, hyperparameters, and training metrics.
Endpoint Migration
Azure ML provides Real-time Endpoints for low-latency HTTPS inference and Batch Endpoints for asynchronous, large-scale inference jobs via the azure.ai.ml SDK.
- Migration: Deploy with ClearML Serving and Triton inference server.
- Flexibility: Run on any infrastructure with support for canary deployments and A/B testing.
Data Storage Considerations
Azure ML integrates with Azure Blob Storage or Azure Data Lake Storage for data access and uses Datastores and Data Assets via the azure.ai.ml SDK to manage datasets.
- Azure Blob Storage: ClearML works with
Azure Storagepaths directly. Continue using existing containers or migrate to any object storage. - Dataset Versioning: ClearML Data provides explicit dataset versioning with automatic caching on agents.
Things to Consider During Migration
- SDK Differences: Replace
azure.ai.mlSDK andazureml-*imports with theclearmlpackage. ClearML offers a simpler, more unified API with less boilerplate. - Authentication: Azure ML uses
Entra ID(Managed Identities / Service Principals). ClearML uses API keys configured viaclearml.confor environment variables (CLEARML_API_ACCESS_KEY,CLEARML_API_SECRET_KEY). - Container Adaptation: Azure Machine Learning uses predefined environment variables and mounted paths (such as
/mnt/azureml/and injectedAZUREML_*variables). ClearML agents work with standard Python environments and any Docker container without requiring Azure-specific directory structures or environment conventions. - Cost Model: Azure ML charges for managed services and compute. ClearML is open-source; you pay only for underlying compute resources.
- Monitoring: Replace Azure monitoring (via
Azure Monitor and Application Insights) with ClearML’s built-in Scalars, Plots, and hardware monitoring dashboards. - Compute Targets to Queues: Azure ML command jobs specify compute targets (
AmlCompute,ComputeInstance) at submission. ClearML uses agent queues, requiring you to deploy agents on target hardware and submit tasks to the matching queue instead of using a compute resource name. - Environment Management: Azure ML manages Python environments through registered Environments (Docker + conda/pip specs). ClearML agents auto-capture
requirements.txtfrom the task environment; Docker base images can be set per task under the execution settings. - Datastores: Azure ML uses registered Datastores as named references to storage accounts. ClearML has no Datastore abstraction. Use storage paths directly or configure ClearML Storage Manager for seamless access.
- Workspace to Project: Azure ML organizes resources under a Workspace. ClearML uses Projects, with workspace-level access controls migrated to ClearML user and project permissions.
- MLflow Compatibility: If existing code uses MLflow tracking, ClearML provides an MLflow backend compatibility layer. The
mlflow.log_*calls route to ClearML without requiring a full SDK rewrite.
Conclusion
You have successfully deployed ClearML Server with Traefik reverse proxy, configured agents for remote execution, and executed machine learning workflows including experiment tracking, pipelines, hyperparameter optimization, and model serving. For more information, visit the official ClearML documentation.