How to Deploy CockroachDB on Kubernetes

Introduction
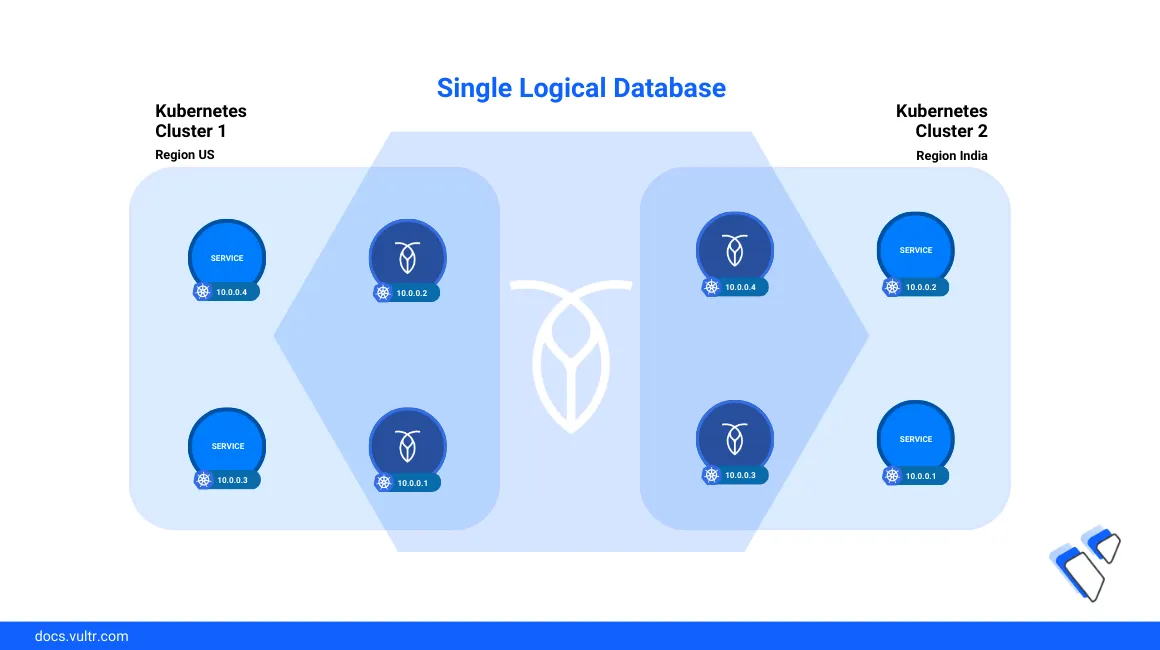
CockroachDB is a distributed SQL database system designed to support data-intensive applications in production environments by replicating data to multiple nodes within a cluster. In case a single cluster node fails, CockroachDB elects new nodes with high availability and enhanced scaling to balance the database load. In addition, the Cockroach DB automated repair feature detects data inconsistencies and automatically corrects any corrupted databases to keep the cluster applications running.
This guide explains how to deploy CockroachDB on a Vultr Kubernetes Engine (VKE) cluster to enable scalability, fault tolerance, and management using the cluster SQL client or graphical interface.
Prerequisites
Before you begin:
- Deploy a Vultr Kubernetes Engine (VKE) cluster with at least
3nodes,8 GBRAM and4 VcPUsin a supported Vultr Block Storage location. - Deploy a Vultr Ubuntu instance to use as a management workstation.
- Access the workstation as a non-root user with sudo privileges.
- Install and configure Kubectl to access the VKE cluster.
Install the CockroachDB Operator
A CockroachDB Kubernetes operator manages the deployment process with the automation of tasks such as scaling and maintenance of Cockroach DB instances on each node within the cluster. Follow the steps below to install the CockroachDB operator and necessary dependencies in a new cockroach-operator-system namespace to run a CockroachDB cluster.
Install the latest Cockroach DB Operator Custom Resource Definitions (CRDs).
console$ kubectl apply -f https://raw.githubusercontent.com/cockroachdb/cockroach-operator/v2.12.0/install/crds.yaml
The above command installs the CockroachDB Operator CRDs version
v2.12.0. Visit the operator tags page to verify the latest version.Install the CockroachDB Operator.
console$ kubectl apply -f https://raw.githubusercontent.com/cockroachdb/cockroach-operator/v2.12.0/install/operator.yaml
Output:
namespace/cockroach-operator-system created
serviceaccount/cockroach-operator-sa created
clusterrole.rbac.authorization.k8s.io/cockroach-operator-role created
clusterrolebinding.rbac.authorization.k8s.io/cockroach-operator-rolebinding created
service/cockroach-operator-webhook-service created
deployment.apps/cockroach-operator-manager created
mutatingwebhookconfiguration.admissionregistration.k8s.io/cockroach-operator-mutating-webhook-configuration created
validatingwebhookconfiguration.admissionregistration.k8s.io/cockroach-operator-validating-webhook-configuration created
Wait for at least
2minutes for the deployment process to complete. Then, view all pods in the CockroachDB Operator namespacecockroach-operator-system.console$ kubectl get pods -n cockroach-operator-system
Verify that all pods are ready and running similar to the output below:
NAME                                          READY   STATUS    RESTARTS   AGE
cockroach-operator-manager-6fd5c68d58-drqf6   1/1     Running   0          5m11s
Create a CockroachDB Cluster
To create a CockroachDB cluster, specify the necessary storage volumes, CPU count, and memory limits to use with the database nodes. In a production environment, define a PVC resource to use Vultr Block Storage volumes with at least 60 GB storage, 2 vCPUs, and 8 GB memory. Follow the steps below to deploy a CockroachDB cluster with the minimum production values.
Create a new directory
cockroadbdb-clusterto store the cluster manifest files.console$ mkdir cockroachdb-cluster
Change to the directory.
console$ cd cockroachdb-cluster
Create a new CoackroachDB cluster resource file
cluster.yamlto define the operator functions.console$ nano cluster.yaml
Add the following contents to the file.
yamlapiVersion: crdb.cockroachlabs.com/v1alpha1 kind: CrdbCluster metadata: name: cockroachdb spec: dataStore: pvc: spec: accessModes: - ReadWriteOnce resources: requests: storage: "60Gi" volumeMode: Filesystem resources: requests: cpu: 2 memory: 4Gi limits: cpu: 2 memory: 8Gi tlsEnabled: true image: name: cockroachdb/cockroach:v23.1.11 nodes: 3 additionalLabels: crdb: vultr-cockroachdb
Save and close the file.
The above cluster configuration creates a CockroachDB cluster with
60 GBstorage per Vultr Block Storage volume, and a limit of2 vCPUs,8 GiBmemory for each database node within the cluster.Apply the configuration to create the CockroachDB cluster.
console$ kubectl apply -f cluster.yaml
Output:
crdbcluster.crdb.cockroachlabs.com/cockroachdb createdWait at least
3minutes for the CoackroachDB cluster and Vultr Block Storage volumes creation process to complete. Then, view the CockroachDB cluster resource to verify its run-time status.console$ kubectl get crdbcluster
Output:
NAME          AGE
cockroachdb   4m21s
View the cluster Pods to verify that all CockroachDB resources are ready and running.
console$ kubectl get pods
Your output should look like the one below:
NAME            READY   STATUS    RESTARTS   AGE
cockroachdb-0   1/1     Running   0          5m35s
cockroachdb-1   1/1     Running   0          5m35s
cockroachdb-2   1/1     Running   0          5m35s
Access the CockroachDB Cluster
CockroachDB is accessible within the cluster using the internal cockroachdb-public service address. To externally access the cluster, create a new internal cockroach binary pod to use the SQL client, and set up a new load balancer resource to access the graphical database console as described in the steps below.
List all cluster services to verify the available CockroachDB resources.
console$ kubectl get svc
Your output should look like the one below:
NAME                                 TYPE        CLUSTER-IP      EXTERNAL-IP   PORT(S)                        AGE
cockroach-operator-webhook-service   ClusterIP   10.96.106.14    <none>        443/TCP                        4h37m
cockroachdb                          ClusterIP   None            <none>        26258/TCP,8080/TCP,26257/TCP   3h35m
cockroachdb-public                   ClusterIP   10.97.143.136   <none>        26258/TCP,8080/TCP,26257/TCP   3h35m
As displayed in the output above, pods within the same namespace communicate to CockroachDB resources using the
cockroachdb-publicservice internal cluster IP address.Create a new
cockroachdbbinary pod to access the CockroachDB SQL client.console$ kubectl create -f https://raw.githubusercontent.com/cockroachdb/cockroach-operator/v2.12.0/examples/client-secure-operator.yaml
View the cluster pods to verify that the
cockroachdb-client-secureSQL client is ready and running.console$ kubectl get pods
Output:
NAME                        READY   STATUS    RESTARTS   AGE
cockroachdb-0               1/1     Running   0          8m29s
cockroachdb-1               1/1     Running   0          8m29s
cockroachdb-2               1/1     Running   0          8m29s
cockroachdb-client-secure   1/1     Running   0          33s
Access the pod shell using the
cockroachdb-publicservice as the host gateway to access CockroachDB.console$ kubectl exec -it cockroachdb-client-secure -- ./cockroach sql --certs-dir=/cockroach/cockroach-certs --host=cockroachdb-public
Output:
#
# Welcome to the CockroachDB SQL shell.
# All statements must be terminated by a semicolon.
# To exit, type: \q.
#
# Server version: CockroachDB CCL v23.1.11 (x86_64-pc-linux-gnu, built 2023/09/27 01:53:43, go1.19.10) (same version as client)
# Cluster ID: ce9eaa9d-1689-4116-b5e0-10ca71874712
#
# Enter \? for a brief introduction.
#
root@cockroachdb-public:26257/defaultdb>
Create a sample CockroachDB database.
sql> CREATE DATABASE exampledb;
Output:
CREATE DATABASE

Time: 41ms total (execution 40ms / network 1ms)
Create a new CockroachDB database user with a strong password.
sql> CREATE USER example_admin WITH PASSWORD 'strong-pass';
Output:
CREATE ROLE

Time: 312ms total (execution 311ms / network 1ms)
Grant administrative database privileges to the user.
sql> GRANT admin TO example_admin;
Exit the pod shell.
sql> \q
Create a new load balancer resource using the
cockroachdb-publicservice to expose the CockroachDB graphical console with an external IP Address.console$ kubectl expose service cockroachdb-public --type=LoadBalancer --name=cockroachdb-external
Wait for at least
3minutes to attach a Vultr LoadBalancer to the service. Then, view the cluster services to verify the assigned public IP Address.console$ kubectl get svc
Your output should look like the one below:
NAME                   TYPE           CLUSTER-IP       EXTERNAL-IP    PORT(S)                                          AGE
cockroachdb            ClusterIP      None             <none>         26258/TCP,8080/TCP,26257/TCP                     37m
cockroachdb-external   LoadBalancer   10.103.172.147   192.168.0.34   26258:31007/TCP,8080:32289/TCP,26257:30791/TCP   12m
cockroachdb-public     ClusterIP      10.97.75.3       <none>         26258/TCP,8080/TCP,26257/TCP                     37m
kubernetes             ClusterIP      10.96.0.1        <none>         443/TCP                                          55m
Access the CockroachDB port
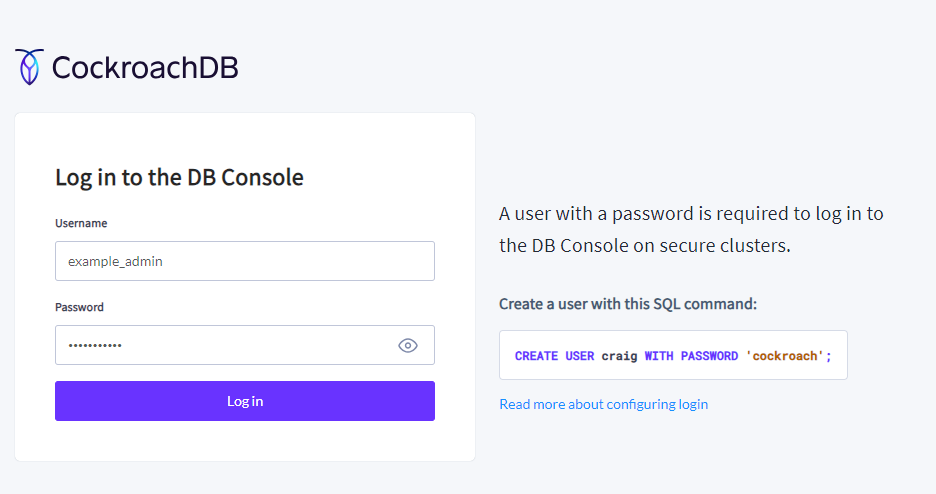
8080using your external service IP Address in a new web browser session. Replace192.168.0.34with your actual load balancer IP address.https://192.168.0.34:8080
Log in to the database console using the
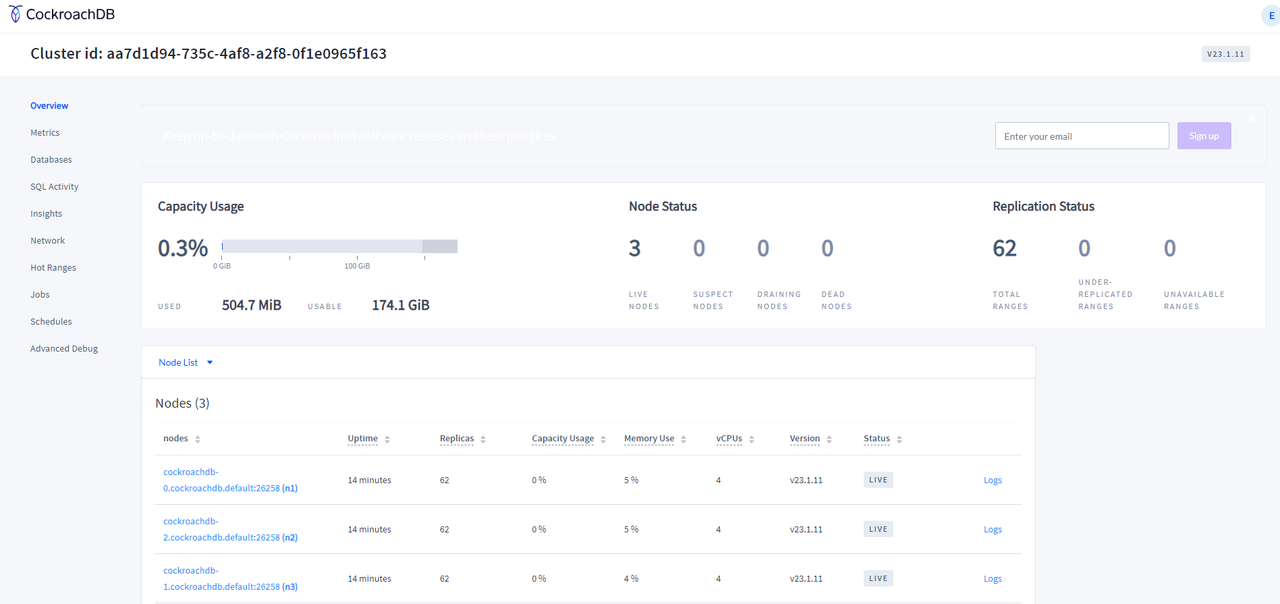
example_adminuser and password you created earlier in the SQL client.Verify the CockroachDB cluster status, nodes, and databases in the graphical management console to integrate other cluster applications.

Conclusion
You have installed CockroachDB on a Vultr Kubernetes Engine (VKE) cluster and accessed the database using a graphical management console. Depending on your cluster applications, you can integrate internal and external applications to the database with automatic failover capabilities to ensure high application availability in case a cluster node fails. For more information about CockroachDB, visit the official documentation.