How to Deploy ComfyUI on Vultr Cloud GPU
Introduction
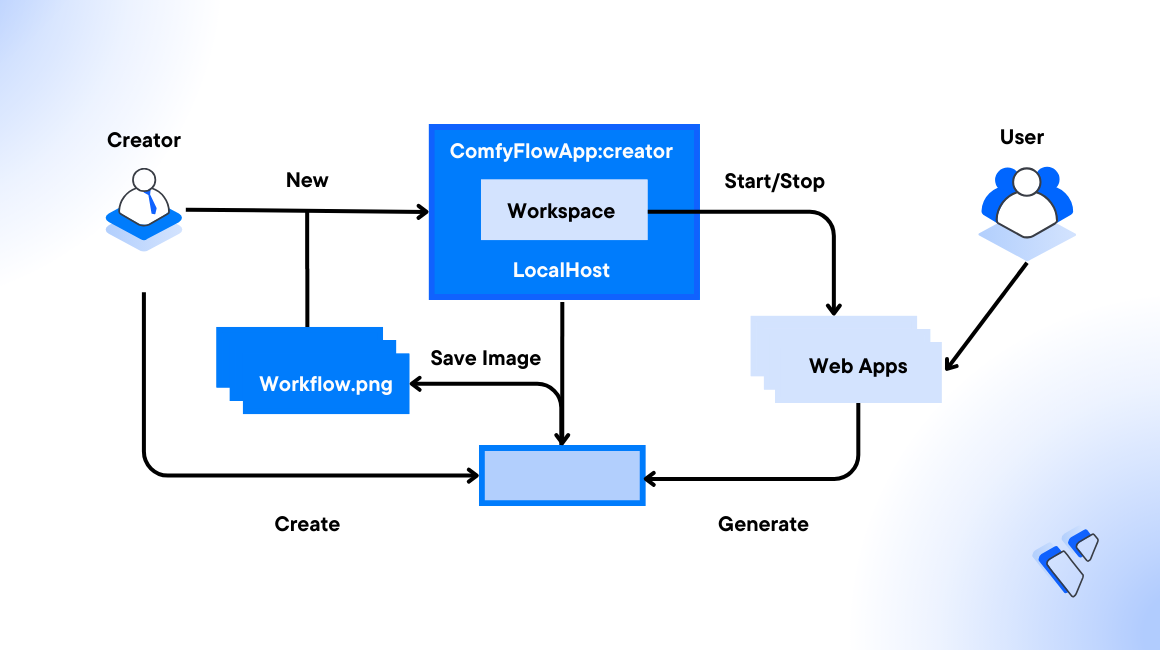
ComfyUI is an open-source, node-based application that lets you design, test, and execute diffusion model pipelines using a graphical web interface. ComfyUI runs advanced stable diffusion pipelines using a flowchart interface of interconnected nodes that support checkpoint loading, workflow re-executions, and generation from PNG files.
This article explains how to deploy ComfyUI on a Vultr Cloud GPU server. You will set up all project dependencies, install the ComfyUI Manager to manage models and run ComfyUI as a system service to run diffusion model pipelines on the server.
Prerequisites
Before you begin:
- Deploy an NVIDIA A100 Vultr Cloud GPU instance running Ubuntu.
- Set up a new domain A record pointing to the server's IP address. For example,
comfyui.example.com. - Access the server using SSH as a non-root sudo user. For example,
linuxuser. - Update the server.
Install ComfyUI
Follow the steps below to install ComfyUI in your working directory on the server.
Switch to your user home directory.
CONSOLEClone the ComfyUI project repository using Git.
CONSOLESwitch to the ComfyUI directory.
CONSOLEInstall the required
PyTorch,numpy <2, andxformersdependency packages.CONSOLEThe above command installs the following packages:
- torch: A machine learning library that provides a flexible and dynamic computational graph for deep learning tasks.
- torchvision: A PyTorch library used for computer vision tasks. It includes utilities for image and video datasets that handle image classification and object detection tasks.
- torchaudio: A PyTorch library used for audio processing tasks. It provides audio loading, transformations, and common audio datasets for deep learning applications.
- xformers: A Python library for implementing transformer-based models and attention mechanisms.
Install additional ComfyUI dependencies using the
requirements.txtfile.CONSOLESwitch to the
models/checkpointsdirectory.CONSOLEOpen the
put_checkpoints_herefile using a text editor such asnano.CONSOLEAdd the following contents to the file.
SHSave and close the file.
The above configuration downloads the Stable Diffusion XL and Stable Diffusion 1.5 models to the ComfyUI
modelsdirectory using thewgetutility. Modify the file to include new model checkpoint URLs from sources such as Hugging Face to enable in ComfyUI.Run the file using
bashto download the specified models.CONSOLEOutput:
Switch to your user home directory.
CONSOLEMove the
ComfyUIproject directory to a system-wide location such as/opt.CONSOLE
Set Up ComfyUI as a System Service
Follow the steps below to set up ComfyUI as a system service to automatically run and manage the application's processes on your server.
Create a new
comfyui.servicesystem service file.CONSOLEAdd the following configurations to the file. Replace
/opt/ComfyUIwith your actual ComfyUI project directory path.INISave and close the file.
The above configuration creates a new
comfyuisystem service to manage the ComfyUI application processes on the server.Restart the systemd daemon to apply the new service changes.
CONSOLEEnable the ComfyUI system service.
CONSOLEStart the ComfyUI service.
CONSOLEView the ComfyUI service status and verify that it's active.
CONSOLE
Configure Nginx as a Reverse Proxy to Access ComfyUI
ComfyUI listens for connection requests on the localhost port 8188 by default unless you set a specific IP address and port using the --listen option. Set up a reverse proxy such as Nginx to forward all incoming connection requests to the backend port 8188 to enable access to the ComfyUI interface. Follow the steps below to install and configure Nginx to forward HTTP requests to the ComfyUI interface using your comfyui.example.com domain.
Install Nginx.
CONSOLECreate a new
comfyui.confNginx virtual host configuration in thesites-availabledirectory.CONSOLEAdd the following configurations to the file. Replace
comfyui.example.comwith your actual domain.NGINXSave and close the file.
Link the configuration file to the
sites-enableddirectory to activate it.CONSOLETest the Nginx configuration for errors.
CONSOLEOutput:
Restart Nginx to apply the configuration changes.
CONSOLE
Security
Uncomplicated Firewall (UFW) is active on Vultr Ubuntu servers by default. Follow the steps below to enable connections to the HTTP port 80, and the HTTPS port 443 through the firewall configuration to enable access to the ComfyUI interface.
View the UFW status to verify that the firewall is active on your server.
CONSOLEAllow SSH connections on port
22and enable UFW if the firewall status isinactive.CONSOLEAllow network connections to the HTTP port
80.CONSOLEAllow connections to the HTTPS port
443.CONSOLEReload the UFW configuration to apply the firewall changes.
CONSOLE
Secure ComfyUI with Let's Encrypt SSL Certificates
SSL certificates encrypt network connections between a user's web browser and the server. Generate SSL certificates using a trusted certificate authority such as Let's Encrypt to secure network connections to the server using HTTPS. Follow the steps to install the Certbot Let's Encrypt client and generate trusted SSL certificates to secure the ComfyUI interface.
Install the Certbot Let's Encrypt client tool using Snap.
CONSOLEGenerate a new SSL certificate using your domain. Replace
comfyui.example.comanduser@example.comwith your actual domain and active email address respectively.CONSOLETest the Certbot automatic SSL certificate renewal process.
CONSOLECertbot auto-renews your SSL certificate every 90 days before expiry if the above command is successful.
Generate Images using ComfyUI
ComfyUI is actively running as a system service on your server and accessible using the comfyui.example.com domain defined in your Nginx configuration. Follow the steps below to set up the default nodes and generate images using ComfyUI.
Visit your domain using a web browser such as Chrome to access the ComfyUI interface.
ComfyUI uses the text-to-image workflow by default. Click Load Default in the floating menu to switch to the default workflow in case of unintended changes.
Click the Load Checkpoint node dropdown to select a diffusion model. For example, select the
Stable Diffusion XLmodel.Navigate to the Prompt node, and enter a positive prompt such as
beautiful scenery nature glass bottle landscape, purple galaxy bottle,. Enter a negative prompt in the respective node such astext,watermark.Click Queue Prompt on the main floating menu to generate a new image.
Wait for the image generation process to complete and view your generated image in the Save Image node.
Enable ComfyUI Manager
ComfyUI manager is an add-on tool that provides a user-friendly interface to install and manage custom nodes or models. Follow the steps below to install and enable the ComfyUI manager tool.
Switch to the ComfyUI project directory.
CONSOLEStop the ComfyUI system service.
CONSOLESwitch to the
custom_nodesdirectory.CONSOLEClone the ComfyUI manager repository using Git.
CONSOLEStart the ComfyUI system service.
CONSOLEAccess the ComfyUI interface in your web browser.
Verify and click the new
Manageroption on the floating menu.Verify that the ComfyUI manager interface loads correctly.
Click
Install Custom NodesorInstall Modelsto install additional nodes and models to enable in ComfyUI.
Common ComfyUI Nodes
ComfyUI nodes are modular units that form a workflow and perform specific image generation functionalities. Each ComfyUI node processes input data and passes the output to the next node for further processing in a workflow. This modular approach enables you to create diverse image generation workflows and test multiple configurations to generate high-quality results. The following are the most common node types you can use in your ComfyUI workflows.
- Input nodes: Export data to other nodes, such as images, text prompts, and random numbers.
- Processing nodes: Manipulate the data provided by input nodes, such as resizing images, applying filters, and generating prompts.
- Output nodes: Save results from the image generation process, such as saving images to disk or displaying them in a preview window.
- Load Checkpoint: Loads a pre-trained diffusion model in ComfyUI.
- CLIP Encode: Encodes text prompts into CLIP embeddings.
- Prompt Node: Provides text prompts to the model.
- Negative Prompt Node: Provides negative prompts to the model to guide the image generation process.
- VAE Encode: Converts images to latent representations.
- VAE Decode: Converts latent representations to images.
- Random Seed Node: Generates random seeds for Image generation samplers.
- Empty Latent Image Node: Creates a blank latent image of a specified size for use in other image generation nodes.
- Scale Node: Scales images to a desired size.
- Save image Node: Saves generated images to disk.
- Preview Node: Displays generated images in a preview window.
Conclusion
You have deployed ComfyUI on a Vultr Cloud GPU server and generated images using the ComfyUI web interface. In addition, you installed the ComfyUI Manager to enable new nodes and models. For more information and configuration options, please visit the ComfyUI community documentation.


0 Comments
Be the first to comment and share your perspective with the community.