How to Deploy Dify - Open-Source LLM Application Development Platform
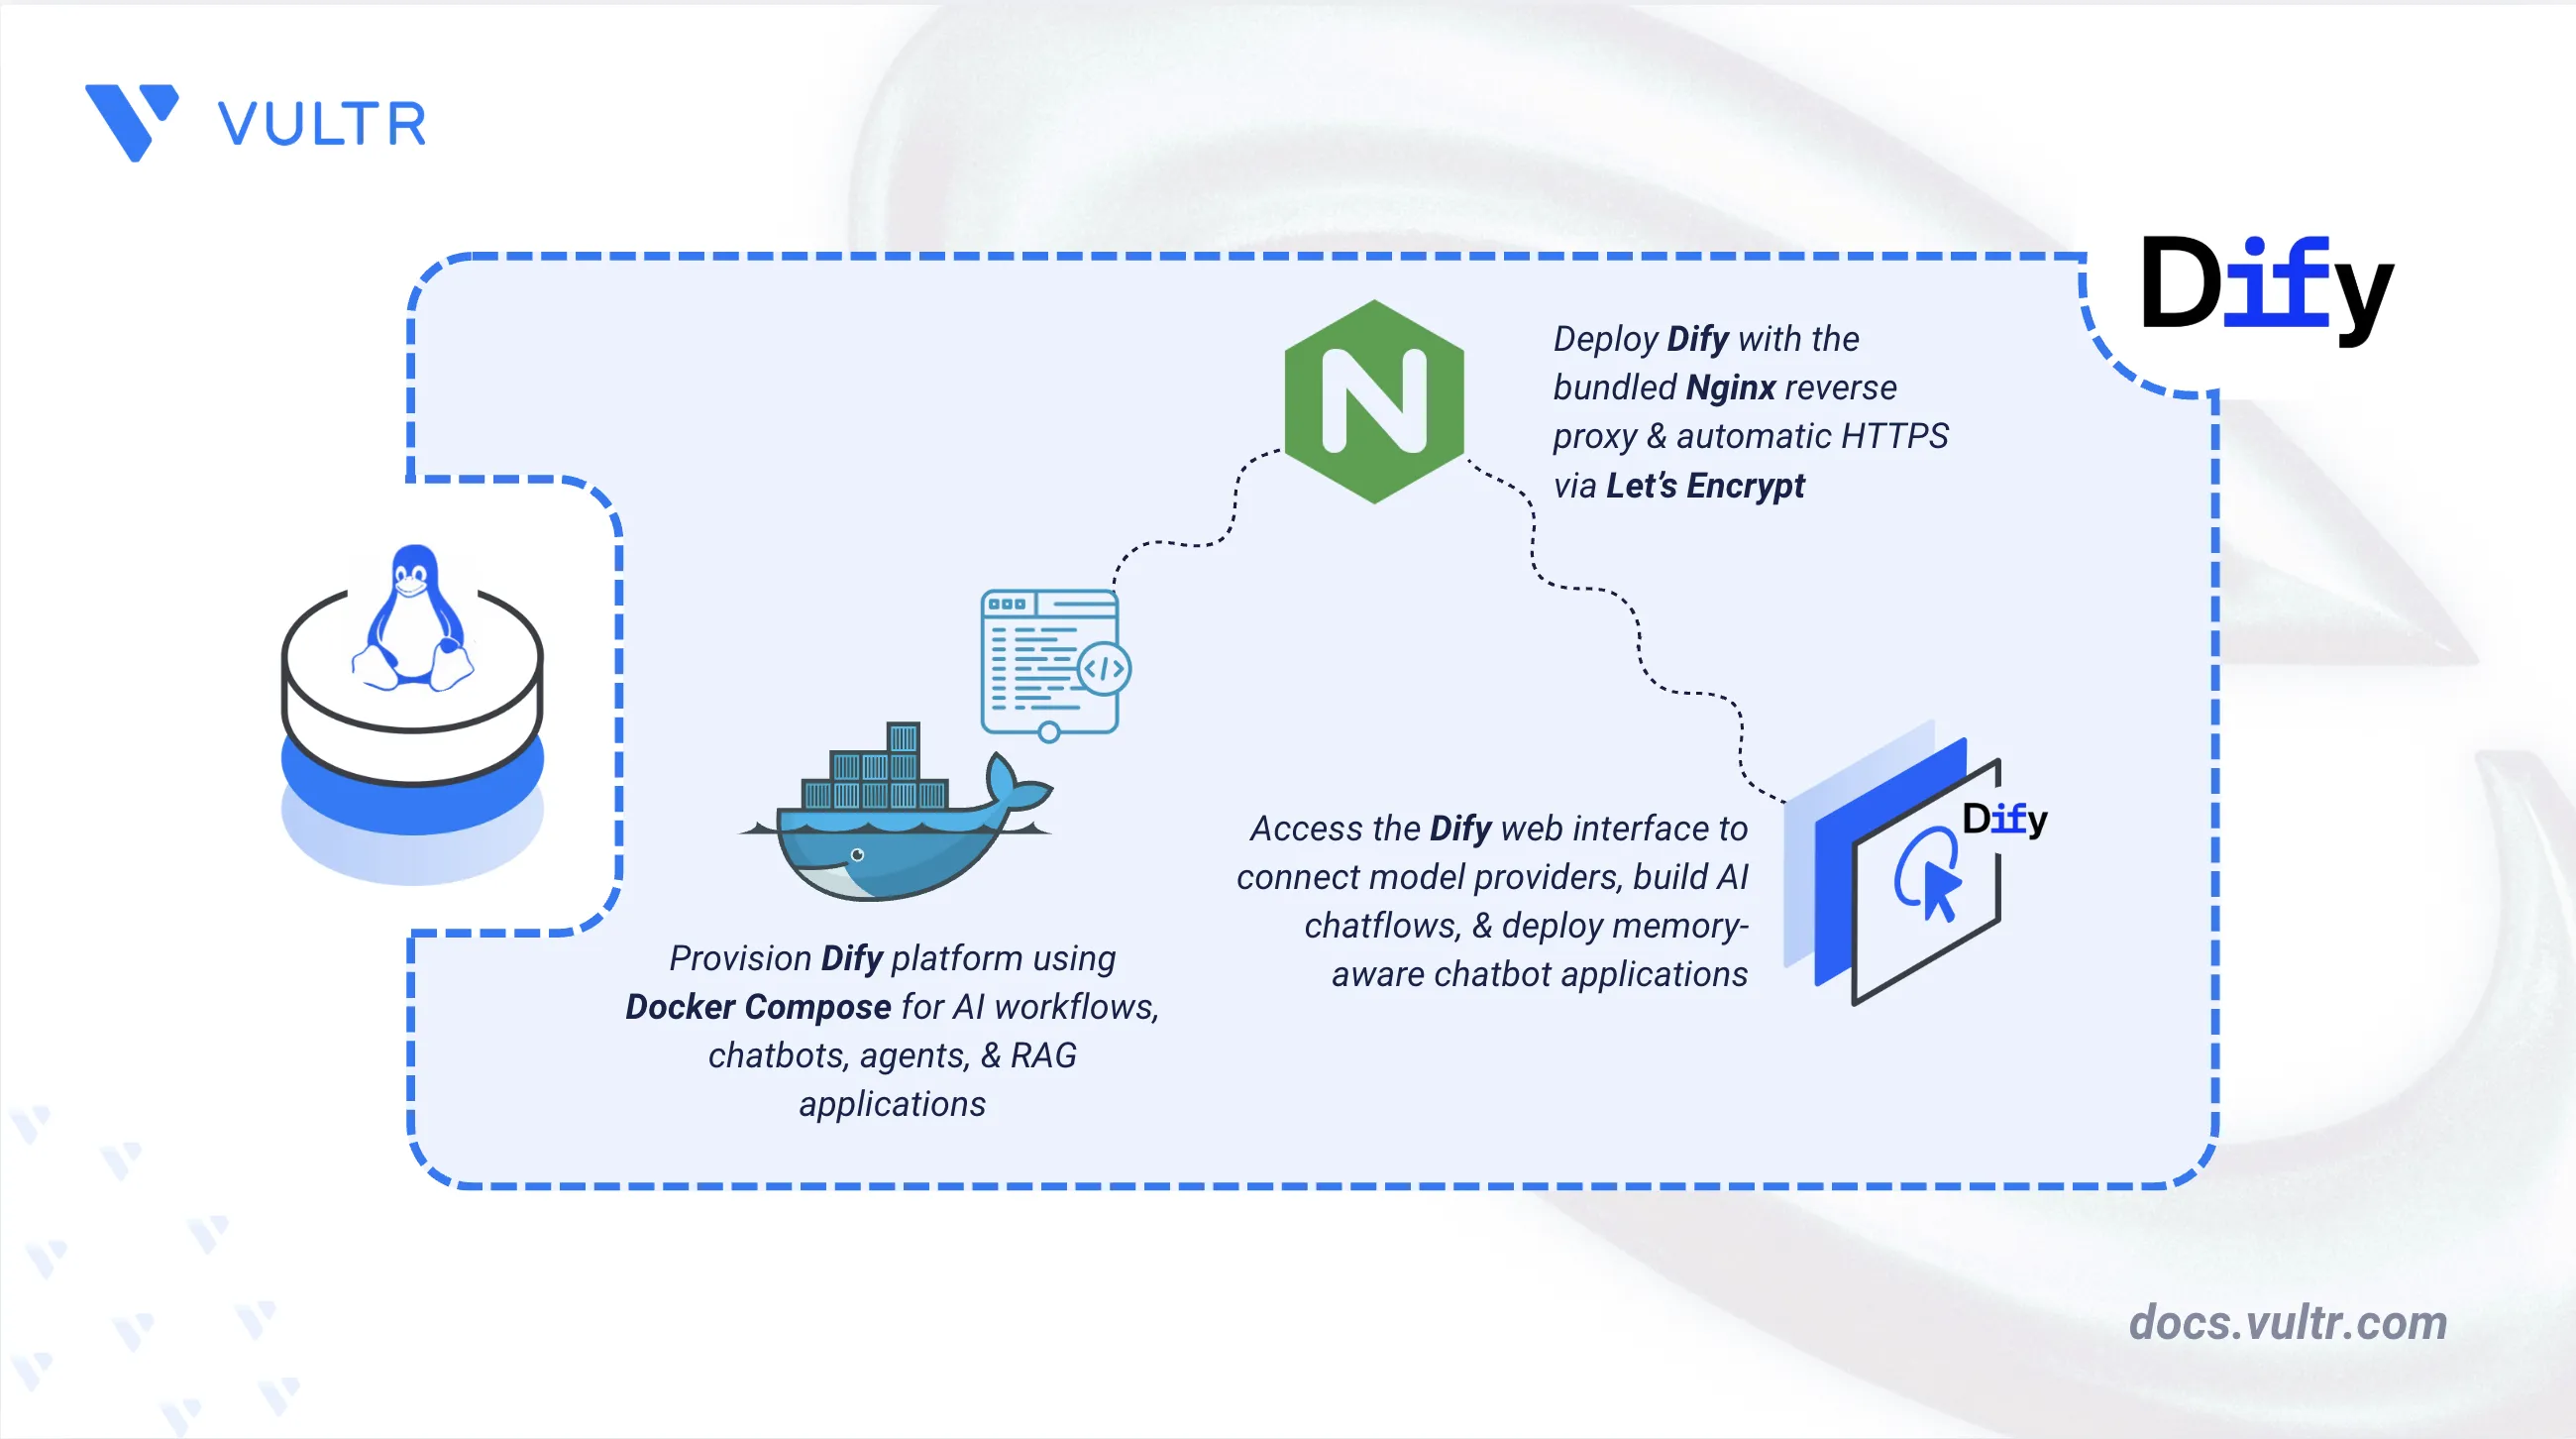
Dify is an open-source platform for building Large Language Model (LLM) applications. Its visual interface combines AI workflow design, Retrieval-Augmented Generation (RAG) pipelines, agent capabilities, model management, and observability tools. Dify supports hundreds of proprietary and open-source LLMs through providers such as OpenAI, Anthropic, and self-hosted solutions.
This article explains how to deploy Dify on a Linux server using Docker Compose with the bundled Nginx reverse proxy and HTTPS certificate provisioning through Let's Encrypt. It covers directory setup, environment configuration, model provider integration, and demonstrates the platform with a working chatbot application.
Prerequisites
Before you begin, you need to:
- Have access to a Linux-based server (with at least 2 CPU cores and 4 GB of RAM) as a non-root user with sudo privileges.
- Install Docker and Docker Compose.
- Create a DNS A record pointing to your server's IP address (for example,
dify.example.com). - Get an API key from a model provider such as OpenAI, Anthropic, or Cohere for the chatbot demonstration.
Set Up the Directory Structure, Configuration, and Environment Variables
Dify ships a complete Docker Compose stack with an example environment file. Download the release and customize the environment variables for your domain and Let's Encrypt configuration.
Download and extract the Dify release.
CONSOLERename the extracted directory.
CONSOLENavigate to the
dockerdirectory.CONSOLECopy the example environment file.
CONSOLEGenerate a strong secret key and write it to the
.envfile.CONSOLEOpen the
.envfile to configure the domain and Certbot settings.CONSOLELocate the following variables and update their values. Replace
dify.example.comwith your domain name andadmin@example.comwith your email address.CERTBOT_DOMAINandCERTBOT_EMAILare not present in the default file, so add them as new lines.INISave and close the file.
Deploy with Docker Compose
Dify ships a complete Docker Compose stack with core services and dependent components. The bundled Docker Compose file is over 1,200 lines and includes PostgreSQL, Redis, Weaviate vector store, and Nginx. This article uses Dify version 1.14.1. The deployment process runs in two stages: the first starts services on HTTP, and the second provisions the Let's Encrypt certificate through Certbot and enables HTTPS.
Start the Dify stack in detached mode.
CONSOLENginx serves the application on port 80 and exposes the ACME challenge path for HTTP-01 verification.
Verify all containers are running.
CONSOLEThe output displays all Dify services in an
Upstate, with a healthy status shown for the services that define a health check, such asdb_postgres,redis, andsandbox.Add the Certbot container to the running stack.
CONSOLEThe Certbot container starts and waits for the certificate provisioning command.
Provision the Let's Encrypt certificate by running the helper script inside the Certbot container.
CONSOLECertbot performs the HTTP-01 challenge and stores the certificate files under
volumes/certbot/conf/live/<domain>/.Enable HTTPS in the
.envfile.CONSOLENGINX_HTTPS_ENABLEDis now set totruein the.envfile.Recreate the Nginx container so it picks up the new HTTPS configuration and the provisioned certificate.
CONSOLE
For more information on managing a Docker Compose stack, see the How to Use Docker Compose article.
Access and Configure Dify
After deployment, complete the administrator setup and connect a model provider to enable AI applications.
Replace
dify.example.comwith your configured domain and openhttps://dify.example.com/installin a browser.Enter the email address, username, and password for the administrator account, then click Set up.
Log in at
https://dify.example.com/signinwith the email address and password you set in the previous step.Click your profile avatar in the top-right corner, select Settings, then choose Model Provider from the left sidebar.
Locate your preferred provider in the catalog (such as OpenAI, Anthropic, DeepSeek, or others) and click Install. The Plugin Daemon downloads the provider plugin from the Dify Marketplace on demand.
Add your API key on the provider configuration panel and click Save.
Confirm that the saved provider appears under the configured providers list with at least one chat model available.
Application Use Case
Dify offers multiple app types including Chatbot, Workflow, Chatflow, Agent, and Text Generator. This section builds a customer support assistant using a chatflow, which combines conversation memory with a visual node editor.
Open the Studio tab in the top navigation, then click Create from Blank.
Select Chatflow, name the application
Support Assistant, set an icon and description, and click Create. The canvas opens with three pre-connected nodes: Start, LLM, and Answer.Click the LLM node to configure it.
Select your chat model from the Model dropdown (for example,
gpt-4oorclaude-sonnet-5).Add a system prompt under the SYSTEM field.
Confirm the MEMORY toggle is enabled with a WINDOW SIZE of
10to maintain conversation context.Click Publish in the top-right corner, then choose Publish Update to make the chatflow available.
Click Preview in the top-right corner and send a test message such as
The platform charged the subscription twice this month. Can you help with a refund?.Verify that the assistant returns a coherent response that addresses the billing concern.
Click the Publish dropdown and select Run App to open the standalone chat interface.
Conclusion
You have deployed Dify on a Linux server using Docker Compose with the bundled Nginx reverse proxy and HTTPS through Let's Encrypt. The deployment hosts a working chatbot that sends user questions to your configured model provider and returns memory-aware responses. For advanced features including RAG pipelines, agents, and workflow automation, refer to the official Dify documentation.
Tags:Open Source


0 Comments
Be the first to comment and share your perspective with the community.