How to Deploy Flowise - Open-Source Visual LLM Workflow Builder
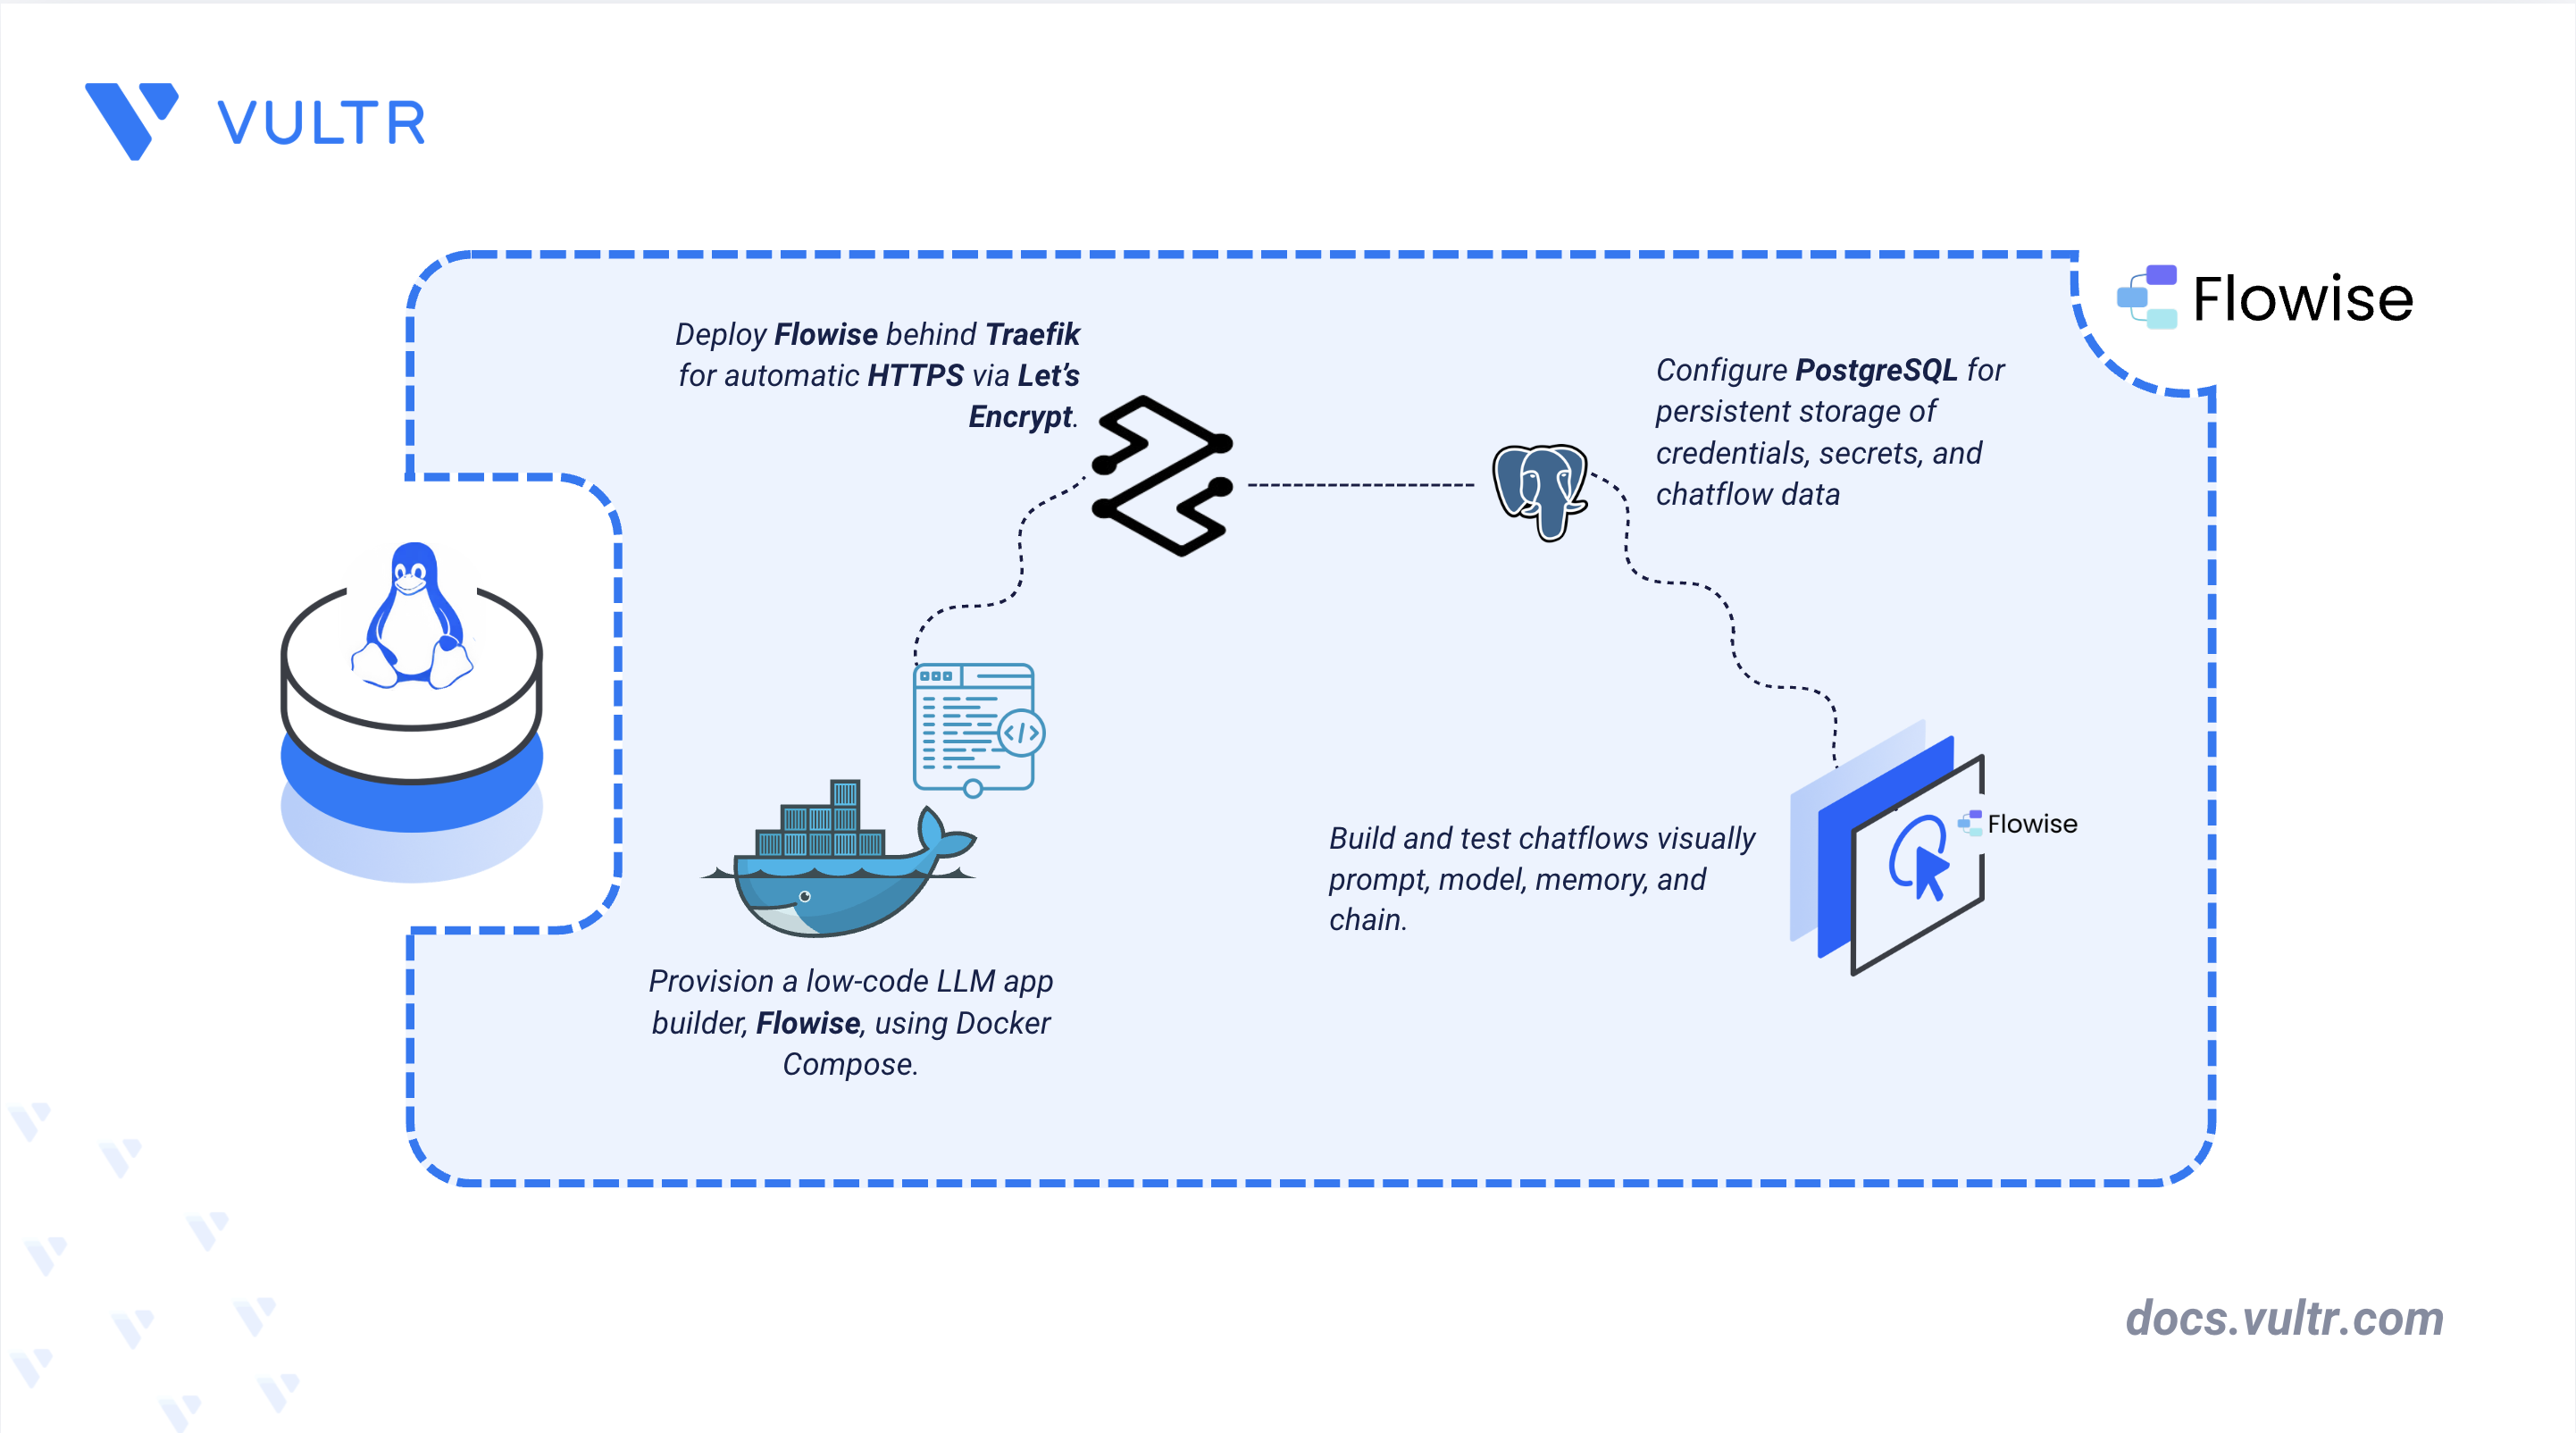
Flowise is an open-source, low-code platform for building applications powered by large language models (LLMs) through a visual, drag-and-drop interface. Rather than writing custom integration code, developers connect prompts, models, memory, and external data sources as nodes on a canvas to build a working chatflow. This visual approach supports use cases such as chatbots, document question-and-answer systems, and internal automation pipelines.
This article explains how to deploy Flowise on a Linux server using Docker Compose, configure Traefik for automatic HTTPS, and demonstrate building and testing a chatflow combining a prompt template, chat model, conversation chain, and memory component.
Prerequisites
Before you begin, you need to:
- Have access to a Linux-based server with at least 2 CPU cores and 4 GB of RAM as a non-root user with sudo privileges.
- Install Docker and Docker Compose.
- Configure a domain A record, such as
flowise.example.com, pointing to your server's IP address. - Have an API key from a supported LLM provider, or access to a self-hosted model endpoint.
Set Up the Directory Structure, Configuration, and Environment Variables
Flowise requires configuration for domain routing, authentication secrets, and database connectivity. These settings are defined using environment variables and consumed by Docker Compose during deployment. Storing them in an .env file keeps sensitive credentials separate from the compose manifest and simplifies configuration management.
Create the project directory and a subdirectory for persistent Flowise data.
CONSOLEIn the above command:
flowise-data: Stores Flowise credentials, secrets, logs, and uploaded files, and is mounted into the container to persist this data across restarts.
Navigate to the project directory.
CONSOLEGenerate the authentication secrets used to secure the application's login system.
CONSOLERun this command 4 times. Copy each output for use in the next step.
Create an
.envfile to store your domain, authentication, and database configurations.CONSOLEAdd the following values:
INIReplace:
flowise.example.comwith your domain name that points to your server's IP address.admin@example.comwith your email address for Let's Encrypt notifications.JWT-AUTH-TOKEN-SECRET,JWT-REFRESH-TOKEN-SECRET,EXPRESS-SESSION-SECRET, andTOKEN-HASH-SECRETwith the four values generated in the previous step.DB-PASSWORDwith a strong password, used for bothDATABASE_PASSWORDandPOSTGRES_PASSWORD. Both values must match.
Save and close the file.
Deploy Flowise with Docker Compose
This deployment uses Docker Compose to run PostgreSQL as the backend for Flowise data and the Flowise server for building and running chatflows. Traefik acts as a reverse proxy for HTTPS and domain routing. Flowise's built-in authentication secures access to the web interface and API.
If your user account isn't already in the
dockergroup, add it now.CONSOLEApply the new group membership to the current shell session.
CONSOLECreate the Docker Compose manifest file.
CONSOLEAdd the following contents:
YAMLSave and close the file.
In the above manifest:
flowiseservice- Runs the official
flowiseai/flowiseimage, pinned to version3.1.3. - Connects to PostgreSQL using the
DATABASE_*variables, and does not start until thepostgresservice reports a healthy status. - Uses a persistent volume mount,
./flowise-data:/root/.flowise, to retain credentials, secrets, logs, and uploaded files across restarts. - Includes a health check against the
/api/v1/pingendpoint to confirm the application has started successfully. - Has no ports exposed directly to the host. Traefik discovers Flowise through Docker labels and routes traffic for
${DOMAIN}to its internal port3000.
postgresservice- Runs the official
postgres:16image. - Stores database files in a named volume,
postgres-data, so data persists across container restarts. - Includes a health check using
pg_isready, which Flowise'sdepends_oncondition waits on before starting.
traefikservice- Acts as the reverse proxy and TLS terminator for Flowise.
- Listens on ports 80 and 443 on the host, and automatically redirects HTTP traffic to HTTPS.
- Stores Let's Encrypt ACME certificates in the
./letsencryptdirectory. - Uses the Docker socket (read-only) to discover services and apply routing rules dynamically.
- Runs the official
Start the services.
CONSOLECheck that the containers are running.
CONSOLEThe output displays three running containers. Flowise and PostgreSQL should both report a
healthystatus.Check the Flowise logs to confirm the application started successfully.
CONSOLEA successful startup includes messages confirming the database connection, authentication system, and node pool were all initialized, ending with a message indicating the server is listening on port 3000. The log may include
Error during initDatabaseentries for individual agent nodes such asReActAgentChatorReActAgentLLM, referencing a missing./utils/uuidexport. These come from a dependency resolution issue in the bundled@langchain/corepackage, not from this deployment, and don't prevent the server from starting.For more information on managing a Docker Compose stack, see the How to Use Docker Compose article.
Access and Configure Flowise
Flowise requires an administrator account, created directly through the web interface on first launch.
Open your web browser and navigate to
https://flowise.example.com, replacingflowise.example.comwith your configured domain name.On first launch, Flowise displays a setup page prompting you to create your administrator account.
Enter an administrator name, email address, and password, then submit the form to create the account and access the dashboard.
Verify that the dashboard is accessible and that a Chatflows section is visible in the navigation.
Build and Test a Chatflow
A chatflow connects nodes on the canvas into a working pipeline. A prompt template shapes the input sent to the model, a chat model generates the response, a memory component persists the conversation history between turns, and a conversation chain wires the three together so each response accounts for prior messages.
From the dashboard, click + Add New to create a chatflow.
Add a Chat Prompt Template node to the canvas. Click the circular button in the upper-left corner of the canvas to open the Add Nodes panel, search for Chat Prompt Template under the LangChain category, then drag it onto the canvas. Set the following fields:
- System Message:
You are a helpful assistant. - Human Message:
{input}
Note
The Human Message field must use
{input}as the variable name. The Conversation Chain node added later in this guide passes the user's chat message into a variable namedinput.- System Message:
Add a chat model node to the canvas for your LLM provider. Search for your provider's name under the LangChain category, select the matching node listed under Chat Models, then drag it onto the canvas.
Click Connect Credential, then - Create New -. Enter a Credential Name and your LLM provider's API key, then click Add.
Enter a model identifier in the Model Name field, such as
openai/gpt-3.5-turbo.Search for Buffer Memory under the LangChain category and drag it onto the canvas to give the chatflow conversation history.
Search for Conversation Chain under the LangChain category and drag it onto the canvas. This node wires the prompt template, chat model, and memory together in the next step.
Drag a connection line from each node's output dot to the matching input dot on Conversation Chain:
- Chat Prompt Template output to the Conversation Chain's Chat Prompt Template input.
- Chat model output to the Conversation Chain's Chat Model input.
- Buffer Memory output to the Conversation Chain's Memory input.
Save the chatflow using the save button in the top right corner of the canvas.
On first save, you are prompted to name the chatflow. Any further changes to the chatflow must be saved again using the same button.
Open the built-in chat panel and send a test message, such as
What is Flowise?.A valid response from the model confirms that the prompt, chat model, and conversation chain are connected correctly.
Conclusion
You have deployed Flowise on a Linux server using Docker Compose, with PostgreSQL for persistent data storage and Traefik providing TLS termination. The deployment now runs a tested chatflow combining a prompt template, chat model, conversation chain, and memory component. You can extend the deployment further by connecting document loaders, integrating external APIs, or scaling the server for production traffic. For more information, see the official Flowise documentation.
Tags:Open Source


0 Comments
Be the first to comment and share your perspective with the community.