How to Deploy Kafka – Distributed Event Streaming
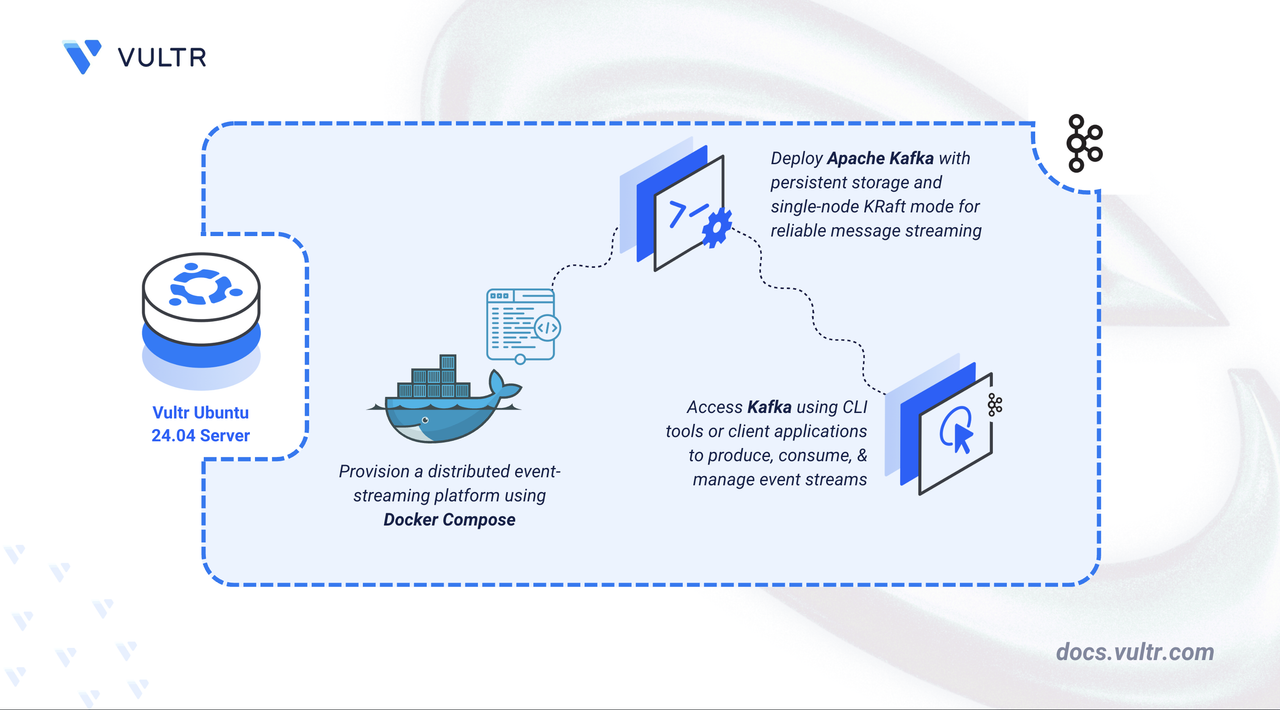
Apache Kafka is a high-throughput, distributed event-streaming platform used for building real-time data pipelines and streaming applications. It provides persistent, fault-tolerant message storage and supports large-scale publish-subscribe workloads with low latency. Kafka is widely used for log aggregation, metrics collection, event processing, microservices communication, and real-time analytics.
This article explains how to deploy Apache Kafka using Docker Compose, configure persistent storage, define environment variables, and verify that the Kafka broker is reachable.
Prerequisites
Before you begin, you need to:
- Have access to an Ubuntu 24.04-based server as a non-root user with
sudoprivileges. - Install Docker and Docker Compose.
Set Up the Directory Structure and Environment Variables
In this section, you create a project directory for Kafka and define environment variables in a .env file that Docker Compose loads automatically.
Create the project directory.
CONSOLEChange the data directory permission.
CONSOLEThis permission change is required because the Apache Kafka container runs using an internal application user
appuserwithUID 1000, and it must have write access to thekafka-datadirectory for logs and persisted messages.Navigate into the project directory.
CONSOLEGenerate a UUID for the cluster identifier.
CONSOLECopy the generated value for use in the
.envfile.Create a
.envfile to store the environment variables.CONSOLEAdd the following variables:
INIReplace:
KAFKA_NODE_IDwith a unique broker ID (keep1for single-node).KAFKA_CLUSTER_IDwith the unique cluster identifier you generated in the previous step.KAFKA_PORTwith the port Kafka should listen on.KAFKA_ADVERTISED_HOSTwith the hostname or IP clients should use to connect.
Note
If your applications run on the same server as Kafka, keep
KAFKA_ADVERTISED_HOST=localhost. If your applications run on a different server, replace localhost with your public server IP address so external clients can connect.Save and close the file.
Deploy with Docker Compose
In this section, you create the Docker Compose manifest that deploys Apache Kafka in KRaft mode, enables persistent storage, and exposes the broker for client connections.
Create the Docker Compose manifest.
CONSOLEAdd the following content:
YAMLSave and close the file.
In the manifest:
- services: Defines the Kafka service managed by Docker Compose.
- kafka: Runs Apache Kafka in single-node KRaft mode.
- image: Uses the official Apache Kafka image.
- ports: Publishes Kafka’s default port (
9092) on the host. - environment:
KAFKA_NODE_ID: Unique broker ID.KAFKA_PROCESS_ROLES: Runs both broker and controller in one container.KAFKA_LISTENERS: Defines internal listener endpoints.KAFKA_ADVERTISED_LISTENERS: Defines the external address clients use to connect.KAFKA_CONTROLLER_QUORUM_VOTERS: Configures the internal controller quorum.KAFKA_LOG_DIRS: Path where Kafka stores log and topic data.KAFKA_CLUSTER_ID: Initializes the KRaft cluster.- Replication and ISR values are set to
1for single-node operation.
- volumes:
./kafka-datapersists Kafka topic and log data across restarts.
- healthcheck: Verifies Kafka availability using the broker API.
- restart: unless-stopped: Restarts Kafka automatically unless manually stopped.
- services: Defines the Kafka service managed by Docker Compose.
Start the Kafka service.
CONSOLEVerify that Kafka service is running.
CONSOLEEnsure that the output shows the Kafka container is healthy and running.
View logs if needed.
CONSOLEFor more information on managing Docker Compose services, see the How To Use Docker Compose article.
Verify Apache Kafka Connectivity
In this section, you verify that your Apache Kafka broker is reachable and accepting client connections by using the Kafka CLI tools.
Install Kafka CLI tools
Update the package index and install the default Java runtime.
CONSOLEDownload the Kafka CLI tools archive. Refer to the official Apache Kafka downloads page for newer versions.
CONSOLEExtract the archive to
/opt.CONSOLEAdd the Kafka binaries from
/optto yourPATH.CONSOLEApply the updated
PATH.CONSOLE
Test Message Production and Consumption
Create a test topic.
CONSOLEStart the producer.
CONSOLEThis command opens an interactive console where you type messages and press ENTER after each one to publish the messages to the topic.
Open a new terminal and start a consumer to read messages from the beginning.
CONSOLEThis command starts the consumer and displays all messages sent to the specified topic.
Verify the topic configuration.
CONSOLEThis command displays detailed information about the topic configuration.
Conclusion
You successfully deployed Apache Kafka using Docker Compose in single-node KRaft mode with persistent storage enabled. You configured all required environment variables, prepared the data directory with correct permissions, and exposed the broker for client access. After installing the Kafka CLI tools, you verified end-to-end message flow by producing and consuming test messages.


0 Comments
Be the first to comment and share your perspective with the community.