
How to Deploy Laravel with Apache on Ubuntu 24.04
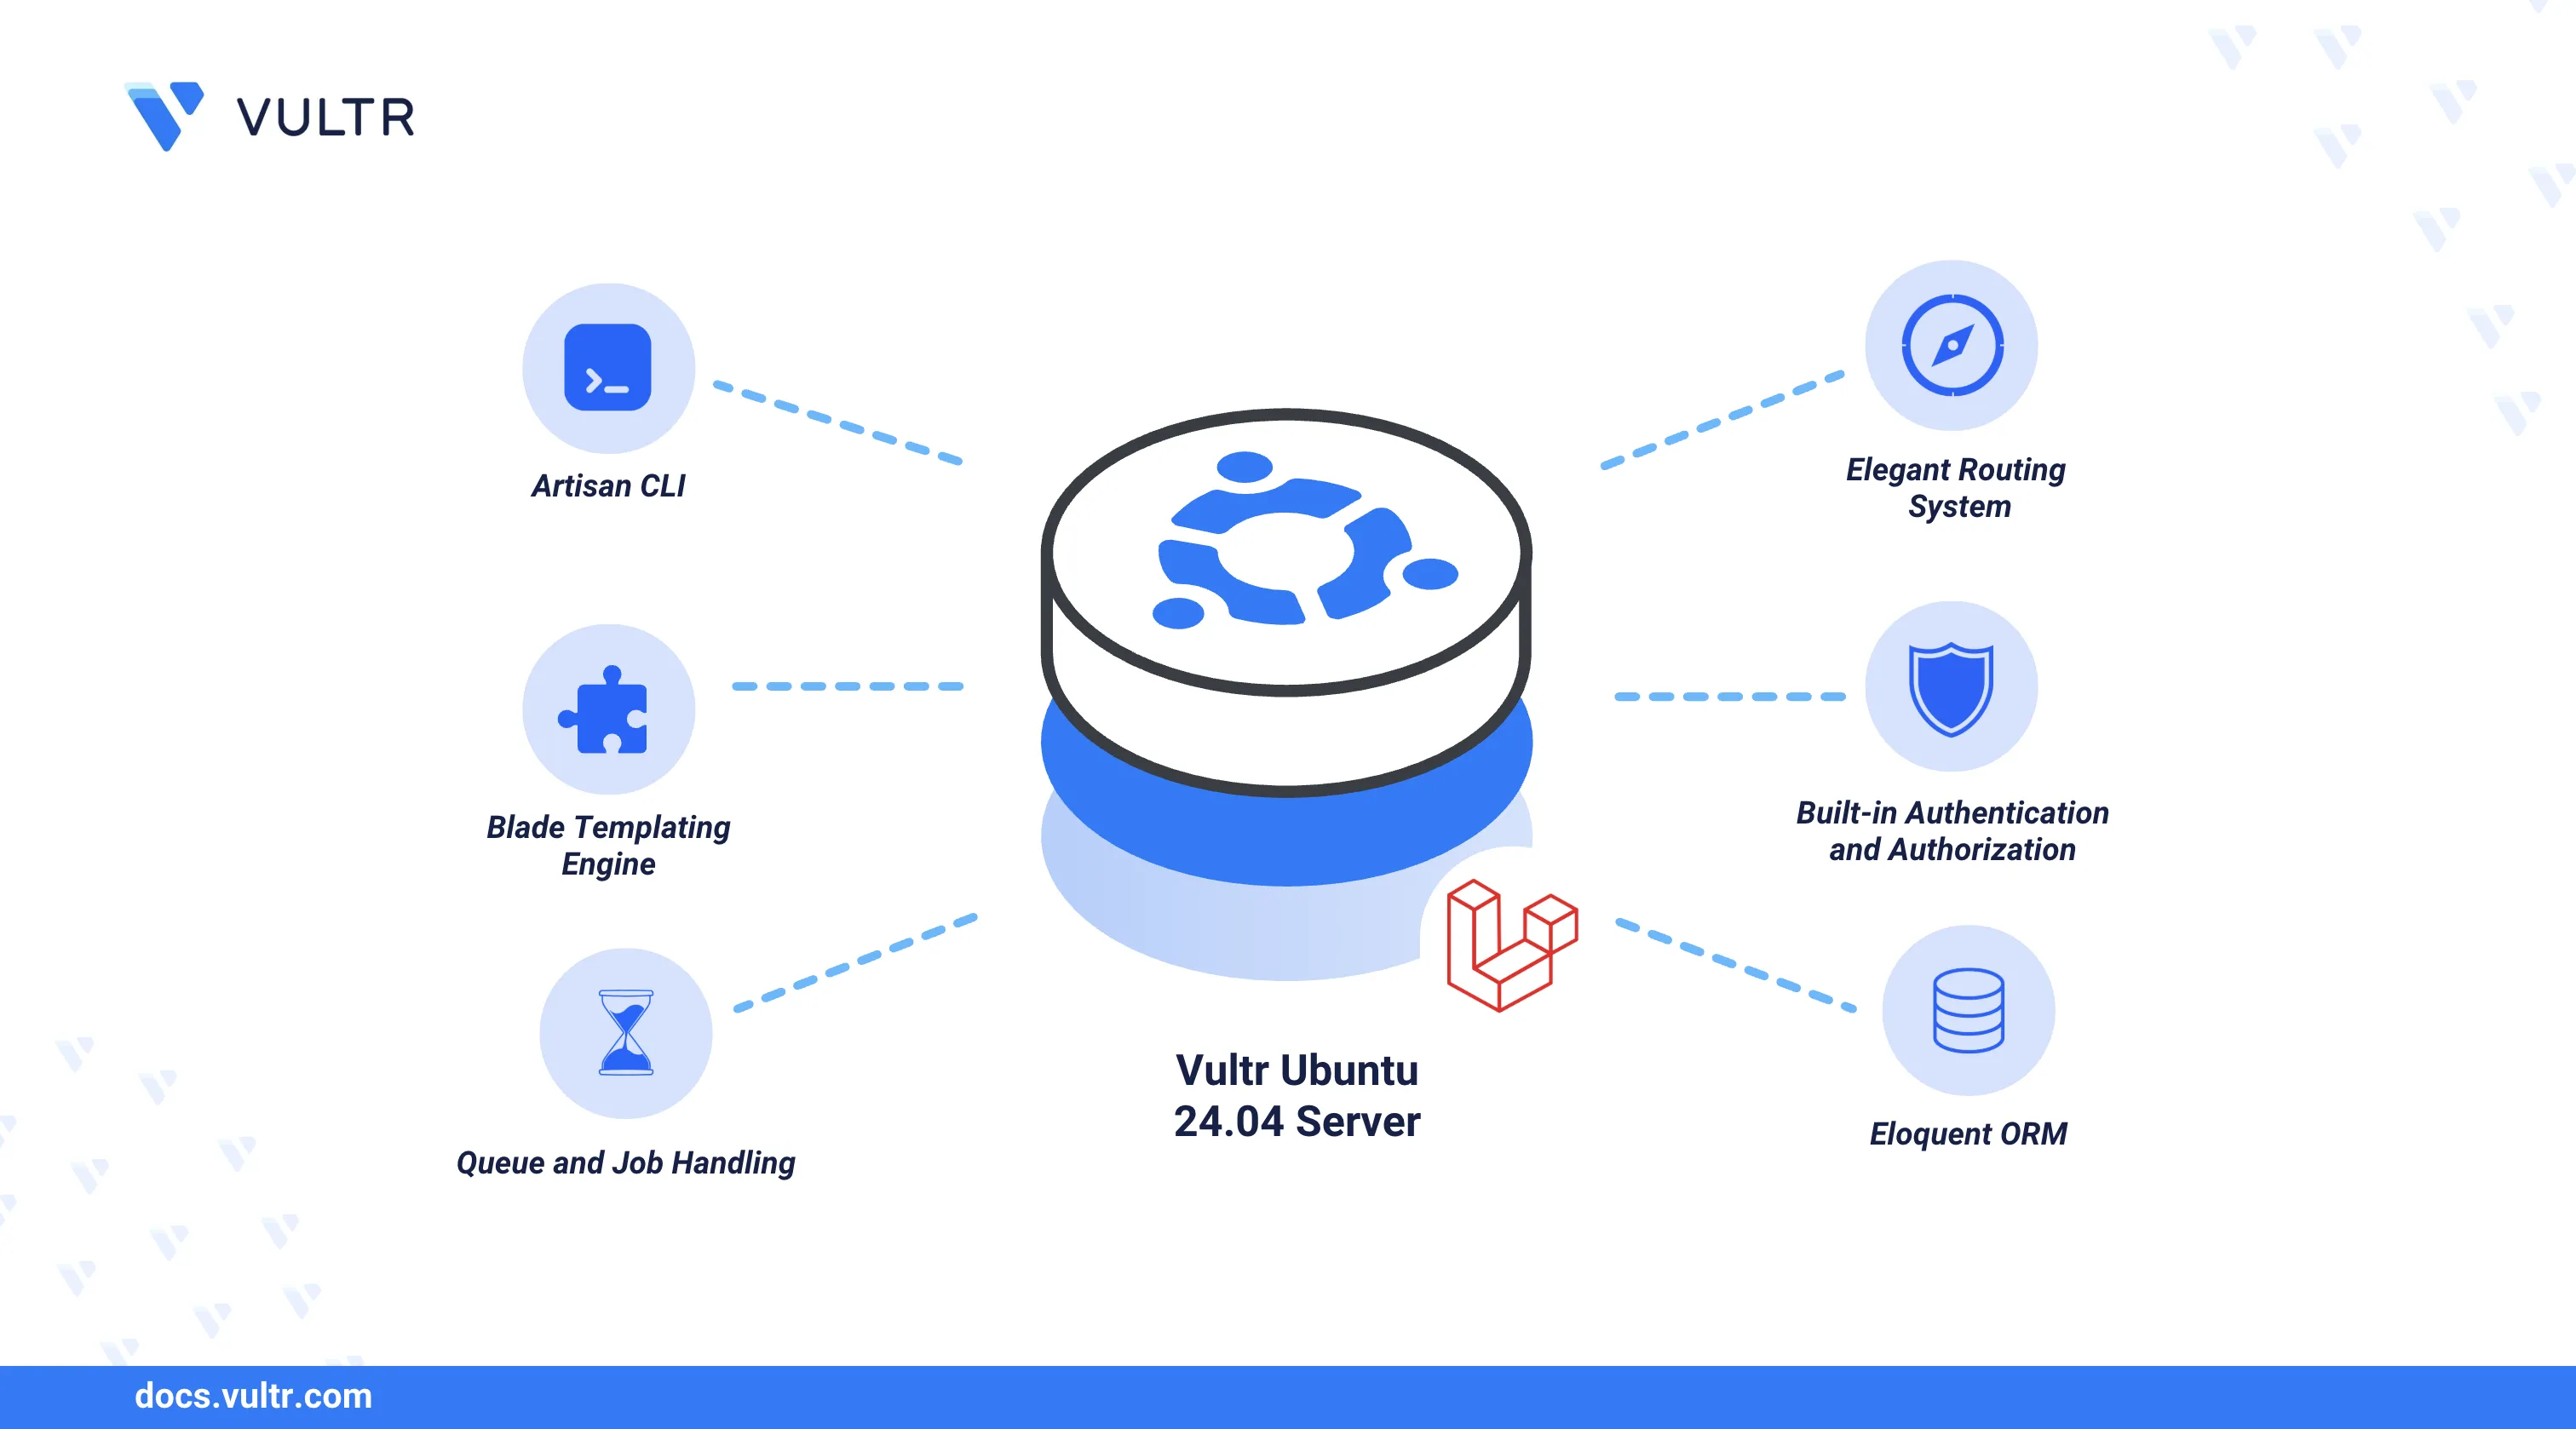
Laravel is an open-source PHP framework used to build modern, feature-rich web applications. It offers clean and expressive syntax, along with a wide range of built-in components for tasks like authentication, testing, and database management. You can integrate Laravel with multiple applications, including databases and dynamic processors to serve modern web applications.
This article explains how to deploy Laravel with Apache on Ubuntu 24.04. You will set up Laravel, create a new project, and serve the application for access in a web browser.
Prerequisites
Before you begin, you need to:
- Have access to an Ubuntu 24.04 instance as a non-root user with sudo privileges.
- Create a domain A record pointing to the instance's IP address such as
app.example.com.
Install PHP and Composer
Laravel is built on PHP and requires several PHP extensions along with Composer to manage project dependencies. Follow the steps below to install PHP and all required dependencies for Laravel.
Update the server's package index.
console$ sudo apt update
Install PHP and required extensions.
console$ sudo apt install php php-fpm php-mbstring php-xml php-mysql php-curl php-zip php-bcmath -y
Verify the installed PHP version.
console$ php -v
Output:
PHP 8.3.6 (cli) (built: Mar 19 2025 10:08:38) (NTS)
Copyright (c) The PHP Group
Zend Engine v4.3.6, Copyright (c) Zend Technologies
    with Zend OPcache v8.3.6, Copyright (c), by Zend Technologies
Download the Composer installer script.
console$ curl -sS https://getcomposer.org/installer -o /tmp/composer-setup.php
Get the latest SHA hash for the installer.
console$ INSTALLER_SHA=$(curl -sS https://composer.github.io/installer.sig)
Verify the integrity of the installer script.
console$ php -r "if (hash_file('SHA384', '/tmp/composer-setup.php') === '$INSTALLER_SHA') { echo 'Installer verified'; } else { echo 'Installer corrupt'; unlink('composer-setup.php'); } echo PHP_EOL;"
Output:
Installer verifiedInstall Composer globally.
console$ sudo php /tmp/composer-setup.php --install-dir=/usr/local/bin --filename=composer
The above command installs Composer under the
/usr/local/bindirectory and makes it available as a shell command with the namecomposer.Output:
All settings correct for using Composer
Downloading...

Composer (version 2.8.6) successfully installed to: /usr/local/bin/composer
Use it: php /usr/local/bin/composer
Verify the installed Composer version.
console$ composerYour output should be similar to the one below.
      ______
  / ____/___  ____ ___  ____  ____  ________  _____
 / /   / __ \/ __ `__ \/ __ \/ __ \/ ___/ _ \/ ___/
/ /___/ /_/ / / / / / / /_/ / /_/ (__  )  __/ /
\____/\____/_/ /_/ /_/ .___/\____/____/\___/_/
                    /_/
Composer version 2.8.6 2025-02-25 13:03:50
...
Install Laravel
Follow the steps below to install Laravel in your project environment.
Navigate to the user home directory.
console$ cd ~
Create a new
myprojectLaravel project.console$ composer create-project --prefer-dist laravel/laravel myproject
Output:
Creating a "laravel/laravel" project at "./myproject"
Installing laravel/laravel (v12.0.4)
- Installing laravel/laravel (v12.0.4): Extracting archive
Created project in /home/amr/myproject
> @php -r "file_exists('.env') || copy('.env.example', '.env');"
Loading composer repositories with package information
Updating dependencies
Lock file operations: 110 installs, 0 updates, 0 removals
...
Switch to the project directory.
console$ cd myproject
Verify the installed Laravel version using Artisan.
console$ php artisan --version
Artisan is a command-line utility included with Laravel and exists at the root of the project as a script. Your output should be similar to the one below if Laravel is installed.
Laravel Framework 12.5.0
Create a Laravel MySQL Database
Laravel requires a database backend to store the application data. Follow the steps below to create a new MySQL database to use in your Laravel project:
Install the MySQL server package if it's not installed on your workstation.
console$ sudo apt install mysql-server -y
View the MySQL service status and verify that it's running.
console$ sudo systemctl status mysql
Output:
● mysql.service - MySQL Community Server
     Loaded: loaded (/usr/lib/systemd/system/mysql.service; enabled; preset: enabled)
     Active: active (running) since Wed 2025-04-16 15:27:30 UTC; 3min 57s ago
    Process: 17396 ExecStartPre=/usr/share/mysql/mysql-systemd-start pre (code=exited, status=0/SUCCESS)
   Main PID: 17405 (mysqld)
     Status: "Server is operational"
      Tasks: 38 (limit: 9433)
     Memory: 384.9M (peak: 385.4M)
        CPU: 2.207s
     CGroup: /system.slice/mysql.service
             └─17405 /usr/sbin/mysqld
Log in to MySQL as the
rootdatabase user.console$ sudo mysql
Create a new
laravel_dbdatabase to use with Laravel.sqlmysql> CREATE DATABASE laravel_db;
Create a new
laravel_userMySQL user with a strong password.sqlmysql> CREATE USER laravel_user@localhost IDENTIFIED BY 'laravel_password';
Grant the
laravel_useruser full privileges to thelaravel_dbdatabase.sqlmysql> GRANT ALL PRIVILEGES ON laravel_db.* TO laravel_user@localhost;
Flush the MySQL permissions table to apply the changes.
sqlmysql> FLUSH PRIVILEGES;
Exit the MySQL shell.
sqlmysql> EXIT;
Configure the MySQL Database Connection in Laravel
Laravel uses a .env file to manage environment-specific configurations, including database credentials. Follow the steps below to update the file and migrate sample project data to the database.
Open the
.envfile in your Laravel project directory.console$ nano .env
Update the database configuration to include the MySQL credentials you created earlier.
iniDB_CONNECTION=mysql DB_HOST=127.0.0.1 DB_PORT=3306 DB_DATABASE=laravel_db DB_USERNAME=laravel_user DB_PASSWORD=laravel_password
Save and close the file.
The above database configurations enable Laravel to connect and write data to the backend MySQL database server
Migrate the Laravel project tables to your database.
console$ php artisan migrate
Output:
INFO  Preparing database.
Creating migration table ............................................................................................................ 13.77ms DONE

INFO  Running migrations.

0001_01_01_000000_create_users_table ................................................................................................ 41.38ms DONE
0001_01_01_000001_create_cache_table ................................................................................................ 13.94ms DONE
0001_01_01_000002_create_jobs_table ................................................................................................. 36.98ms DONE
Configure Laravel with Apache
Apache is an open-source web server application that serves web applications using your instance's IP address or domain. Follow the steps below to configure Laravel with Apache to serve your Laravel application using a virtual host configuration.
Install Apache if it's not installed.
console$ sudo apt install apache2 -y
View the Apache service status and verify that it's running.
console$ sudo systemctl status apache2
Output:
● apache2.service - The Apache HTTP Server
     Loaded: loaded (/usr/lib/systemd/system/apache2.service; enabled; preset: enabled)
     Active: active (running) since Wed 2025-04-16 15:25:03 UTC; 4min 4s ago
       Docs: https://httpd.apache.org/docs/2.4/
   Main PID: 16317 (apache2)
      Tasks: 6 (limit: 9433)
     Memory: 13.0M (peak: 13.5M)
        CPU: 75ms
     CGroup: /system.slice/apache2.service
             ├─16317 /usr/sbin/apache2 -k start
             ├─16327 /usr/sbin/apache2 -k start
             ├─16328 /usr/sbin/apache2 -k start
             ├─16329 /usr/sbin/apache2 -k start
             ├─16330 /usr/sbin/apache2 -k start
             └─16331 /usr/sbin/apache2 -k start
Navigate back to the user home directory.
console$ cd ~
Move the Laravel project directory to the Apache web root path.
console$ sudo mv myproject/ /var/www/
Set proper permissions for the Laravel project directory.
console$ sudo chown -R www-data:www-data /var/www/myproject && sudo chmod -R 755 /var/www/myproject
Create a new
laravel.confvirtual host configuration file.console$ sudo nano /etc/apache2/sites-available/laravel.conf
Add the following configurations to the file. Replace
app.example.comwith your actual domain pointing to the instance's IP address.ini<VirtualHost *:80> ServerAdmin admin@example.com ServerName app.example.com DocumentRoot /var/www/myproject/public <Directory /> Options FollowSymLinks AllowOverride None </Directory> <Directory /var/www/myproject> AllowOverride All Require all granted </Directory> ErrorLog ${APACHE_LOG_DIR}/error.log CustomLog ${APACHE_LOG_DIR}/access.log combined </VirtualHost>
Save and close the file.
Activate the rewrite module to enable Laravel to support clean URLs.
console$ sudo a2enmod rewrite
Disable the default virtual host configuration.
console$ sudo a2dissite 000-default.conf
Enable the Laravel virtual host configuration.
console$ sudo a2ensite laravel.conf
Reload Apache to apply configuration changes.
console$ sudo systemctl reload apache2
Allow HTTP traffic on port
80through the default firewall configuration.console$ sudo ufw allow 80/tcp
Install UFW and allow essential connections if it's not installed.
console$ sudo apt install ufw -y && sudo ufw allow ssh && sudo ufw allow 80/tcp
Reload UFW to apply the firewall changes.
console$ sudo ufw reload
Visit your
app.example.comdomain using a web browser such as Chrome and verify that the default Laravel welcome page displays.
Conclusion
You have deployed Laravel with Apache on Ubuntu 24.04. You installed PHP and created a dedicated database to use with Laravel. You can modify the default application configurations with your models, views, and controllers (MVC) supported by Laravel. Visit the Laravel documentation for more information and usage options.