
How to Deploy Matomo Analytics - An Opensource Google Analytics Alternative
Matomo is an open-source web analytics solution designed to preserve your site visitors' privacy. Unlike Google, you have full ownership of your data and control over where it is stored.
This article covers installing Matomo using its latest release file and Docker. Follow the installation method that best fits your setup.
Prerequisites
Before you begin, you need to:
- Have access to an Ubuntu 24.04 server as a non-root user with sudo privileges.
- Create an A record in your domain’s DNS pointing to your server’s IP address. This article uses
matomo.example.comfor demonstration. Replace all occurrences with your domain name.
Install Matomo
The Matomo release file is a ZIP archive that contains the web application code needed to deploy Matomo analytics. Follow the steps below on your Ubuntu server.
Update the apt package index.
console$ sudo apt update
Download the release file using
wget.console$ wget https://builds.matomo.org/matomo.zip -O matomo.zip
The release file is downloaded and saved as
matomo.zip.Extract the compressed file.
console$ sudo unzip matomo.zip -d /var/www/
This command extracts the files to
/var/www/and creates a directorymatomocontaining the web application files. The extracted files are owned by the userrootand grouproot.Set the file ownership for Matomo to the
www-datauser and group.console$ sudo chown -R www-data:www-data /var/www/matomo
Set the permissions to allow read, write, and execute for the user, read and execute for the group, and no permissions for others.
console$ sudo chmod 750 -R /var/www/matomo
The web server can now read, write, and execute all files in the Matomo directory.
Install LEMP
LEMP is a stack of Linux, Nginx web server, MySQL database, and PHP. Follow the steps below to set up the LEMP stack on your server.
Install Nginx.
console$ sudo apt install -y nginx
Allow Nginx on the UFW firewall.
console$ sudo ufw allow "Nginx Full"
Enable and start Nginx.
console$ sudo systemctl enable --now nginx
Verify Nginx is running by sending a request with
curl.console$ curl -I http://127.0.0.1
Output:
HTTP/1.1 200 OK
Server: nginx/1.24.0 (Ubuntu)
Date: Thu, 14 Aug 2025 14:06:05 GMT
Content-Type: text/html
Content-Length: 615
Last-Modified: Thu, 14 Aug 2025 14:04:40 GMT
Connection: keep-alive
ETag: "689decf8-267"
Accept-Ranges: bytes
Nginx is installed and running on port 80 (HTTP). To confirm, visit
http://SERVER_IPin the browser. SubstituteSERVER_IPwith your server's public IP.MariaDB is an open source database management system that is a drop-in replacement for MySQL. Install MariaDB.
console$ sudo apt install -y mariadb-server mariadb-client
Secure MariaDB by running the
mysql_secure_installationutility.console$ sudo mysql_secure_installation
- At the prompt to enter the MariaDB root user password, press
ENTERkey since there is no password set. Switch to unix_socket authentication [Y/n]- EnterYto accept the change.Change the root password? [Y/n]- EnterYto change the root account password.Remove anonymous users? [Y/n]- EnterYto remove anonymous users.Disallow root login remotely? [Y/n]- EnterYto disable remote login for your database.Remove test database and access to it? [Y/n]- EnterYto remove test database.Reload privilege tables now? [Y/n]- EnterYto reload the privileges to apply the changes.
- At the prompt to enter the MariaDB root user password, press
Enable the database service.
console$ sudo systemctl enable --now mariadb.service
Verify that MariaDB is running and ready to accept connections.
console$ sudo systemctl status mariadb.service
Sample output:
● mariadb.service - MariaDB 10.11.13 database server
     Loaded: loaded (/usr/lib/systemd/system/mariadb.service; enabled; preset: enabled)
     Active: active (running) since Wed 2025-08-06 19:30:10 UTC; 1min 34s ago
...
MariaDB is running and ready to handle connections.
Install PHP-FPM and required extensions.
console$ sudo apt-get install -y php-fpm php-curl php-gd php-cli php-mysql php-xml php-mbstring
This installs the PHP FastCGI Process Manager and the required extensions. PHP-FPM is necessary because Nginx cannot process PHP source files directly.
Enable the PHP-FPM service to start automatically at boot.
console$ sudo systemctl enable --now php8.3-fpm
Download the FastCGI configuration file to the Nginx configuration directory.
console$ sudo wget https://raw.githubusercontent.com/nginx/nginx/refs/heads/master/conf/fastcgi.conf -O /etc/nginx/conf.d/fastcgi.conf
The file is downloaded to the location
/etc/nginx/conf.d/.Download the Matomo configuration file for Nginx from GitHub:
console$ sudo wget https://raw.githubusercontent.com/matomo-org/matomo-nginx/refs/heads/master/sites-available/matomo.conf -O /etc/nginx/conf.d/matomo.conf
Edit the Matomo configuration file.
console$ sudo nano /etc/nginx/conf.d/matomo.conf
Edit and modify it to match the following example. Replace the
matomo.example.comvalue in theserver_namedirective with your actual domain name.iniserver { listen 80; server_name matomo.example.com; access_log /var/log/nginx/matomo.access.log; error_log /var/log/nginx/matomo.error.log; add_header Referrer-Policy origin always; add_header X-Content-Type-Options "nosniff" always; add_header X-XSS-Protection "1; mode=block" always; root /var/www/matomo/; index index.php; ## only allow accessing the following php files location ~ ^/(index|matomo|piwik|js/index|plugins/HeatmapSessionRecording/configs)\.php$ { include /etc/nginx/conf.d/fastcgi.conf; try_files $fastcgi_script_name =404; # protects against CVE-2019-11043. fastcgi_param HTTP_PROXY ""; # prohibit httpoxy: https://httpoxy.org/ fastcgi_pass unix:/var/run/php/php8.3-fpm.sock; #replace with the path to your PHP socket file #fastcgi_pass 127.0.0.1:9000; # uncomment if you are using PHP via TCP sockets (e.g. Docker container) } ## deny access to all other .php files location ~* ^.+\.php$ { deny all; return 403; } ## serve all other files normally location / { try_files $uri $uri/ =404; } ## disable all access to the following directories location ~ ^/(config|tmp|core|lang) { deny all; return 403; # replace with 404 to not show these directories exist } location ~ /\.ht { deny all; return 403; } location ~ js/container_.*_preview\.js$ { expires off; add_header Cache-Control 'private, no-cache, no-store'; } location ~ \.(gif|ico|jpg|png|svg|js|css|htm|html|mp3|mp4|wav|ogg|avi|ttf|eot|woff|woff2)$ { allow all; ## Cache images,CSS,JS and webfonts for an hour ## Increasing the duration may improve the load-time, but may cause old files to show after an Matomo upgrade expires 1h; add_header Pragma public; add_header Cache-Control "public"; } location ~ ^/(libs|vendor|plugins|misc|node_modules) { deny all; return 403; } ## properly display textfiles in root directory location ~/(.*\.md|LEGALNOTICE|LICENSE) { default_type text/plain; } }
Test the configuration.
console$ sudo nginx -t
If the configuration file has no issues, you'll get the output below.
nginx: the configuration file /etc/nginx/nginx.conf syntax is ok
nginx: configuration file /etc/nginx/nginx.conf test is successful
Reload Nginx.
console$ sudo systemctl reload nginx
Nginx is ready to handle incoming requests. However, you must install and configure the database server to store all the analytics data.
Create the Matomo Analytics Database
Before configuring Nginx to serve Matomo, you must create a database to store the data collected.
Connect to MySQL to start creating the database and user:
console$ mysql -u root -p
Enter the password you set as the MySQL root password earlier.
Create a database to store analytics data:
sqlMariaDB [(none)]> CREATE DATABASE matomo_analytics;
Create a dedicated user for Matomo:
sqlMariaDB [(none)]> CREATE USER 'matomo'@'localhost' IDENTIFIED VIA mysql_native_password USING PASSWORD('StrongP155word#');
Grant the user the required database permissions to manage analytics data.
sqlMariaDB [(none)]> GRANT SELECT, INSERT, UPDATE, DELETE, CREATE, INDEX, DROP, ALTER, CREATE TEMPORARY TABLES, LOCK TABLES ON matomo_analytics.* TO 'matomo'@'localhost';
Grant the
FILEprivilege for faster report archival:sqlMariaDB [(none)]> GRANT FILE ON *.* TO 'matomo'@'localhost';
Exit MariaDB.
sqlMariaDB [(none)]> exit;
Secure Matomo Analytics with Trusted SSL Certificates
To secure the Matomo analytics web interface, use certbot to deploy TLS certificates from Let's Encrypt.
Install the
certbotutility and Nginx plugin.console$ sudo apt install -y certbot python3-certbot-nginx
Deploy a certificate for your Matomo subdomain.
console$ sudo certbot --nginx -d matomo.example.com
- Enter a valid email address to receive certificate expiry alerts.
- Accept the terms of service for a certificate to be provisioned. You may decline subscribing to marketing emails from the Electronic Frontier Foundation.
Visit the
https://matomo.example.comwebpage in a web browser.
Follow the Docker installation steps from this article, then proceed with the steps below.
Add your user to the
dockergroup.console$ sudo usermod -aG docker $USER
Refresh the group membership.
console$ newgrp docker
Create a Matomo directory.
console$ mkdir matomo
Navigate to the created directory.
console$ cd matomo
Open ports 80 and 443 on your firewall for TCP connections.
console$ sudo ufw allow 80/tcp $ sudo ufw allow 443/tcp
Create an environment file for secure configuration.
console$ nano .env
Add the following environment variables to the file.
iniMYSQL_ROOT_PASSWORD=your_strong_mysql_root_password MYSQL_PASSWORD=your_strong_mysql_matomo_password
Replace the placeholder values with strong passwords (minimum 16 characters).
Create a directory to store the Nginx configuration file.
console$ mkdir nginx
Create the Nginx configuration file.
console$ nano nginx/matomo.conf
Add the following configuration to the file.
iniserver { listen 80; server_name matomo.example.com; location /.well-known/acme-challenge/ { root /var/www/certbot; } location / { return 301 https://$host$request_uri; } } server { listen 443 ssl http2; server_name matomo.example.com; ssl_certificate /etc/letsencrypt/live/matomo.example.com/fullchain.pem; ssl_certificate_key /etc/letsencrypt/live/matomo.example.com/privkey.pem; location / { proxy_pass http://app:80; proxy_set_header Host $host; proxy_set_header X-Real-IP $remote_addr; proxy_set_header X-Forwarded-For $proxy_add_x_forwarded_for; proxy_set_header X-Forwarded-Proto $scheme; } }
Replace every occurrence ofNotematomo.example.comwith your domain name in the configuration file. It appears in both server blocks, including the SSL certificate and key paths in the second block.Create a Docker compose file.
console$ nano docker-compose.yaml
Add the following contents to the file.
yamlservices: db: image: mariadb:11.4 command: --max-allowed-packet=64MB restart: always volumes: - matomo-db-data:/var/lib/mysql environment: - MYSQL_ROOT_PASSWORD=${MYSQL_ROOT_PASSWORD} - MYSQL_DATABASE=matomo - MYSQL_USER=matomo - MYSQL_PASSWORD=${MYSQL_PASSWORD} networks: - matomo-net app: image: matomo restart: always depends_on: - db volumes: - matomo-app-data:/var/www/html environment: - MATOMO_DATABASE_HOST=db - MATOMO_DATABASE_USERNAME=matomo - MATOMO_DATABASE_PASSWORD=${MYSQL_PASSWORD} - MATOMO_DATABASE_DBNAME=matomo networks: - matomo-net nginx: image: nginx:alpine restart: always ports: - "80:80" - "443:443" volumes: - ./nginx/matomo.conf:/etc/nginx/conf.d/default.conf - certbot-etc:/etc/letsencrypt - certbot-www:/var/www/certbot depends_on: - app networks: - matomo-net certbot: image: certbot/certbot volumes: - certbot-etc:/etc/letsencrypt - certbot-www:/var/www/certbot volumes: matomo-db-data: matomo-app-data: certbot-etc: certbot-www: networks: matomo-net:
Start the
dbandappfirst.console$ docker compose up -d db app
Ensure the certificates are available in the specified locations before starting the
nginxapplication. Run the Certbot service to request the certificate.console$ docker compose run --rm -p "80:80" certbot certonly --standalone -d matomo.example.com --email email@example.com --agree-tos --no-eff-email
Start the
nginxapplication.console$ docker compose up -d nginx
Configure Matomo Analytics
After installing Matomo directly on the operating system or in Docker, visit https://matomo.example.com to start configuring your installation. The default page lists the steps you need to perform before you can use Matomo with a progress bar on the top right corner.
Click Next on the welcome page.
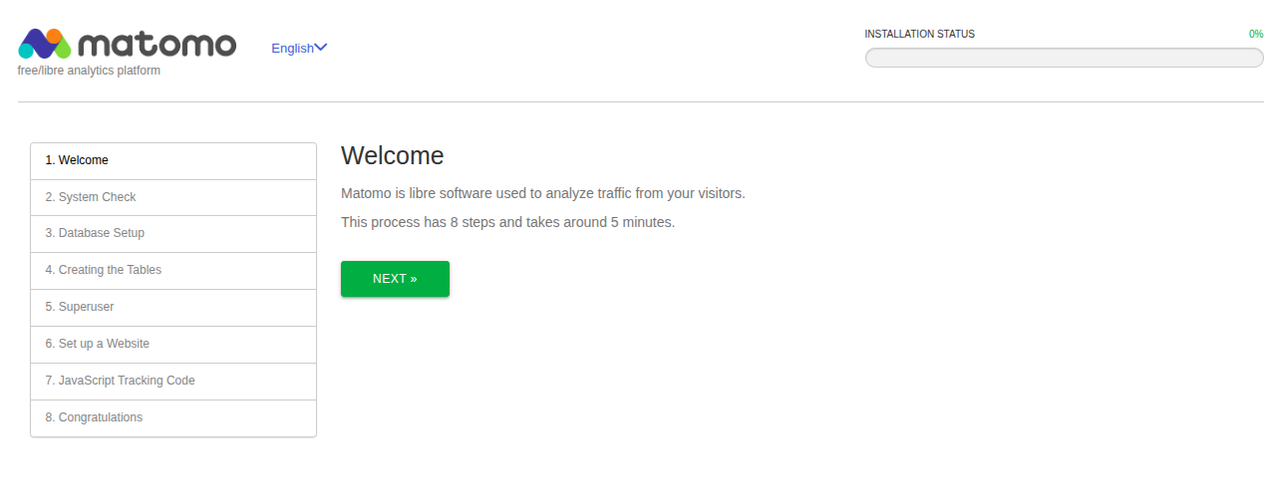
Matomo checks the system configuration to verify that it meets the installation prerequisites. This includes properties such as the Matomo version, PHP version, memory limit, and required extensions.
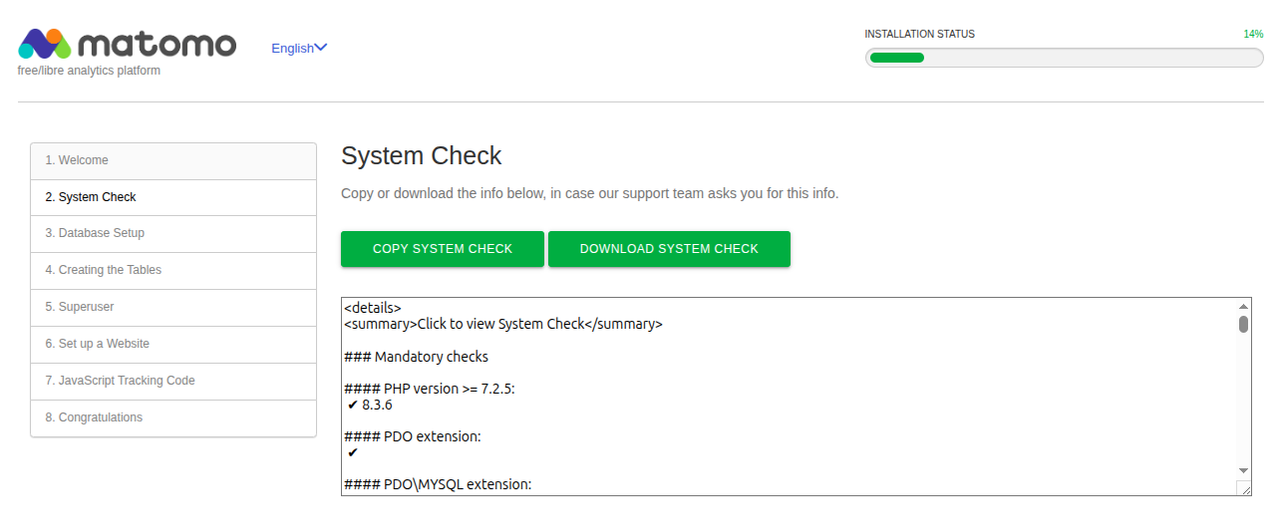
Scroll down and click Next.
On the third step, configure the database parameters. Enter the details you provided during the Matomo installation. Enter the database server as
dbfor Docker installation and provide your defined password.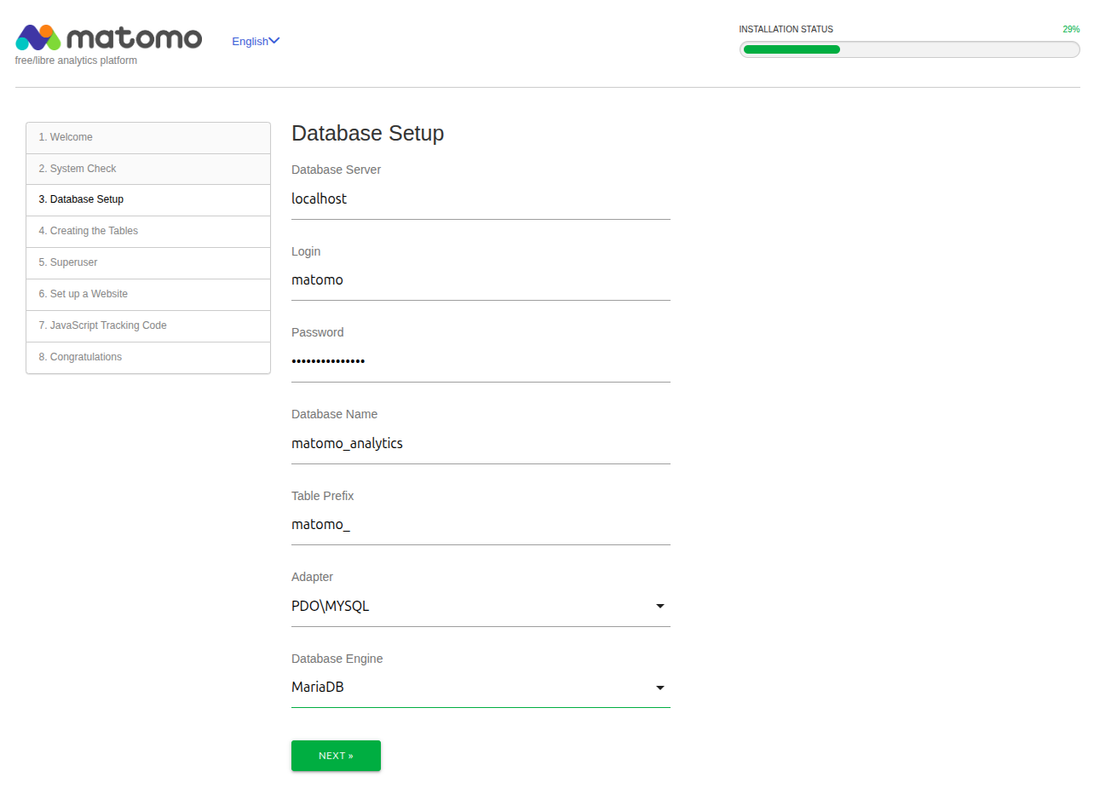
Matomo creates the necessary tables. Click Next to proceed to set a Superuser account.

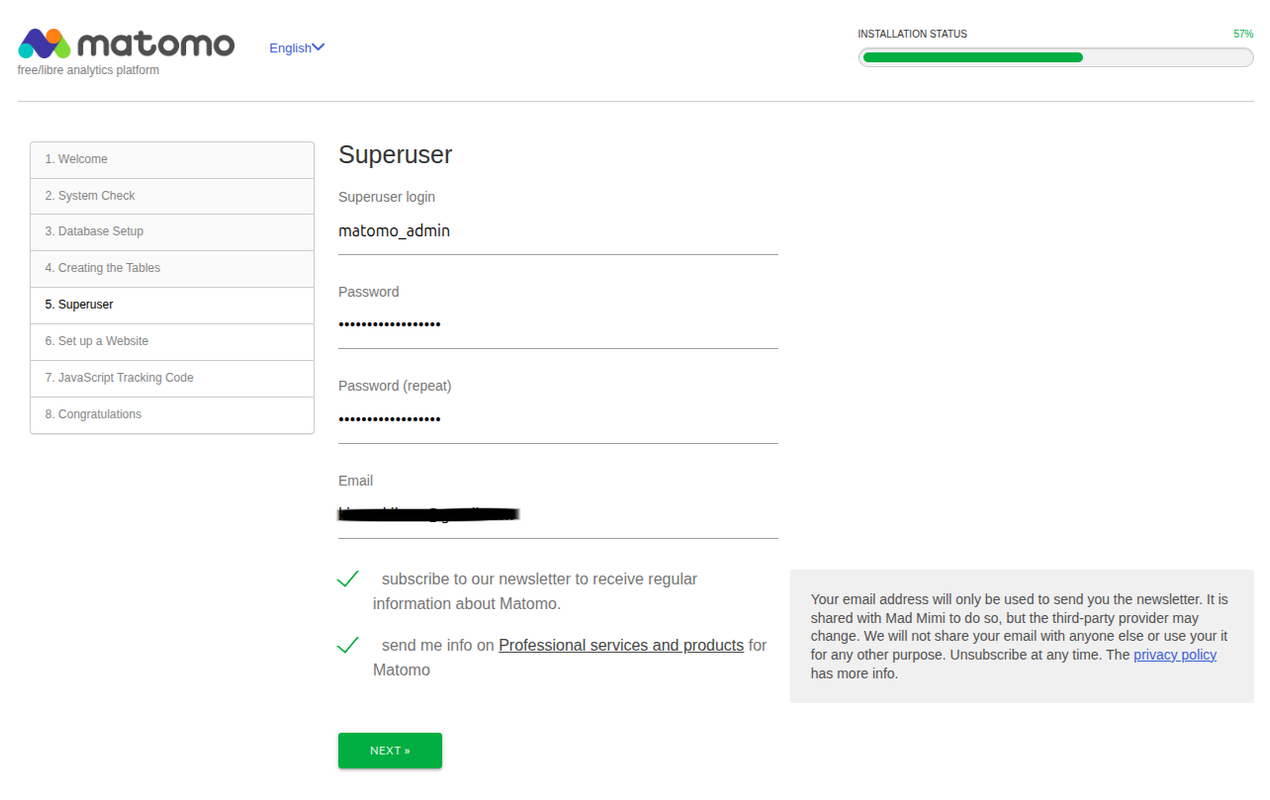
Set up the Superuser, an administrative account with unrestricted access. Choose a username, a secure password, and enter your email address. You may opt into emails by checking the confirmation boxes.
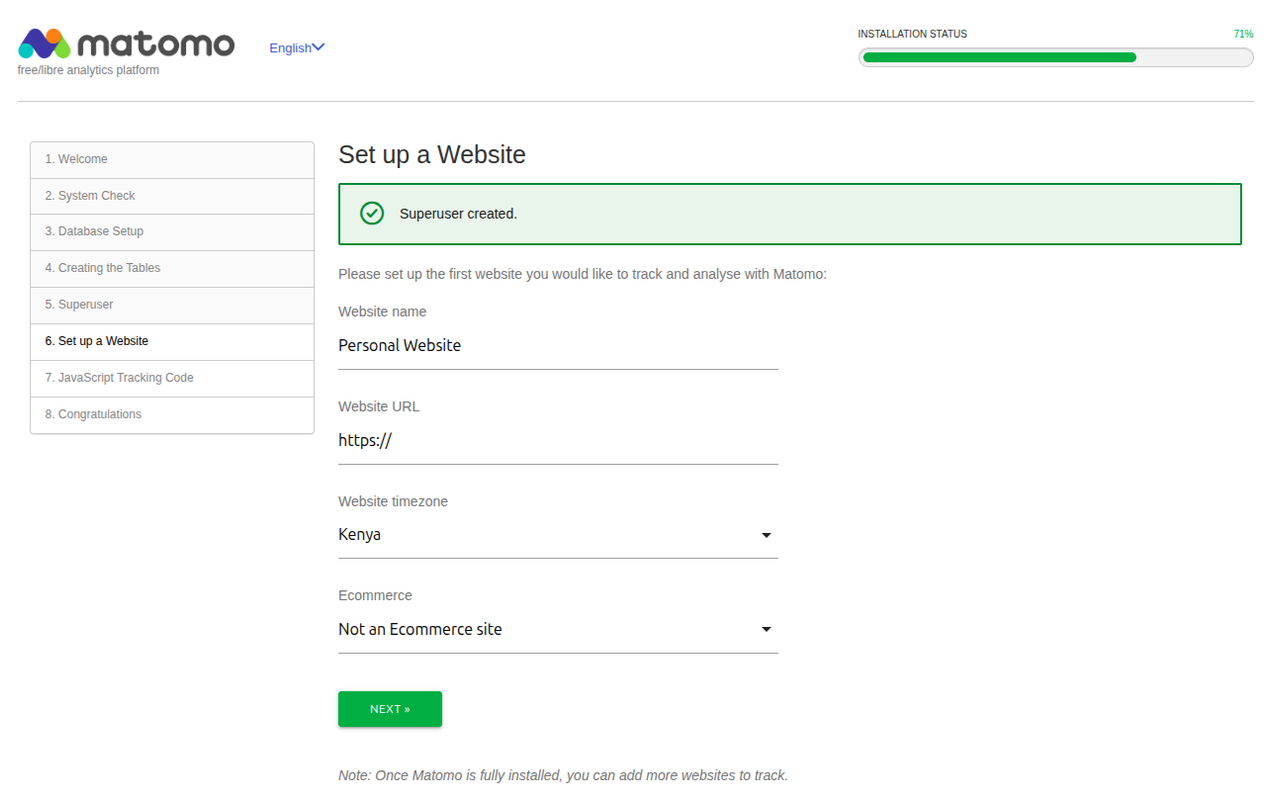
Enter the details of the first website, including a name, URL, and timezone. Specify whether it is an e-commerce site as well.
Copy the generated tracking code and paste it just before the closing
</head>tag on your website pages.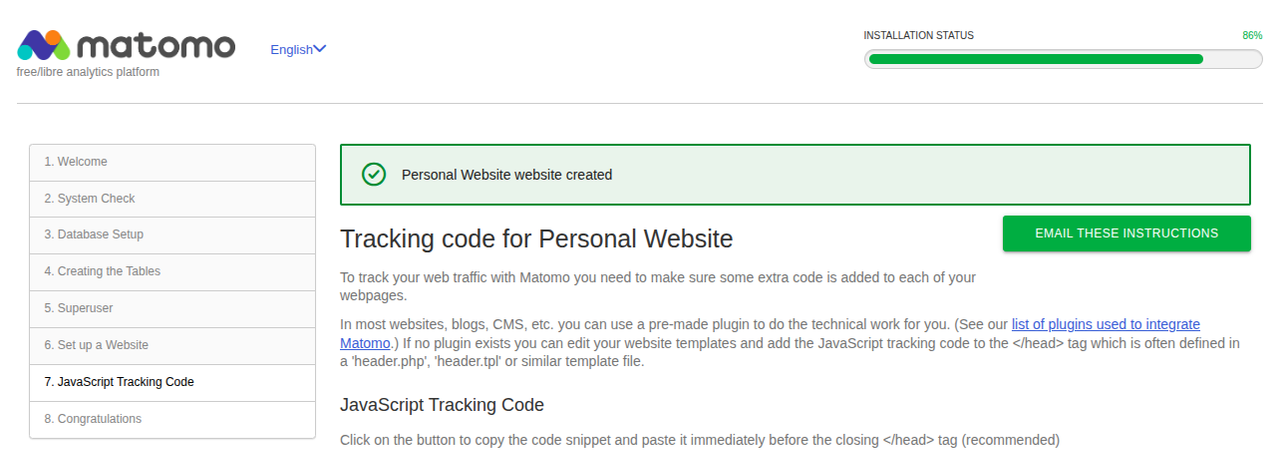
You have set up tracking for your first website.
Continue to the final page, which summarizes the setup. You can then proceed to the sign-in page. Enter the superuser credentials created earlier.
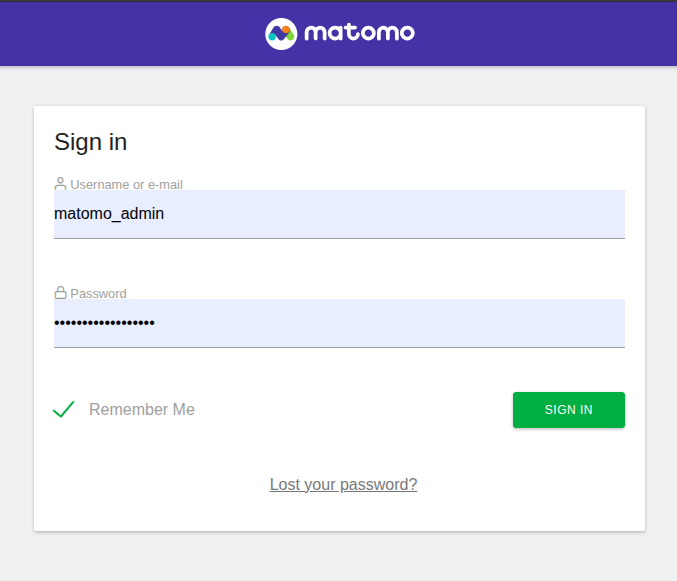
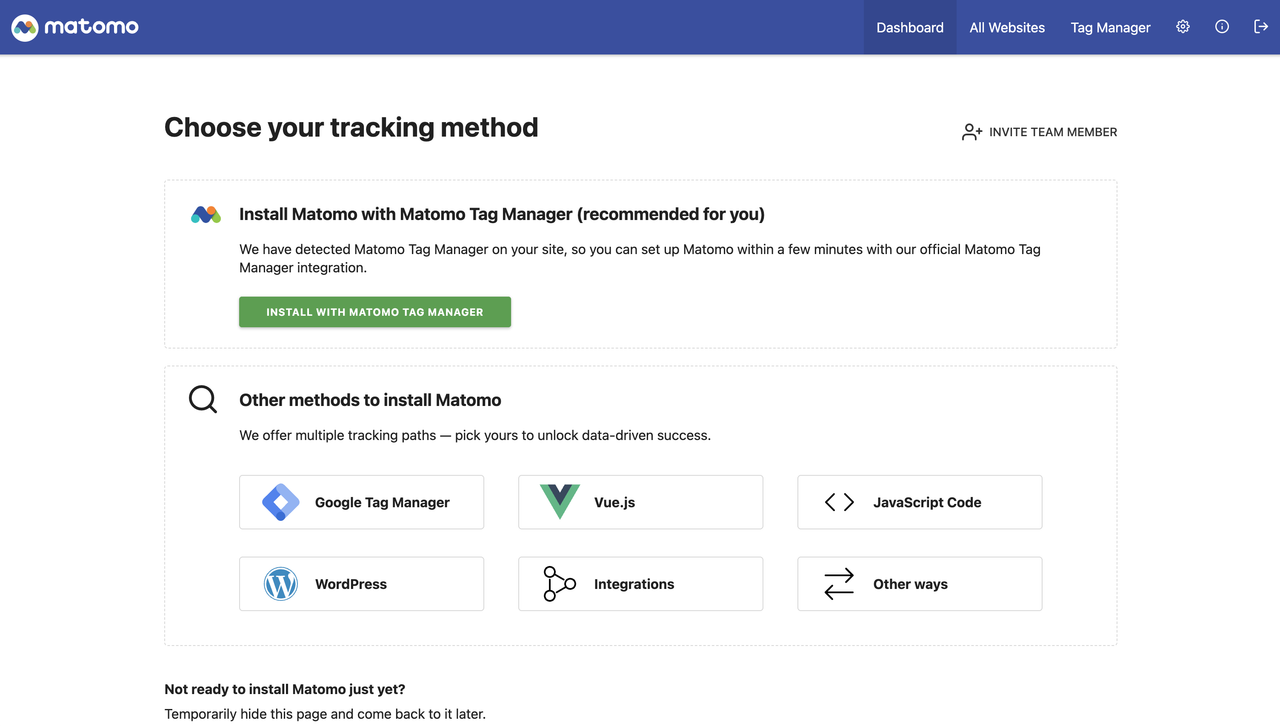
Upon successful login, the Matomo dashboard loads, where you can explore additional ways to add tracking to your websites.
Conclusion
In this article, you have learned how to install Matomo analytics on an Ubuntu server using its latest release file and Docker. You have also learned to perform the initial setup to create a superuser account. The superuser can create more accounts on the system and grant limited access to specific domains for every user.
The Matomo website has additional resources to help you learn more and increase your proficiency. Visit the Matomo help page to explore documents and video materials to kickstart your journey.