How to Deploy Outline - Open-Source Knowledge Base Platform
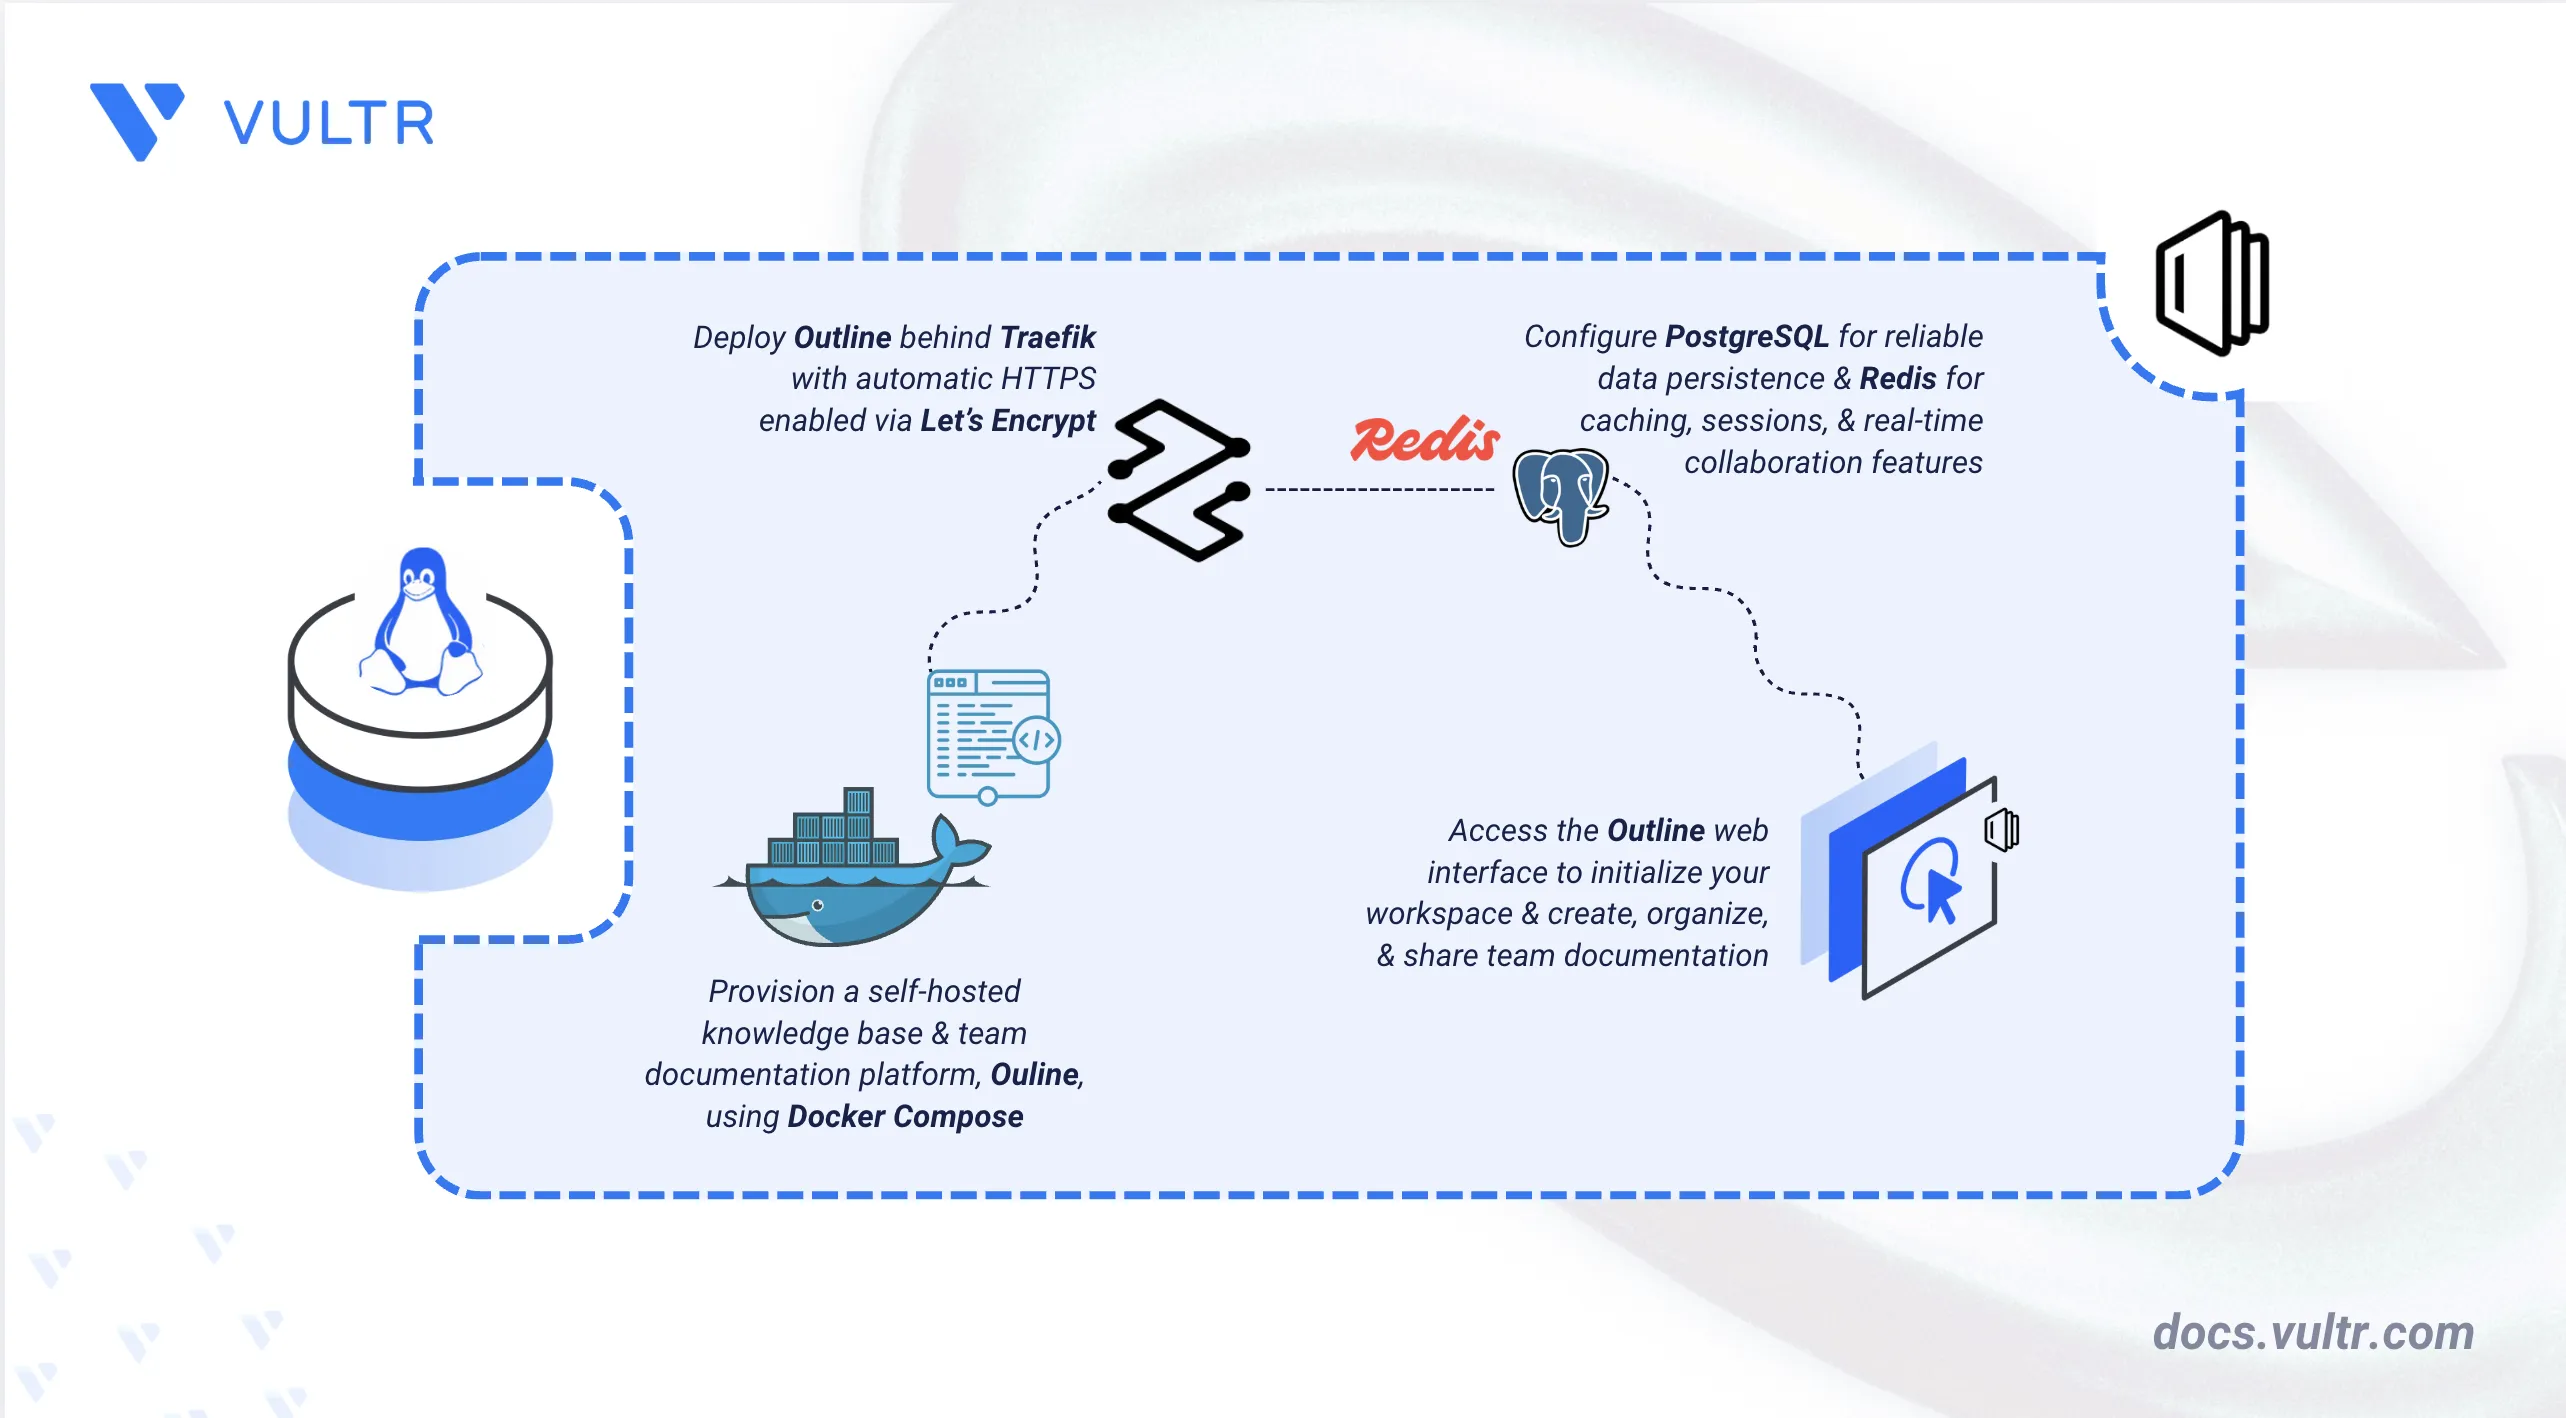
Outline is an open-source knowledge base and team documentation platform designed for creating, organizing, and sharing internal documentation. It provides a clean and collaborative writing experience, real-time editing, collections for structured content, and integrations with popular authentication providers.
This article explains how to deploy Outline on a Linux server using Docker Compose with PostgreSQL as the database, Redis for caching, and Traefik for automatic HTTPS with Let's Encrypt. It covers directory setup, environment configuration, accessing the web interface, and creating team documentation within your workspace.
Prerequisites
Before you begin, you need to:
- Have access to a Linux-based server with a minimum of 2 CPU cores and 4 GB RAM as a non-root user with sudo privileges.
- Install Docker and Docker Compose.
- Create a DNS A record pointing to your server's IP address (for example,
outline.example.com). - (Optional) Have SMTP credentials for email authentication. Outline can run without SMTP, but features like user invitations, password resets, and email notifications require it.
Set Up the Directory Structure, Configuration, and Environment Variables
Outline requires a project directory with persistent storage for the database, uploads, and certificates. Environment variables control the application configuration and service connections.
Create the project directory.
CONSOLEdata/: Stores Outline attachments, uploads, and other file-based data.pgdata/: Persists PostgreSQL database files.redis/: Stores Redis data for caching and sessions.letsencrypt/: Stores Traefik ACME certificates for HTTPS renewal.
Navigate to the project directory.
CONSOLEGenerate strong random secrets for the application.
CONSOLERun the command twice and save both outputs. Use one value for
SECRET_KEYand the other forUTILS_SECRETin the next steps.Create the environment file.
CONSOLEAdd the following configuration. Replace
outline.example.comwith your domain name,admin@example.comwith your email address,STRONG_DATABASE_PASSWORDwith a secure password, and the secret placeholders with the generated values.INISave and close the file.
Note
Outline can start and run without SMTP configured, but features such as user invitations, password resets, email notifications, and sharing documents via email require a working SMTP configuration. Uncomment and configure the SMTP variables for a production deployment.
Deploy with Docker Compose
Docker Compose orchestrates Outline with PostgreSQL as the backend database, Redis for caching, and Traefik as the reverse proxy for automatic HTTPS. This configuration is based on the official Outline Docker Compose example, adapted to use environment variables and persistent storage.
Create the Docker Compose file.
CONSOLEAdd the following configuration.
YAMLSave and close the file.
In the above manifest:
- traefik: Serves as the reverse proxy and TLS termination point. It listens on ports 80 and 443, automatically redirects HTTP to HTTPS, and provisions Let's Encrypt certificates using the email address defined in
LETSENCRYPT_EMAIL. - postgres: Runs PostgreSQL 16 as the primary database. It uses credentials from the
.envfile and includes a health check to ensure readiness before Outline starts. - redis: Runs Redis 7 (Alpine) for caching, sessions, and real-time features. Data persists in the
./redisdirectory. - outline: Runs the official Outline application, loads configuration from the
.envfile, connects to PostgreSQL and Redis, and registers with Traefik for secure domain access.
- traefik: Serves as the reverse proxy and TLS termination point. It listens on ports 80 and 443, automatically redirects HTTP to HTTPS, and provisions Let's Encrypt certificates using the email address defined in
Start all services in detached mode.
CONSOLEVerify that all containers are running.
CONSOLEThe output displays four running containers: Outline, PostgreSQL, Redis, and Traefik. Outline, PostgreSQL, and Redis show a healthy state; Traefik shows as running since it has no configured health check.
View the logs for the services.
CONSOLEFor more information on managing a Docker Compose stack, see the How To Use Docker Compose article.
Access and Configure the Outline Web Interface
After deployment, access Outline through your domain and complete the initial workspace setup.
Replace
outline.example.comwith your configured domain and openhttps://outline.example.comin a web browser.On the Create Workspace screen, enter your Workspace name, Admin name, and Admin email to create the super admin account.
Click Continue.
Application Use Case
Collections organize documents into categories, and documents support real-time collaborative editing. This section demonstrates creating a collection, publishing a document, and inviting team members.
Create a Collection
A collection groups related documents under a shared access policy.
In the left sidebar, click New Collection and enter a name (for example,
March Articles).Choose the default access level: Can edit (members can view and edit), View only (members can only read), or No access (only explicitly invited users can access).
Click Advanced options to configure template permissions, public sharing, and commenting settings.
Click Create.
Create a Document
Documents live inside a collection and support real-time collaborative editing.
From the upper right, click + New doc.
Enter a document title (for example,
How to Deploy Outline).Use the rich text editor to write content. Type
/to insert headings, lists, tables, or code blocks.
Invite Team Members
Invitations grant workspace access with a role that controls what each member can do.
From the bottom-left of the sidebar, click + Invite people.
Select a role for each invite: Admin (manage workspace settings), Editor (create and edit documents), or Viewer (view and comment).
Enter the email address and name for each person. Click + Add another to invite multiple people.
Click Send Invites.
Note
Inviting team members via email requires a working SMTP configuration in your .env file. If SMTP is not configured, invitations are not sent. Alternatively, share documents via public links or manually create accounts for users.
Conclusion
You have deployed Outline on a Linux server using Docker Compose with PostgreSQL for data storage, Redis for caching, and Traefik for automatic HTTPS. Your self-hosted instance provides a collaborative knowledge base with real-time editing, document collections, and team sharing while keeping data on your own infrastructure. For more information and advanced configuration, refer to the official Outline documentation.
Tags:Open Source


0 Comments
Be the first to comment and share your perspective with the community.