
How to Deploy Overleaf – Open-Source LaTeX Collaboration Platform
Overleaf is an open-source LaTeX editor with a browser-based interface. It supports real-time collaboration, allowing multiple users to edit the same LaTeX document simultaneously. The Community Edition is the self-hosted variant, built for deployment on private infrastructure.
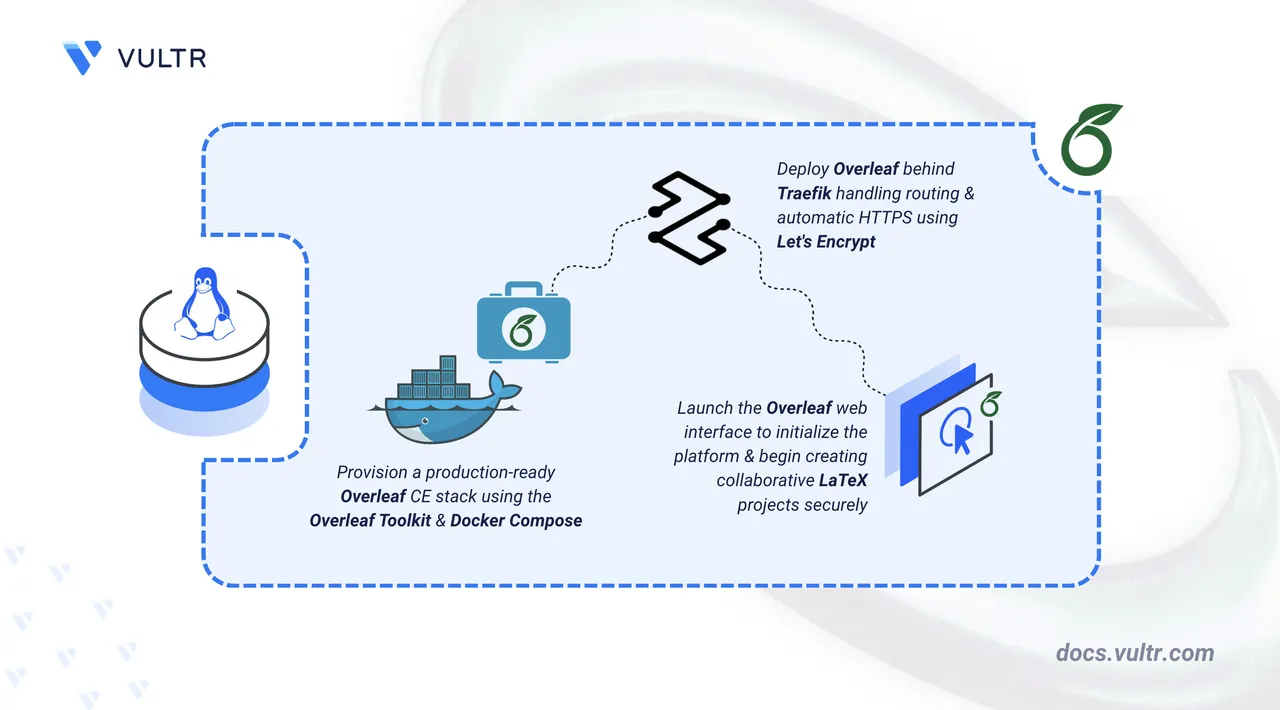
This article covers the deployment of Overleaf Community Edition on Linux using Docker Compose. It explains how to configure the Overleaf Toolkit and secure the installation with HTTPS using a Traefik reverse proxy.
Prerequisites
Before you begin, you need to:
- Have access to a Linux based server as a non-root user with sudo privileges.
- Install Docker and Docker Compose.
- Create a DNS A record pointing to your server's IP address (for example,
overleaf.example.com).
Set Up the Directory Structure, Configuration, and Environment Variables
The Overleaf Toolkit manages MongoDB, Redis, and the Overleaf application as a single Docker Compose stack. Application configuration resides in config/overleaf.rc and config/variables.env. A separate Traefik container handles TLS termination and certificate provisioning through Let's Encrypt.
Clone the official Overleaf Toolkit repository to your home directory.
console$ git clone https://github.com/overleaf/toolkit.git ~/overleaf-toolkit
Switch to the Overleaf Toolkit directory.
console$ cd ~/overleaf-toolkit
Initialize the configuration files using the provided initialization script.
console$ bin/initThe above command creates a
configdirectory with three configuration files:overleaf.rc: The main configuration file that controls top-level settings for your Overleaf instance.variables.env: Environment variables that are loaded into the Docker containers.version: Specifies the version of the Overleaf Docker images to use.
Create the directory for the Traefik route configuration.
console$ mkdir traefik-routes
Open the
variables.envfile using a text editor.console$ nano config/variables.env
Locate the Overleaf configuration variables and update them as follows:
- Set a custom application name.
- Uncomment and configure the required site and proxy settings.
- Replace
overleaf.example.comwith your actual domain name.
iniOVERLEAF_APP_NAME="My Overleaf Instance" OVERLEAF_SITE_URL=https://overleaf.example.com OVERLEAF_NAV_TITLE="Overleaf CE" OVERLEAF_BEHIND_PROXY=true OVERLEAF_SECURE_COOKIE=true
Save and close the file.
NoteOVERLEAF_BEHIND_PROXYandOVERLEAF_SECURE_COOKIEare required when Overleaf runs behind a reverse proxy. Omitting these causes cookie and redirect failures under HTTPS.Open the main
overleaf.rcconfiguration file.console$ nano config/overleaf.rc
Set
SIBLING_CONTAINERS_ENABLEDtofalse. The Community Edition does not support sibling containers. Leaving this enabled prevents the application from starting.iniSIBLING_CONTAINERS_ENABLED=false
Save and close the file.
The
overleaf.rcfile controls:OVERLEAF_DATA_PATH: Directory where Overleaf stores project data.SIBLING_CONTAINERS_ENABLED: Must be set tofalsefor the Community Edition.MONGO_ENABLED: Enables the bundled MongoDB container.REDIS_ENABLED: Enables the bundled Redis container for caching.OVERLEAF_PORT: The port the Overleaf container listens on.
Create a
.envfile in the toolkit directory to store the shared environment variables. Replace the values as indicated below.console$ nano .env
Add the following environment variables:
iniDOMAIN=overleaf.example.com LETSENCRYPT_EMAIL=admin@example.com SERVER_IP=192.0.2.1
Replace:
overleaf.example.comwith your registered domain name.admin@example.comwith your email address.192.0.2.1with your server's public IP address.
Save and close the file.
Create the Traefik route file for Overleaf.
console$ nano traefik-routes/overleaf.yml
Add the following configuration. Replace
overleaf.example.comwith your registered domain name:yamlhttp: routers: overleaf: rule: "Host(`overleaf.example.com`)" service: overleaf entryPoints: - websecure tls: certResolver: le services: overleaf: loadBalancer: servers: - url: "http://sharelatex:80"
Save and close the file.
The Overleaf Toolkit does not add Traefik labels to its generated containers. This static route file tells Traefik how to reach the
sharelatexcontainer on the internal Docker network without requiring labels.Create the Docker Compose file for the Traefik container.
console$ nano docker-compose.traefik.yml
Add the following manifest:
yamlservices: traefik: image: traefik:v3.6 container_name: traefik restart: unless-stopped command: - "--providers.docker=true" - "--providers.docker.exposedbydefault=false" - "--providers.file.directory=/etc/traefik/routes" - "--entrypoints.web.address=:80" - "--entrypoints.websecure.address=:443" - "--entrypoints.web.http.redirections.entrypoint.to=websecure" - "--entrypoints.web.http.redirections.entrypoint.scheme=https" - "--certificatesresolvers.le.acme.httpchallenge=true" - "--certificatesresolvers.le.acme.httpchallenge.entrypoint=web" - "--certificatesresolvers.le.acme.email=${LETSENCRYPT_EMAIL}" - "--certificatesresolvers.le.acme.storage=/letsencrypt/acme.json" ports: - "${SERVER_IP}:80:80" - "${SERVER_IP}:443:443" volumes: - /var/run/docker.sock:/var/run/docker.sock:ro - ./letsencrypt:/letsencrypt - ./traefik-routes:/etc/traefik/routes networks: - overleaf_default networks: overleaf_default: external: true
Save and close the file.
Traefik joins the
overleaf_defaultnetwork that the Overleaf Toolkit creates. Binding the host ports to the server's public IP avoids a conflict with the Overleaf container, which binds to127.0.0.1on the same host. Port 80 handles the Let's Encrypt HTTP challenge and the HTTP-to-HTTPS redirect. Port 443 serves all proxied HTTPS traffic.
Deploy with Docker Compose
The Overleaf Toolkit starts MongoDB, Redis, and the Overleaf application container. Traefik runs as a separate service on the same Docker network and handles TLS termination.
bin/ directory before running them to understand their functionality.
Add your user account to the
dockergroup to run Docker commands withoutsudo. This is required for the Overleaf Toolkit scripts to function correctly.console$ sudo usermod -aG docker $USER
Apply the new group membership to your current session.
console$ newgrp docker
Run the Overleaf Toolkit doctor script to verify all dependencies are installed correctly.
console$ bin/doctorThe output displays the host information, dependency checks, and the Docker daemon status. Verify that all dependencies show
status: presentand the Docker daemon showsstatus: up.The warning aboutNoteSIBLING_CONTAINERS_ENABLED=falseis expected for the Community Edition. It indicates that users have full access to thesharelatexcontainer resources during LaTeX compiles. Only use this mode in environments where all users are trusted.Start the Overleaf containers in detached mode.
console$ bin/up -d
This command starts the following services:
sharelatex: The main Overleaf application container.mongo: MongoDB database for storing user data and project metadata.redis: Redis server for caching and session management.
Check the status of all running containers.
console$ bin/docker-compose ps
Output:
NAME         IMAGE                         STATUS
mongo        mongo:8.0                     Up (healthy)
redis        redis:7.4                     Up
sharelatex   sharelatex/sharelatex:6.1.0   Up
Start the Traefik reverse proxy container.
console$ docker compose -f docker-compose.traefik.yml up -d
Verify that the Traefik container is running.
console$ docker compose -f docker-compose.traefik.yml ps
Output:
NAME      IMAGE            STATUS
traefik   traefik:v3.6     Up
Confirm that Traefik has applied the route and provisioned the TLS certificate by checking the logs.
console$ docker compose -f docker-compose.traefik.yml logs traefik
The log output contains entries indicating that the route was applied and the certificate was obtained from Let's Encrypt. Initial certificate provisioning may take a few seconds after the container starts.
Access and Configure Overleaf
Overleaf requires an administrator account before you can create LaTeX projects. The registration page is available at the /launchpad path on first access.
Open your browser and navigate to the Overleaf launchpad page. Replace
overleaf.example.comwith your registered domain name.https://overleaf.example.com/launchpadEnter an email address and a strong password in the registration form.
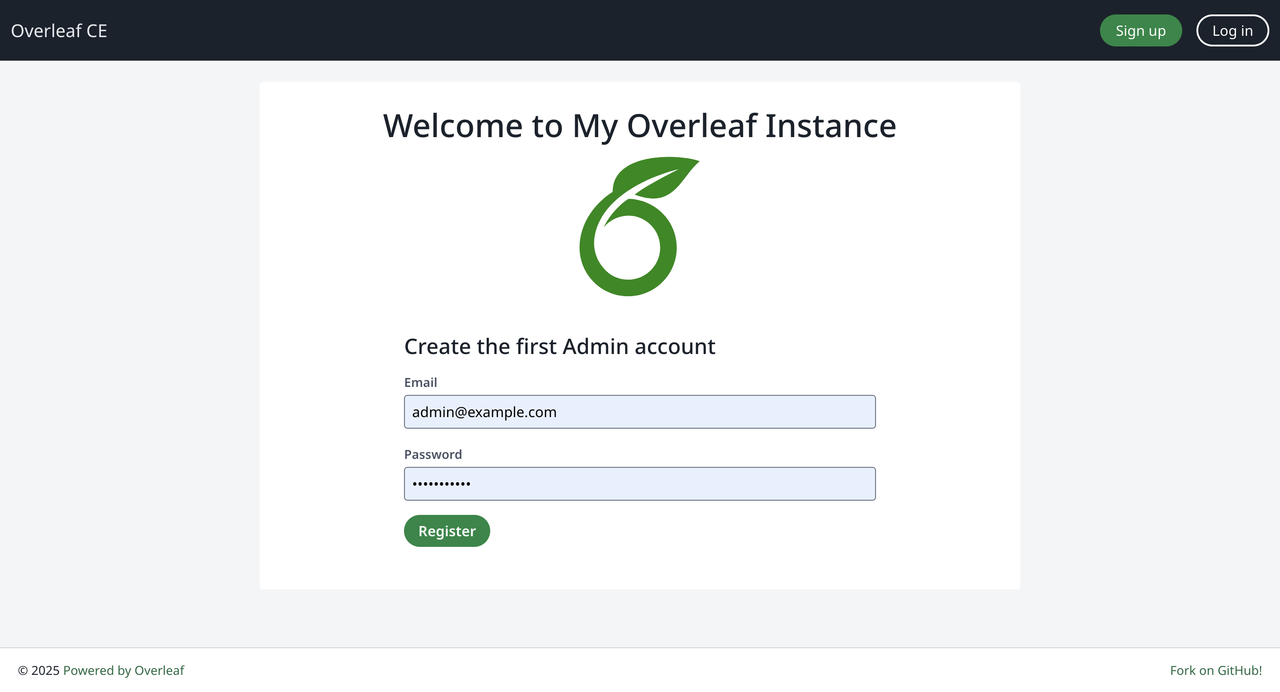
Click Register to create the administrator account. You are redirected to the login page.
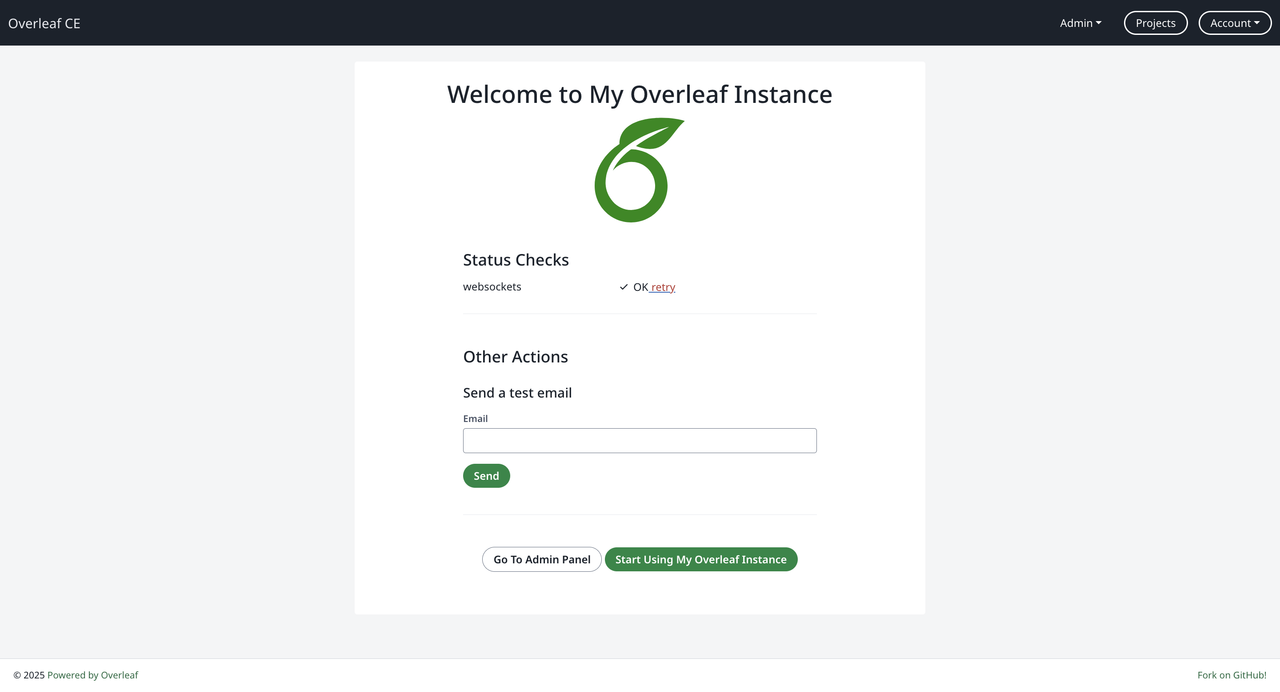
Enter your administrator email and password to log in to Overleaf. The welcome page displays after a successful login.
Create Additional Users
Navigate to the Admin panel. Replace
overleaf.example.comwith your registered domain name.https://overleaf.example.com/adminClick Manage Users to view the user management interface.
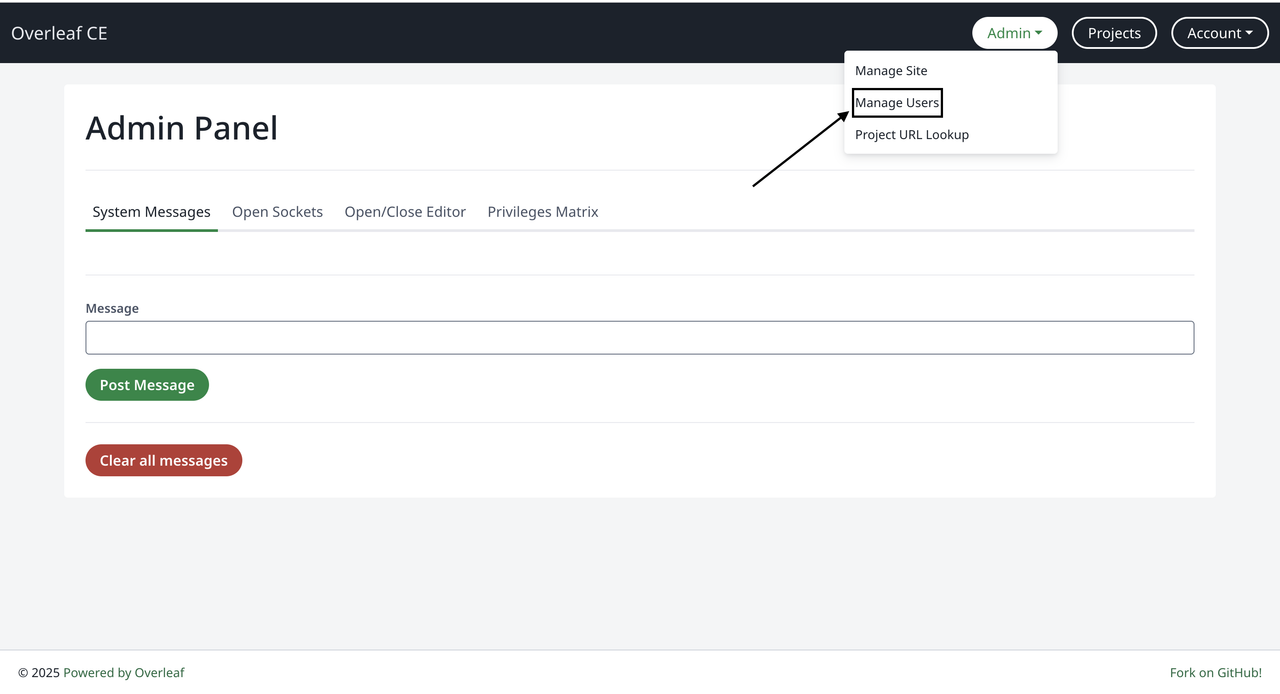
Use the user management interface to create new user accounts or manage existing users.
Create and Compile a LaTeX Project
Overleaf supports multiple simultaneous projects. Each project has its own editor and a PDF compilation pipeline that runs inside the sharelatex container.
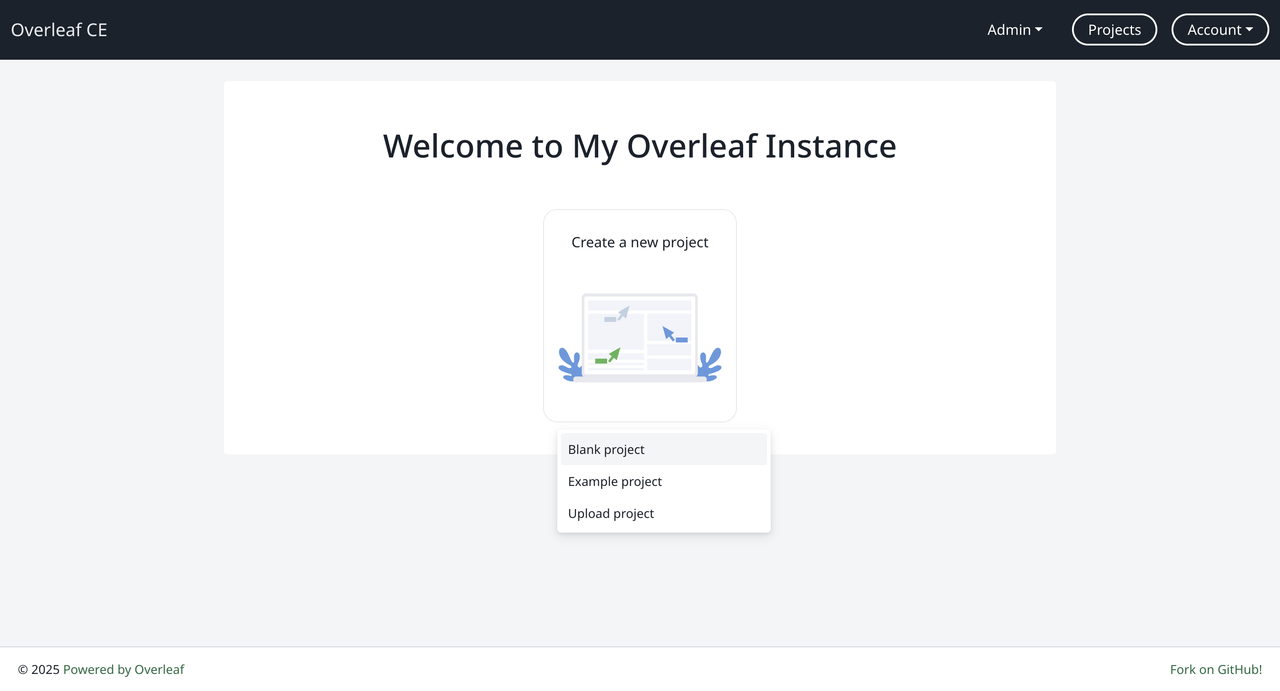
Navigate to the Overleaf project dashboard. Replace
overleaf.example.comwith your registered domain name.https://overleaf.example.com/projectClick Create a new project and select Example project from the available options.
Enter a name for your project, such as
My First Document, and click Create.The editor opens with a default LaTeX template.
Make some changes, then click Recompile to compile the document.
Verify that the PDF preview panel displays the compiled document.
Click Download PDF to download the compiled document to your workstation.
Conclusion
You have deployed Overleaf Community Edition on Ubuntu 24.04 using Docker Compose and secured the installation with HTTPS through a Traefik reverse proxy. The platform manages MongoDB, Redis, and the Overleaf application, with TLS certificates provisioned and renewed automatically through Let's Encrypt. For more information, refer to the official Overleaf Toolkit documentation.