How to Deploy Penpot - Open-Source Design and Prototyping Platform
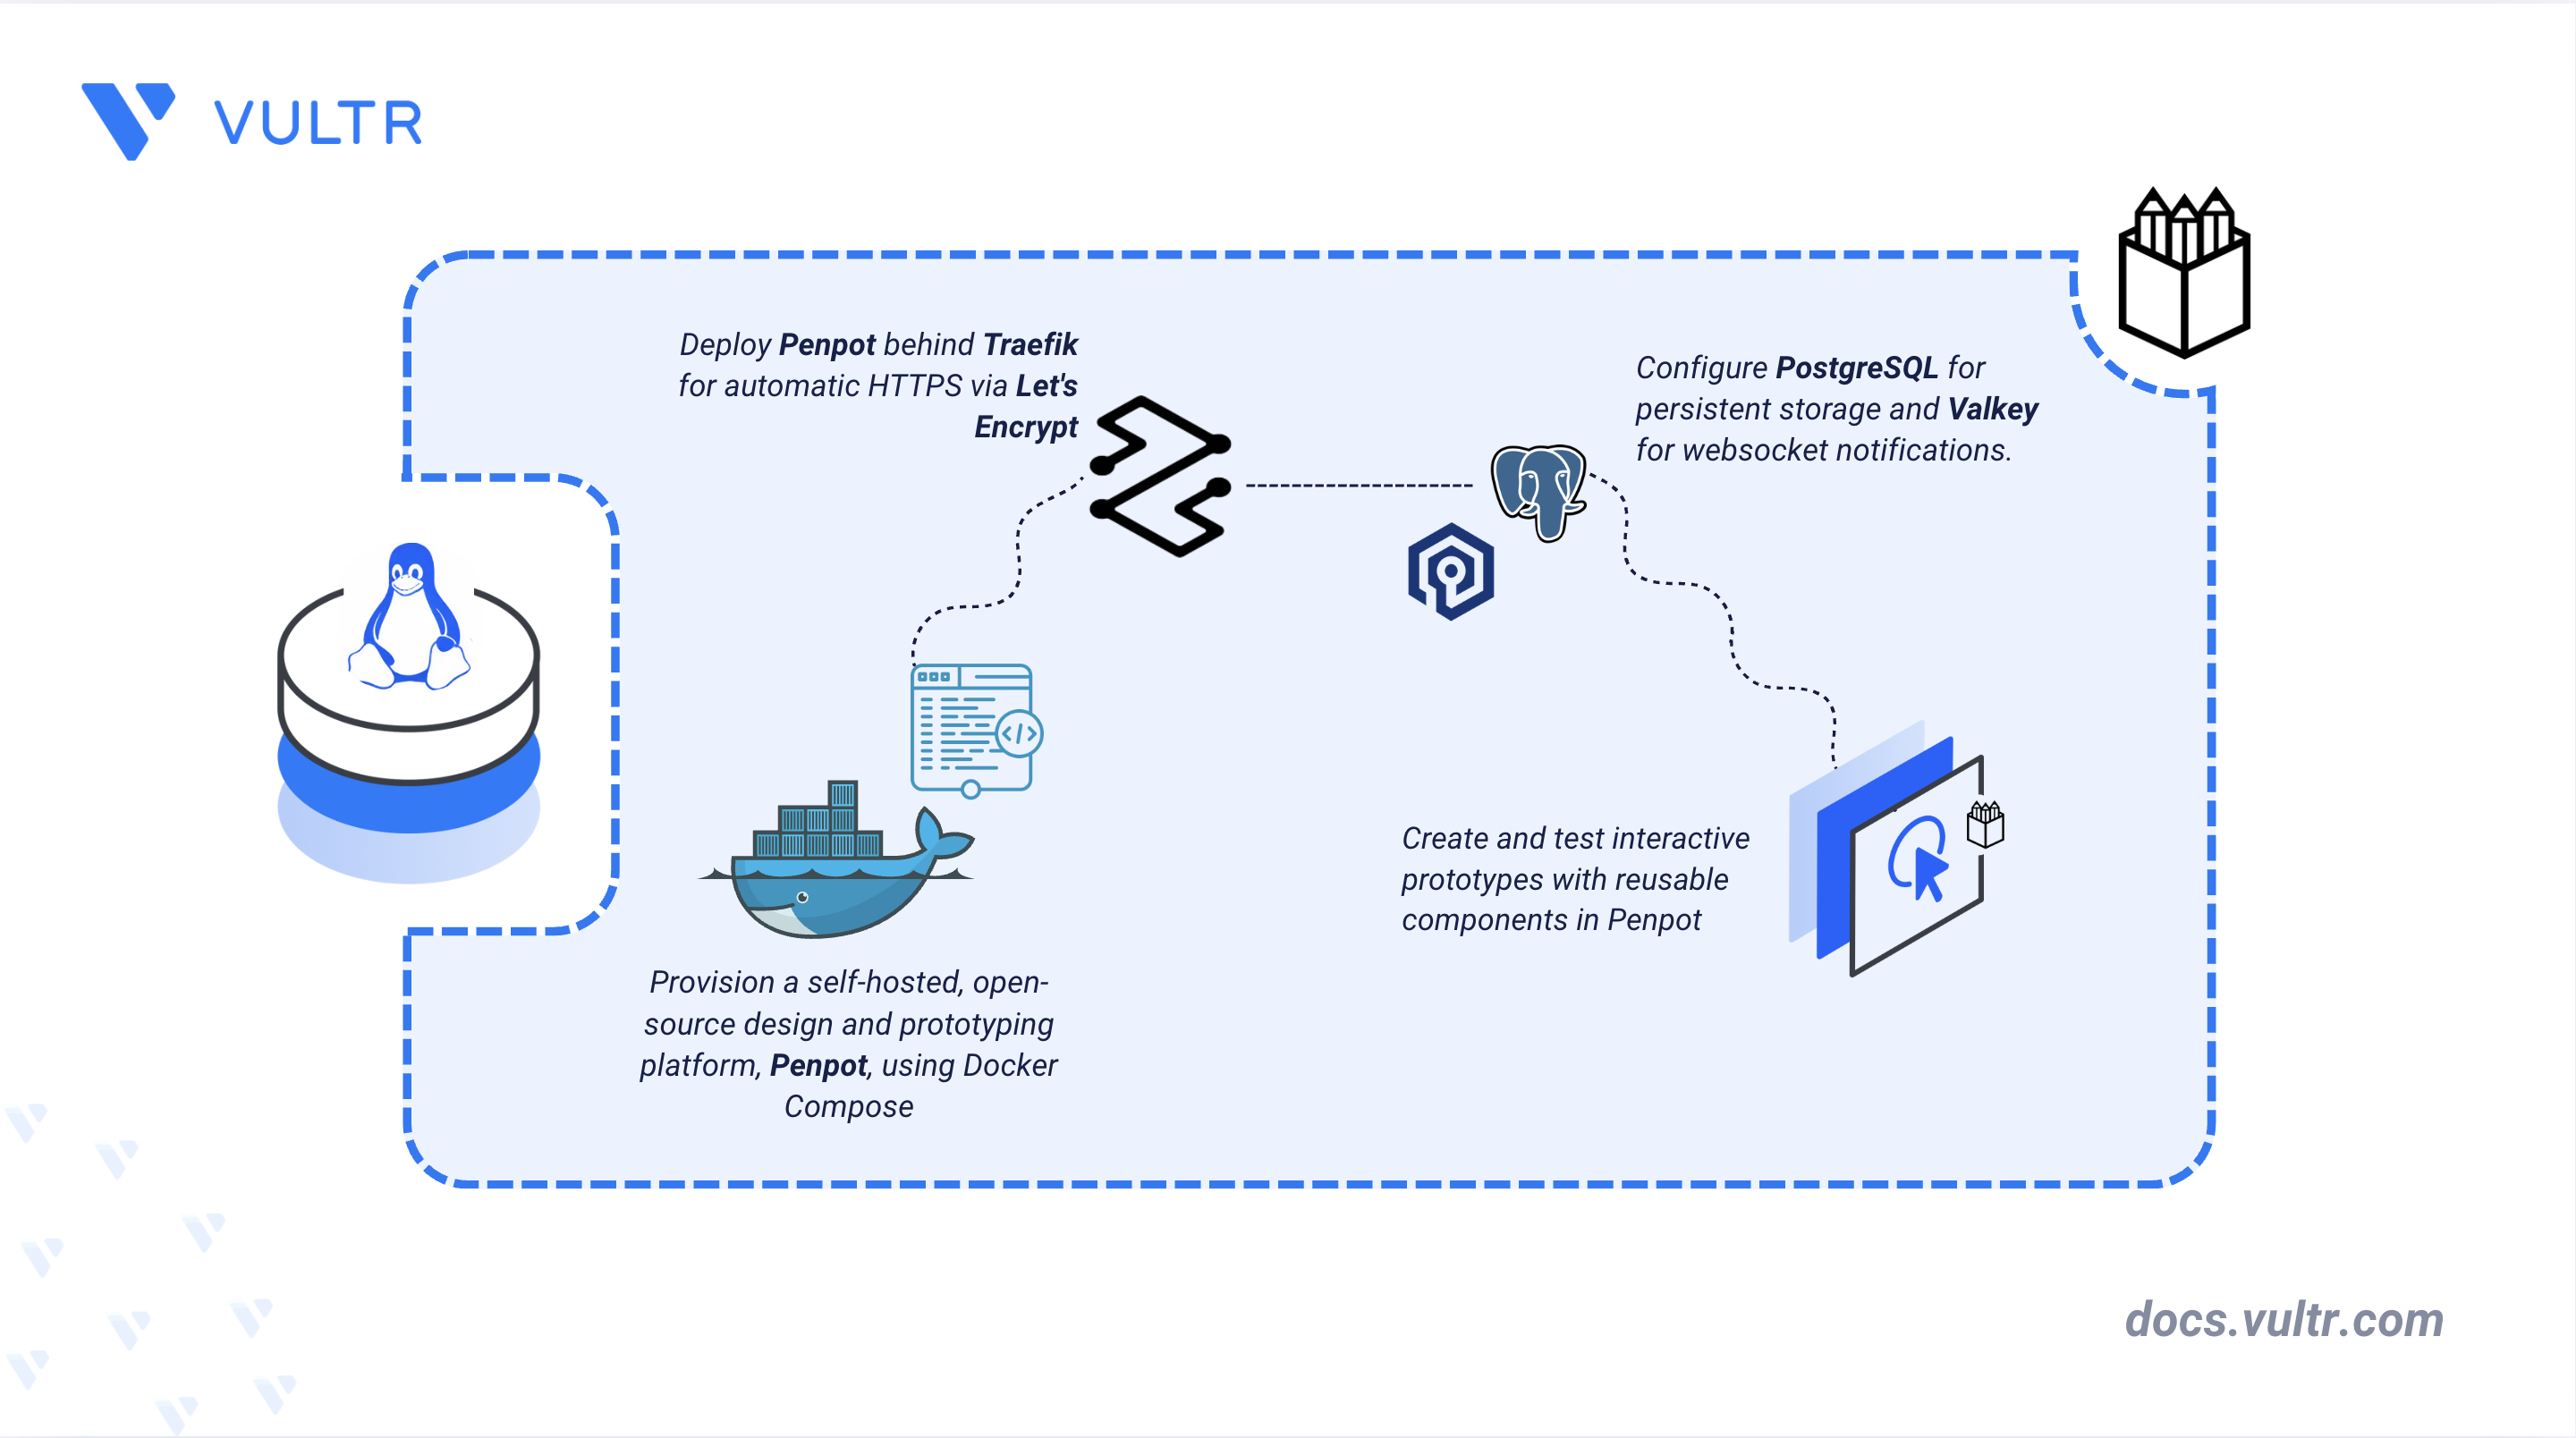
Penpot is an open-source design and prototyping platform for designers, developers, and product teams. It runs in the browser, stores files in open web standards such as SVG, and provides a shared workspace where design and code stay in sync. Teams use Penpot for user interface (UI) design, wireframing, interactive prototyping, building reusable design systems, and collaborative design handoff between designers and developers.
This article explains how to deploy Penpot as a self-hosted, open-source design and prototyping platform on a Linux server using Docker Compose with PostgreSQL for data storage, Valkey for websocket notifications, and Traefik as the reverse proxy for TLS termination. It covers the directory and environment setup, the Docker Compose deployment, initial account creation, and a full design-to-prototype workflow inside your own instance.
Prerequisites
Before you begin, you need to:
- Have access to a Linux-based server (with at least 4 CPU cores and 8 GB of RAM) as a non-root user with sudo privileges.
- Install Docker and Docker Compose.
- Create a DNS A record pointing to your server's IP address (for example,
penpot.example.com).
Set Up the Directory Structure, Configuration, and Environment Variables
Penpot separates its runtime into several containers: a frontend, a backend, an exporter, a PostgreSQL database, and a Valkey cache. PostgreSQL and the uploaded assets require persistent storage, while Valkey holds only transient websocket and notification data and needs no persistent volume. Environment variables control the public URL, the master secret key, database credentials, and the feature flags that enable registration and login.
Create the project directory and a subdirectory.
CONSOLEThe command creates the project directory and one subdirectory:
penpot: The directory that holds your.envanddocker-compose.yamlfiles.letsencrypt: Stores SSL/TLS certificates.
Navigate to the project directory.
CONSOLEGenerate a random secret key for the application.
CONSOLECopy the output for use in the environment file in the next step.
Create the environment file.
CONSOLEAdd the following configuration. Replace
penpot.example.comwith your domain name,admin@example.comwith your email address,GENERATED_SECRET_KEYwith the value from the previous step, andSTRONG_DATABASE_PASSWORDwith a secure password.INISave and close the file.
The
PENPOT_SECRET_KEYis the master key from which Penpot derives other subsystem keys, such as those for HTTP sessions and invitations. ThePENPOT_FLAGSvariable controls the platform features: the flags above enable self-service registration and password login, disable email verification so you can create the first account without an external mail server, and enable the PREPL server used for command-line administration. Secure session cookies remain enabled by default, which requires the HTTPS access that Traefik provides.
Note
The disable-email-verification flag lets any visitor register without confirming an email address. For an internet-facing production instance, configure a real SMTP provider, remove disable-email-verification, and add enable-smtp to PENPOT_FLAGS so new accounts and invitations must be verified by email. Replace the values with your provider's credentials in the SMTP configuration section.
Deploy with Docker Compose
The deployment stack runs Penpot's frontend, backend, and exporter containers alongside PostgreSQL for data persistence, Valkey for websocket notifications, and Traefik as the reverse proxy that terminates TLS and routes the configured domain to the frontend. This configuration is based on the official Penpot Docker Compose setup.
Create the Docker Compose file.
CONSOLEAdd the following configuration.
YAMLSave and close the file.
In the above manifest:
traefik: Serves as the reverse proxy and TLS termination point. It listens on ports 80 and 443, redirects HTTP to HTTPS, and provisions Let's Encrypt certificates using the email address defined inLETSENCRYPT_EMAIL.penpot-frontend: Serves the Penpot web interface and static assets on internal port 8080. The Traefik labels route theDOMAINhost to this port over HTTPS.penpot-backend: Runs the application logic, connects to PostgreSQL and Valkey, and shares thepenpot_assetsvolume with the frontend to store uploaded files.penpot-exporter: Renders boards and design files to PNG, SVG, and PDF, and reaches the frontend over the internal Docker network.penpot-postgres: Runs PostgreSQL 15 as the primary database with data checksums and a health check that gates the backend startup.penpot-valkey: Runs Valkey 8.1, a Redis-compatible in-memory store, for websocket notifications and transient state.
Start all services in detached mode.
CONSOLEVerify that all containers are running.
CONSOLEThe output lists all six containers as
Up, withpenpot-postgresandpenpot-valkeyalso showing(healthy).View the backend logs to confirm that Penpot started successfully.
CONSOLEThe output shows the backend applying database migrations and reporting that the HTTP server is listening. Traefik requests the Let's Encrypt certificate on the first HTTPS access, which can take up to a minute to complete.
Note
For more information on managing a Docker Compose stack, see the How To Use Docker Compose article.
Access and Configure Penpot
After deployment, access Penpot through your domain, verify the HTTPS certificate, and create the first account. Because email verification is disabled in this configuration, the first account is active immediately after registration.
Replace
penpot.example.comwith your configured domain and openhttps://penpot.example.comin a web browser.On the login screen, click Create an account.
Enter your FULL NAME, WORK EMAIL, and a PASSWORD, then click CREATE AN ACCOUNT.
Complete the onboarding questions to reach the Penpot dashboard.
Review the workspace layout. The left sidebar lists your teams and projects, the Drafts area holds files that are not assigned to a project, and the account menu in the upper-right corner opens profile and password settings.
Demonstrate an End-to-End Design Workflow in Penpot
Penpot organizes work into teams, projects, and files. This section demonstrates a complete workflow: creating a team and project, designing a screen with boards and components, linking screens with a prototype interaction, and sharing the result.
Create a Team and Project
In the left sidebar, click Your Penpot at the top. From the dropdown, click Create new team.
Enter a team name such as
Product Design, then click CREATE NEW TEAM.Inside the new team, click + NEW PROJECT at the top right, enter a name such as
Mobile App, and press Enter.
Create a Design File
Open the project and click + NEW FILE to open the file in the design workspace.
Rename the file by double-clicking its name in the top toolbar and entering
Login Flow.
Add Boards, Shapes, Text, and Components
Select the Board tool (keyboard shortcut
B) and choose a preset size such as a Phone from the Size presets in the right panel and then double-click on the board to create a screen.Use the Rectangle tool (
R) and the Ellipse tool (E) to draw UI elements such as buttons and input fields on the board.Select the Text tool (
T), click the board, and type a label such asSign in.Style the selected elements using the Design panel on the right to set fill colors, borders, and corner radius.
To create a reusable component, select one or more elements, right-click the selection, and choose Create component (
K). The component appears in the ASSETS tab for reuse across files.
Create a Prototype Interaction
Create a second board to act as the destination screen, for example a
Homescreen.Switch to the PROTOTYPE tab in the upper-right panel.
Select the button on the first board. A connection handle appears on the edge of the selection. Drag it to the second board to create a flow.
In the INTERACTION settings, set the trigger to On click and the action to Navigate to the destination board.
Click the Play icon in the upper-right corner to preview the prototype and test the click interaction between screens.
Share the Design
Click the Share button in the upper-right corner, enter the Email addresses of people you would like to add as a member to the team, and assign a role such as Editor, Viewer, or Admin.
Click SEND INVITATION to confirm collaboration on the shared team.
Note
Team invitations are delivered by email and require the SMTP configuration. Without SMTP, invitation emails are not sent.
Conclusion
You have deployed Penpot on a Linux server using Docker Compose and configured data storage, websocket notifications, and TLS termination. Your self-hosted instance provides a full design and prototyping platform, and you validated it by creating a team, designing a screen with boards and components, building a prototype interaction, and sharing the result while keeping complete control of your data. For more information and advanced configuration, see the official Penpot self-hosting documentation.
Tags:Open Source


0 Comments
Be the first to comment and share your perspective with the community.