How to Deploy Planka - Open-Source Project Management Tool
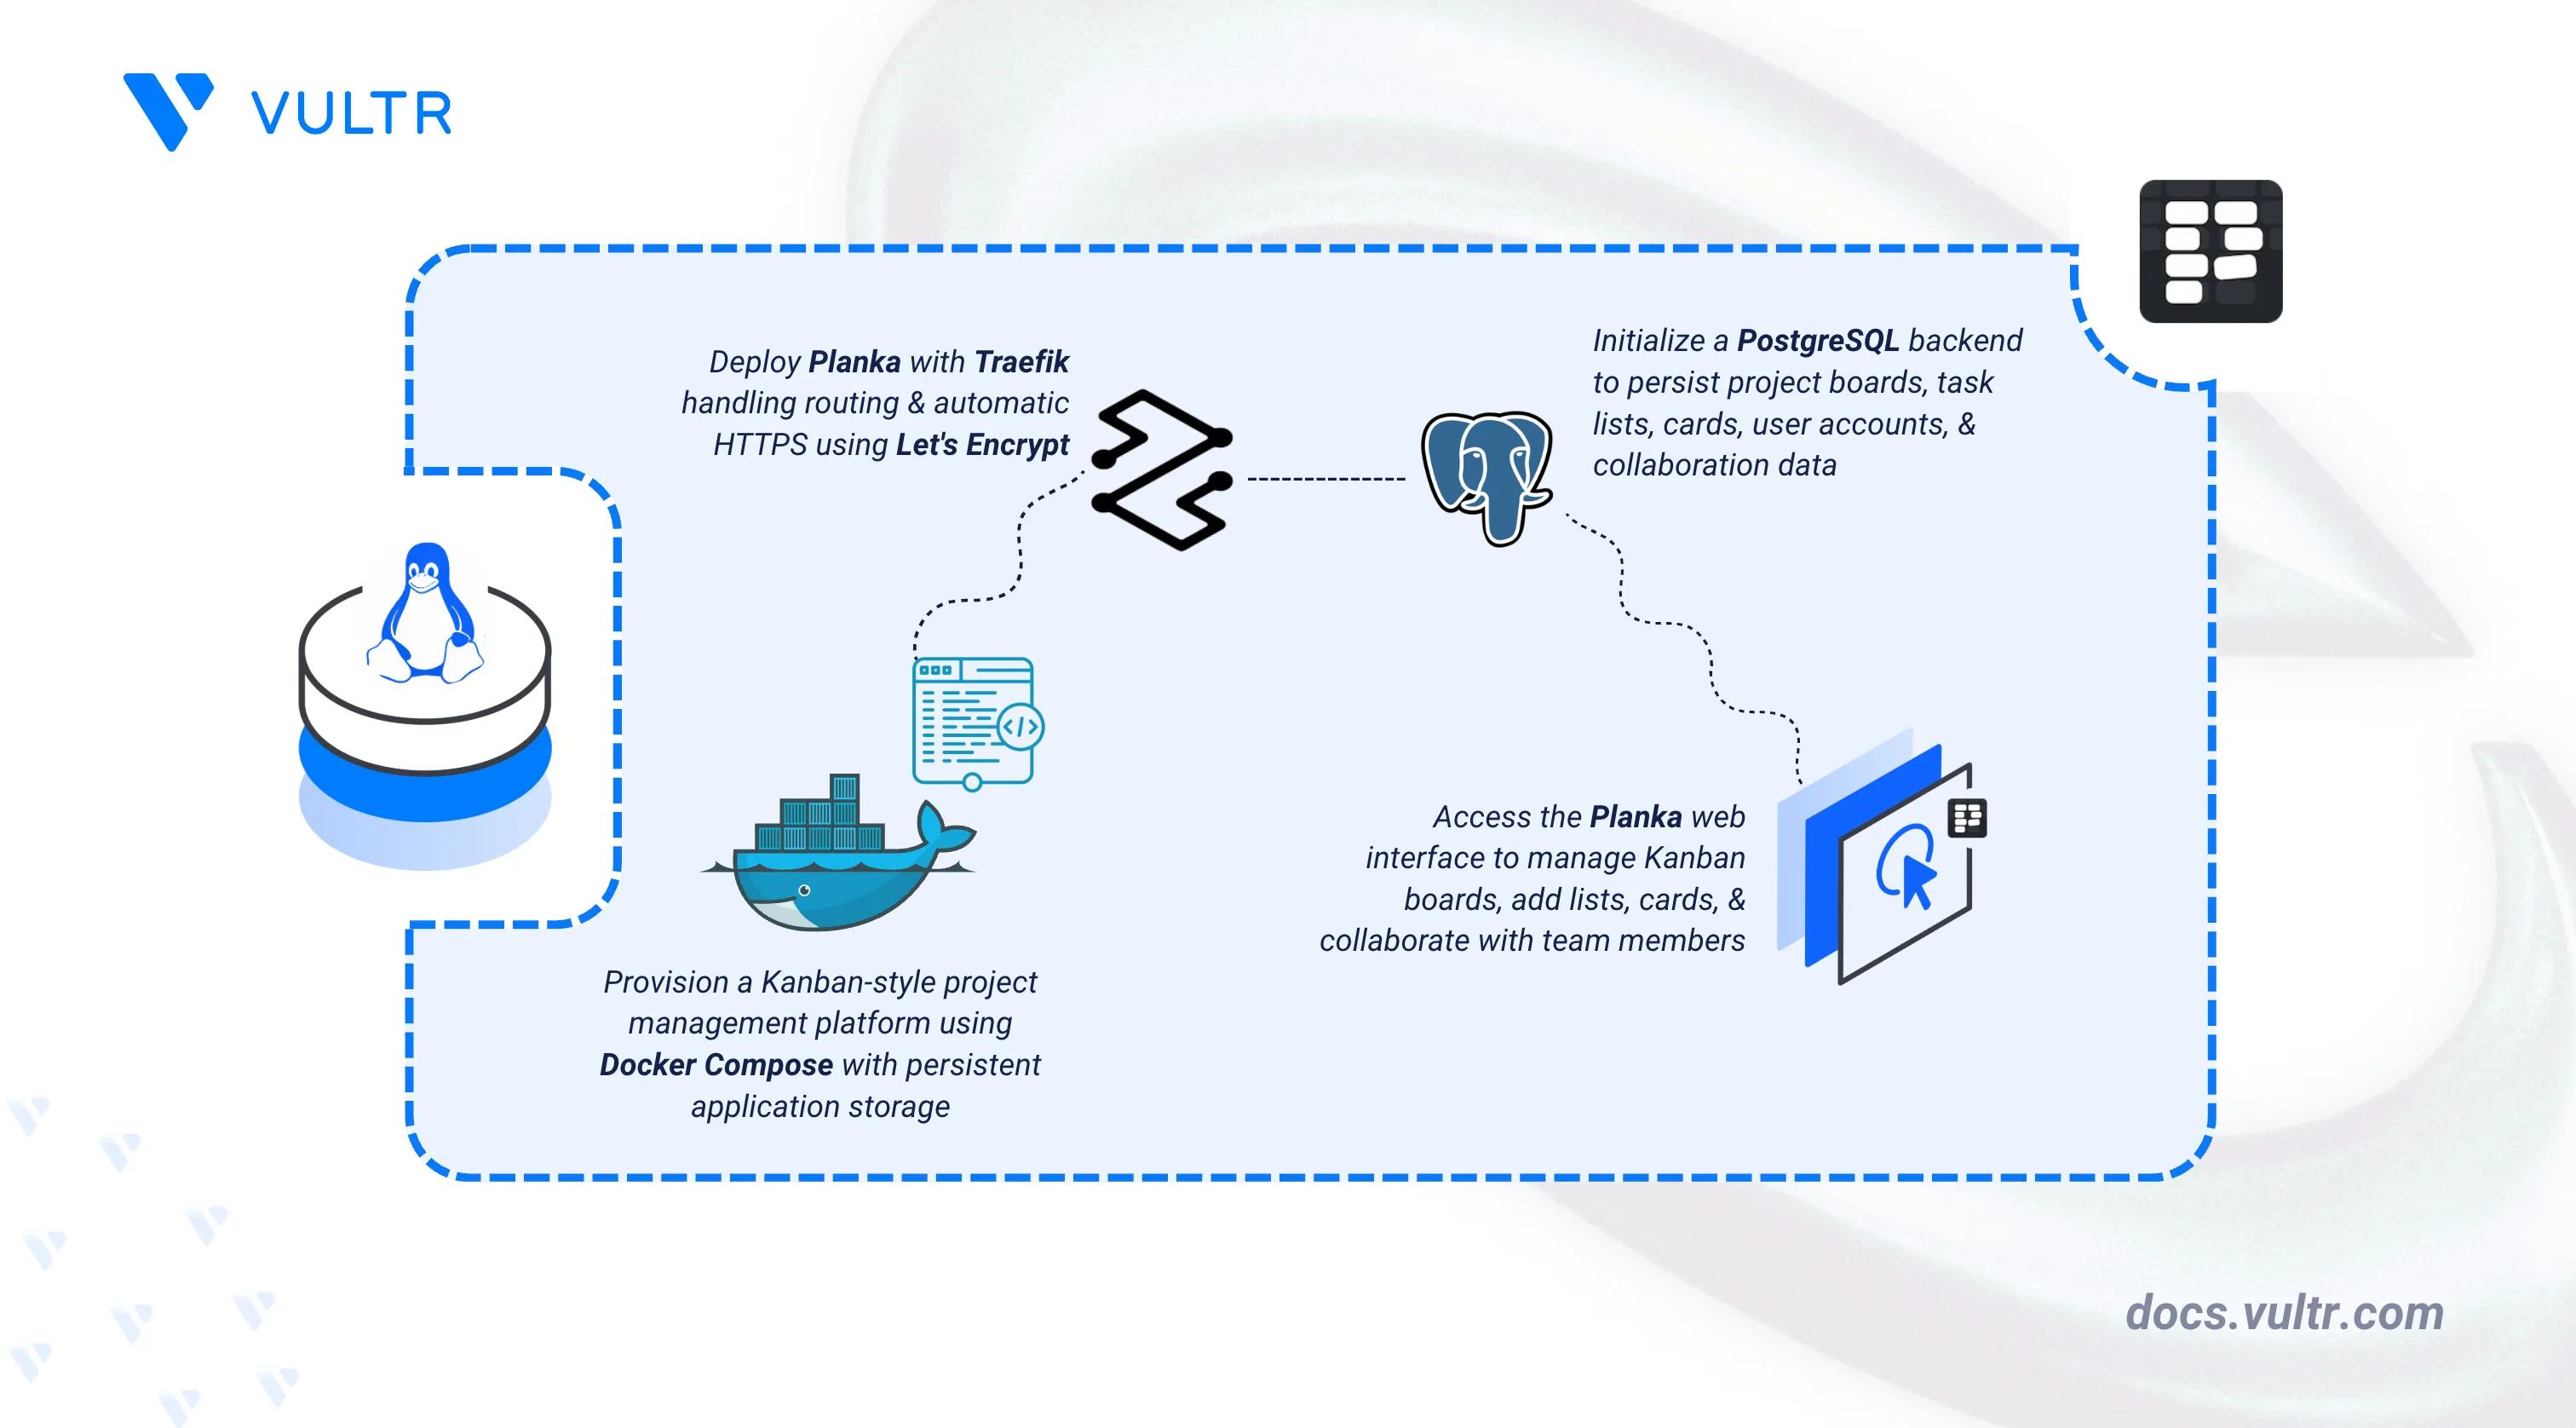
Planka is an open-source, Kanban-style project management platform used to organize tasks, work together with teams, and track project progress. It provides a web interface for managing boards, lists, and cards. Planka is widely used for software development, team task management, and product roadmap planning.
This article explains how to deploy Planka on a Linux server using Docker Compose, with a PostgreSQL backend and Traefik providing automatic HTTPS. It covers directory setup, environment variable configuration, deployment, creating a secure administrator account, and demonstrating core task management features through the web interface.
Prerequisites
Before you begin, you need to:
- Have access to a Linux-based server (with at least 2 CPU cores and 4 GB of RAM) as a non-root user with sudo privileges.
- Install Docker and Docker Compose.
- Create a DNS A record pointing to your server's IP address (for example,
planka.example.com).
Set Up the Directory Structure, Configuration, and Environment Variables
Planka requires a configuration file to define environment variables, database connections, and application settings. The setup includes persistent storage for project boards and user assets to ensure data is retained across server restarts, and uses Traefik to automatically secure the web interface with HTTPS.
Create the project directory.
CONSOLENavigate to the project directory.
CONSOLEGenerate a secure secret key for the Planka application.
CONSOLESave the output for use in the environment file.
Create an environment file to store configuration variables.
CONSOLEAdd the following configuration. Replace
planka.example.comwith your domain name,admin@example.comwith your email address,YOUR_GENERATED_SECRET_KEYwith the output from the previousopensslcommand, andSTRONG_DATABASE_PASSWORDwith a secure password.INISave and close the file.
Deploy with Docker Compose
The deployment stack consists of Traefik for reverse proxy and certificate management, plus the Planka container with mounted configuration and databases. This configuration uses the official Planka container image version 2.1.1.
Create the Docker Compose manifest.
CONSOLEAdd the following content.
YAMLSave and close the file.
In the above manifest:
traefik: Serves as the reverse proxy and TLS termination point. It listens on ports 80 and 443, automatically redirects HTTP to HTTPS, and provisions Let's Encrypt certificates.postgres: Runs PostgreSQL 16 as the primary database for storing project boards, lists, tasks, and user profiles.planka: Runs the Planka web application server and provides the Kanban board interface.
Launch the containers.
CONSOLEVerify that the services are running.
CONSOLEThe output displays all containers in an
Upstate, with a healthy status shown forplanka-dbbecause it is the only service with a configured health check.Create the administrator account.
CONSOLEWhen prompted, enter your administrator email, password, and name. Optionally, enter a username.
View the service logs to confirm Planka loaded the configuration successfully.
CONSOLEThe output displays PostgreSQL accepting connections and Planka starting without errors.
For more information on managing a Docker Compose stack, see the How to Use Docker Compose article.
Access and Configure Planka
After deployment, access the Planka web interface to log in with the administrator account and configure the workspace.
Replace
planka.example.comwith your configured domain and openhttps://planka.example.comin a web browser.Enter the administrator email and password you created in the previous step.
Click Log in.
On the End User Terms of Service screen, check the I have read and accept these End User Terms of Service checkbox and click Continue to access the main project dashboard.
Application Use Case
The following steps create a basic Kanban board, populate it with tasks, and grant access to a team member to verify that the application's core features are functional.
Create a Project
Projects are the top-level container for boards in Planka.
- Click Create project in the My Own section.
- Enter a project name such as
Team Collaboration Project. - Optionally, add a short project description.
- Click Create project to create the project workspace.
Create a Board
A board holds the lists and cards that track work within a project.
- Open the newly created project workspace.
- Click Create board.
- Enter a board name such as
Development Tasks. - Click Create board to create the Kanban workspace.
Add Lists and Cards
Lists represent workflow stages, and cards represent individual tasks within them.
Open the
Development Tasksboard.Click Add list to create workflow columns.
Create the following workflow lists:
To DoIn ProgressCompleted
Click Add card under the
To Dolist, enter a task name such asSet up CI pipeline, and press Enter.Repeat to add cards to the
In ProgressandCompletedlists.Drag a card from one list to another to verify that task movement works correctly.
Invite a Test Team Member
Adding a user account and granting it board access verifies that Planka's collaboration features work as expected.
- Click your profile avatar in the top-right corner and select Administration from the User Actions menu.
- Click Add user.
- Enter the user details:
- Name
- Email Address
- Password
- Click Add User.
- Return to the
Development Tasksboard. - Open the board members panel.
- Search for the newly created user and add them to the board.
This confirms that the application can handle real-time collaboration and user access control across the domain.
Conclusion
You have deployed Planka on a Linux server using Docker Compose with Traefik for automatic HTTPS and PostgreSQL for persistent data storage. The setup provides a self-hosted Kanban board platform with real-time collaboration and user access control. For advanced features including custom branding, OIDC integration, and email notifications, refer to the official Planka documentation.
Tags:Open Source


0 Comments
Be the first to comment and share your perspective with the community.