
How to Deploy SeaweedFS – An open-source S3 Storage Alternative to MinIO
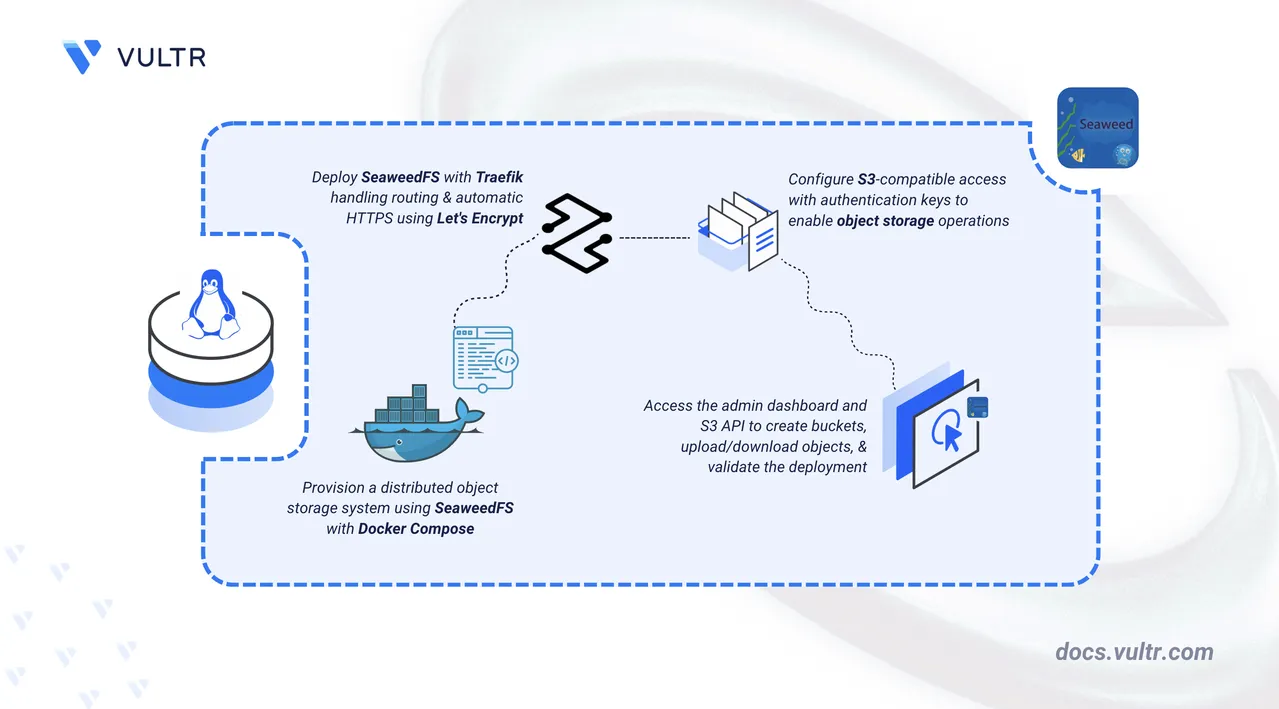
SeaweedFS is an open-source, high-performance distributed storage system for blobs, objects, files, and S3-compatible access. It includes a master, a volume server, a filer, an S3-compatible API gateway, and an admin interface.
This article shows you how to deploy a single-node SeaweedFS with Traefik using Docker Compose. It also explains how to secure it with Let's Encrypt certificates, how to access it, and perform basic operations.
Prerequisites
Before you begin, ensure you:
Have access to a Linux-based server as a non-root sudo user.
Install Docker and Docker Compose.
Register a domain and create two A records, both pointing to the server's IP address:
storage.example.com- SeaweedFS admin dashboard.s3.storage.example.com- S3-compatible API gateway.
Install the AWS CLI on your local machine.
Set Up the Directory Structure, Configuration, and Environment Variables
Set up a project directory to store your configuration files and generate authentication credentials.
Set up Directories and Configuration Files
Create and navigate to the project's folder.
console$ mkdir seaweedfs && cd seaweedfs
Run the following command twice to generate
accessandsecretkeys for your S3 configuration.console$ openssl rand -hex 16
Note the values to use in the later steps.
Create a
.envfile to store the deployment variables used by Docker Compose.console$ nano .env
Add the following content. Replace
storage.example.comwith your admin subdomain,your-email@example.comwith your email address for Let's Encrypt notifications, andyourpasswordwith a strong password for the admin dashboard.iniSTORAGE_DOMAIN=storage.example.com LETSENCRYPT_EMAIL=your-email@example.com ADMIN_PASSWORD=yourpassword
Save and close the file.
Create
./s3-config.jsonto configure S3 authentication.console$ nano s3-config.json
Add the following content. Replace
YOUR_ACCESS_KEYandYOUR_SECRET_KEYwith the values generated above.json{ "identities": [ { "name": "admin", "credentials": [ { "accessKey": "YOUR_ACCESS_KEY", "secretKey": "YOUR_SECRET_KEY" } ], "actions": [ "Admin", "Read", "Write", "List", "Tagging" ] } ] }
Save and close the file.
Deploy with Docker Compose
Define your Docker Compose services with Traefik labels for automatic discovery and TLS.
Create the Docker Compose file.
console$ nano docker-compose.yml
Copy and paste the following configuration into the file.
yamlservices: traefik: image: traefik:v3.7.0 container_name: traefik restart: unless-stopped ports: - "80:80" - "443:443" volumes: - /var/run/docker.sock:/var/run/docker.sock:ro - ./letsencrypt:/letsencrypt command: - --providers.docker=true - --providers.docker.exposedByDefault=false - --entrypoints.web.address=:80 - --entrypoints.websecure.address=:443 - --entrypoints.web.http.redirections.entrypoint.to=websecure - --entrypoints.web.http.redirections.entrypoint.scheme=https - --entrypoints.web.http.redirections.entrypoint.permanent=true - --certificatesresolvers.letsencrypt.acme.email=${LETSENCRYPT_EMAIL} - --certificatesresolvers.letsencrypt.acme.storage=/letsencrypt/acme.json - --certificatesresolvers.letsencrypt.acme.httpchallenge=true - --certificatesresolvers.letsencrypt.acme.httpchallenge.entrypoint=web master: image: chrislusf/seaweedfs:latest container_name: seaweed-master command: master -ip.bind=0.0.0.0 -port=9333 volumes: - ./master-data:/data restart: unless-stopped volume: image: chrislusf/seaweedfs:latest container_name: seaweed-volume command: volume -mserver=master:9333 -port=8080 -ip.bind=0.0.0.0 volumes: - ./volume-data:/data depends_on: - master restart: unless-stopped filer: image: chrislusf/seaweedfs:latest container_name: seaweed-filer command: filer -master=master:9333 -port=8888 -ip.bind=0.0.0.0 volumes: - ./filer-data:/data depends_on: - master - volume restart: unless-stopped s3: image: chrislusf/seaweedfs:latest container_name: seaweed-s3 command: s3 -filer=filer:8888 -port=8333 -ip.bind=0.0.0.0 -config=/etc/seaweedfs/s3.json volumes: - ./s3-config.json:/etc/seaweedfs/s3.json depends_on: - filer restart: unless-stopped labels: - "traefik.enable=true" - "traefik.http.routers.s3.rule=Host(`s3.${STORAGE_DOMAIN}`)" - "traefik.http.routers.s3.entrypoints=websecure" - "traefik.http.routers.s3.tls.certresolver=letsencrypt" - "traefik.http.services.s3.loadbalancer.server.port=8333" admin: image: chrislusf/seaweedfs:latest container_name: seaweed-admin command: 'admin -masters="master:9333" -port=23646 -adminUser=admin -adminPassword=${ADMIN_PASSWORD} -dataDir=/data' volumes: - ./admin-data:/data depends_on: - master restart: unless-stopped labels: - "traefik.enable=true" - "traefik.http.routers.admin.rule=Host(`${STORAGE_DOMAIN}`)" - "traefik.http.routers.admin.entrypoints=websecure" - "traefik.http.routers.admin.tls.certresolver=letsencrypt" - "traefik.http.services.admin.loadbalancer.server.port=23646"
Save and close the file.
Docker Compose reads the
.envfile automatically. The${STORAGE_DOMAIN},${LETSENCRYPT_EMAIL}, and${ADMIN_PASSWORD}placeholders are substituted with the values you set earlier. Traefik uses the labels to route:storage.example.comto the SeaweedFS Admin UI.s3.storage.example.comto the S3 API endpoint.
The configuration defines the following services:
traefik— reverse proxy that discovers services through Docker labels, obtains and renews Let's Encrypt certificates, and redirects HTTP traffic to HTTPS.master— centralized metadata coordinator. It manages cluster topology and volume locations. Data persists in./master-data.volume— stores file chunks under instruction from the master. Data persists in./volume-data.filer— provides a filesystem interface and integrates with the master and volume server.s3— S3-compatible API gateway for programmatic object uploads and downloads.admin— web dashboard for browsing and managing uploaded files, protected by the password set inADMIN_PASSWORD.
Add the current user to the
dockergroup so that you can run Docker commands withoutsudo.console$ sudo usermod -aG docker $USER
Apply the group change to the current shell session.
console$ newgrp docker
Start the Docker Compose services in detached mode.
console$ docker compose up -d
Verify that all services are running.
console$ docker compose ps
Test SeaweedFS
Test SeaweedFS functionality by uploading and downloading a file from your local terminal through the S3 API.
Configure the AWS CLI with your SeaweedFS S3 credentials. Run the following command and enter each value when prompted.
console$ aws configure --profile seaweedfs
- AWS Access Key ID — enter the
accessKeyvalue froms3-config.json. - AWS Secret Access Key — enter the
secretKeyvalue froms3-config.json. - Default region name — press Enter to leave this field blank. SeaweedFS does not use the region value.
- Default output format — enter
json.
- AWS Access Key ID — enter the
Create a bucket.
console$ aws --endpoint-url https://s3.storage.example.com --profile seaweedfs s3 mb s3://test-bucket
Upload a test file called
test.txt.console$ echo "This is test content." | aws --endpoint-url https://s3.storage.example.com --profile seaweedfs s3 cp - s3://test-bucket/test.txt
Download the test file.
console$ aws --endpoint-url https://s3.storage.example.com --profile seaweedfs s3 cp s3://test-bucket/test.txt downloaded.txt
Verify the file contents.
console$ cat downloaded.txt
The output displays the contents of the file.
This is test content.
Application Use Cases
Open
https://storage.example.comin a web browser and log in with the usernameadminand theADMIN_PASSWORDvalue that you set in the.envfile.
Open the Buckets tab to view and manage available buckets.
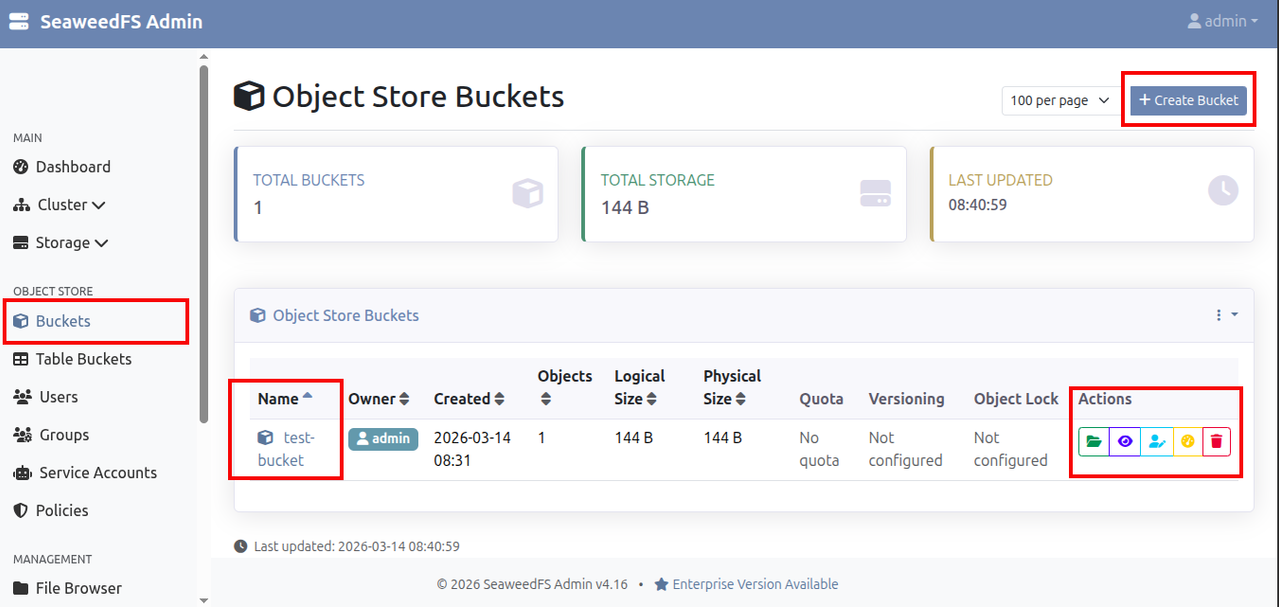
In this tab, you can create a new bucket, delete a bucket, view a bucket's details, change bucket ownership, and set a bucket's storage quota.
Navigate into your test-bucket sample to view the contents inside.
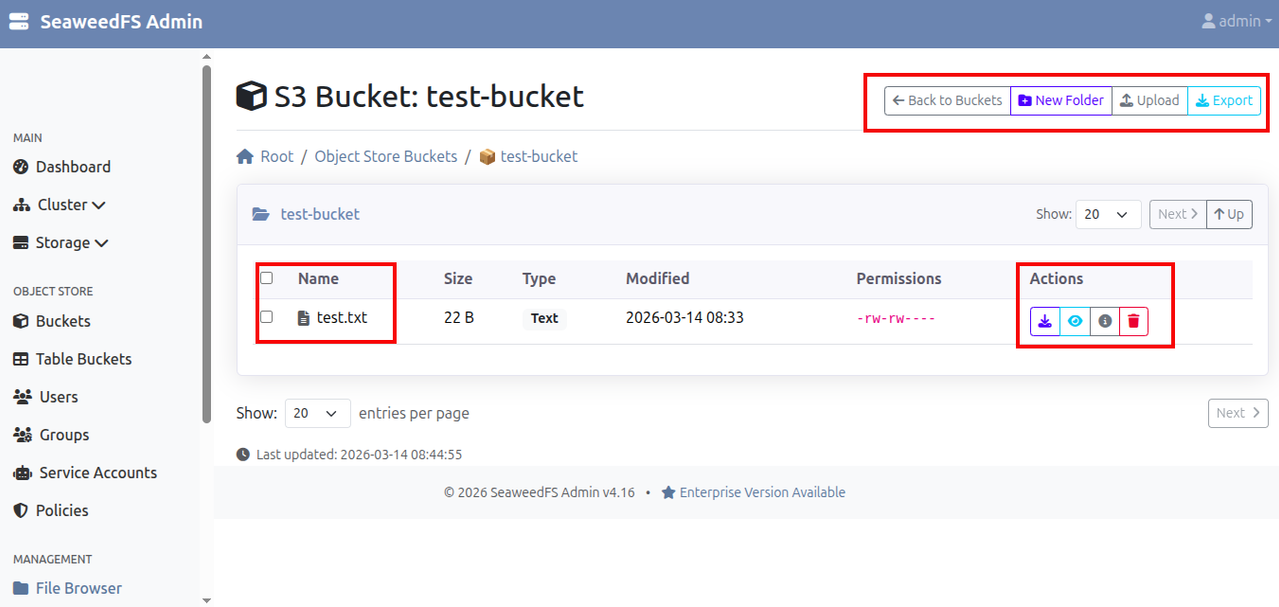
In this tab, you can browse the contents of a bucket, download them, view them, delete them, check their properties, or create new folders.
Conclusion
You have successfully deployed SeaweedFS with Docker Compose and secured its public endpoints using Traefik and Let's Encrypt. The admin dashboard is accessible at https://storage.example.com and the S3-compatible API is available at https://s3.storage.example.com. For more information, refer to the official SeaweedFS documentation.